Admin Account Activities
Admin Dashboard
Admin can see all the key points/information from the dashboard. And also from the dashboard admin can see all the graph and chart information.

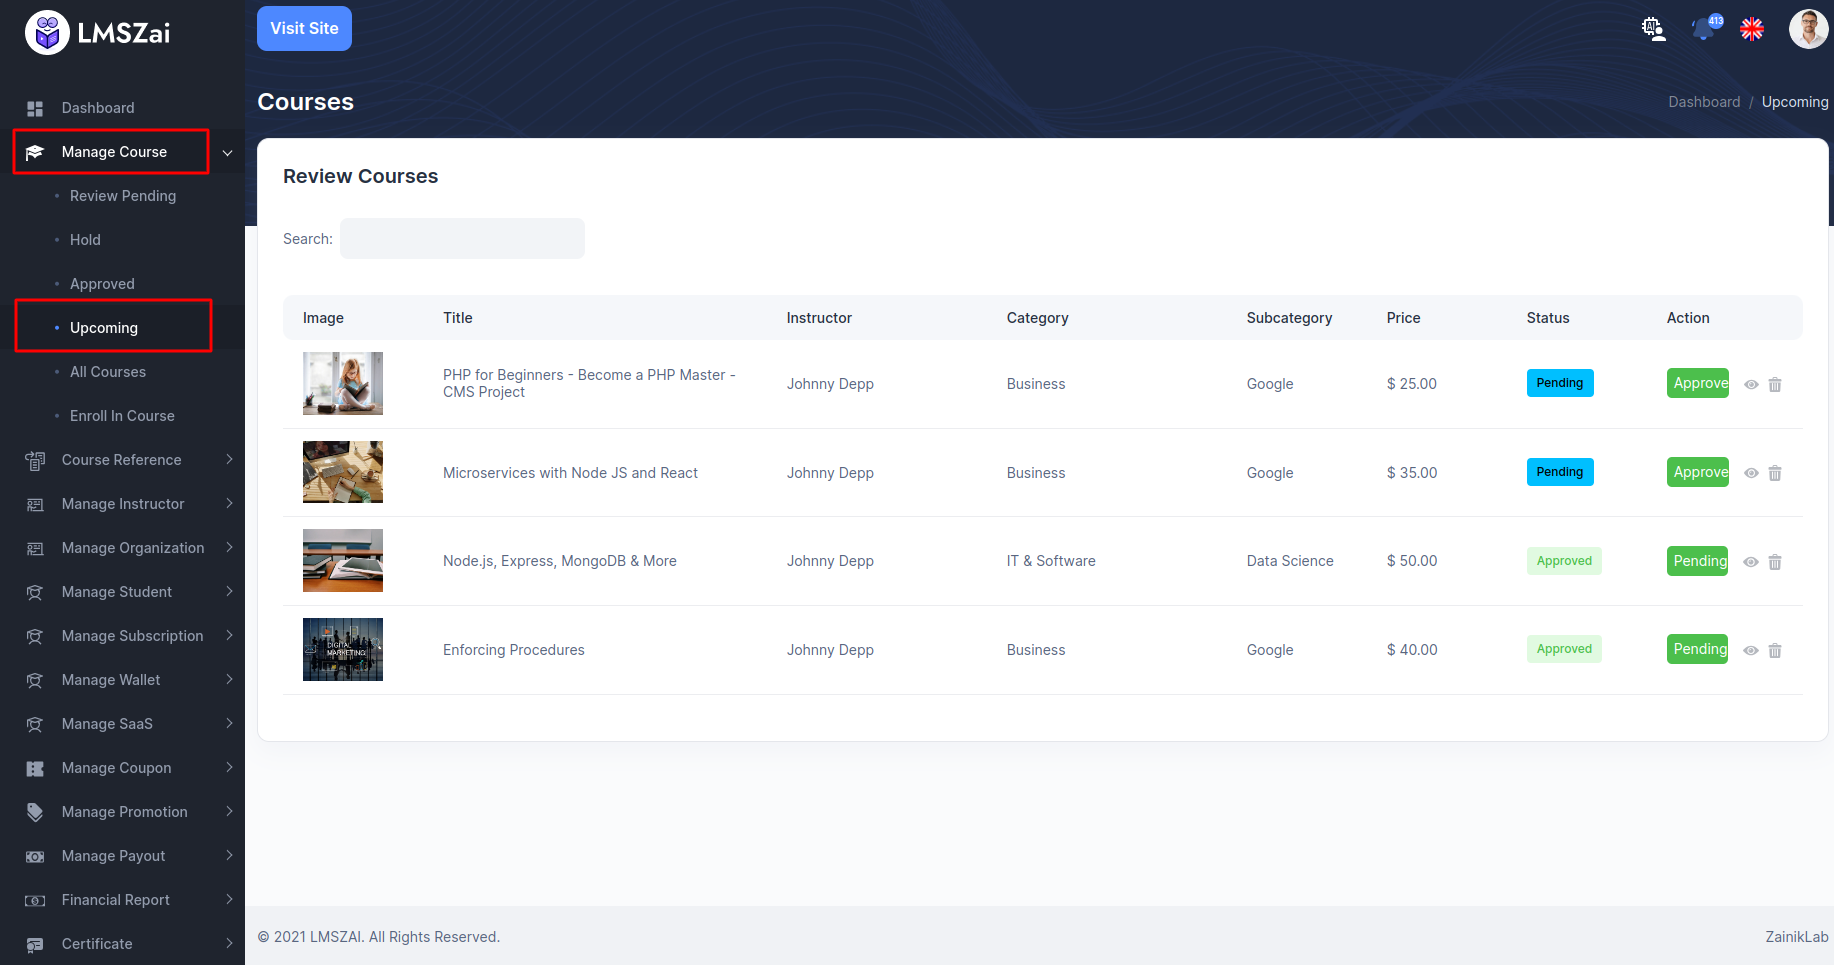
Manage Course
Admin can manage all activity for course management from here.
Review Pending
- When an instructor uploads any course it will come here for admin approval.

Hold
- All hold courses from the admin will be listed here

Approved
- All approved courses from the admin will be listed here.

Upcoming
- All upcoming courses from the admin will be listed here.
All Courses

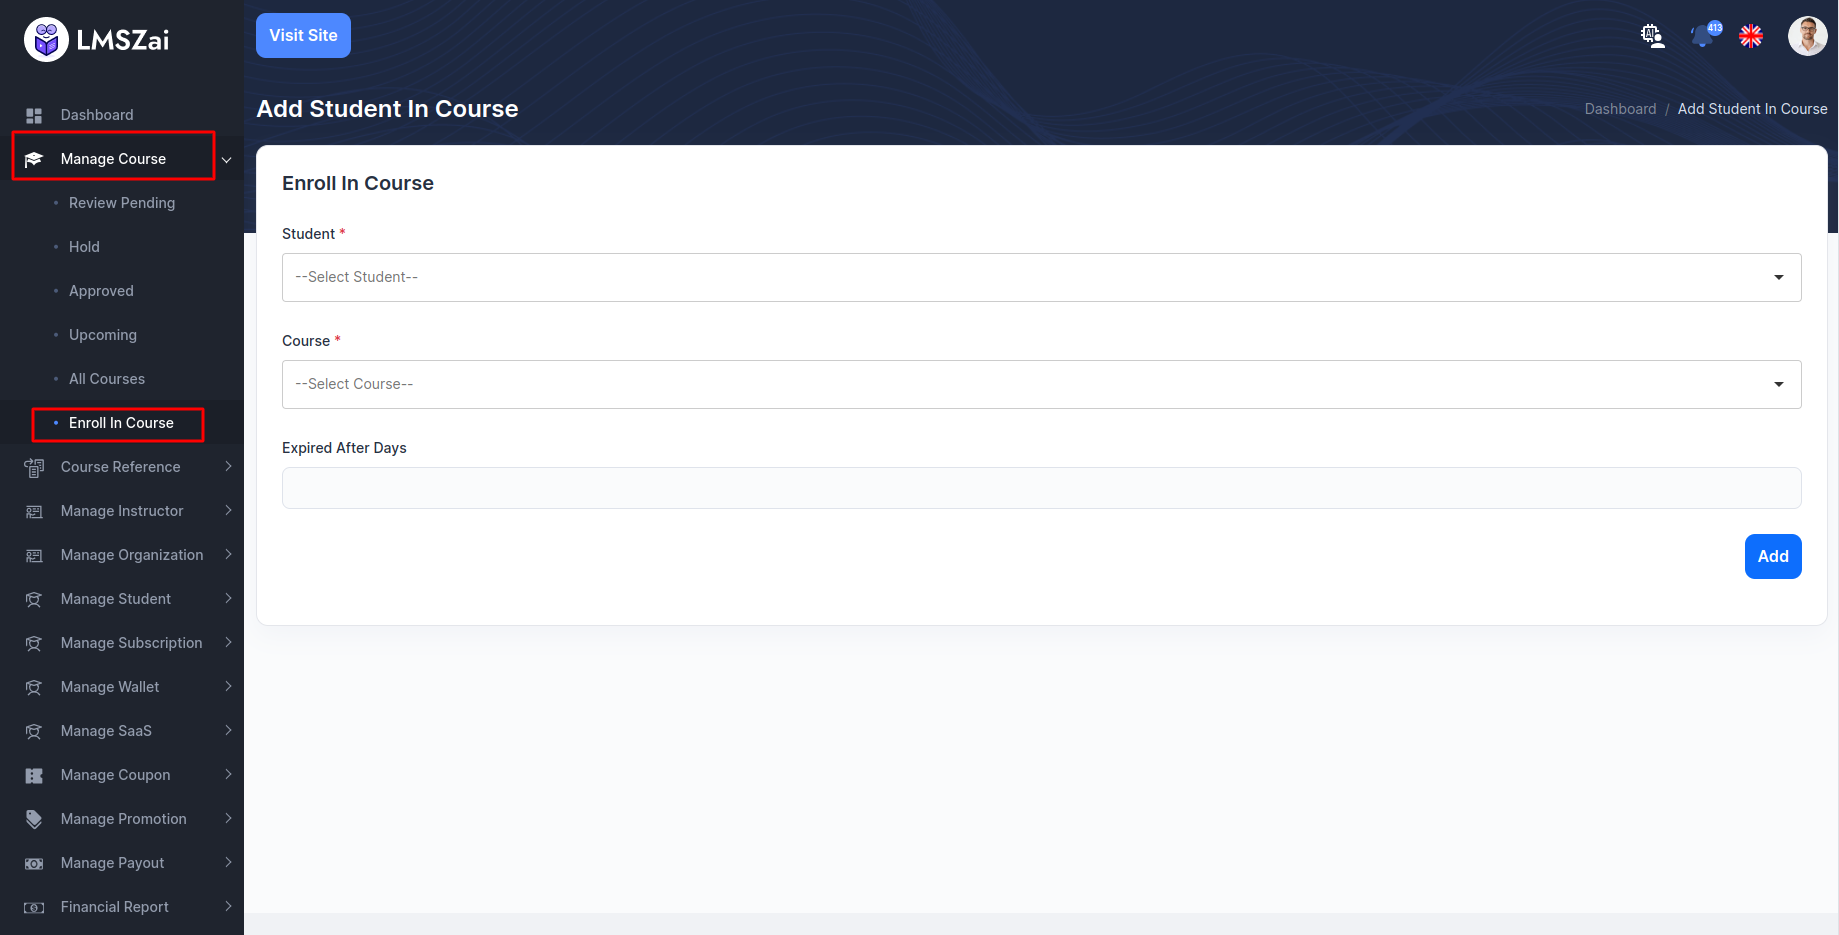
Enroll In Course
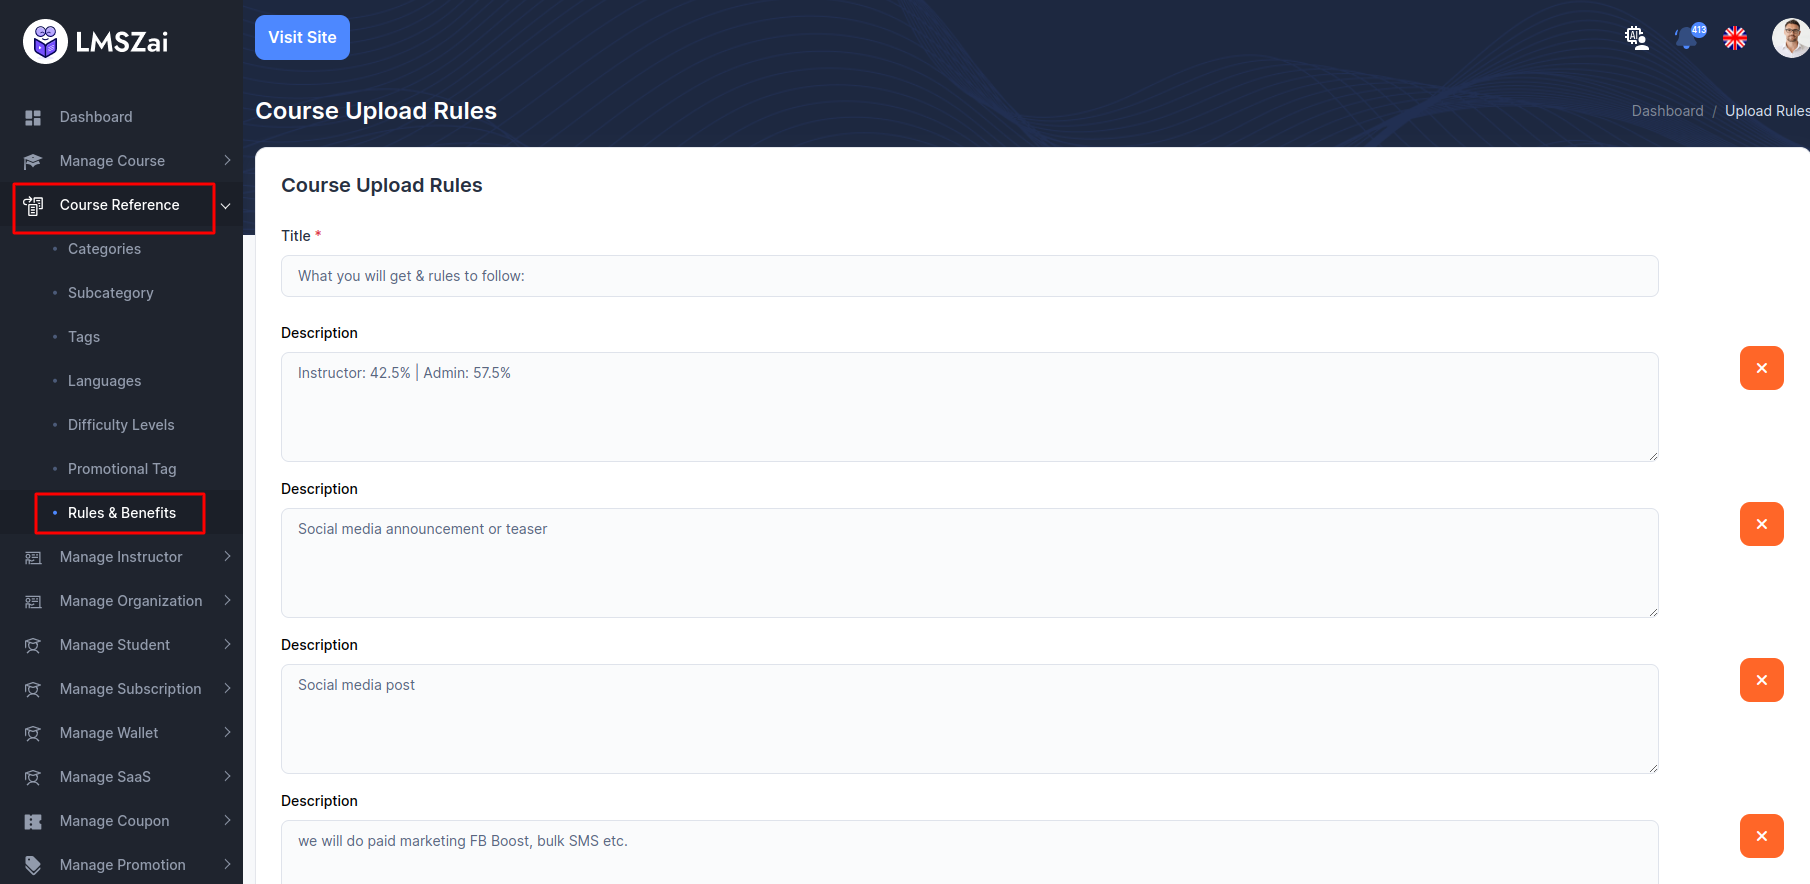
Course Reference
For course upload purpose admin can create all the course related important field from here.
Course reference has many functions. Given here-
Categories
- You can manage this categories (Create, edit, delete)
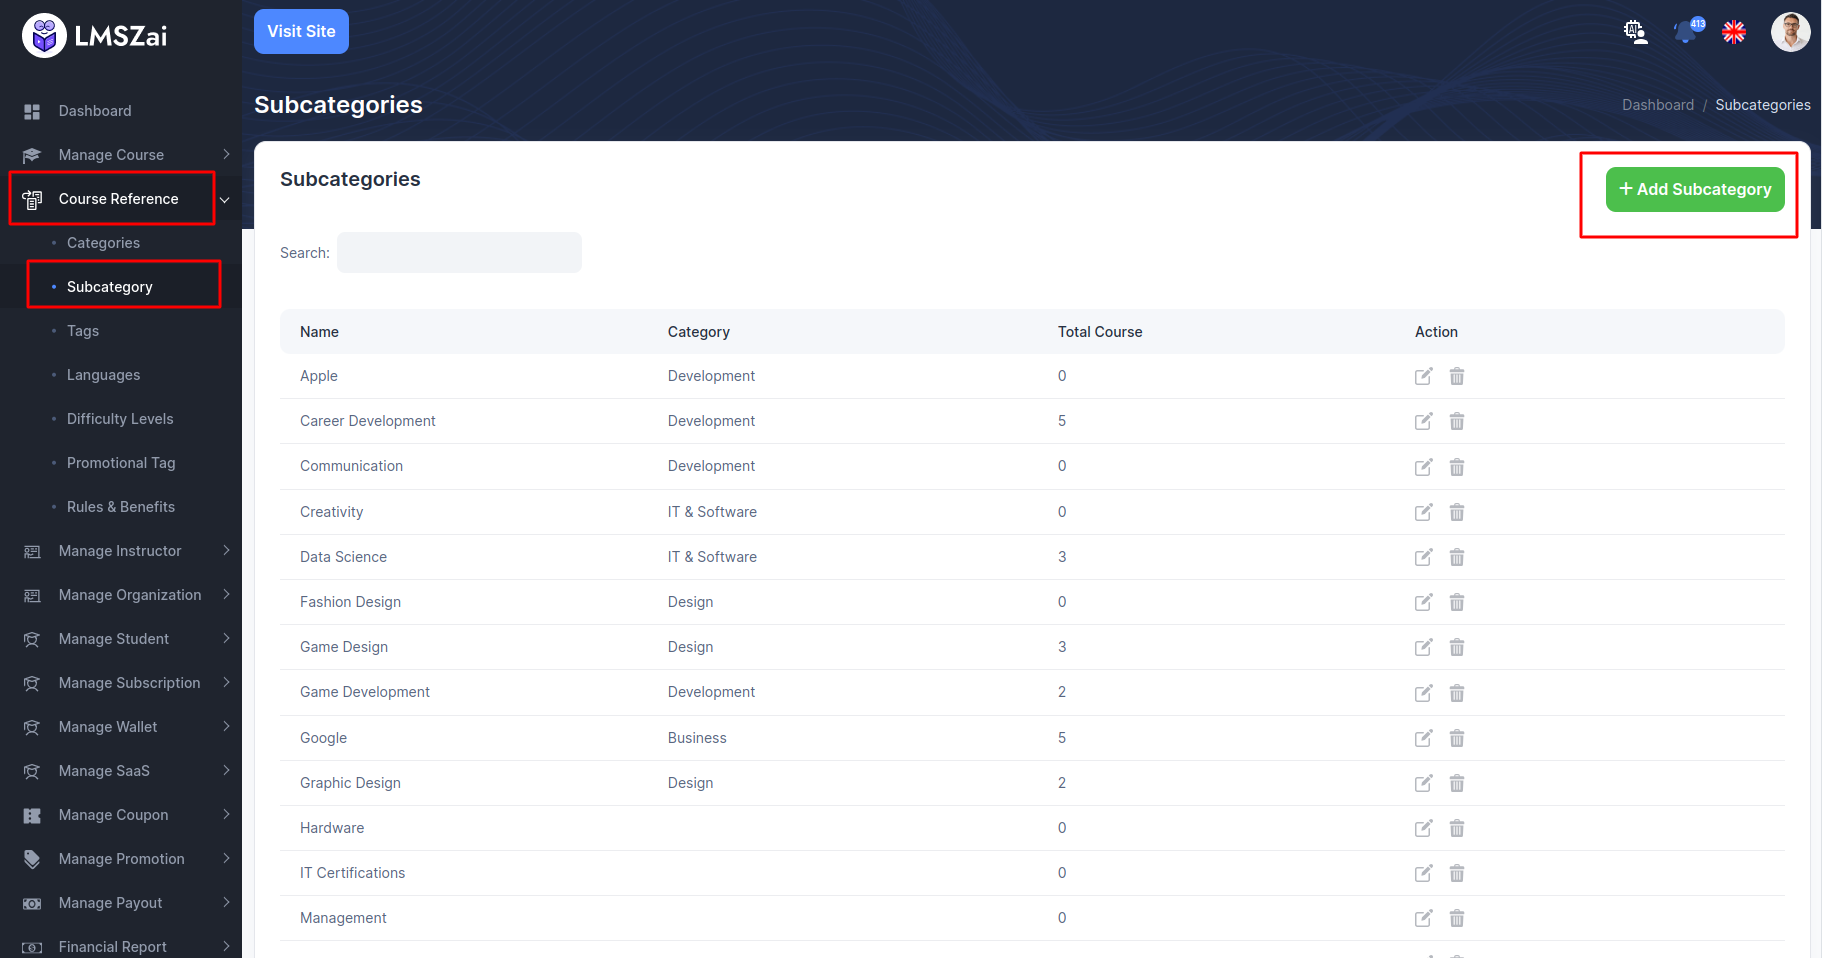
Sub Categories
- You can manage this sub categories (Create, edit, delete)
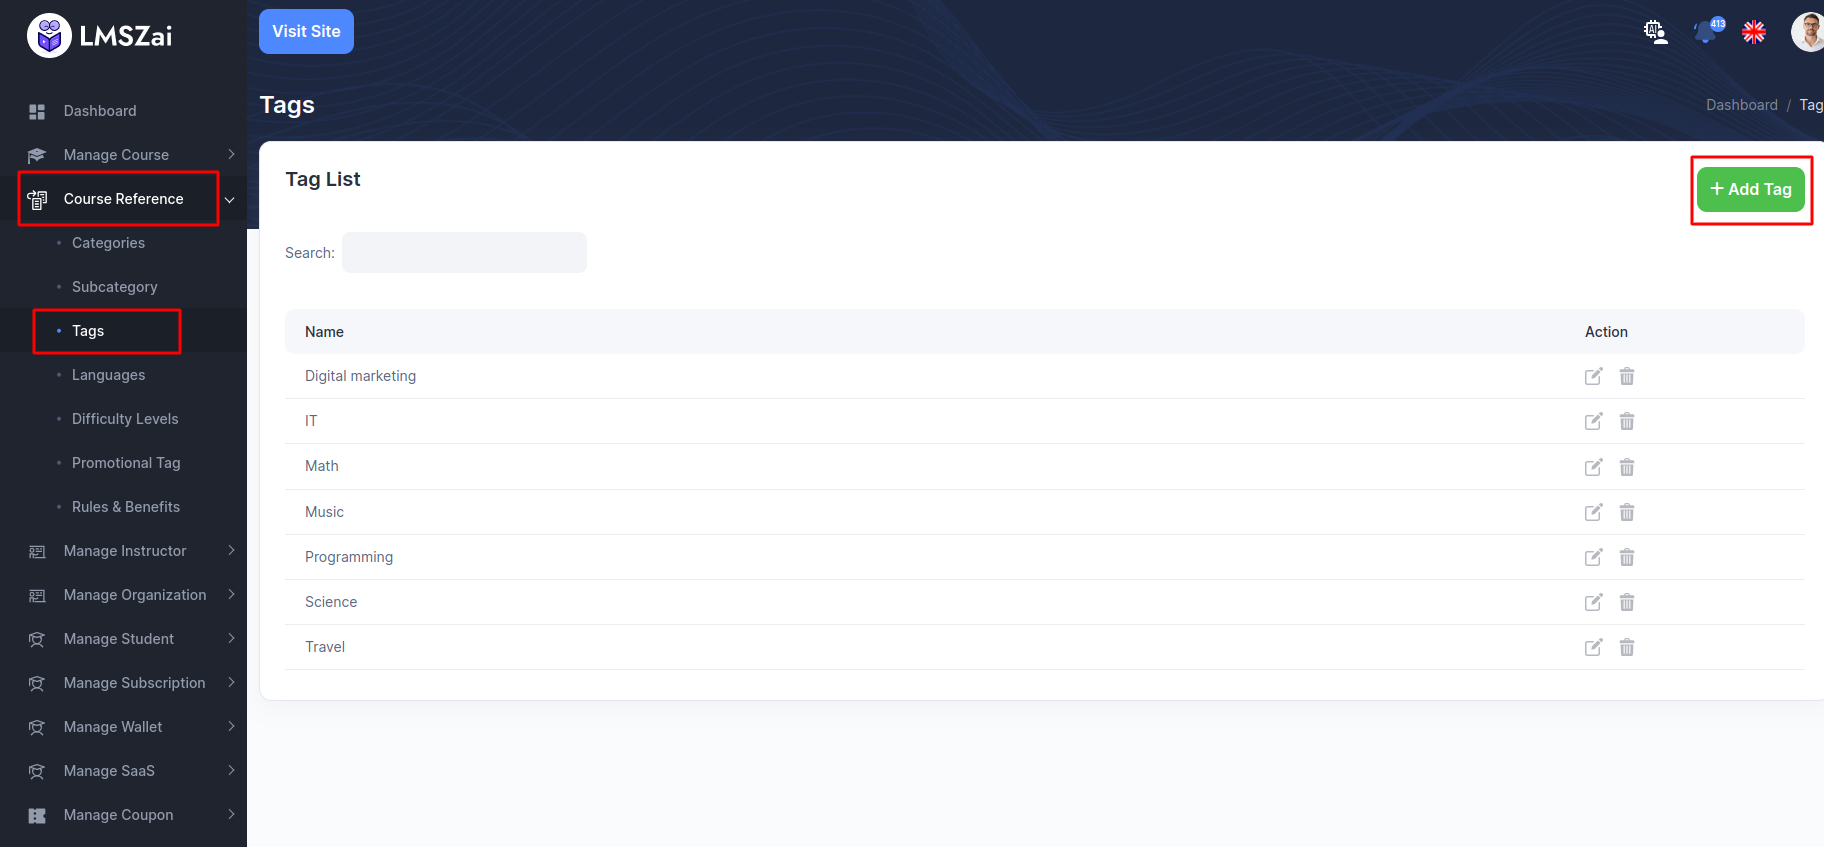
Tags
- You can manage this tag (Create, edit, delete)
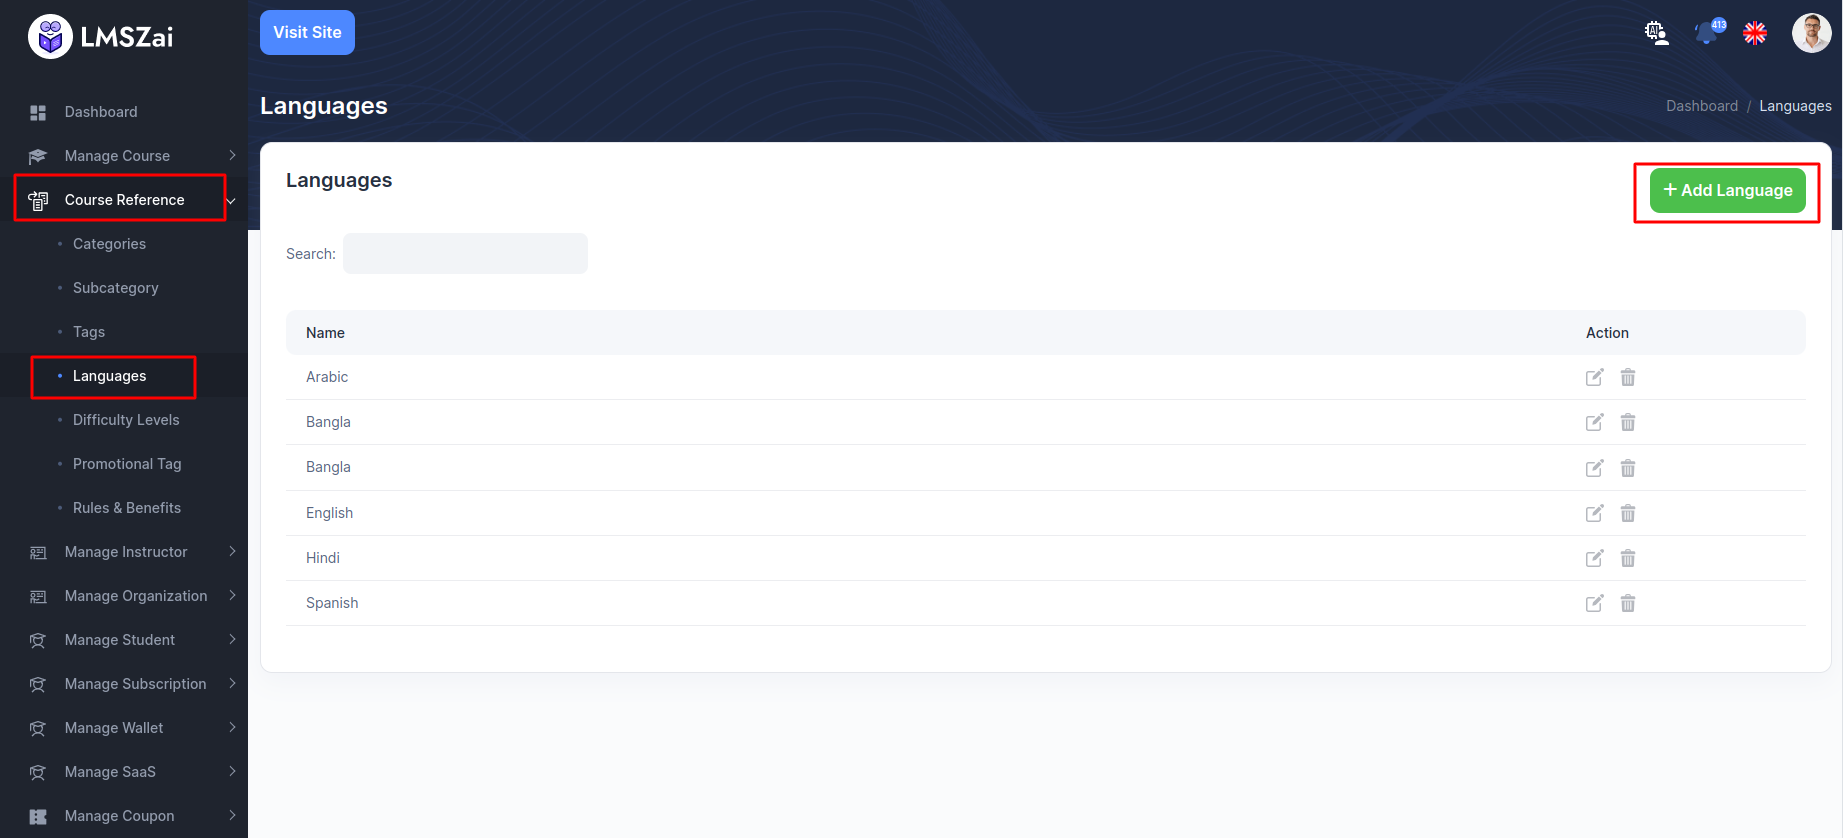
Language
- You can manage this language (Create, edit, delete)
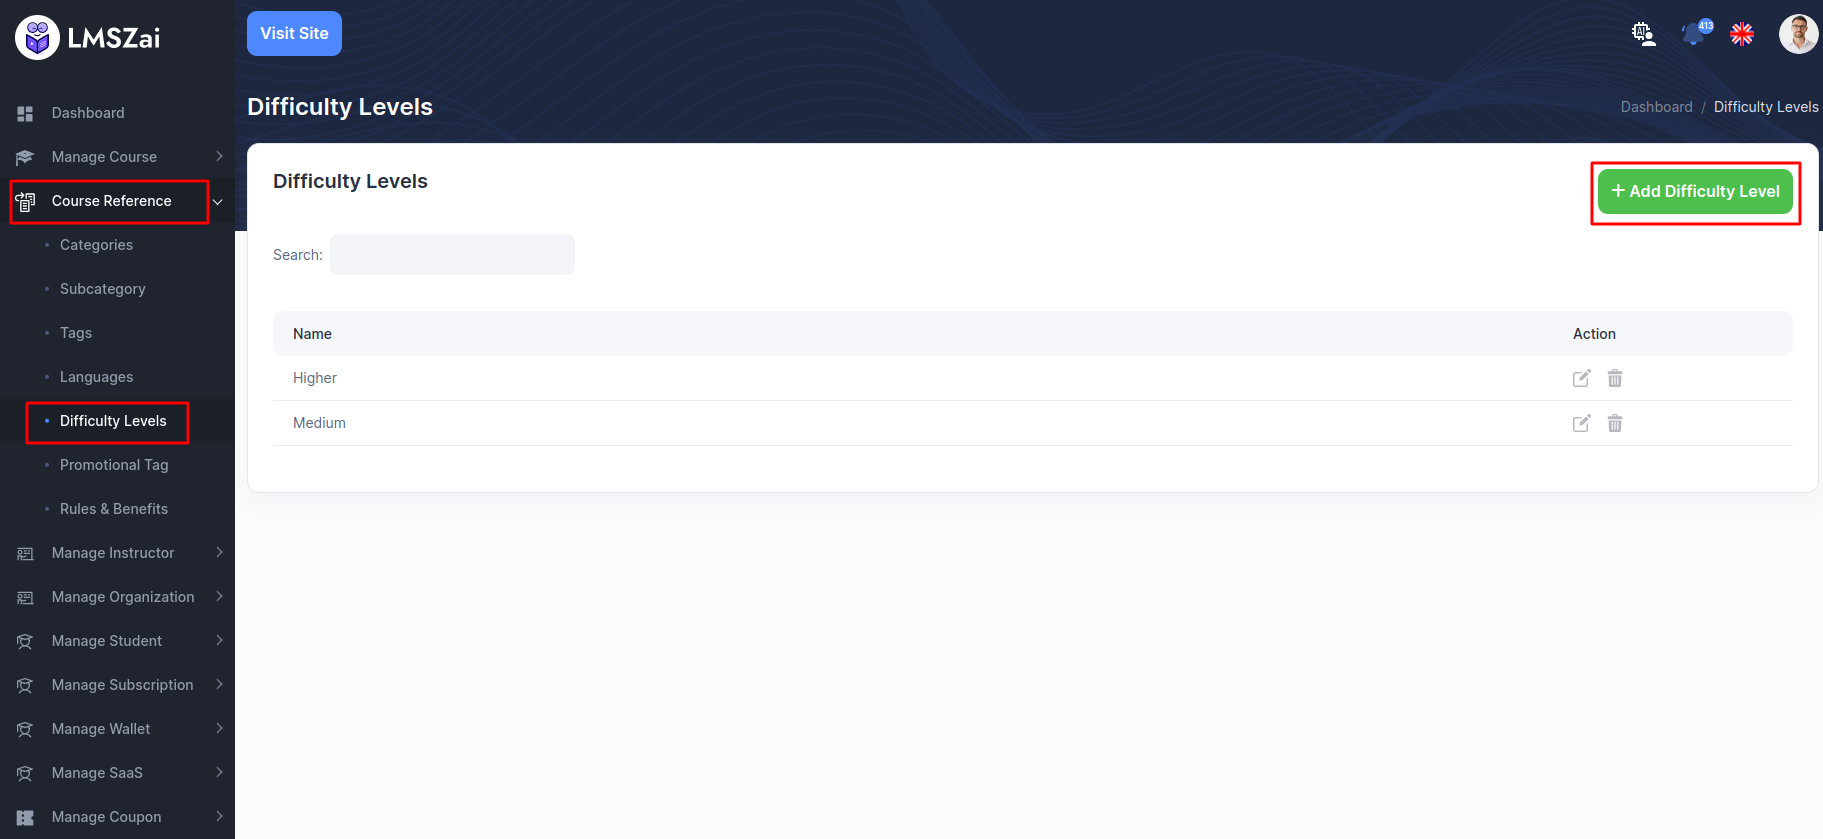
Difficulty Levels
- You can manage this difficulty levels (Create, edit, delete)

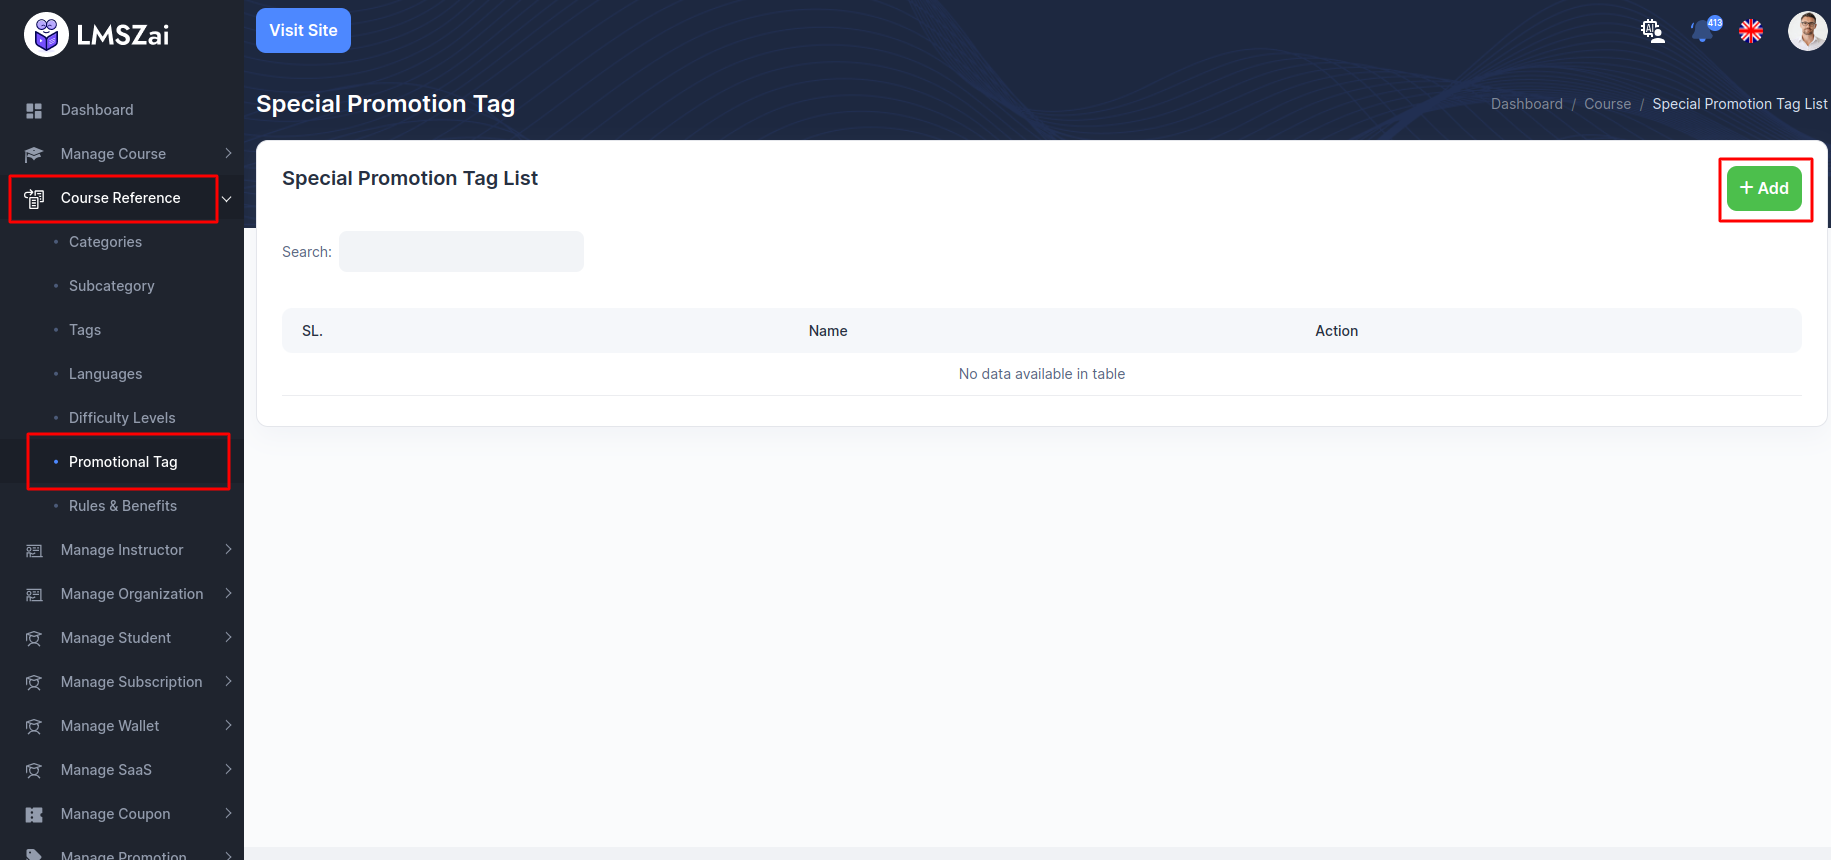
Promotional Tags
- You can manage this promotional tags (Create, edit, delete)
Rules & Benefits
- You can manage this rules & benefits (Create, edit, delete)
Manage Instructor
Admin can manage all the instructors (Pending application to approved, instructor details, delete)
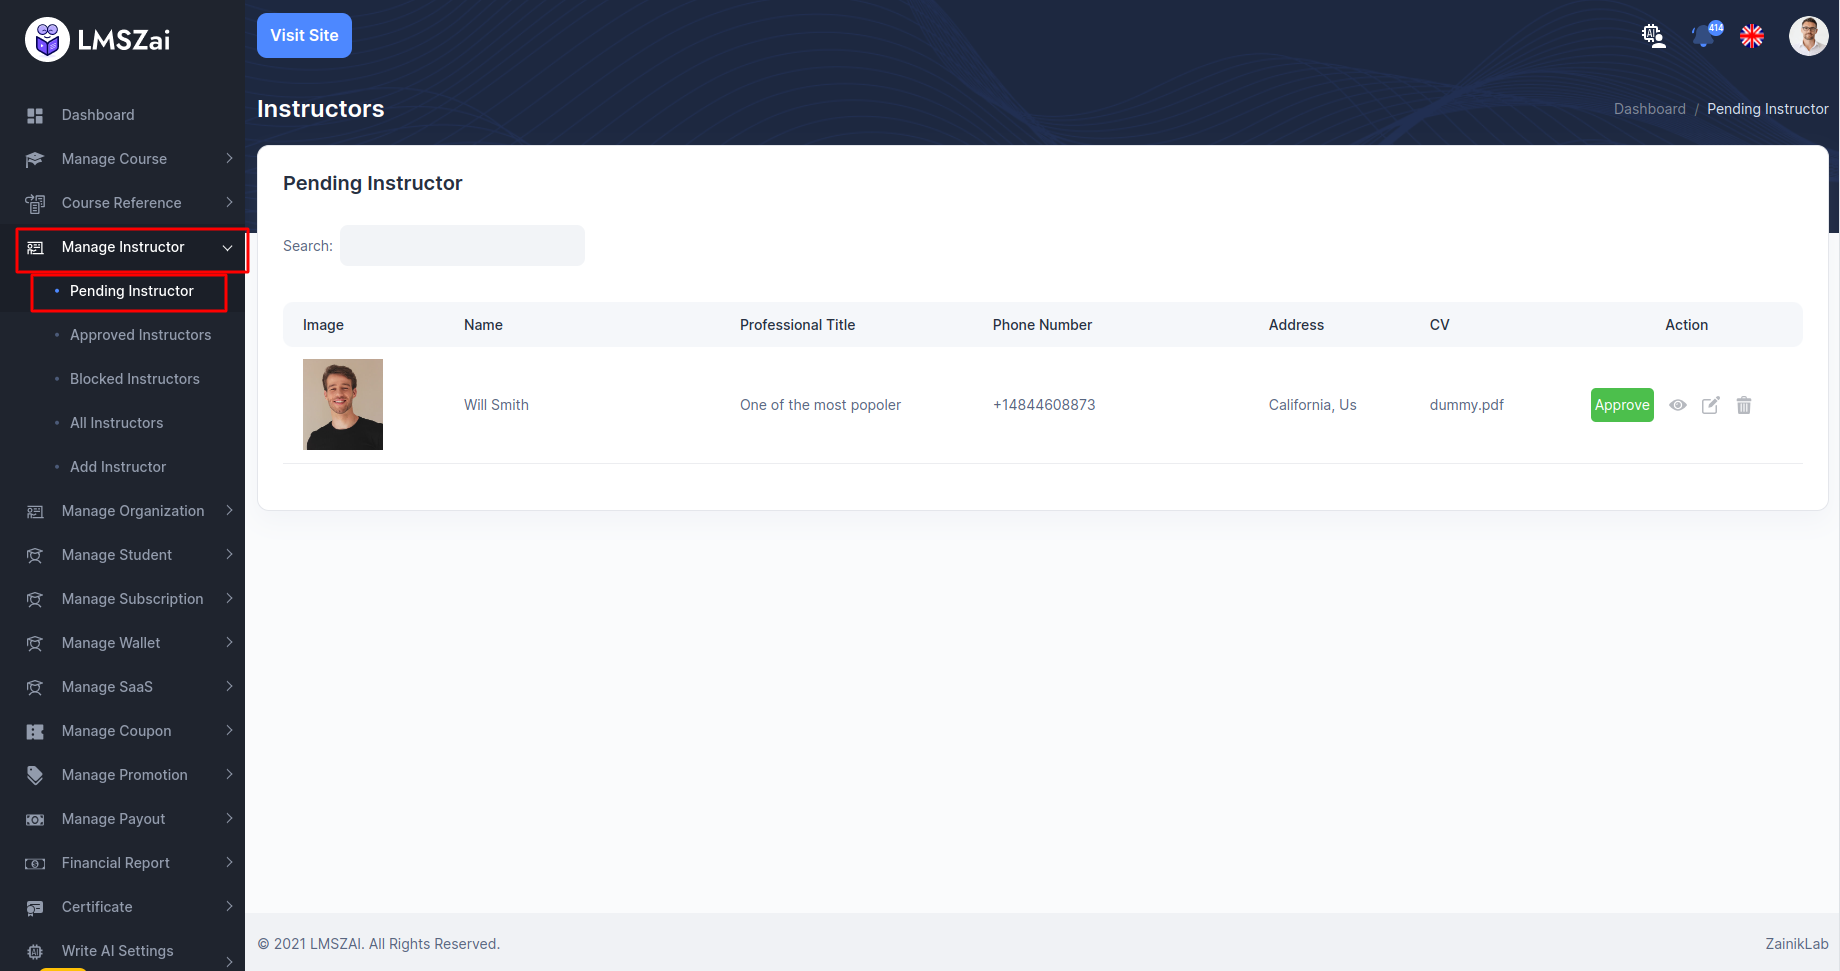
Manage Instructors has many functions. Given here
Pending Instructors
- You can shaw the list and manage of all the pending instructors here
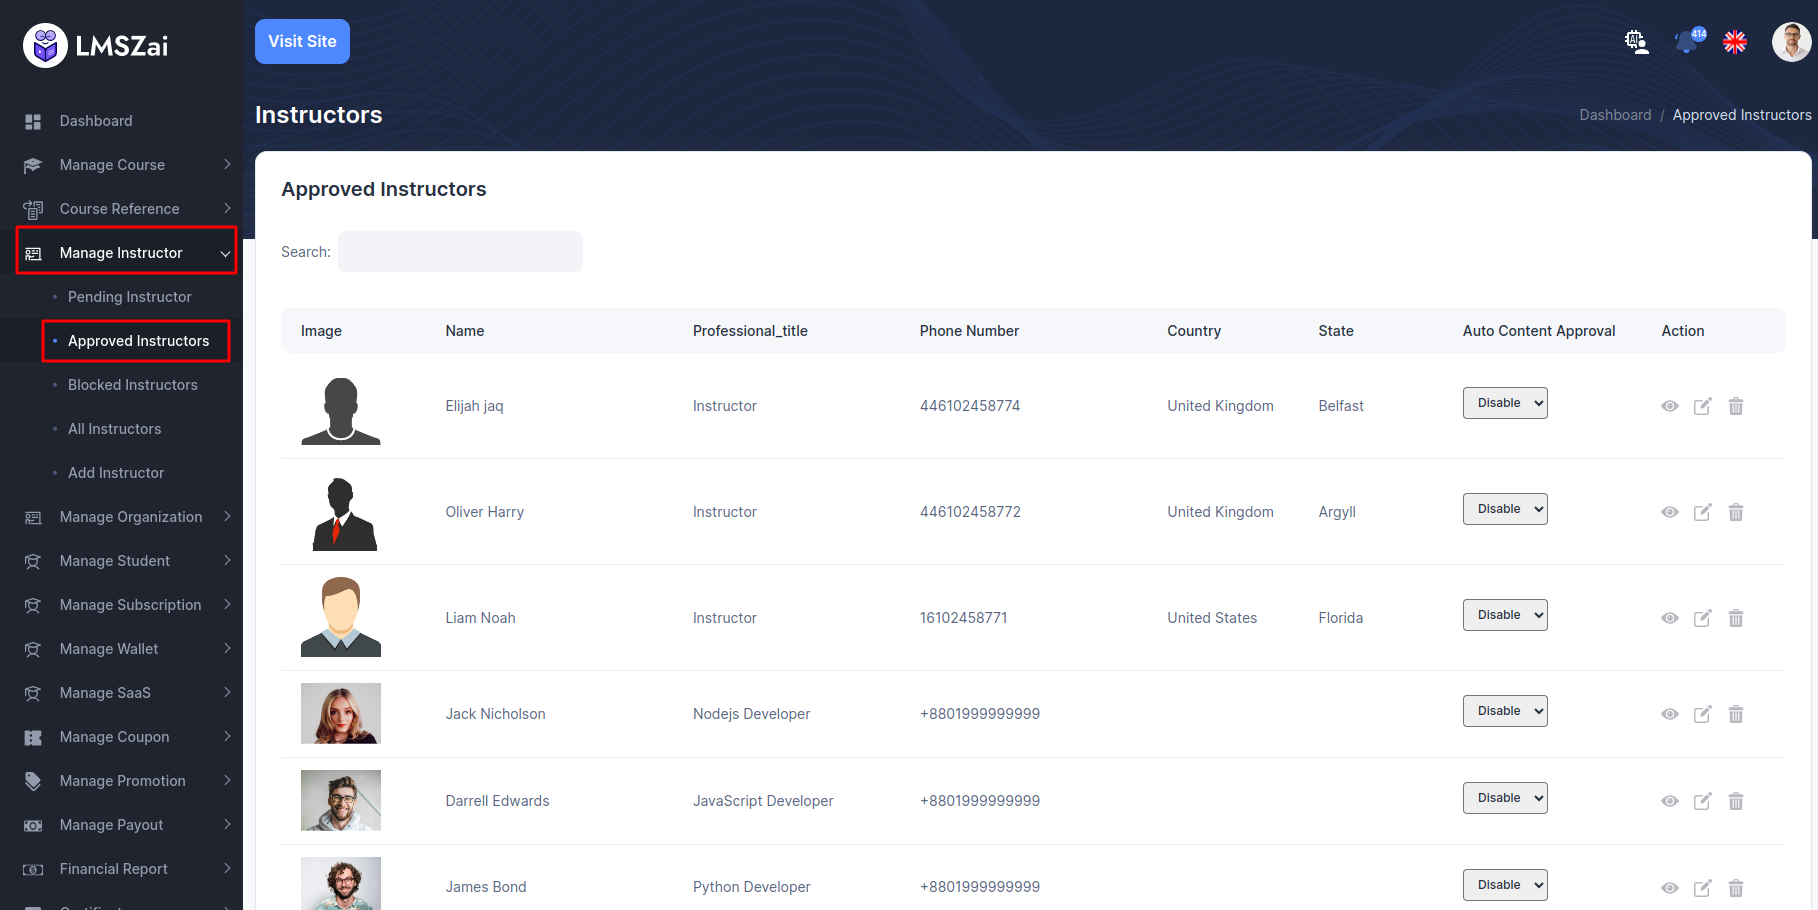
Approved Instructors
- You can shaw the list and manage of all the approved instructors here
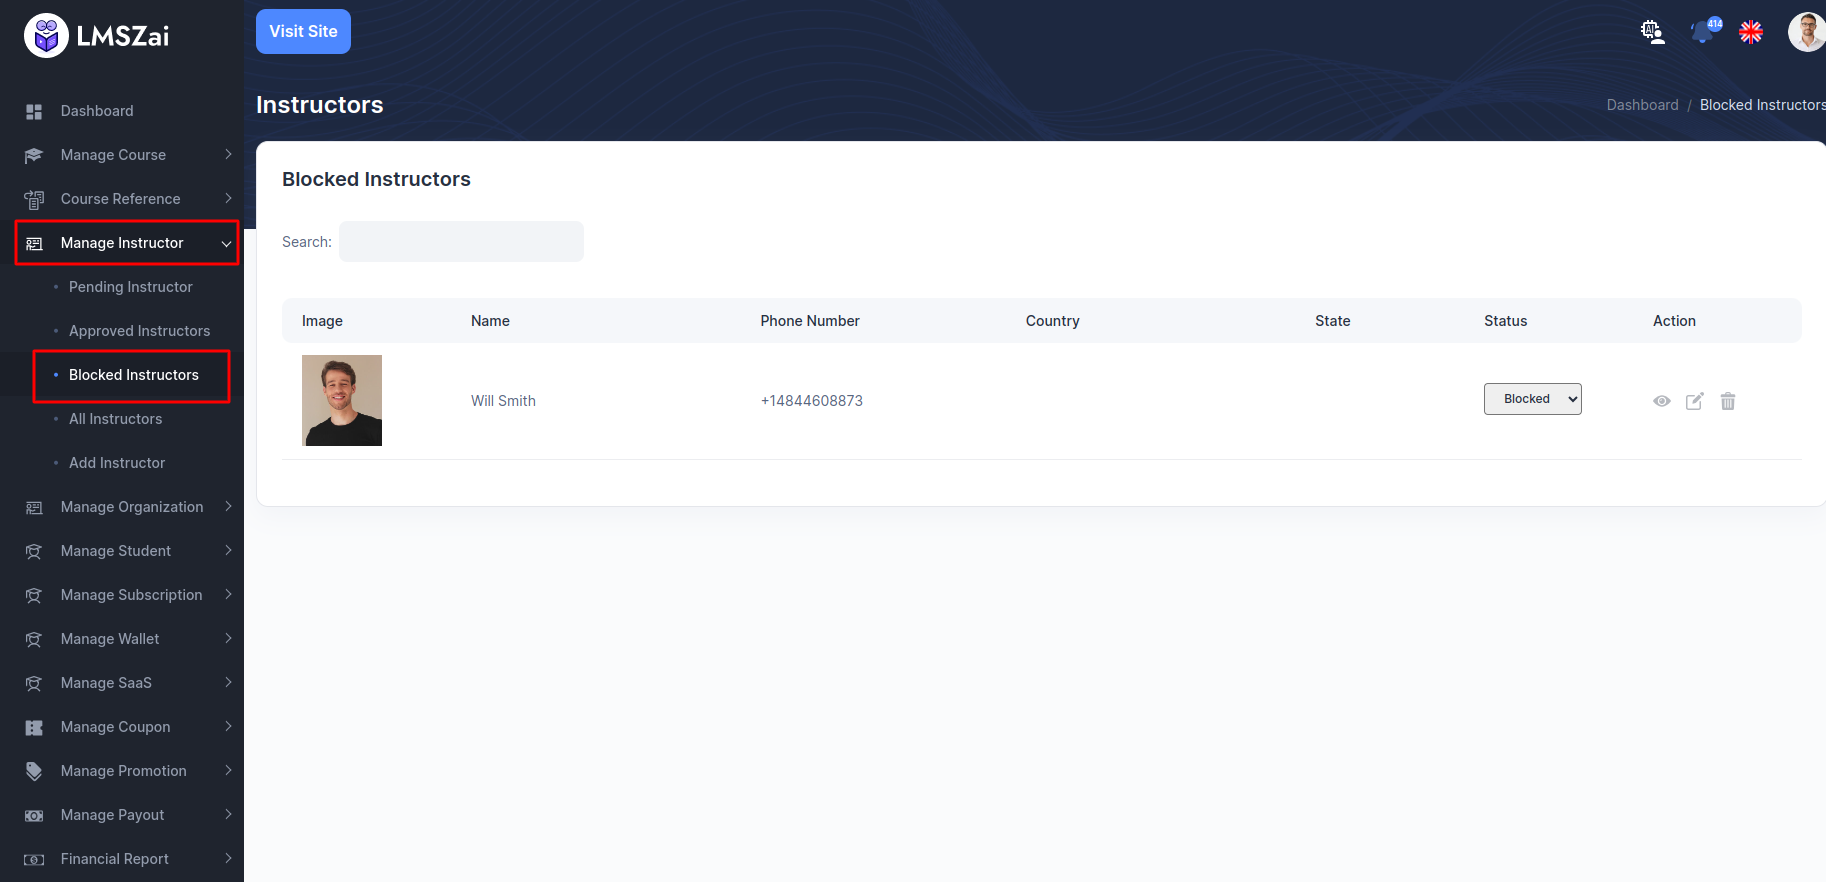
Blocked Instructors
- You can shaw the list and manage of all the blocked instructors here
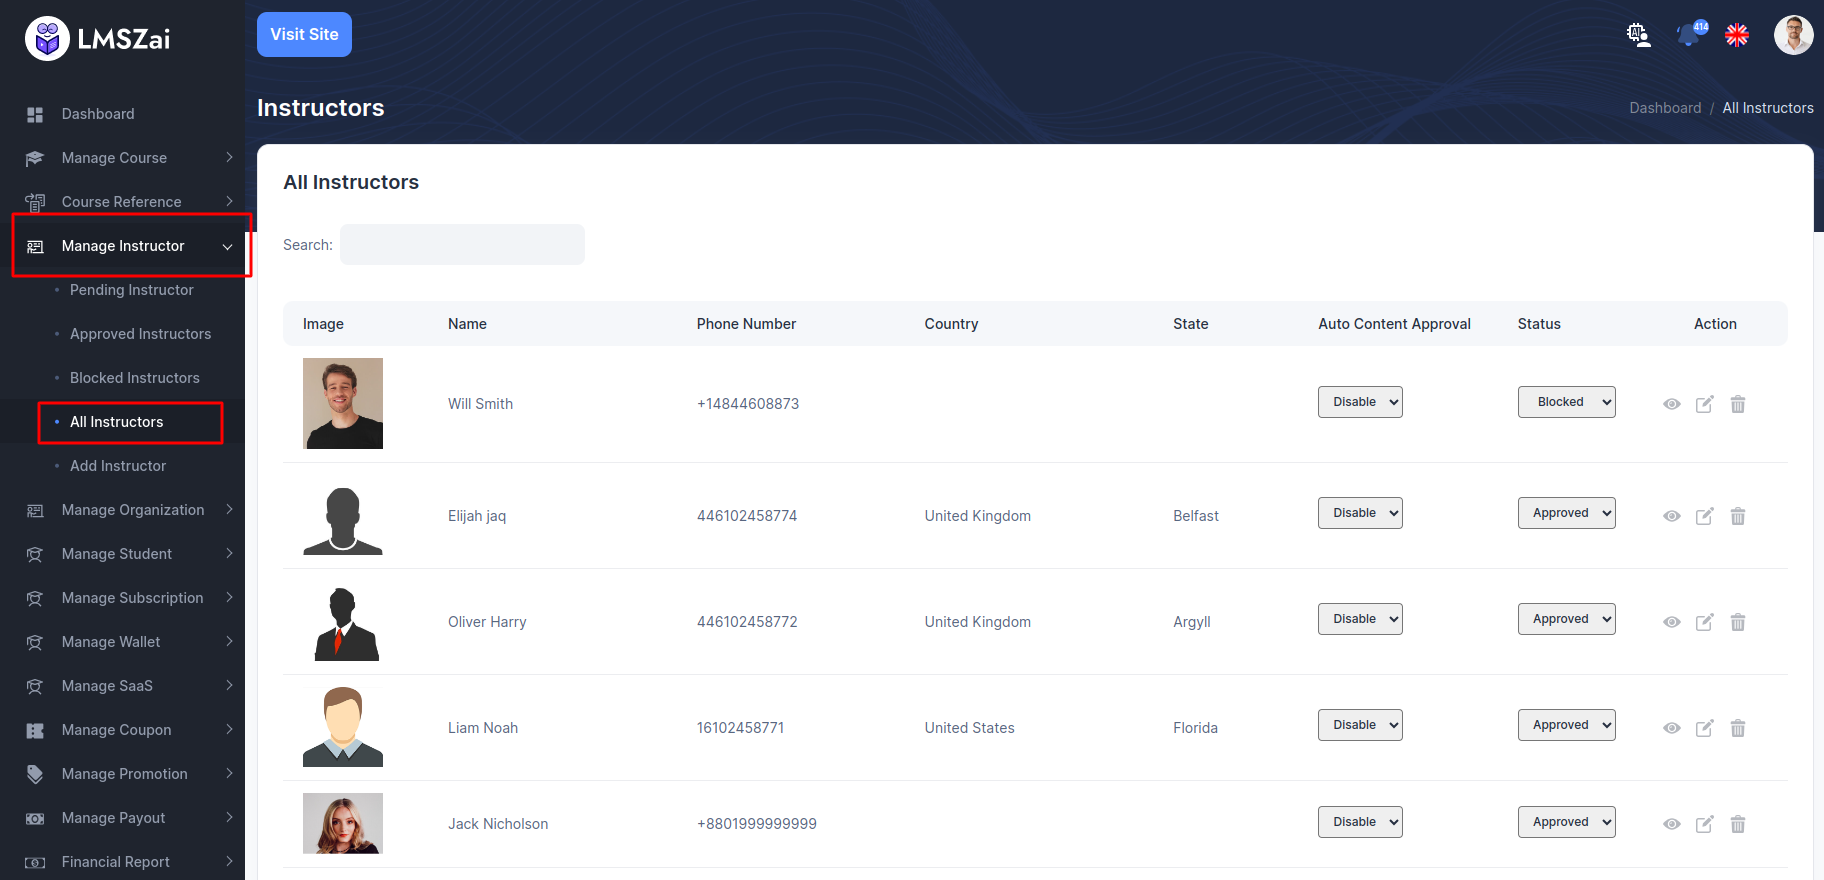
All Instructor
- You can shaw the list and manage of all the all instructors here
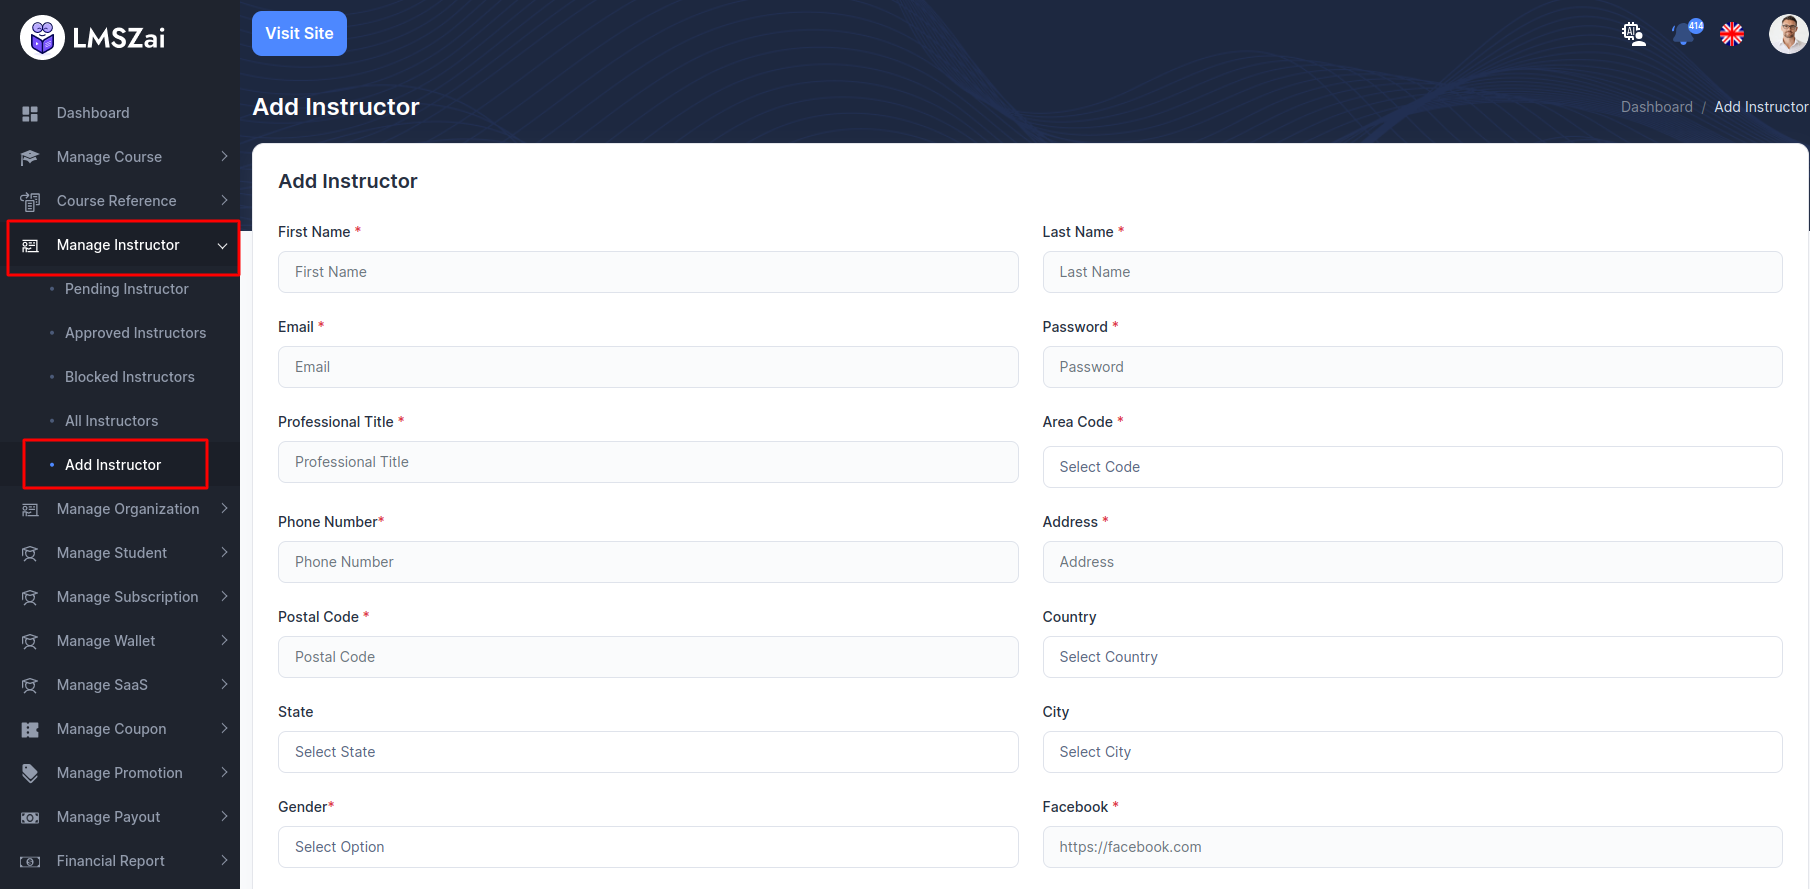
Add Instructor
- You can shaw the list and manage of all the add instructors here
Manage Organizations
Admin can manage all the organizations (Pending application to approved, instructor details, delete)
Manage organizations has many functions. Given here
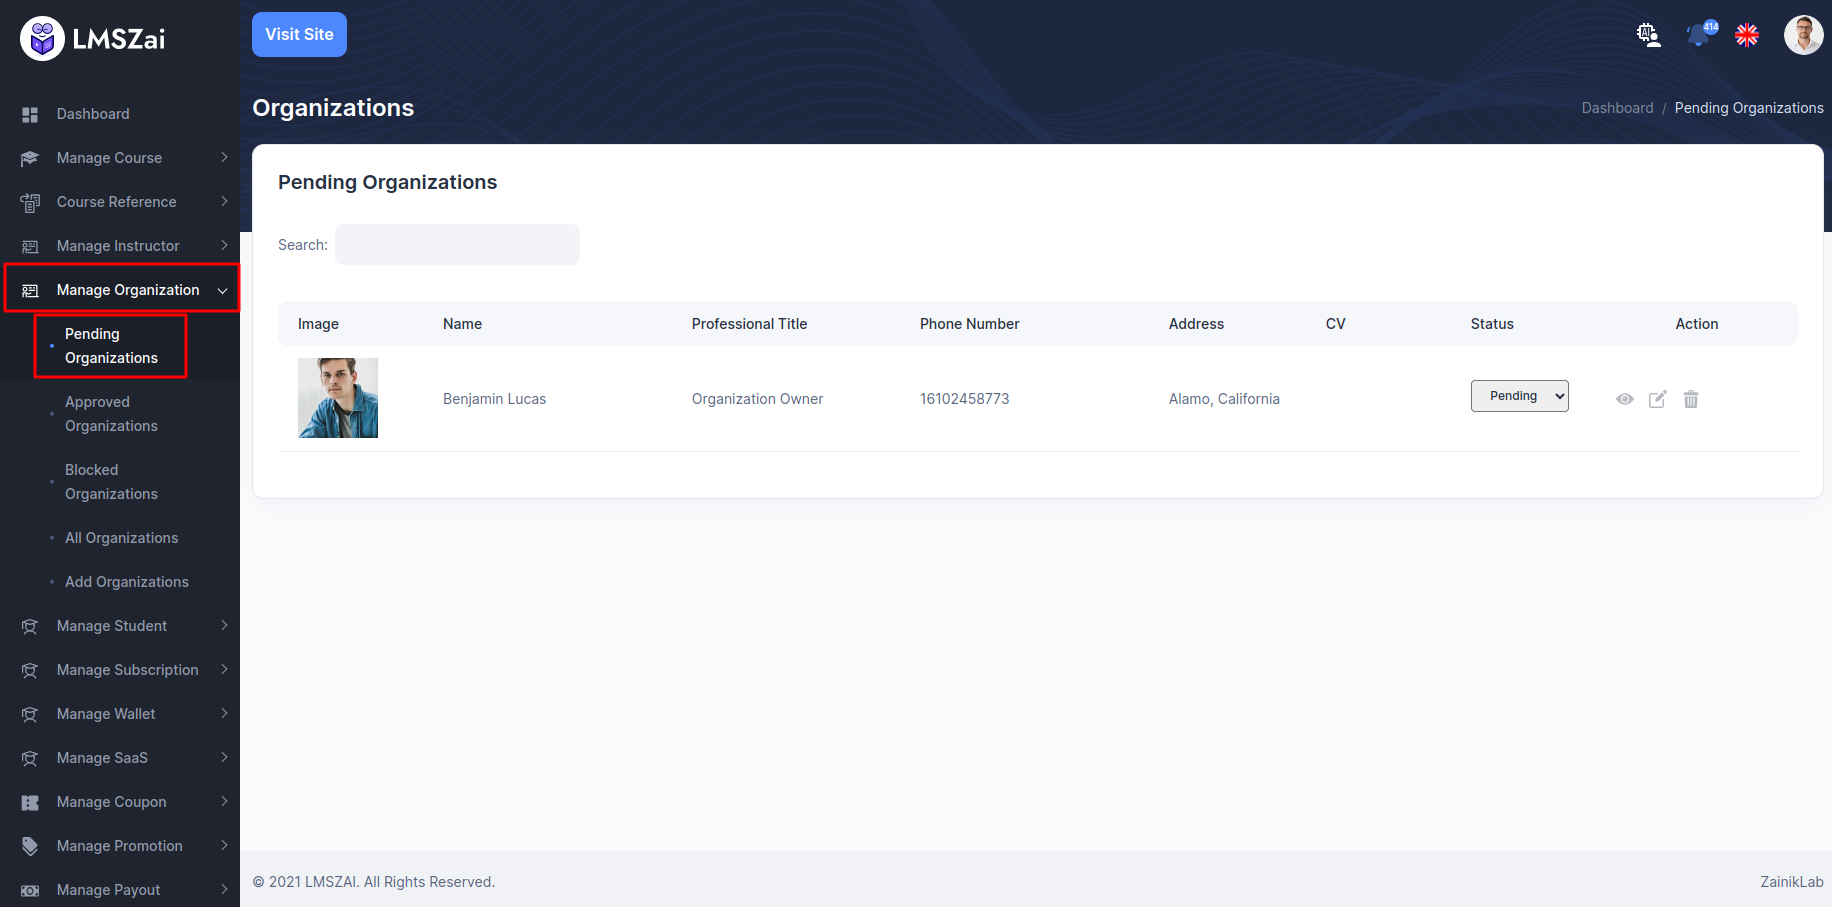
Pending Organizations
- You can shaw the list and manage of all the pending organizations here
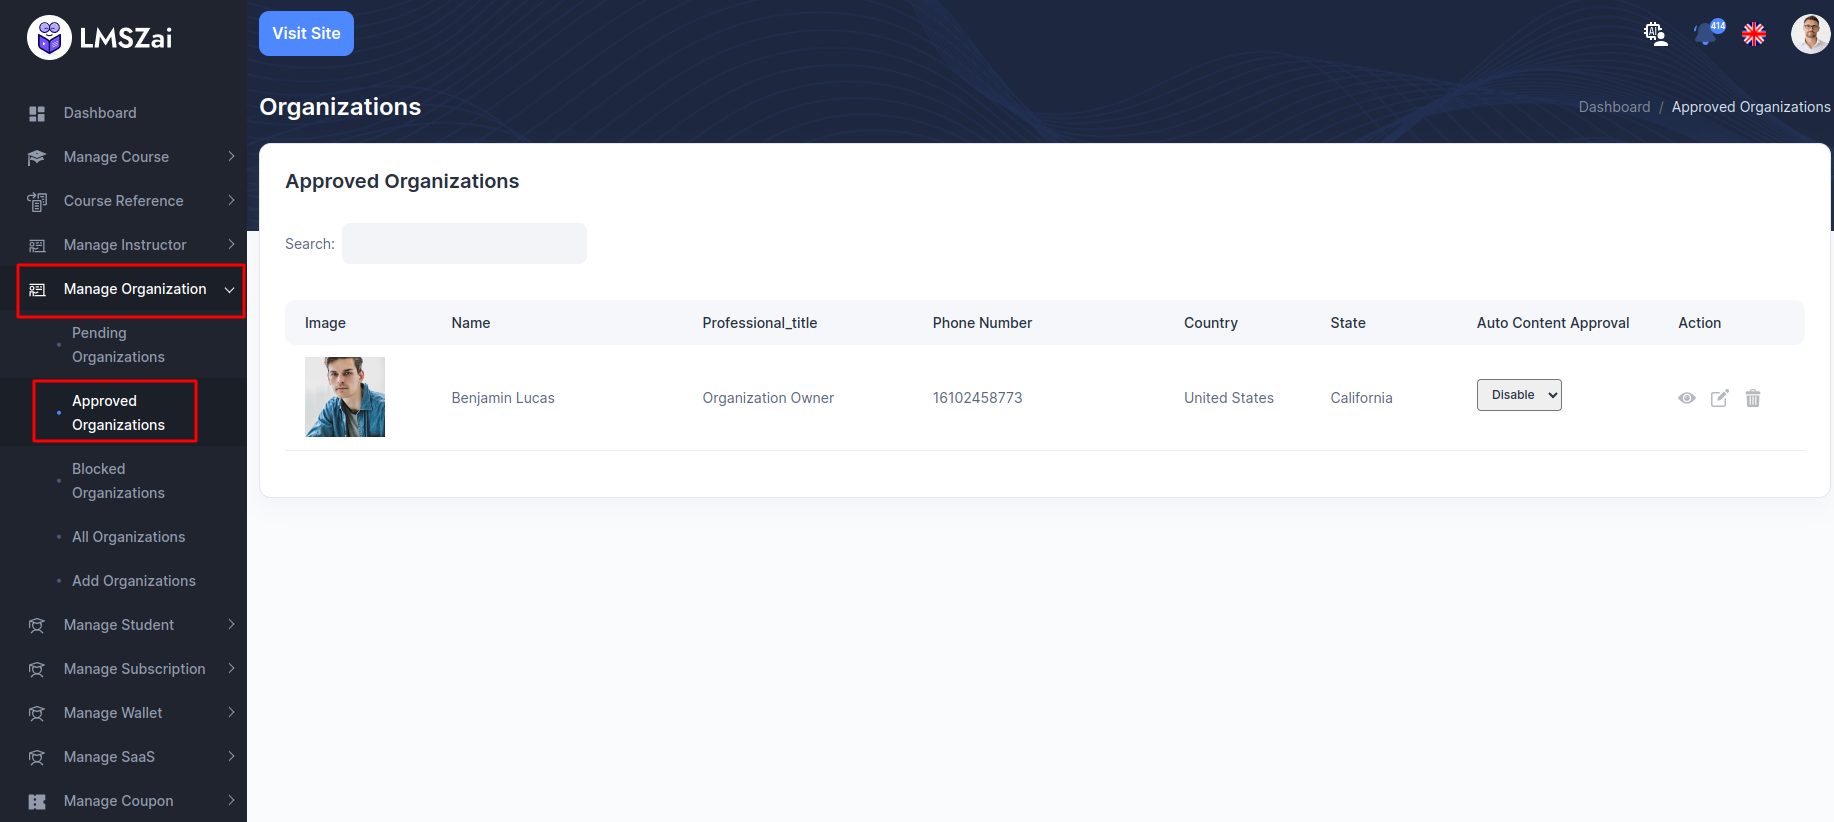
Approved Organizations
- You can shaw the list and manage of all the approved organizations here
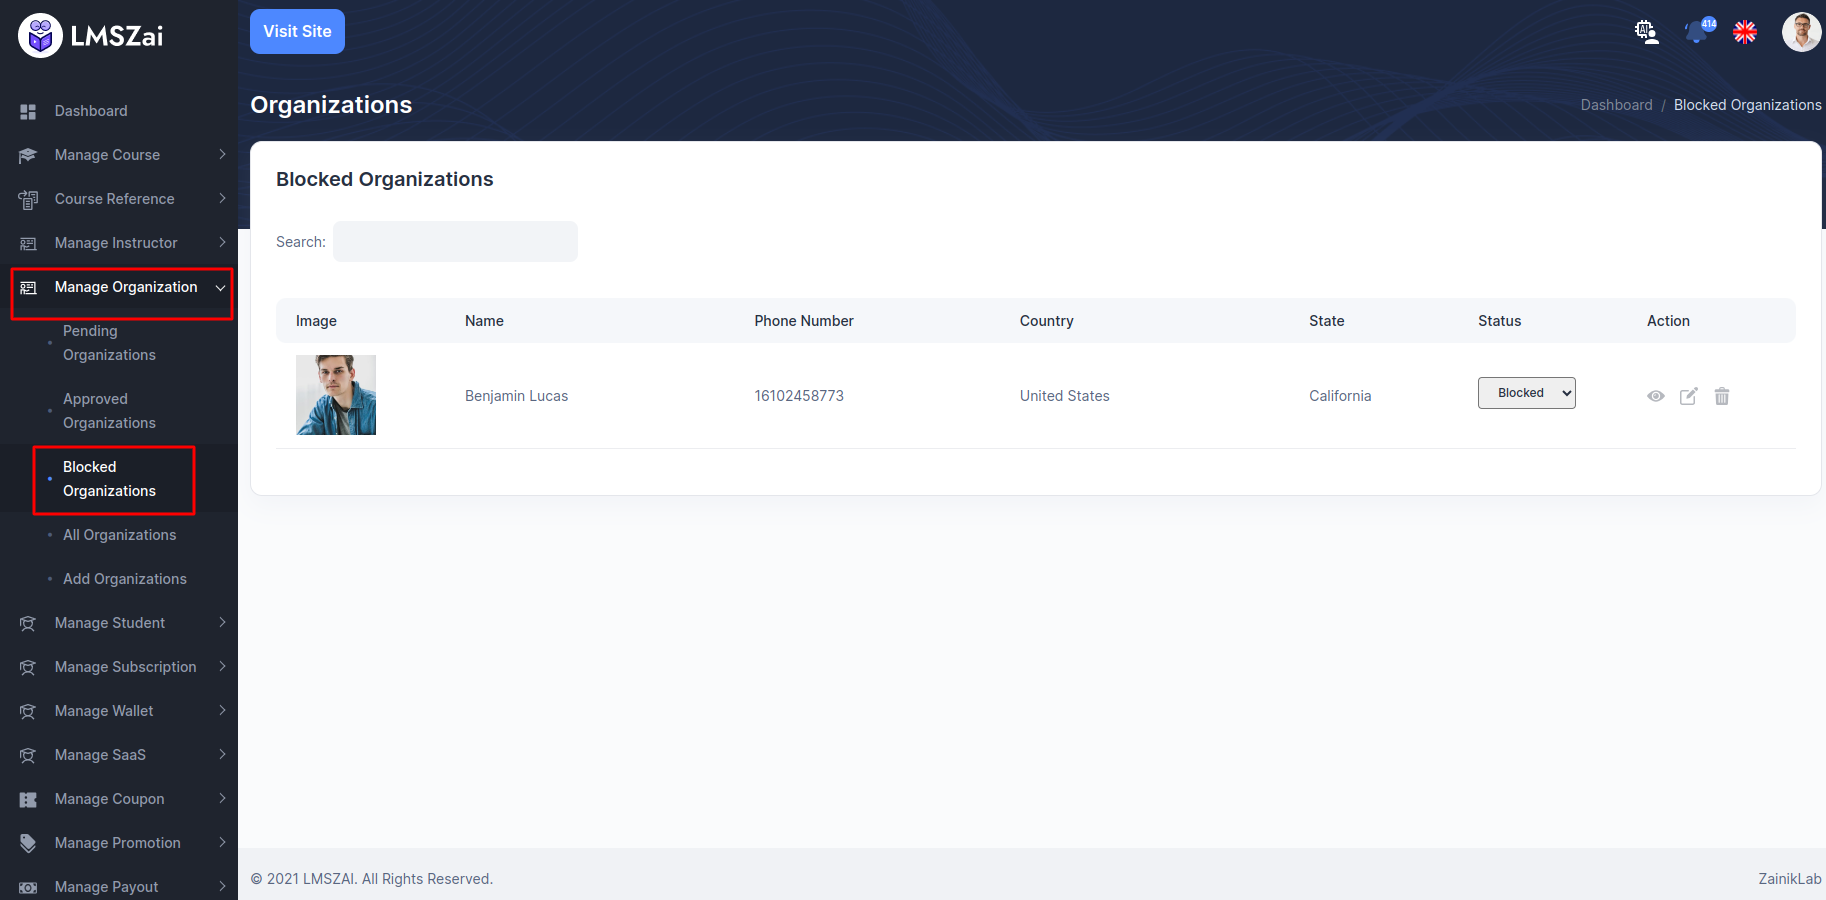
Blocked Organizations
- You can shaw the list and manage of all the blocked organizations here
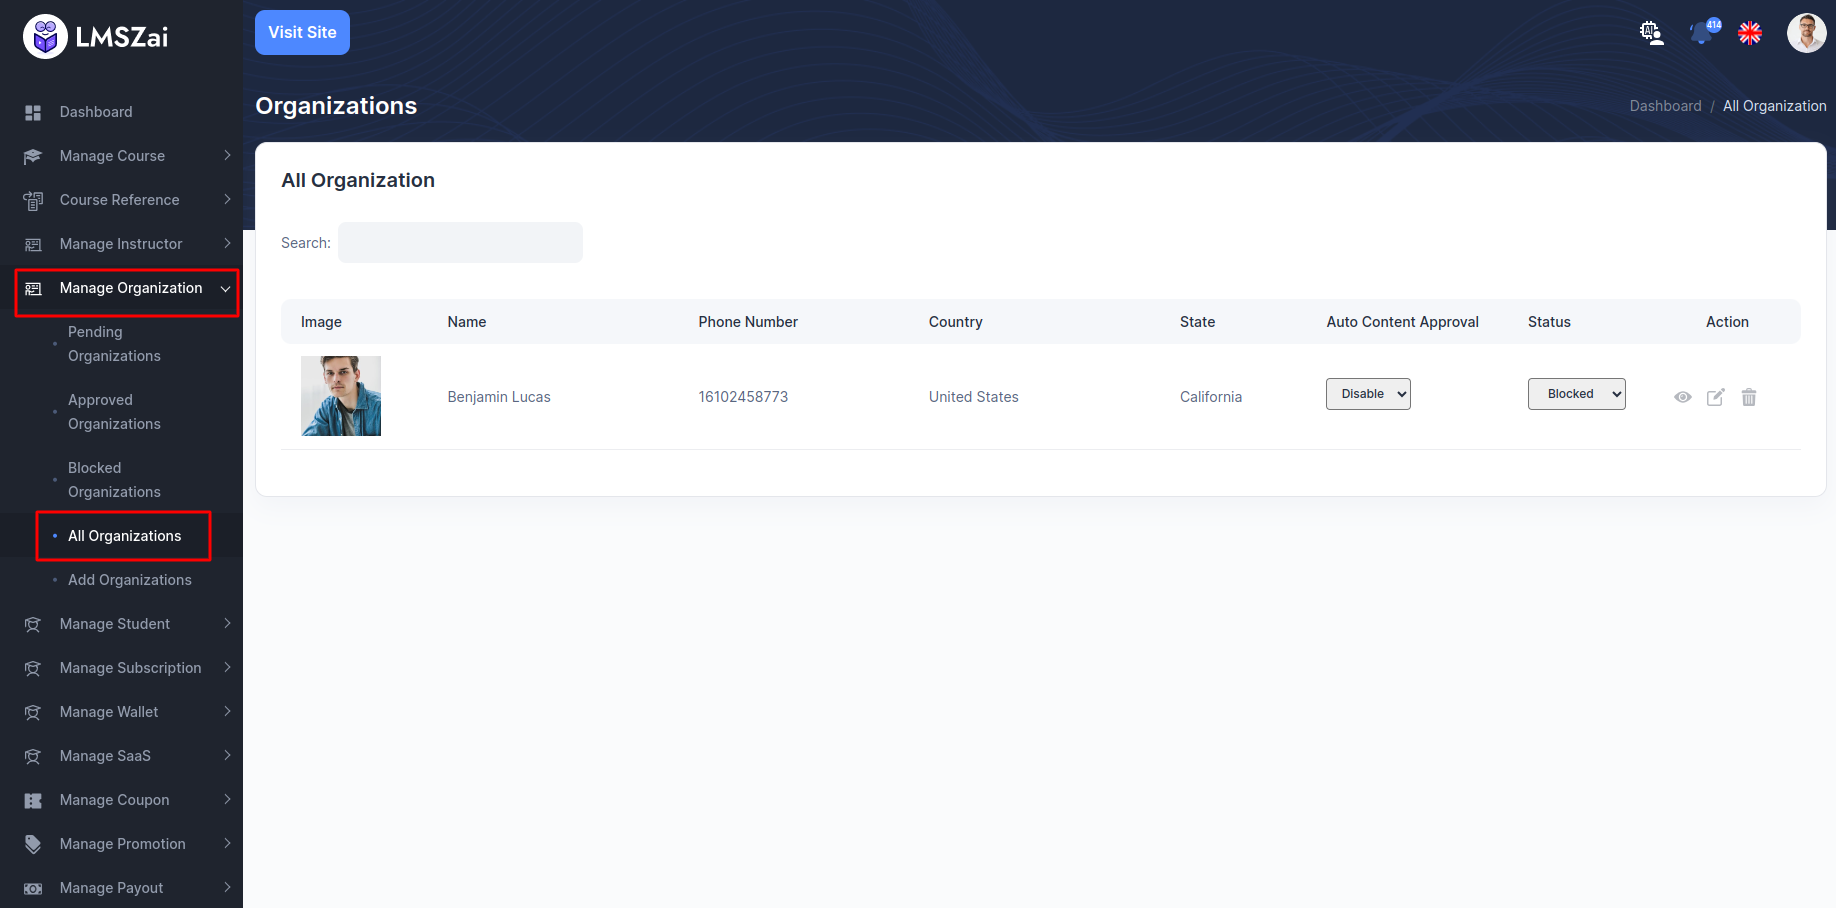
All Organizations
- You can shaw the list and manage of all the all organizations here
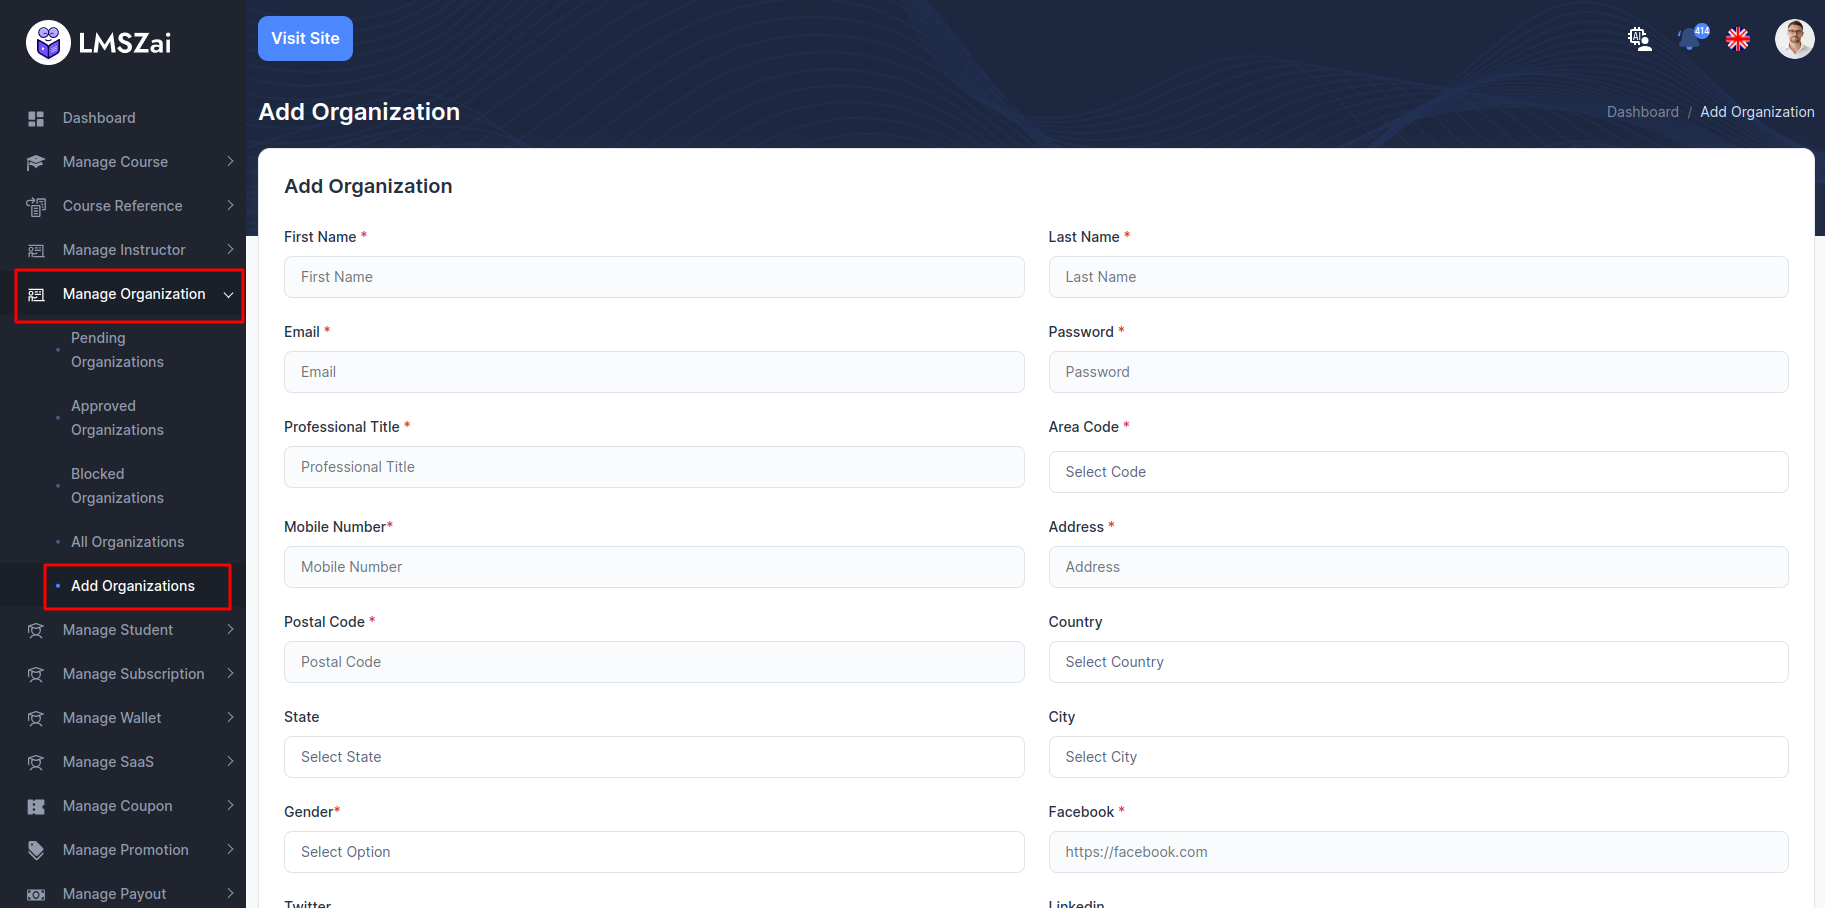
Add Organizations
- You can shaw the list and manage of all the add organizations here
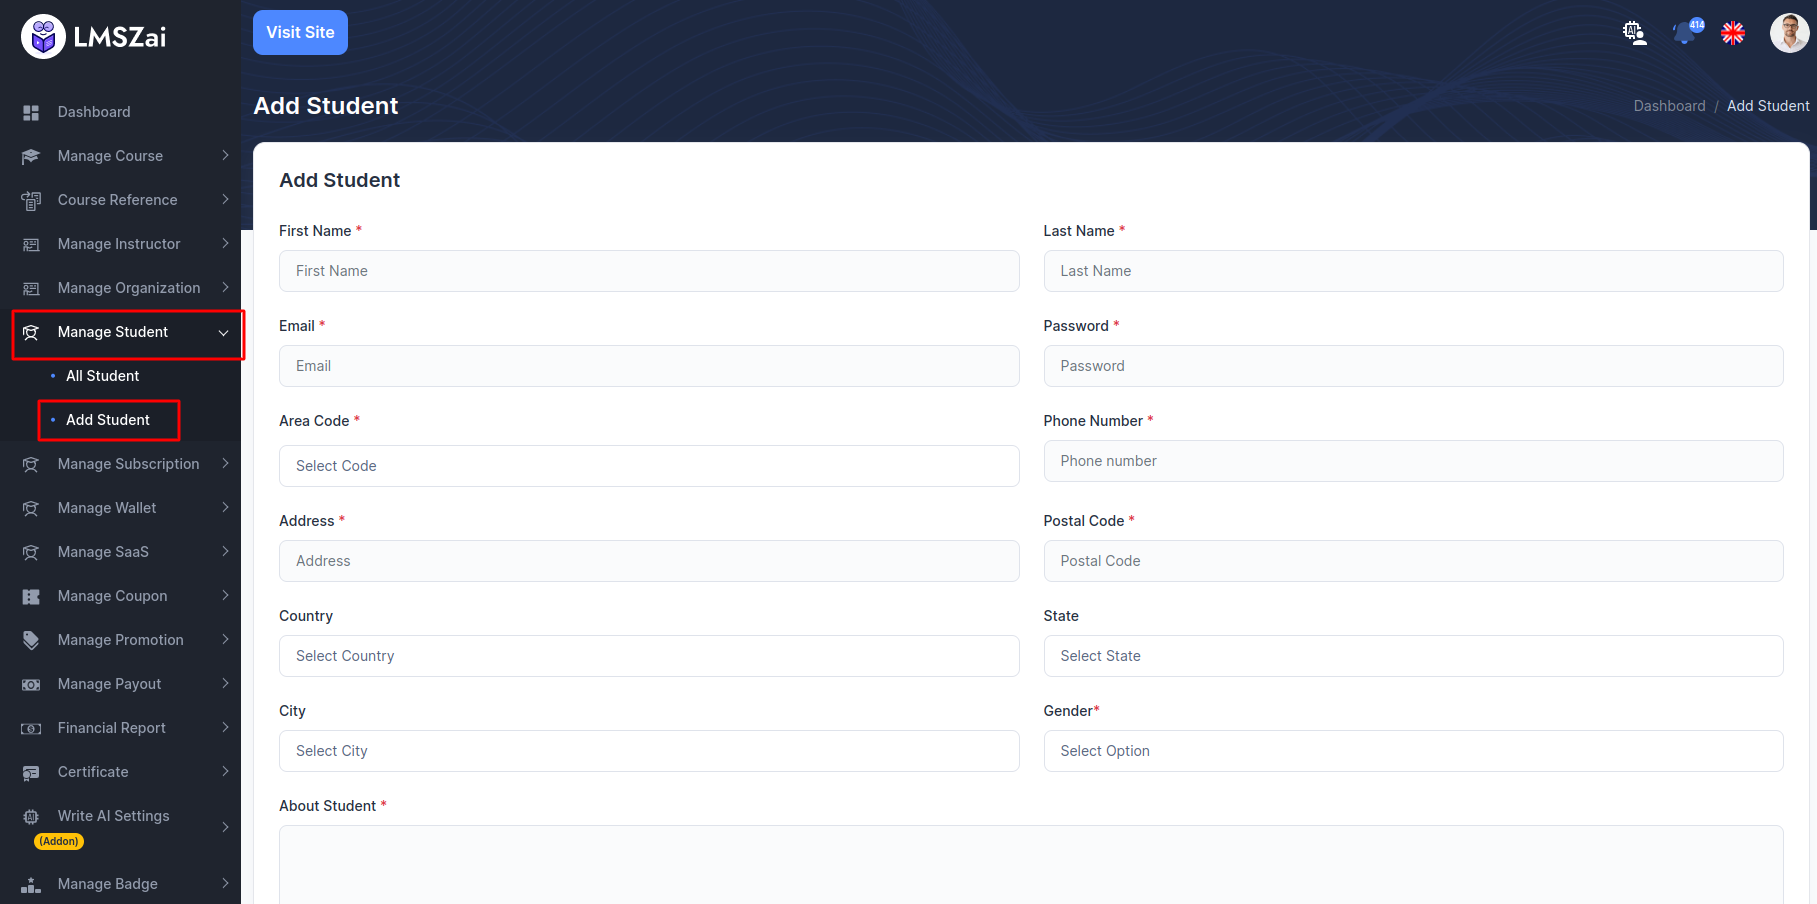
Manage Student
Admin can manage all the student (student details ,add a student,delete)
Manage student has many functions. Given here
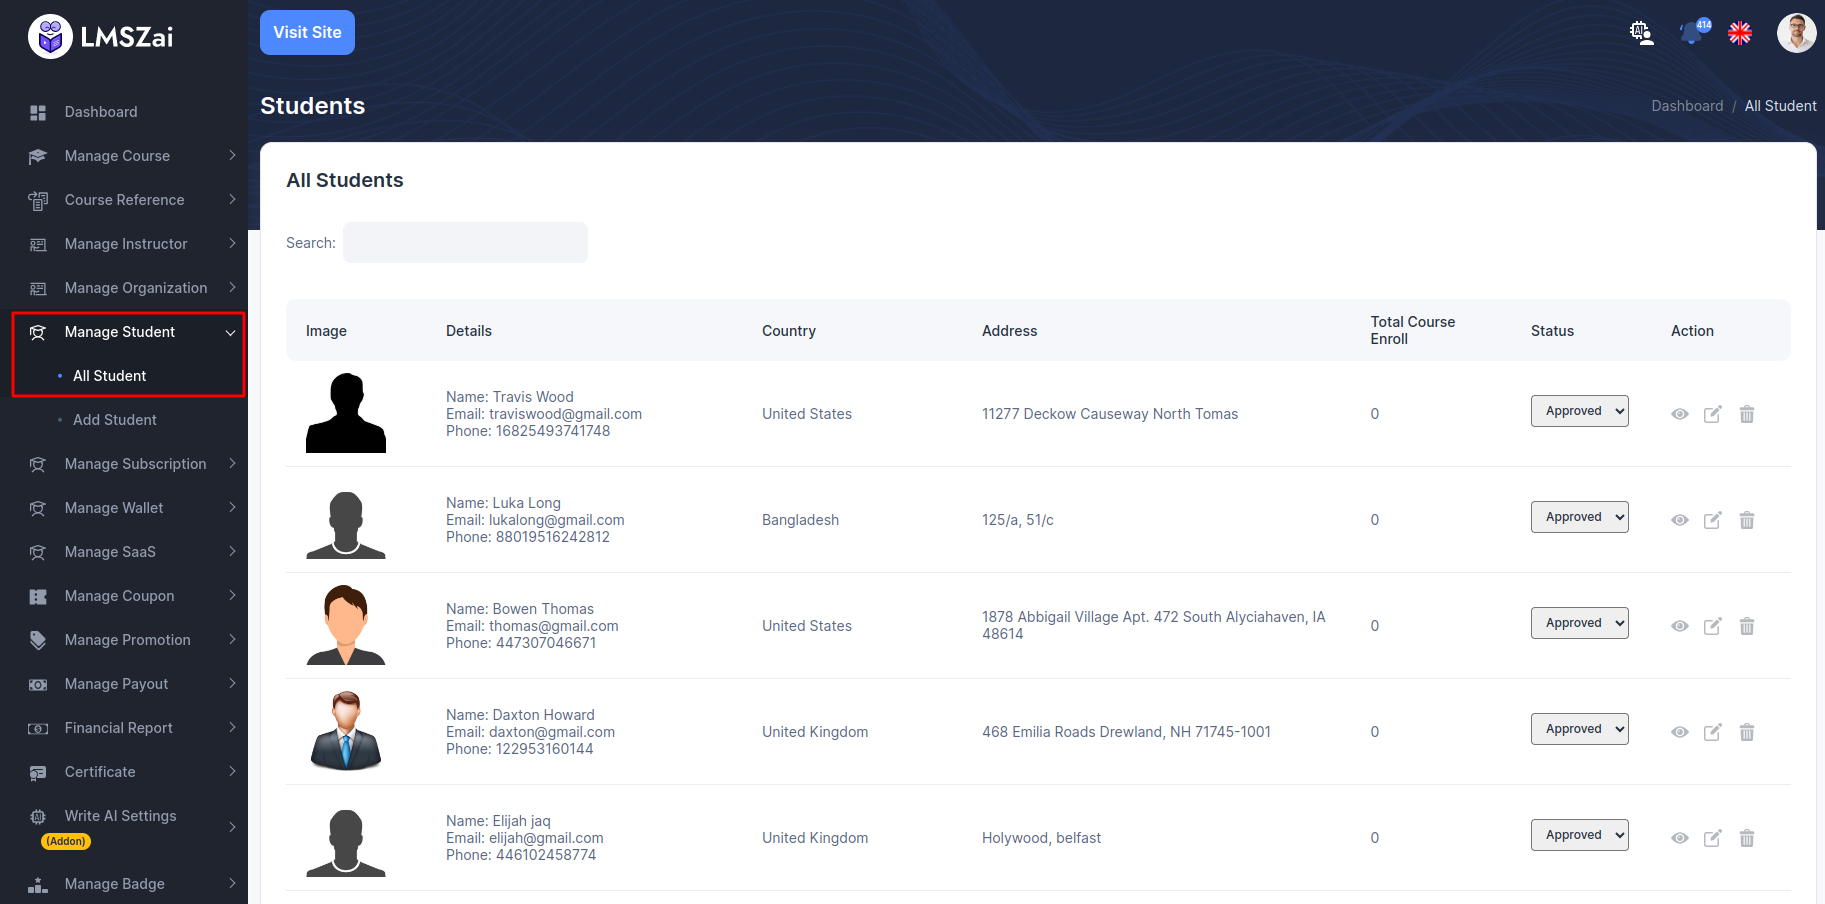
All Student
- You can shaw the list and manage of all the all student here
Add Student
- You can shaw the list and manage of all the add student here
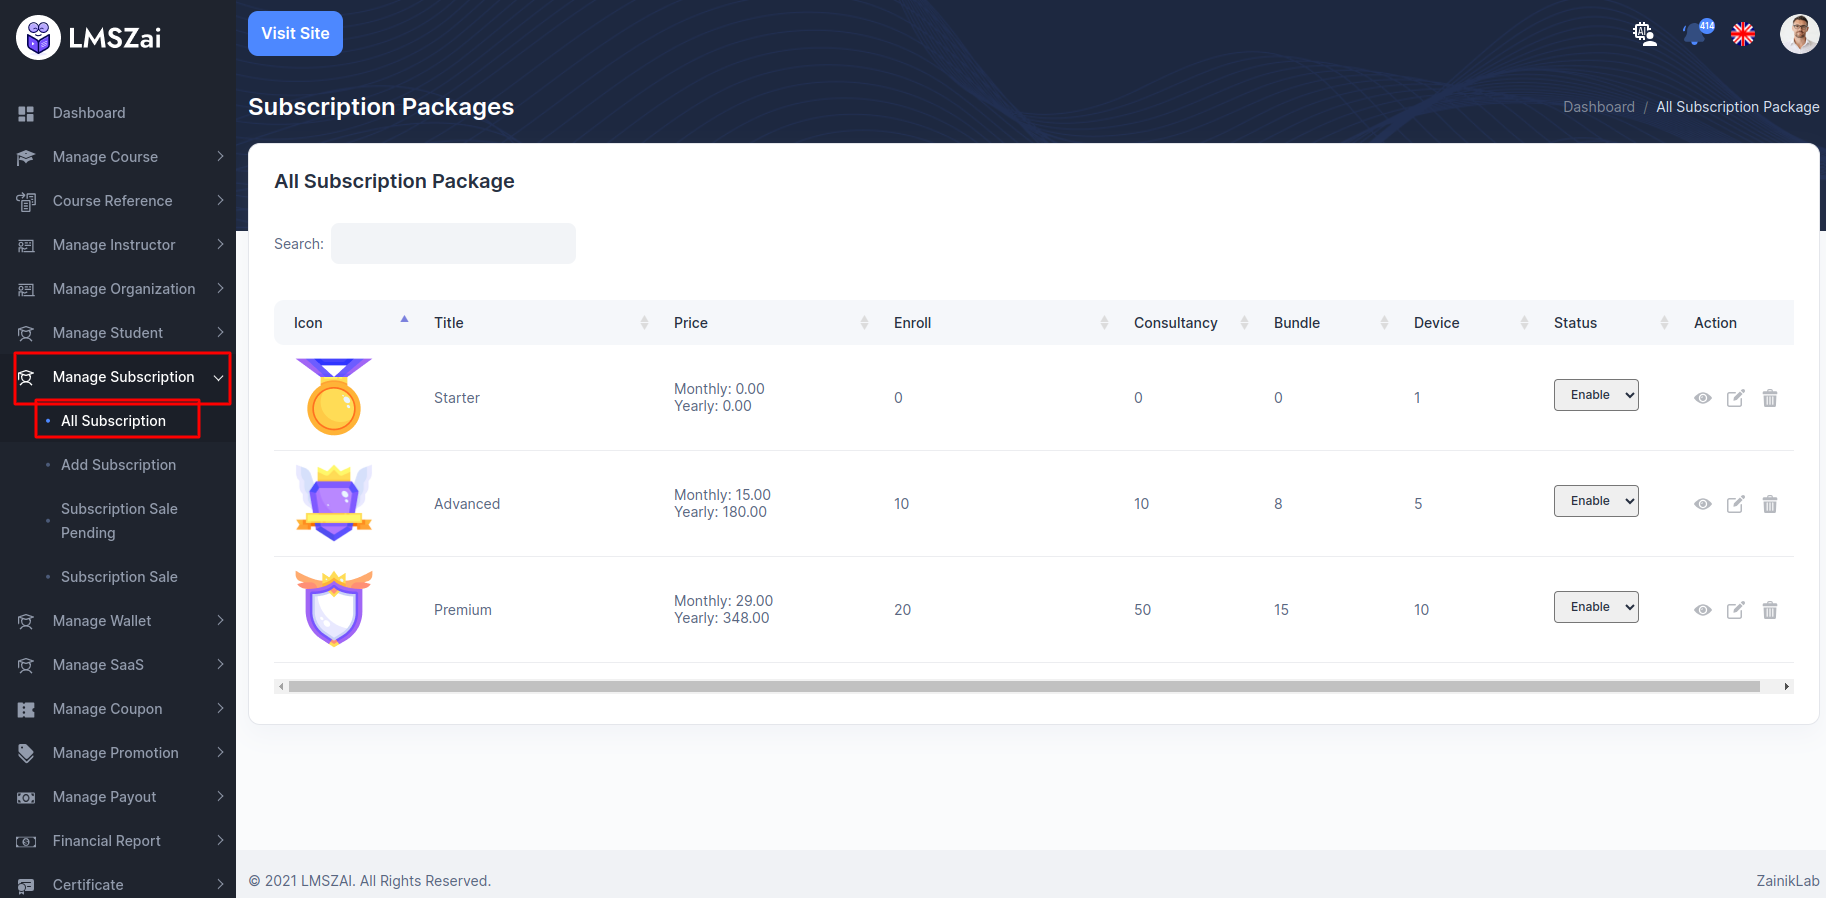
Manage Subscription
Admin can manage all the subscription (Pending application to approved, Subscription details, delete)
Manage subscription has many functions. Given here
All Subscription
- You can shaw the list and manage of all the all subscription here
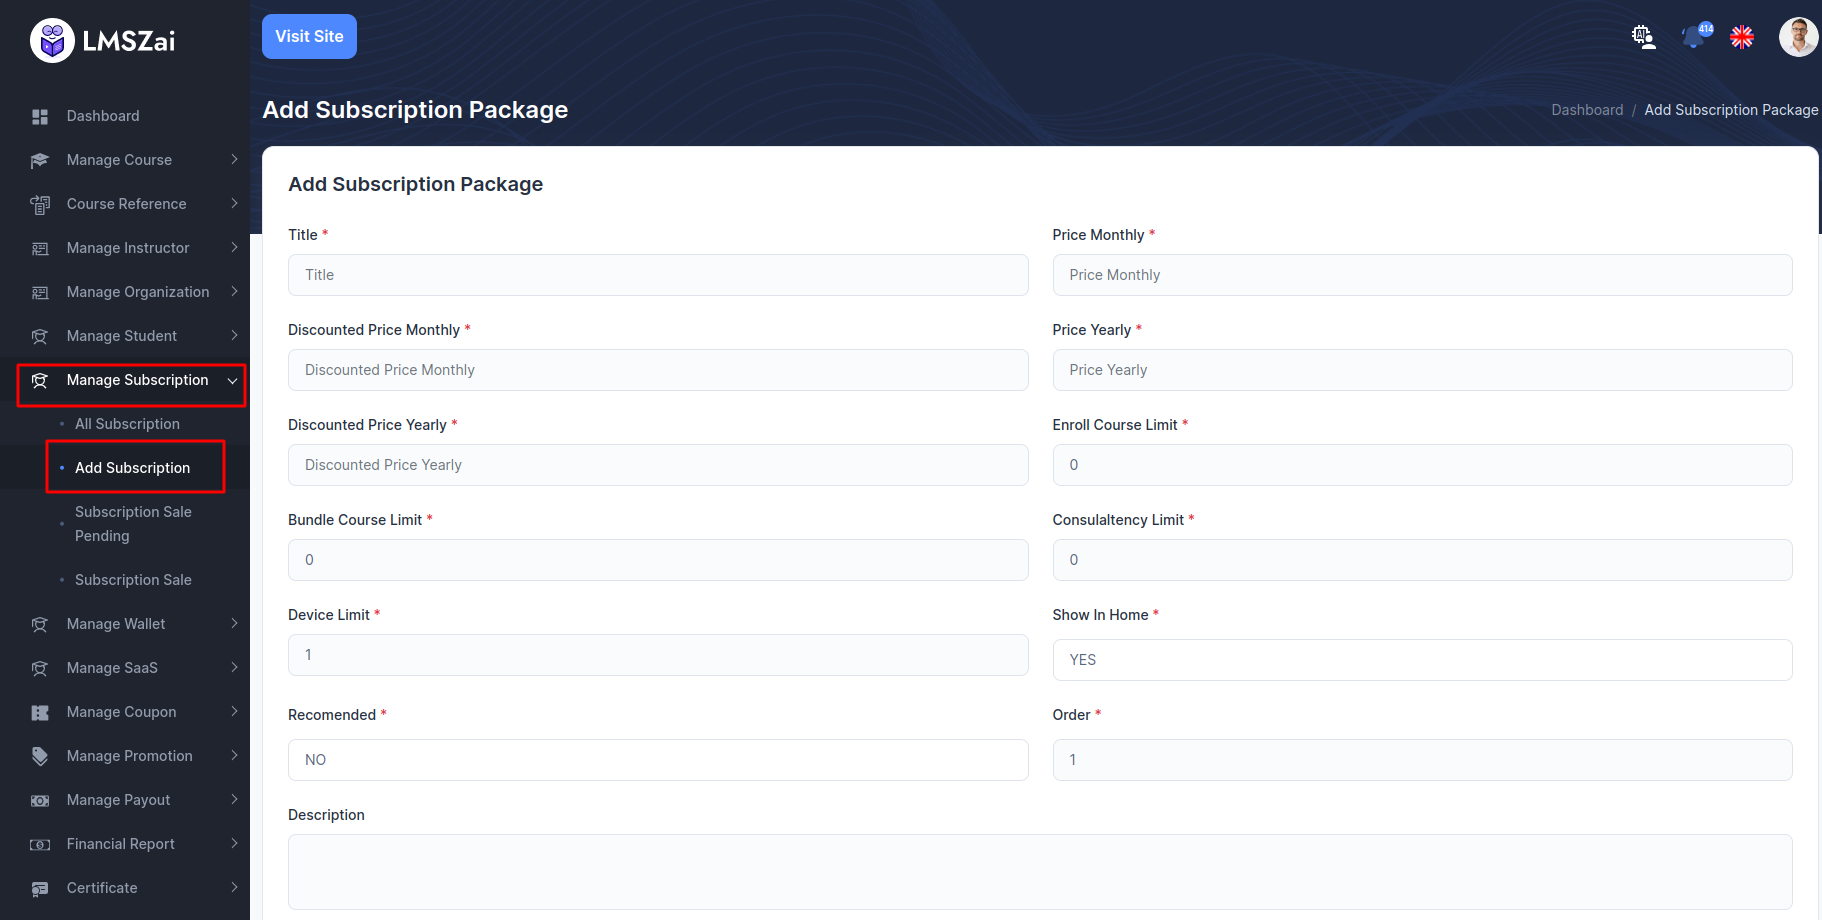
Add Subscription
- You can shaw the list and manage of all the add subscription here
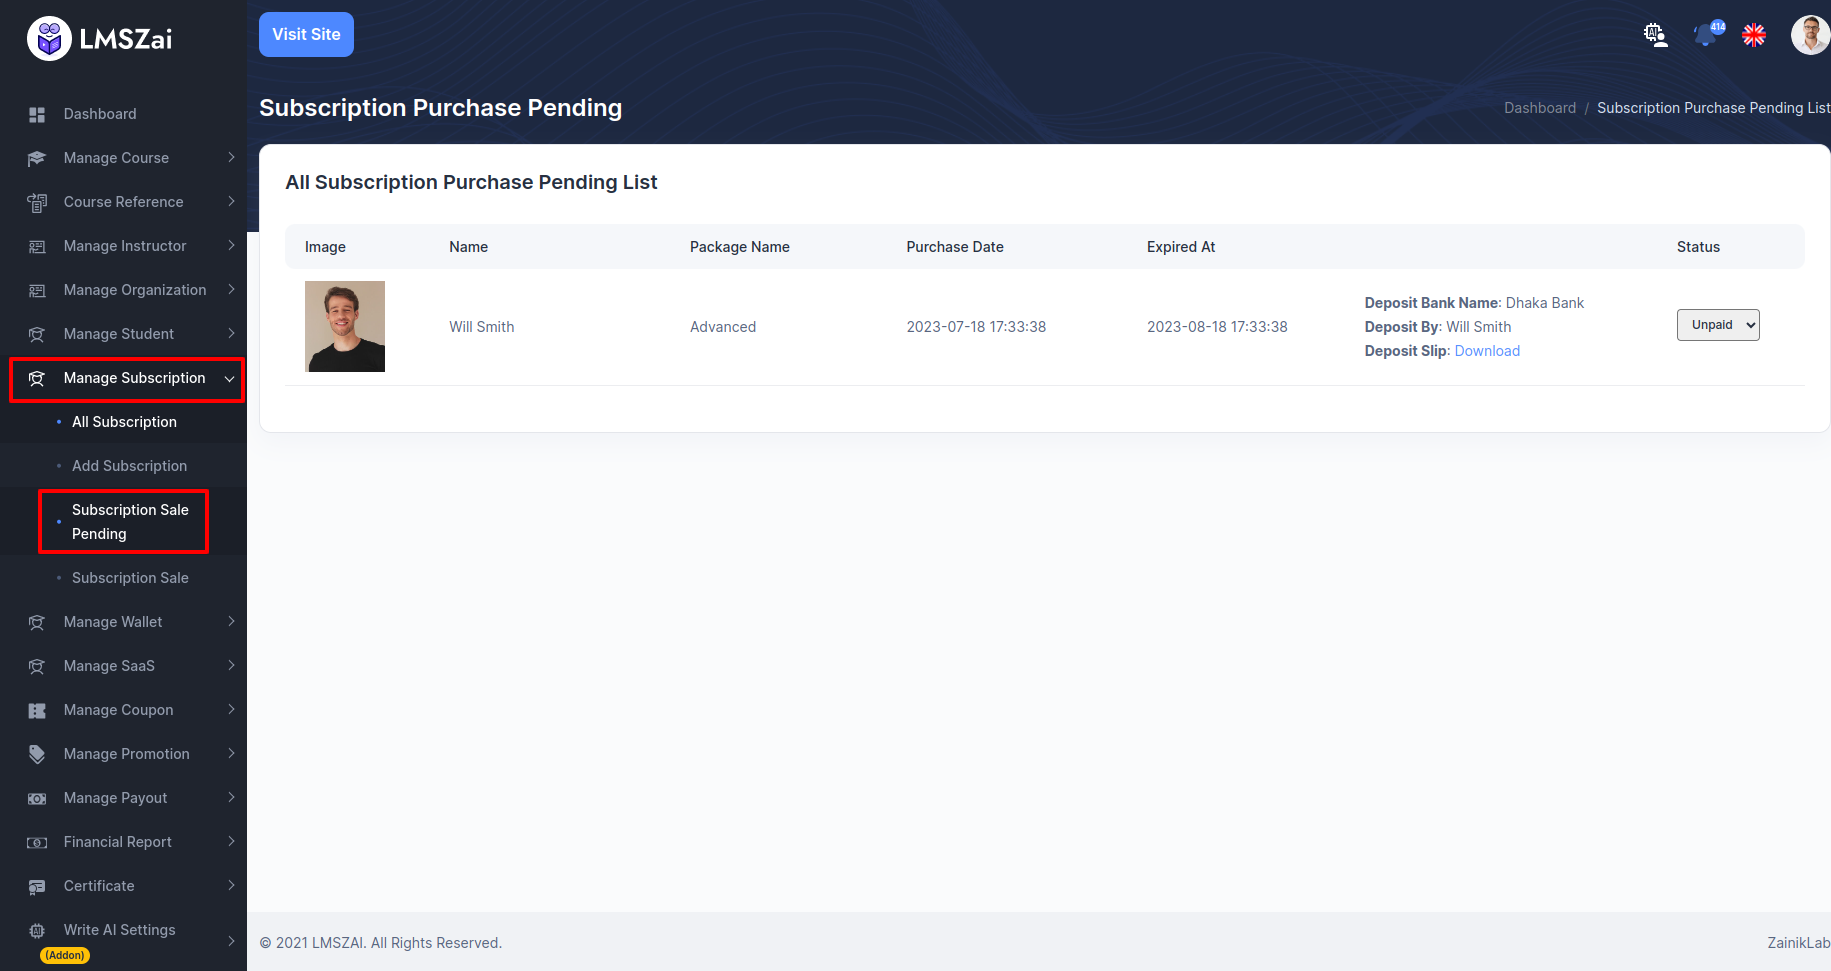
Subscription Sale Pending
- You can shaw the list and manage of all the subscription sale pending here
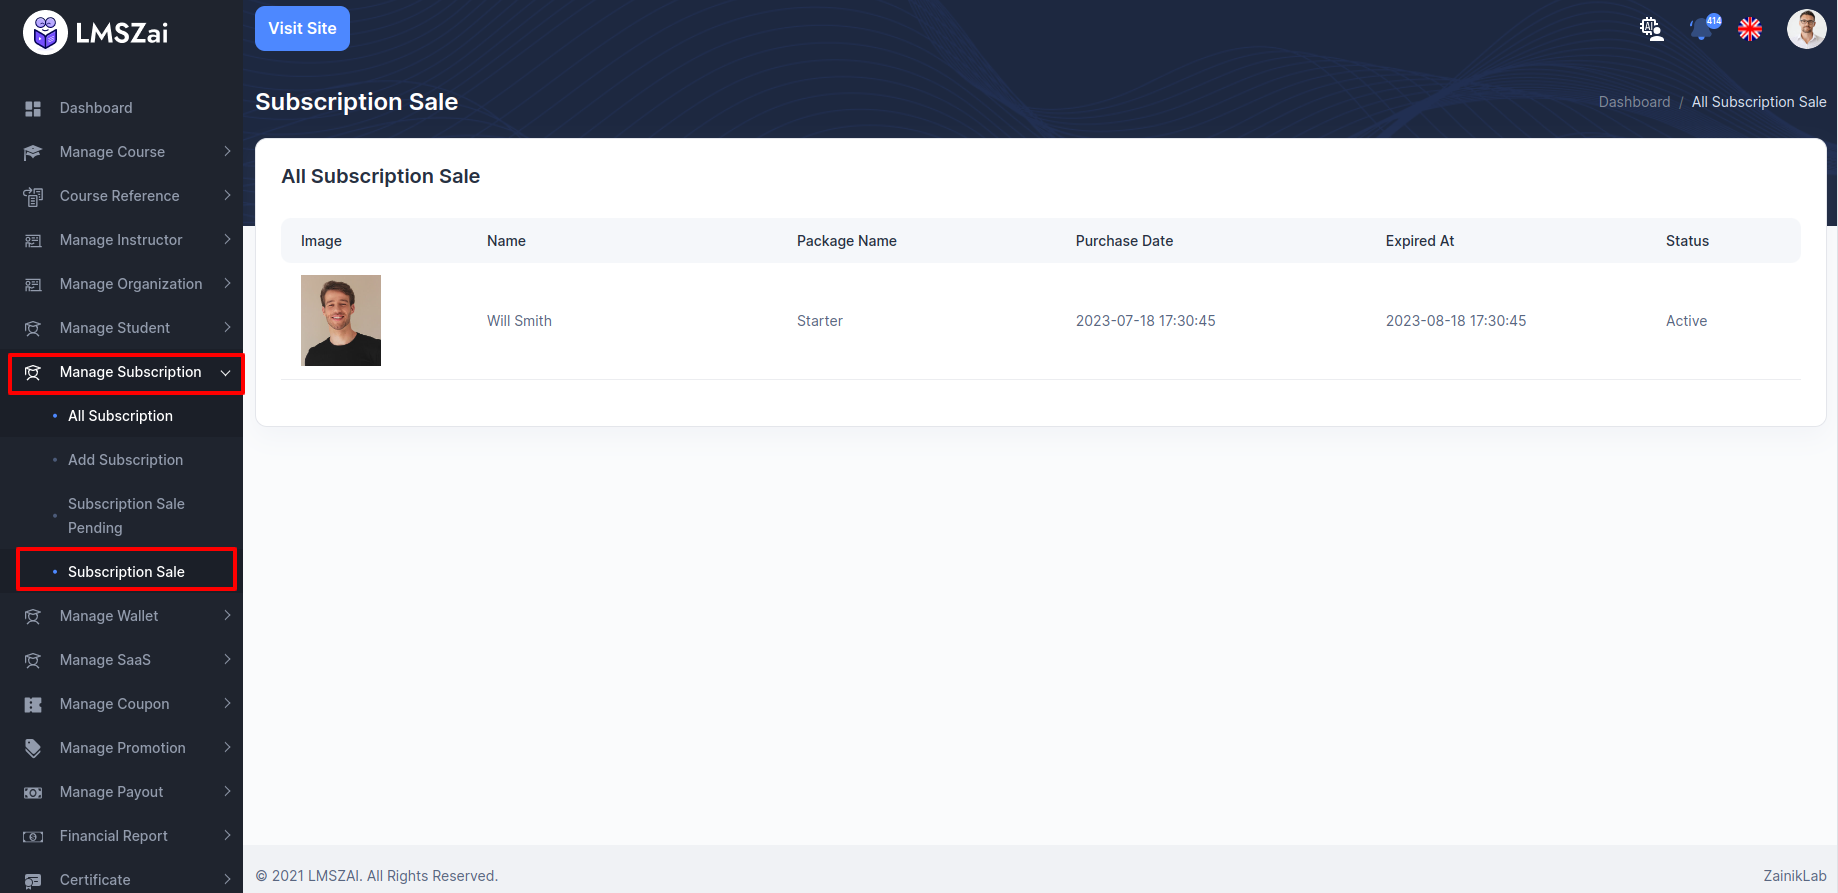
Subscription sale
- You can shaw the list and manage of all the subscription sale here
Manage Wallet
Admin can manage all the wallet (Pending application to approved, wallet details, delete)
Manage wallet has many functions. Given here
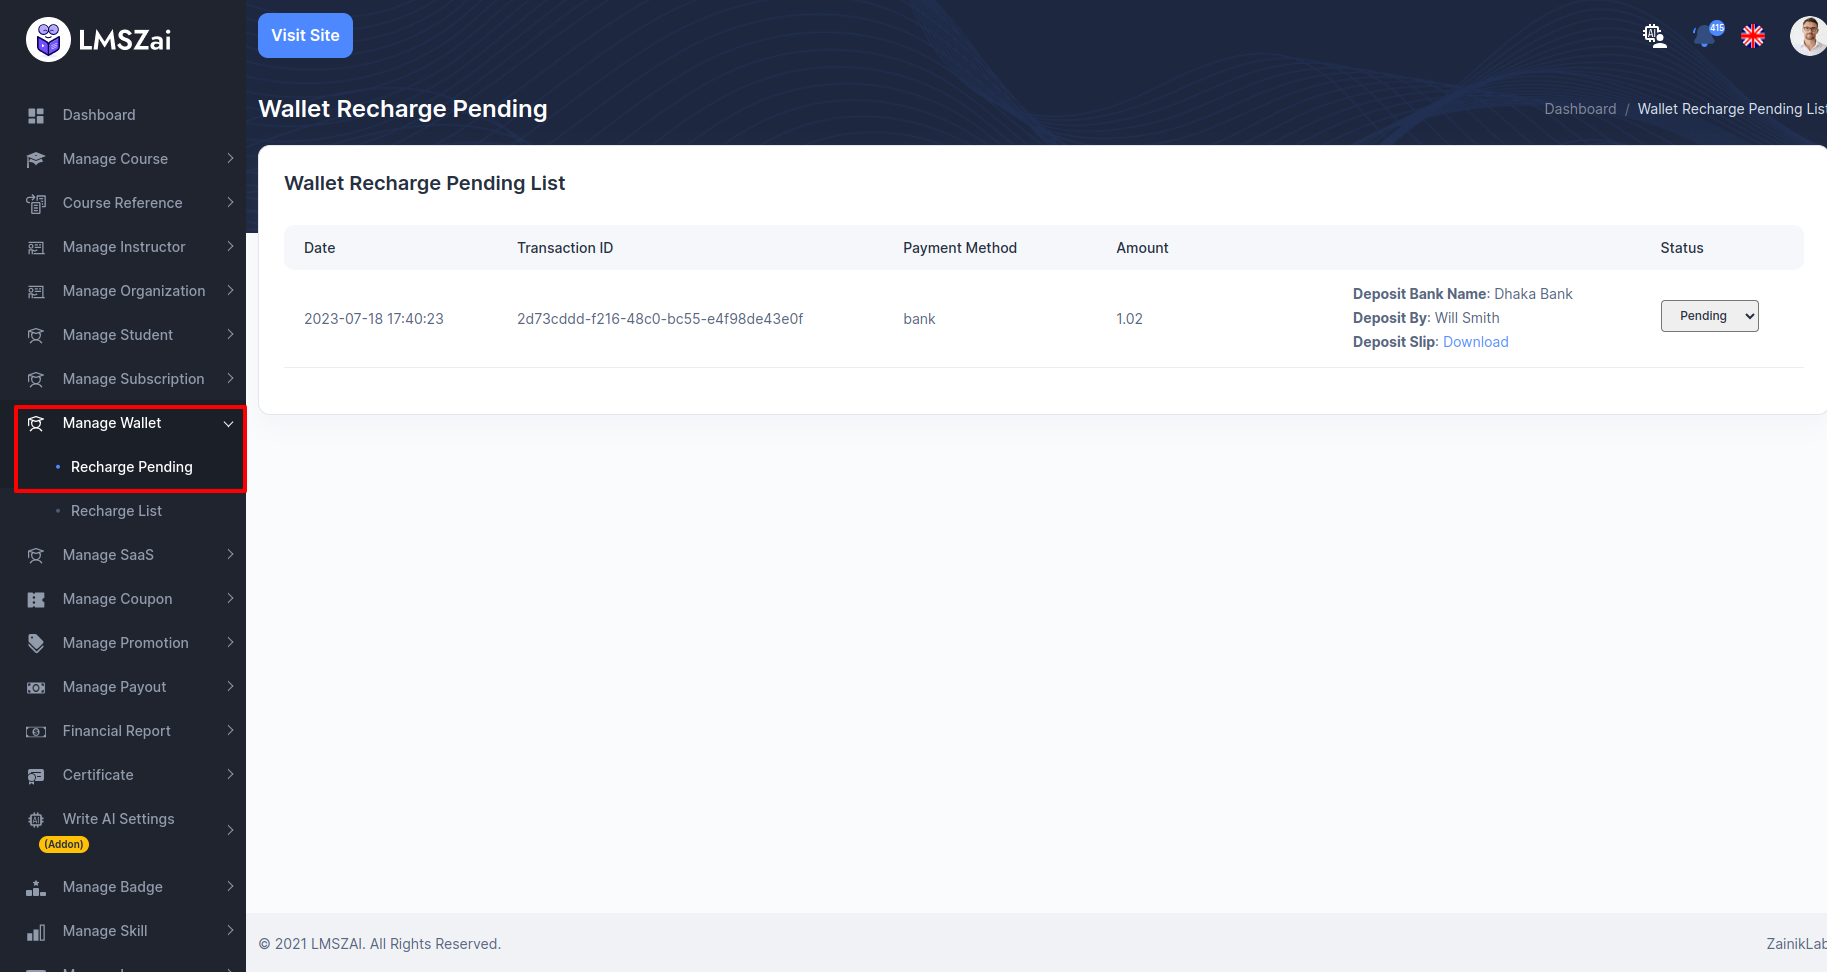
Recharge Pending
- You can shaw the list and manage of all the recharge pending here
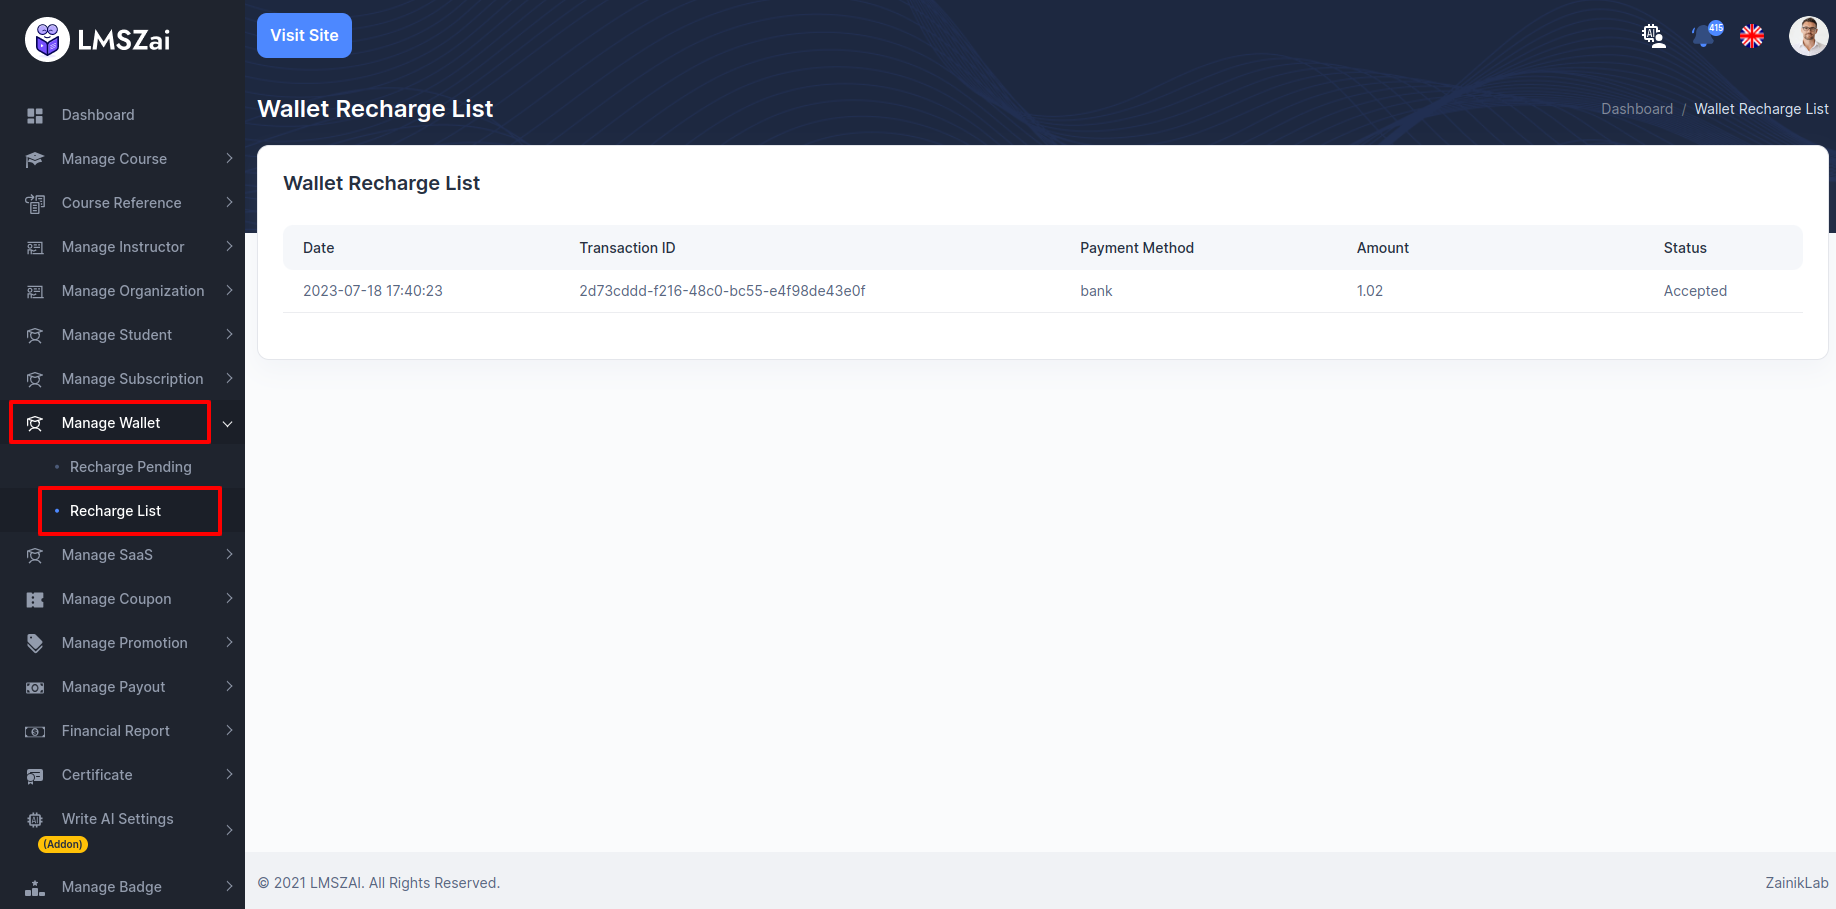
Recharge List
- You can shaw the list and manage of all the recharge list here
Manage SaaS
Admin can manage all the wallet (Pending application to approved, SaaS details, delete)
Manage SaaS has many functions. Given here
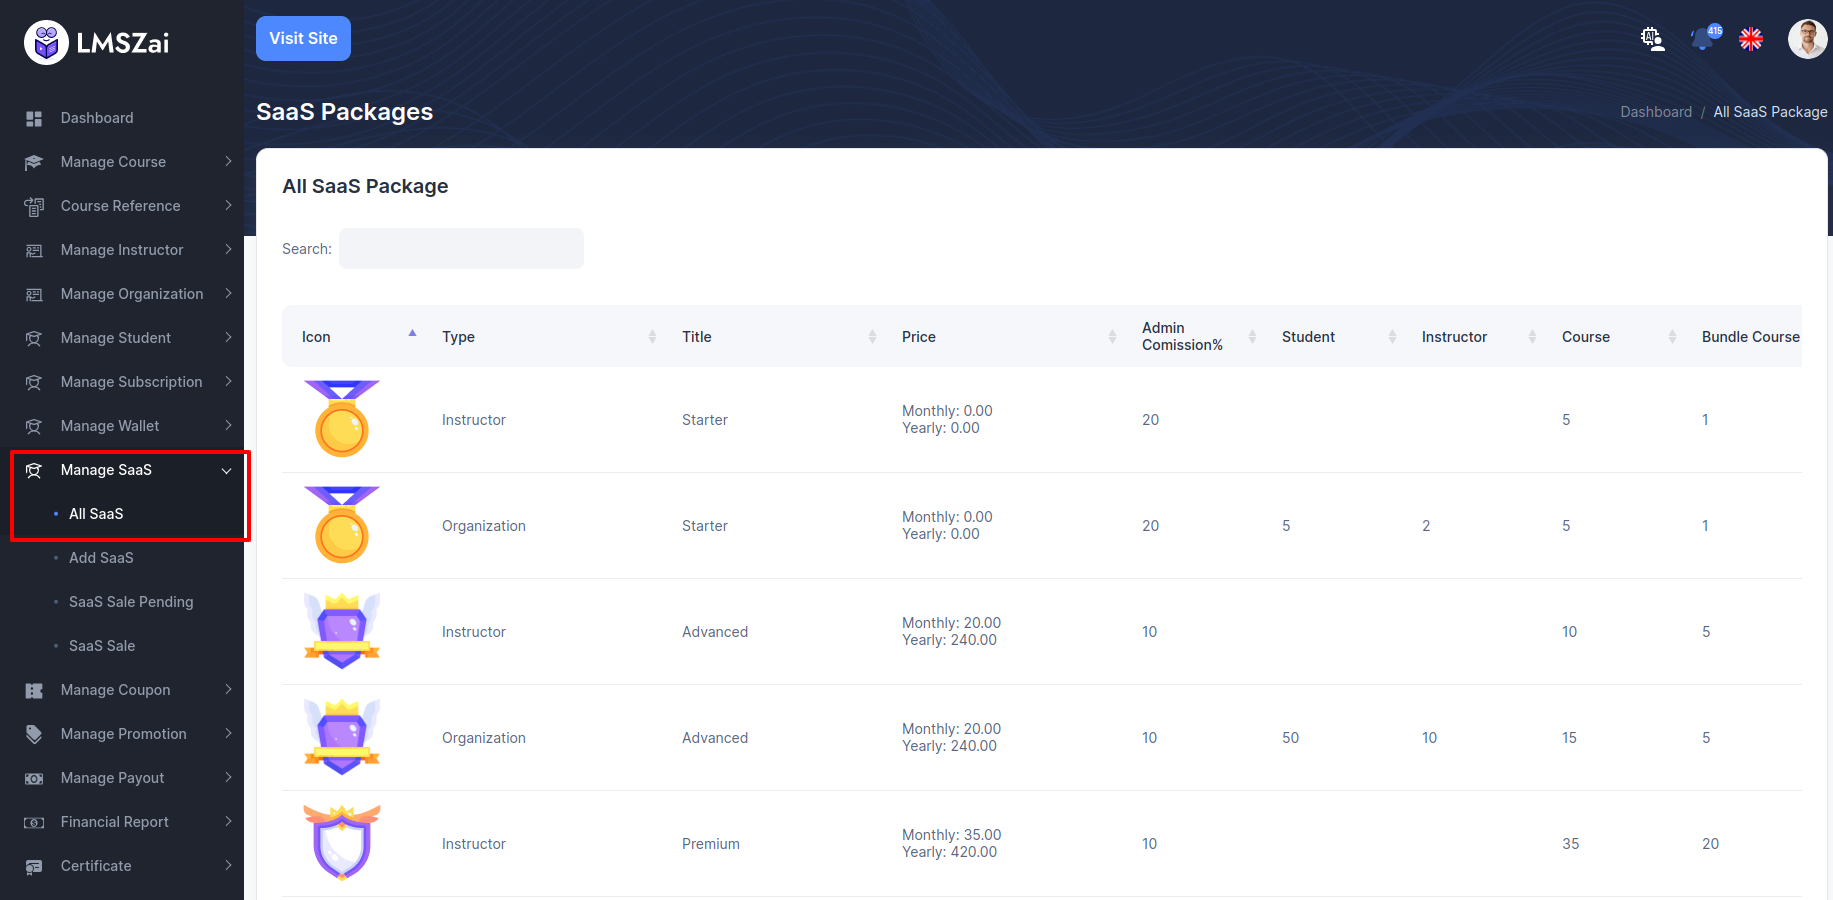
All SaaS
- You can shaw the list and manage of all the Saas here
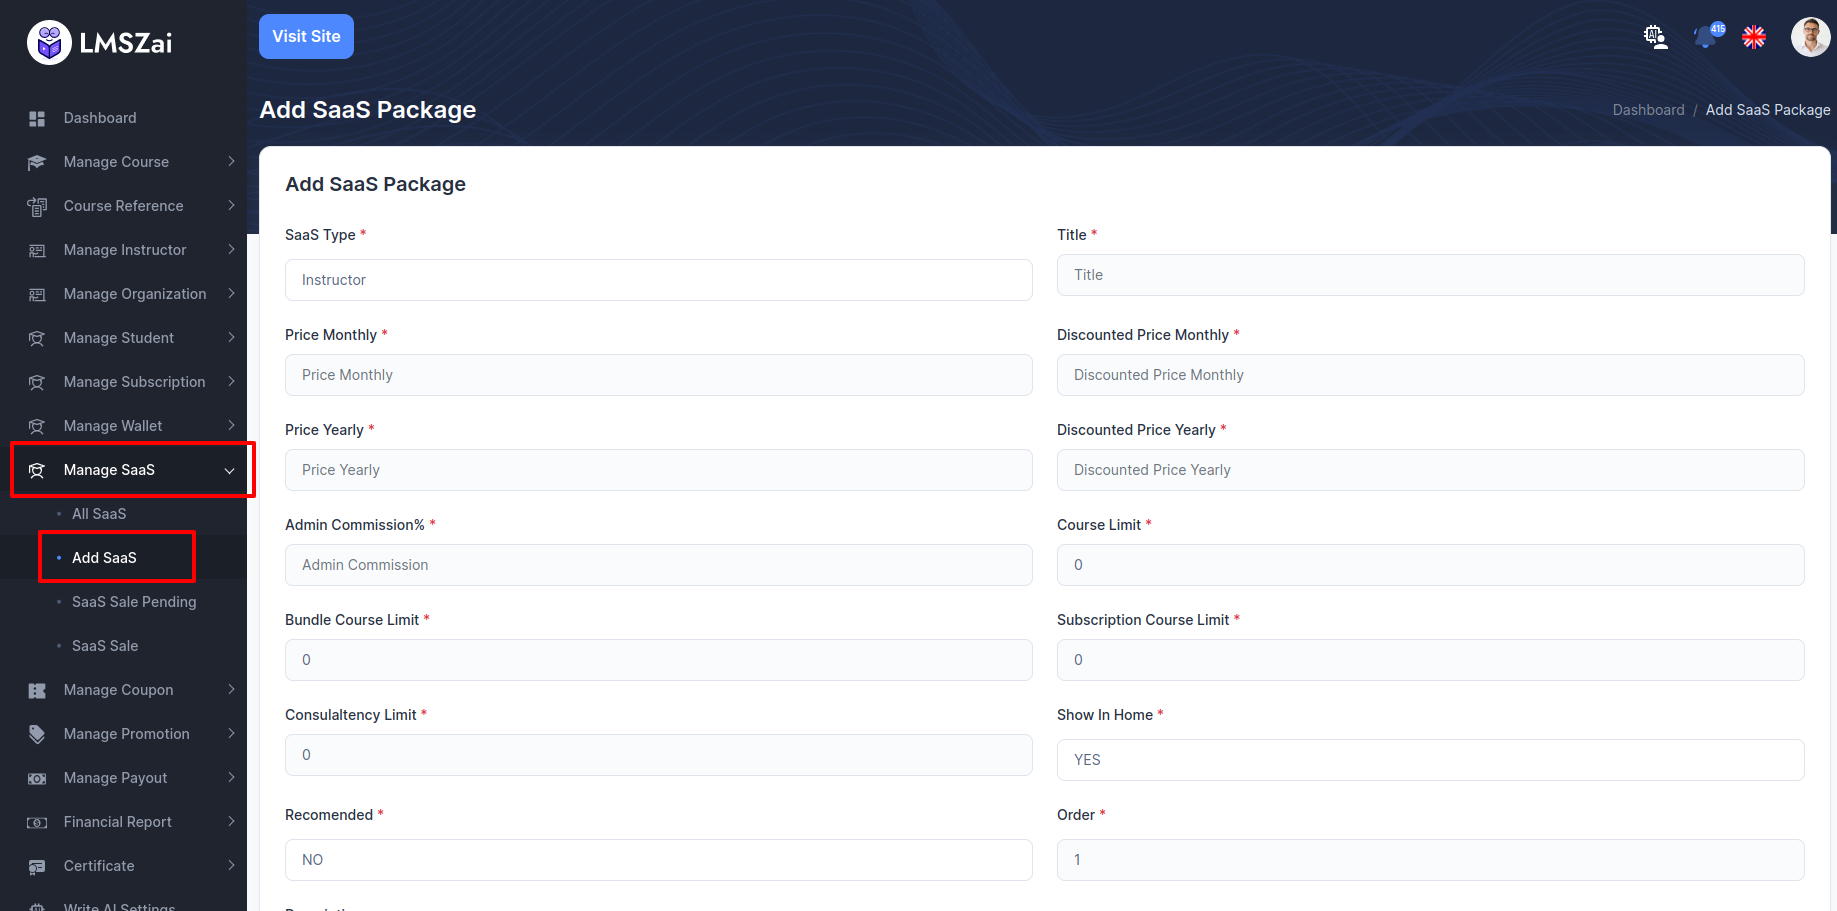
Add SaaS
- You can shaw the list and manage of all the add Saas here
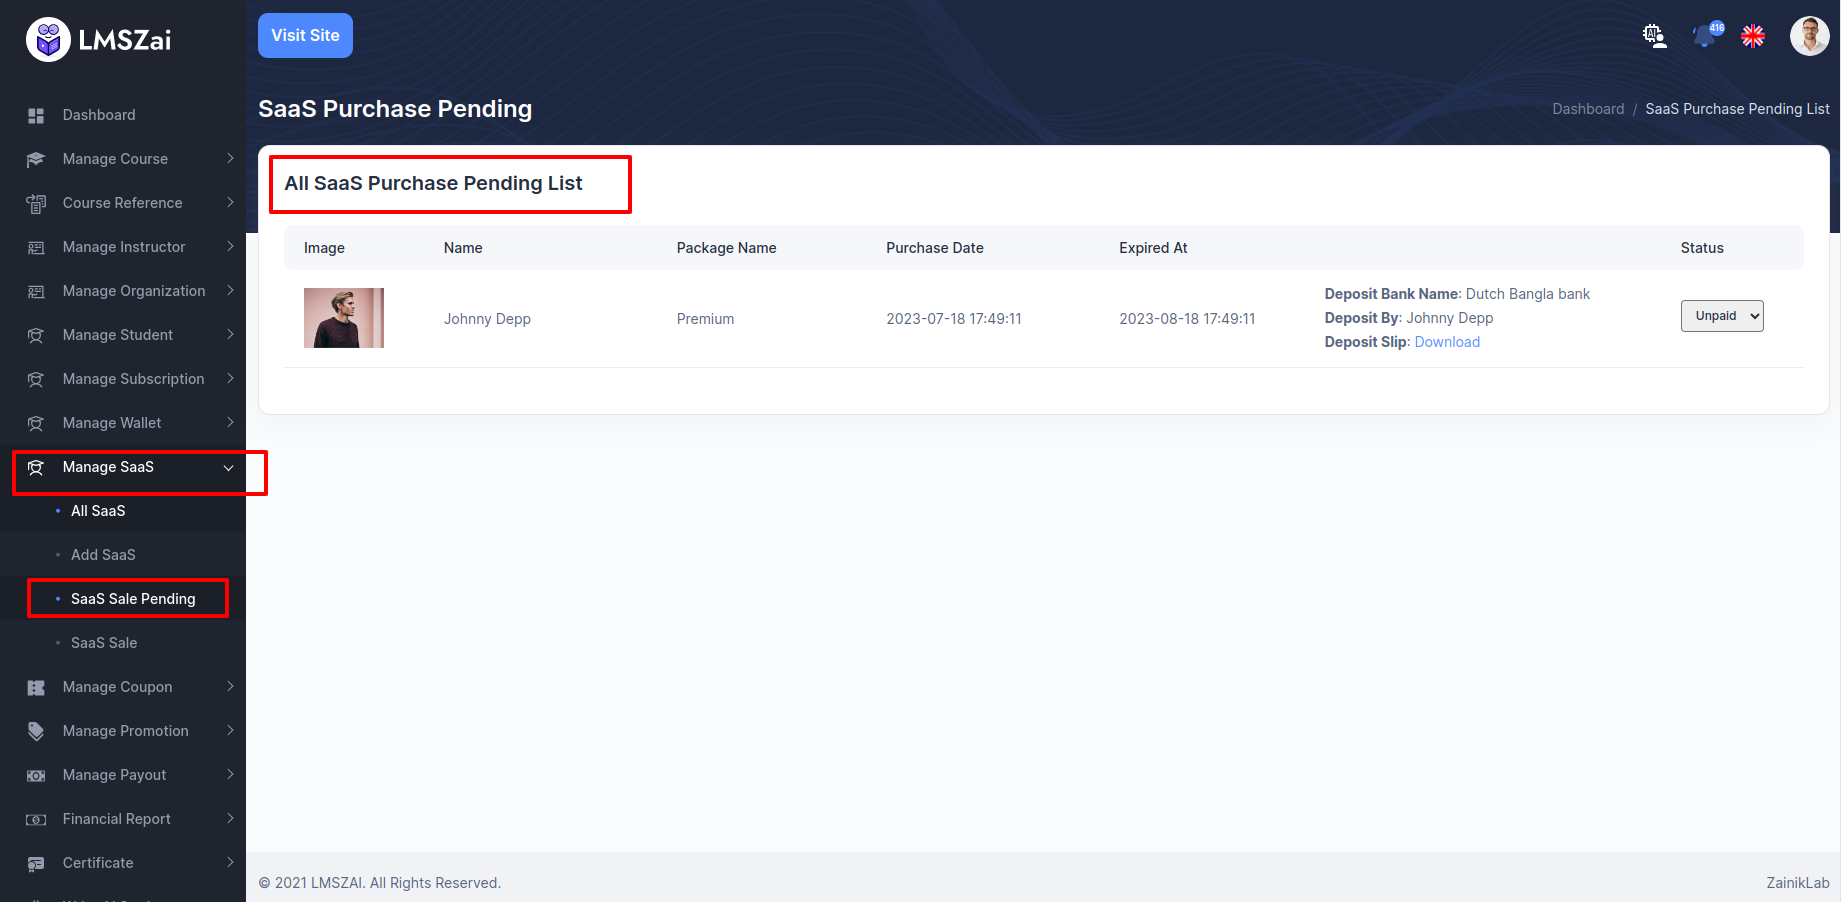
SaaS Sale Pending
- You can shaw the list and manage of all the SaaS sale pending here
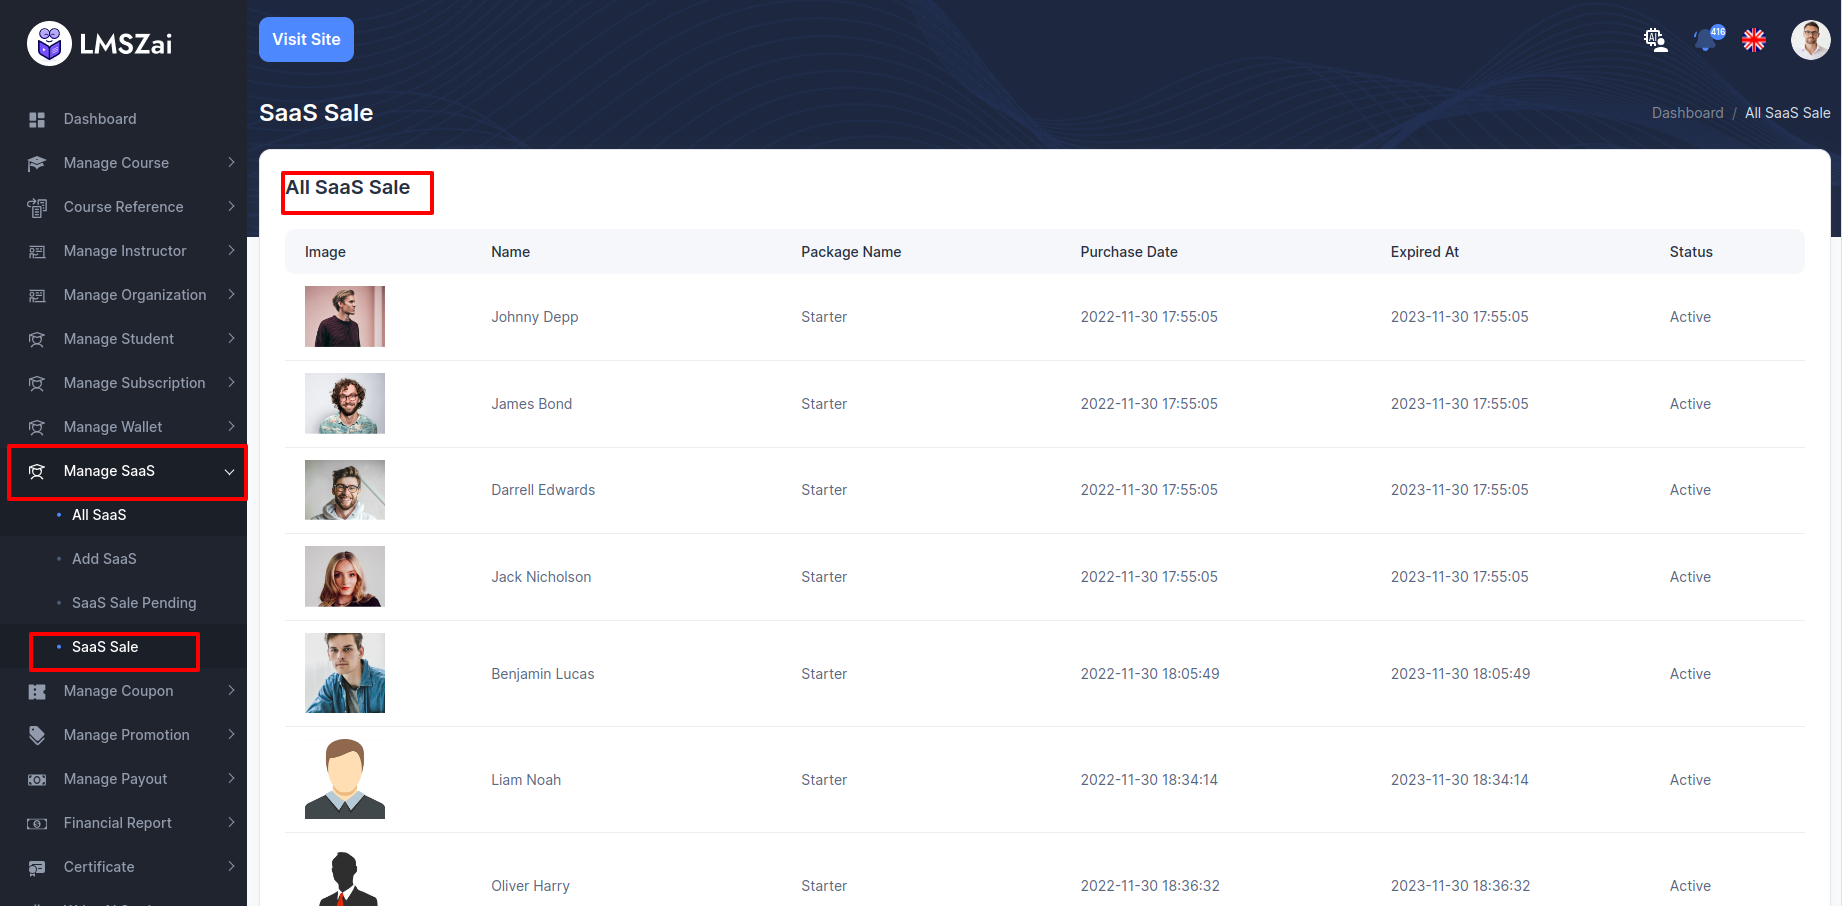
SaaS Sale
- You can shaw the list and manage of all the SaaS sale here
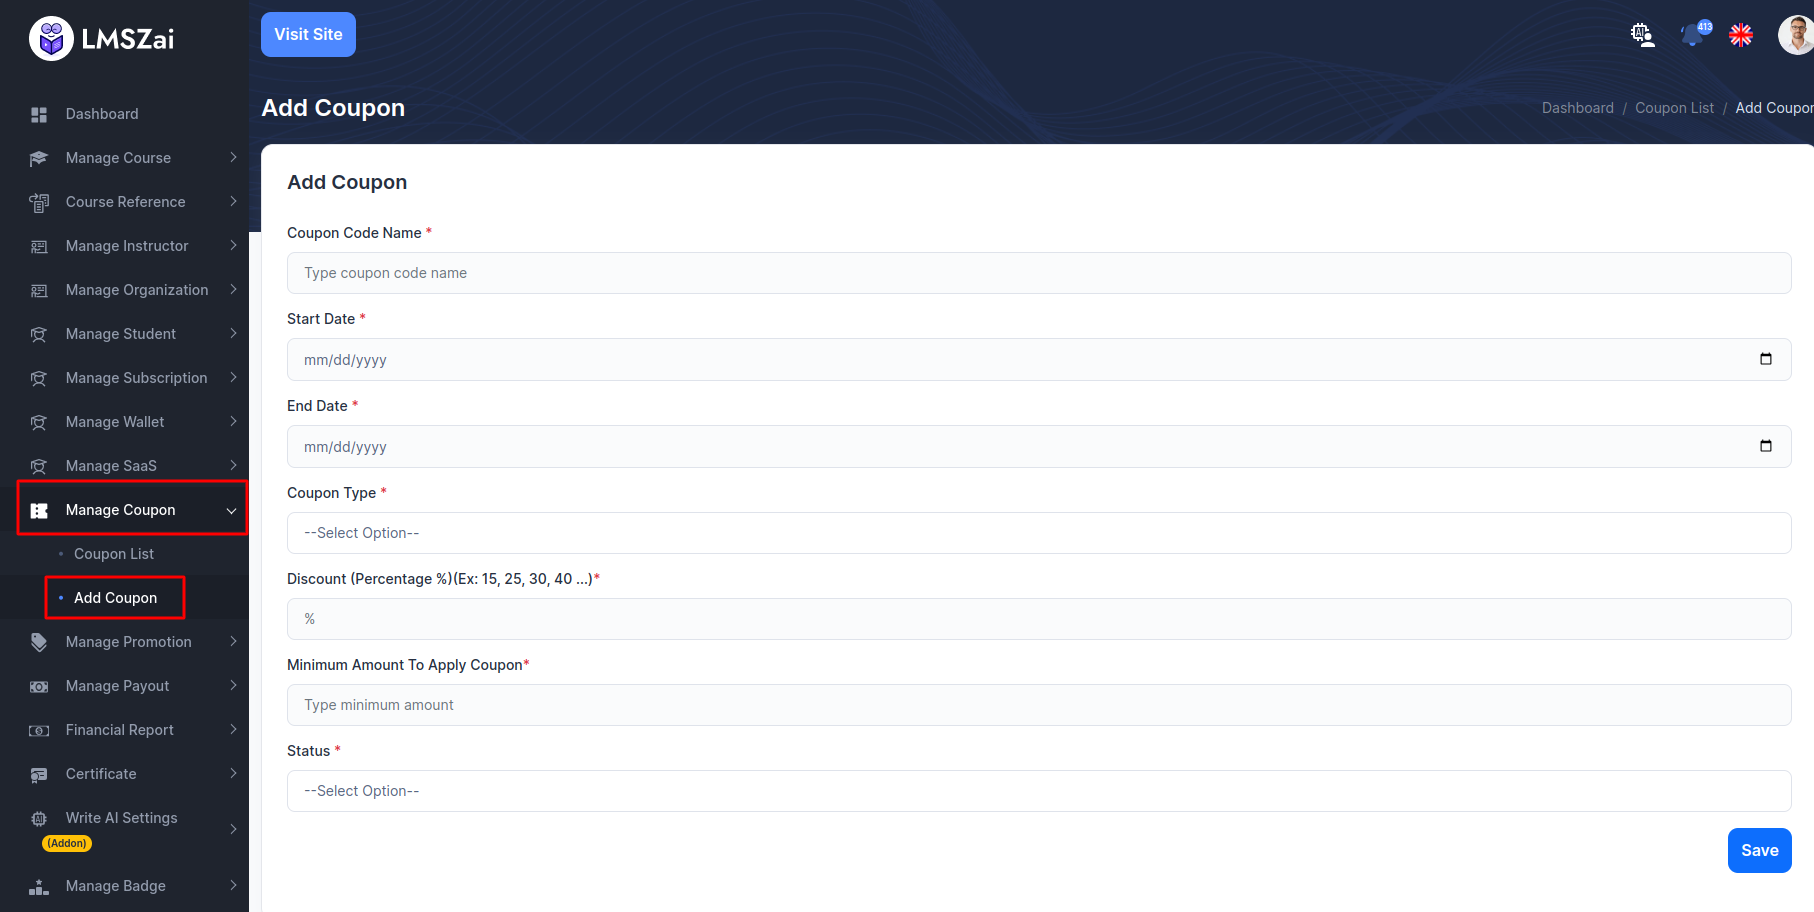
Manage Coupon
Admin can create 3 types coupon
- Global (Apply for all courses)
- Instructors (Apply for selected instructor courses)
- Course (Apply for selected courses
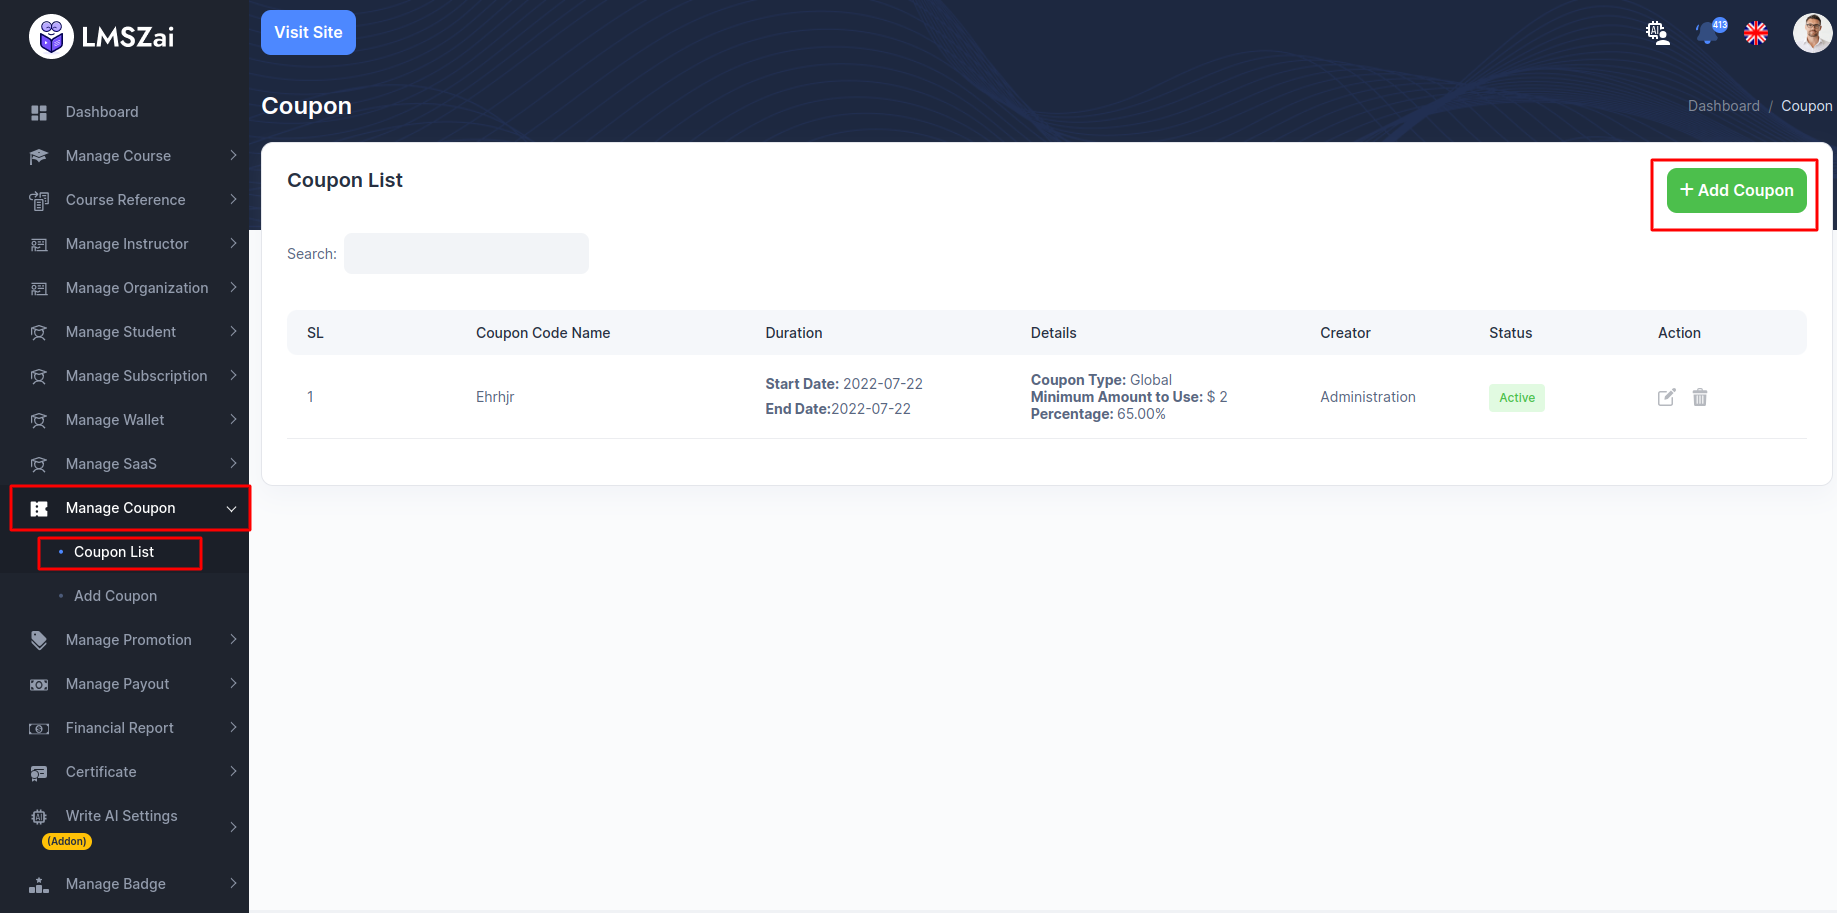
Coupon List
- You can manage this coupon list
Add Coupon
- You can manage this adds coupon
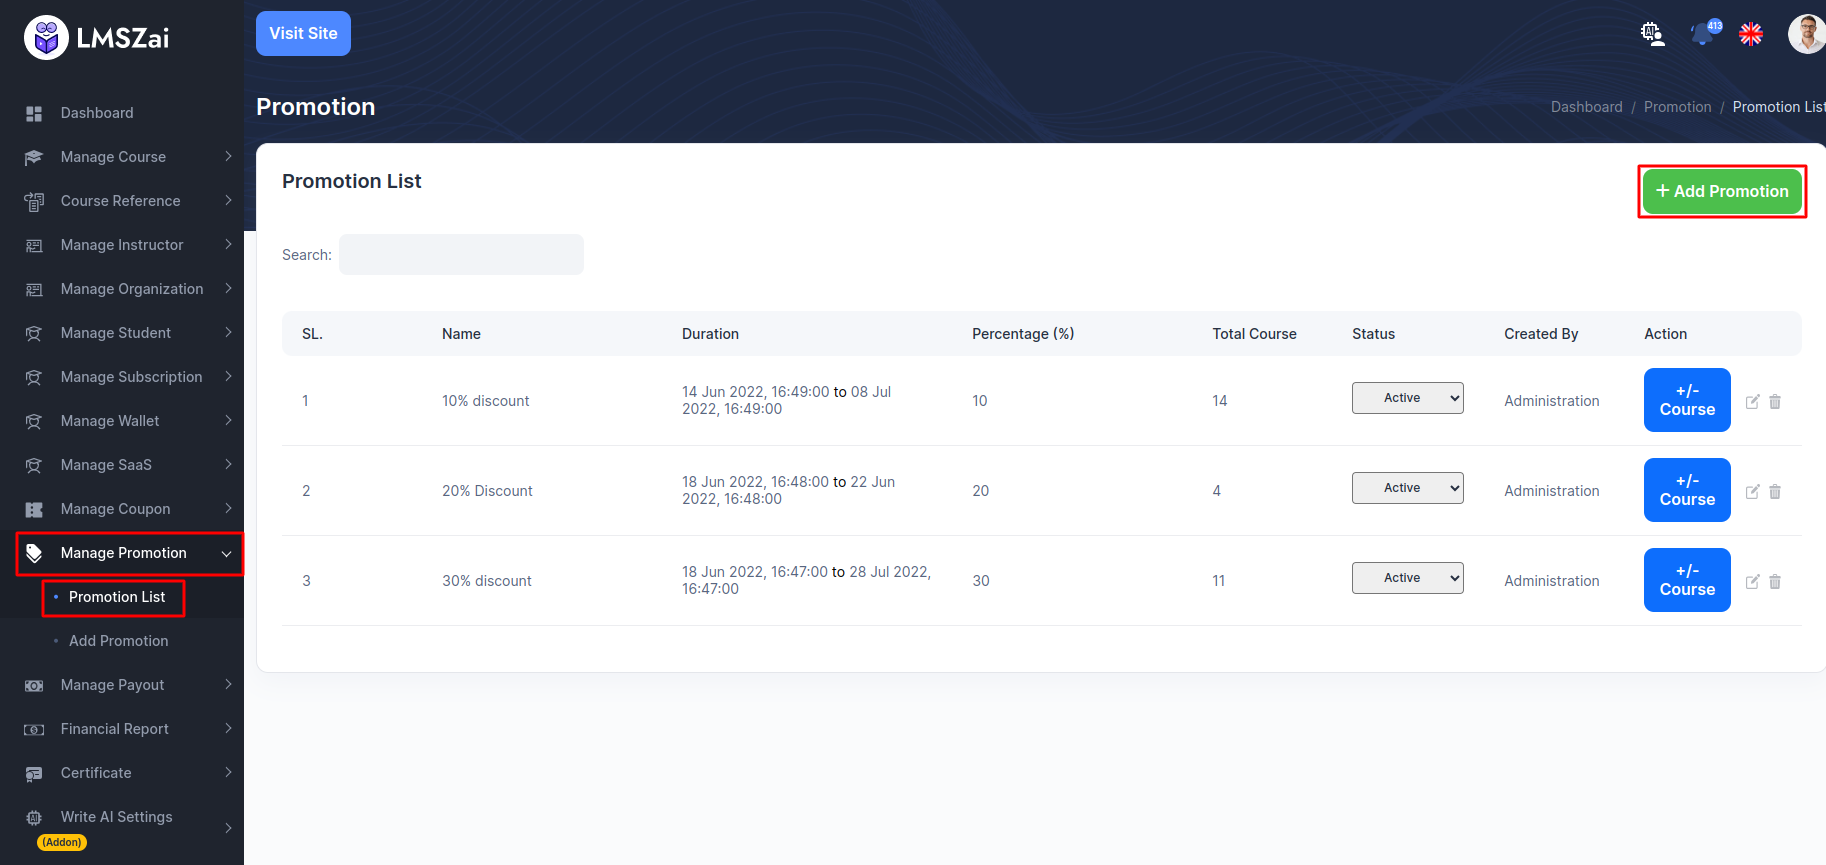
Manage Promotion
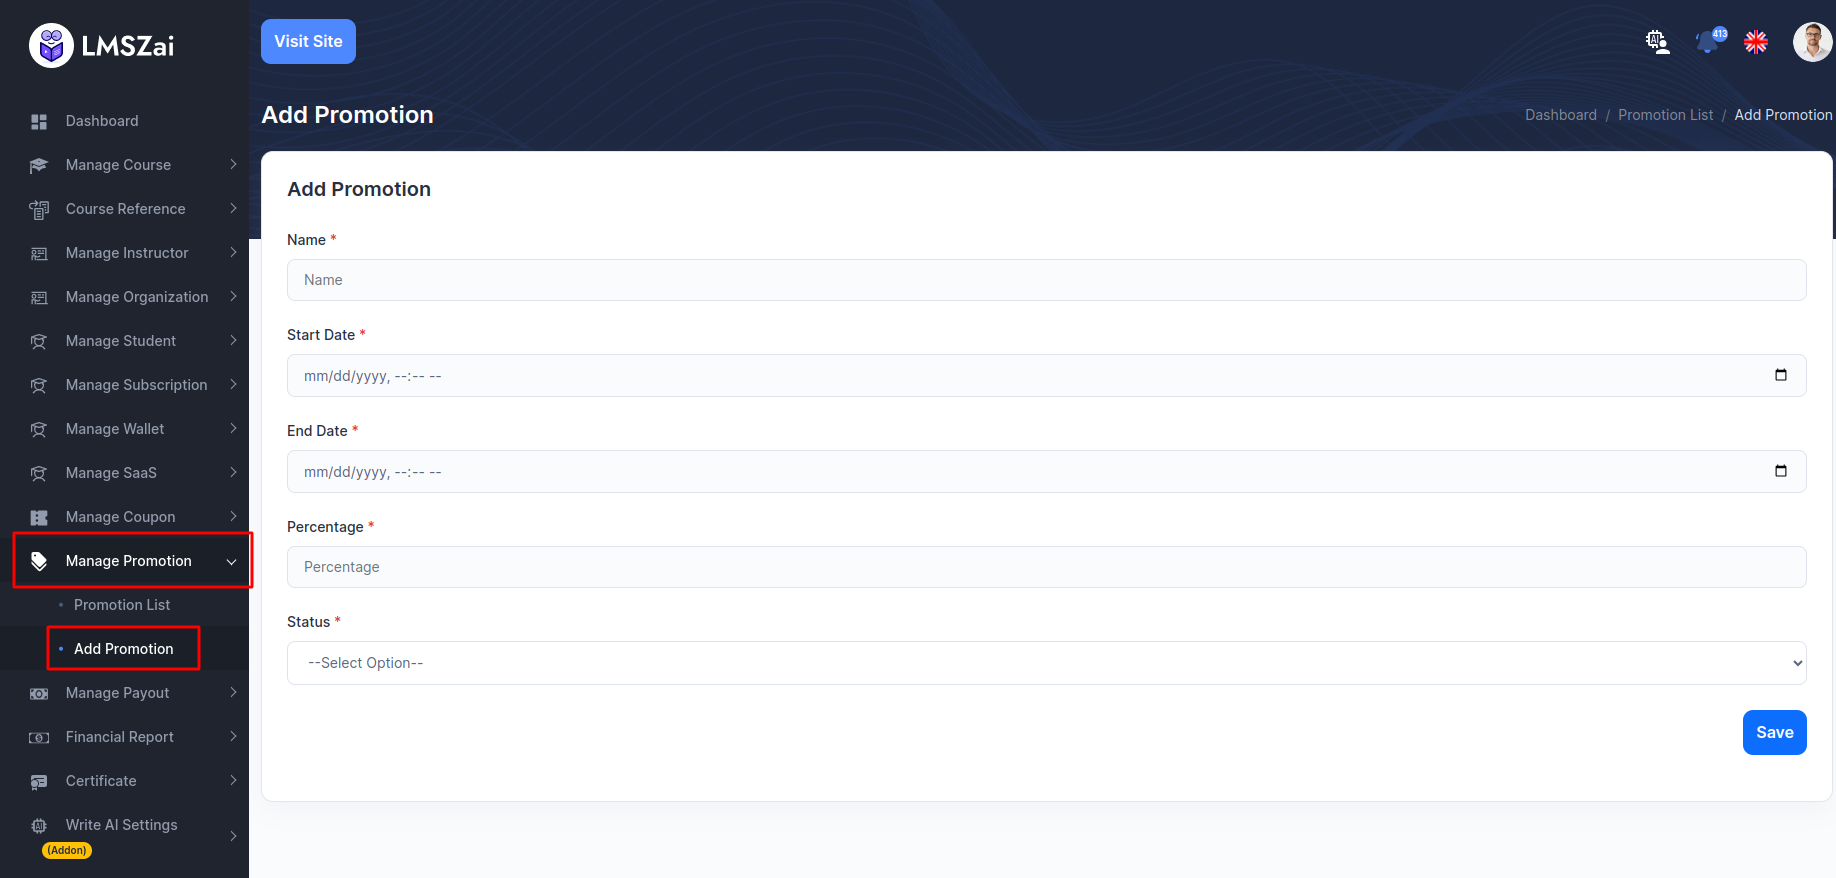
-Admin can add any kind of promotion with a discount. And he can manage it. He can select any course to this specific promotion.
Promotion List
- You can manage this promotion
Add Promotion
- You can manage this add promotion
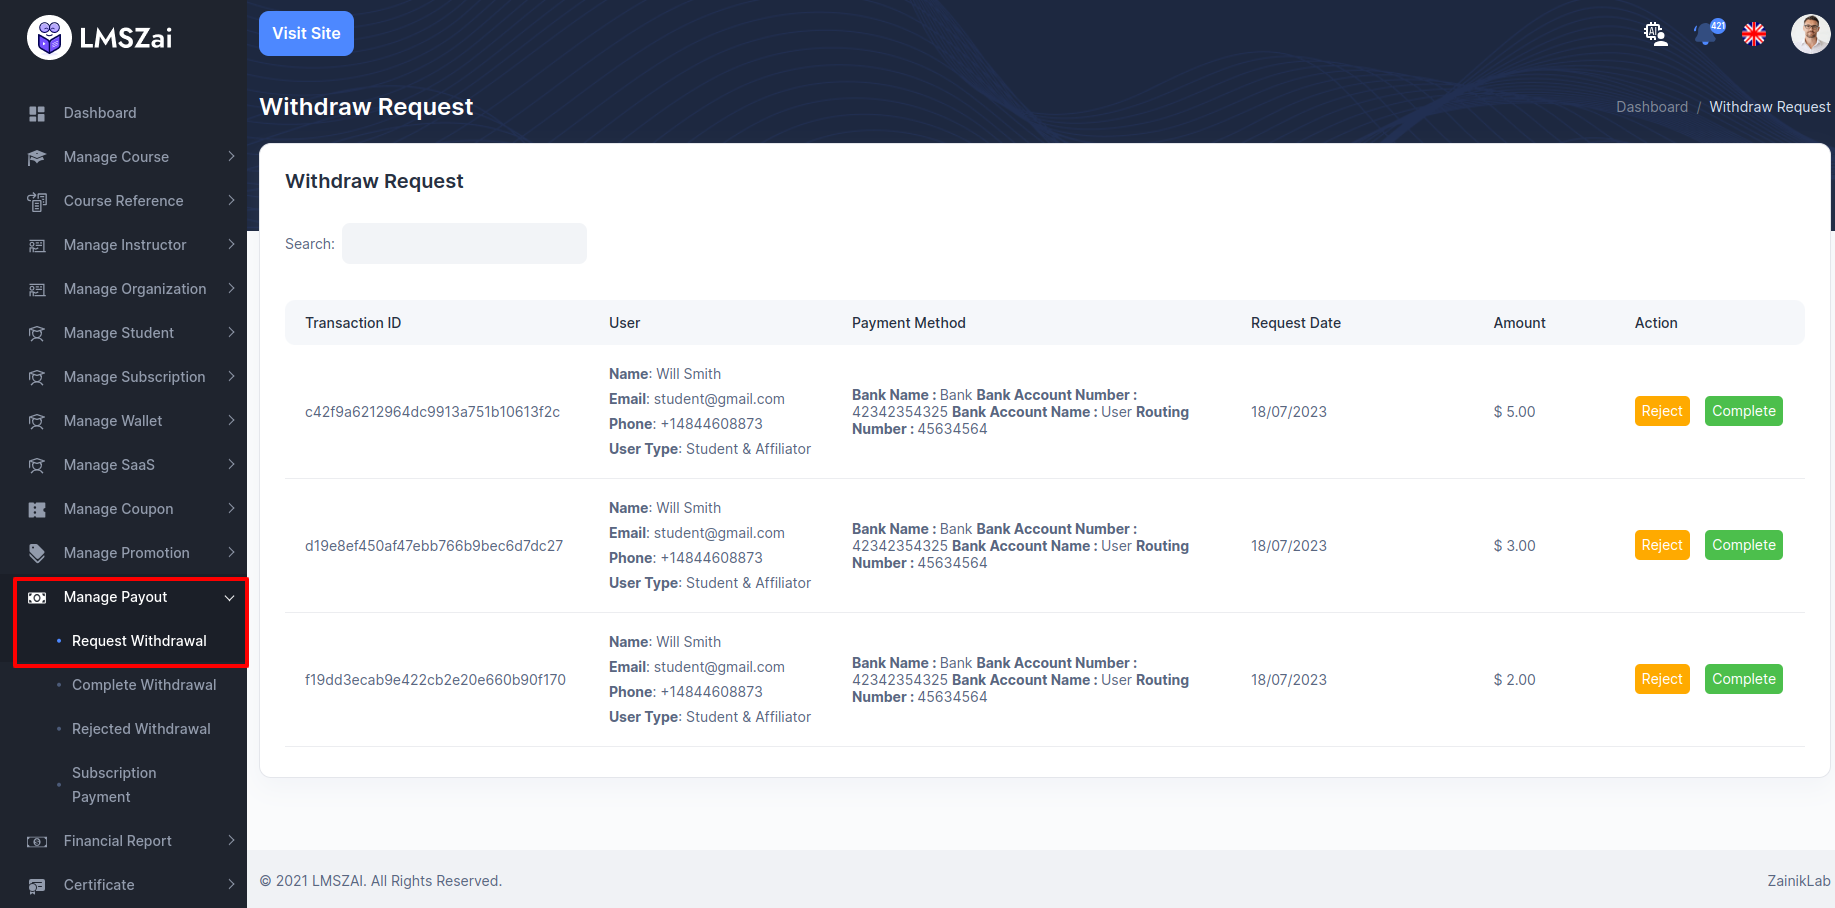
Manage Payout
-Admin can add any kind of promotion with a discount. And he can manage it. He can select any course to this specific promotion.
Request Withdrawal
- You can manage this request withdrawal
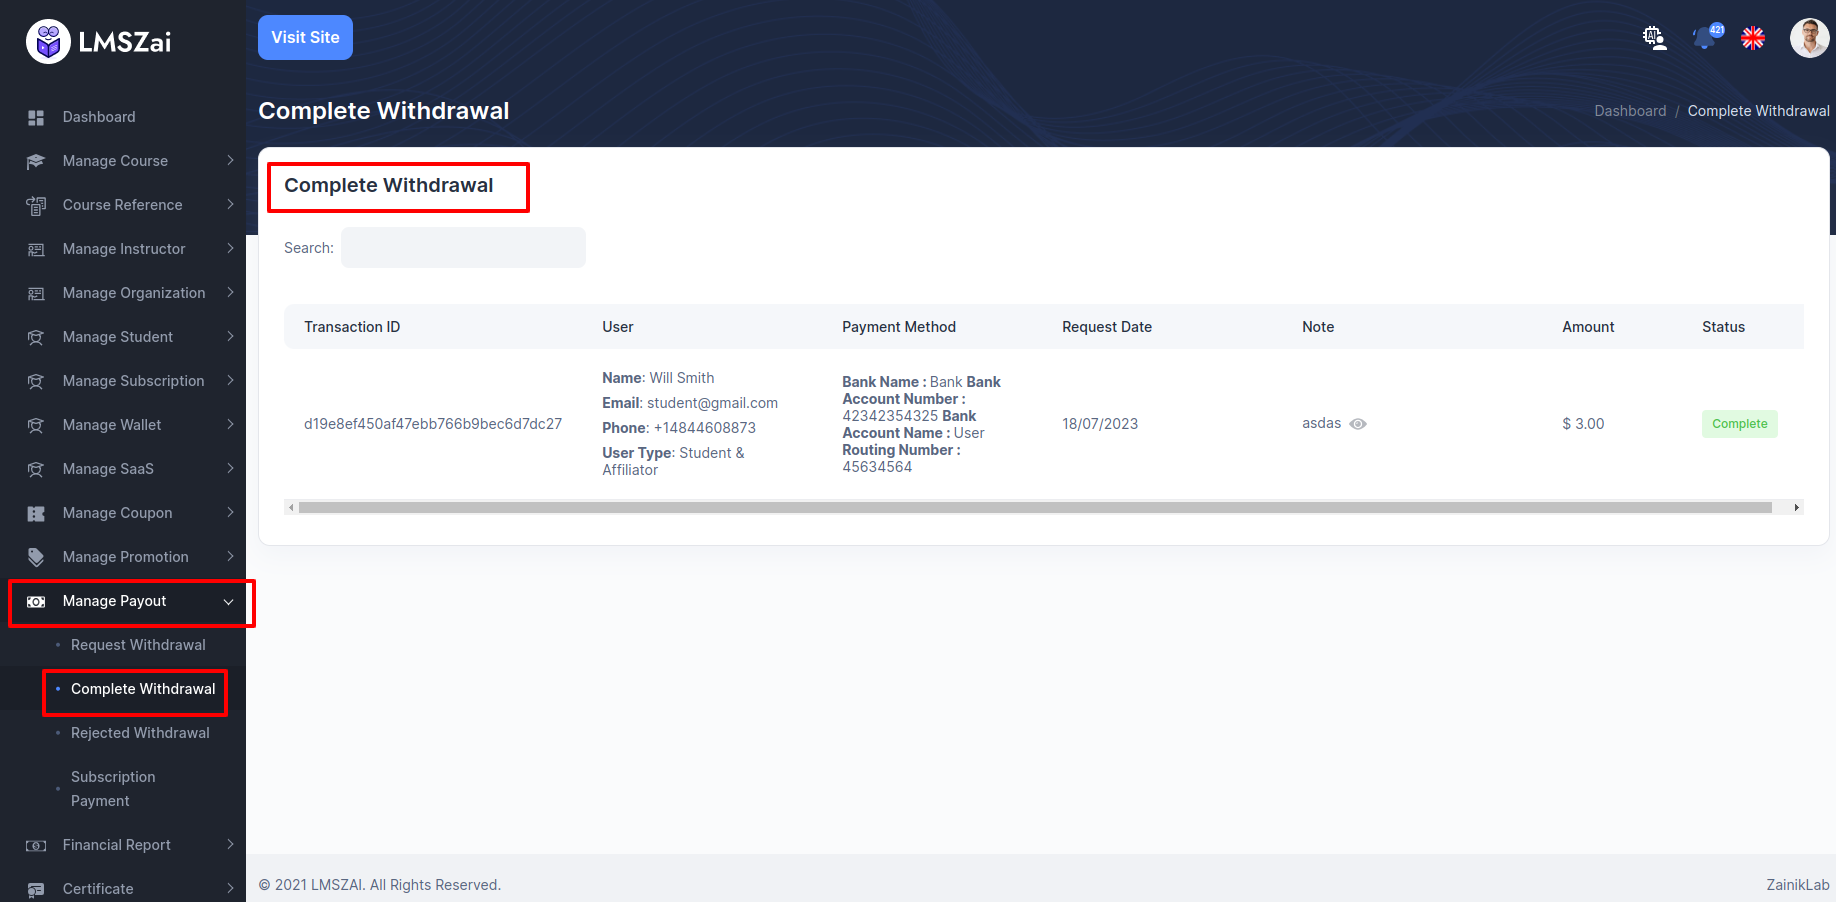
Complete Withdrawal
- You can manage this complete withdrawal
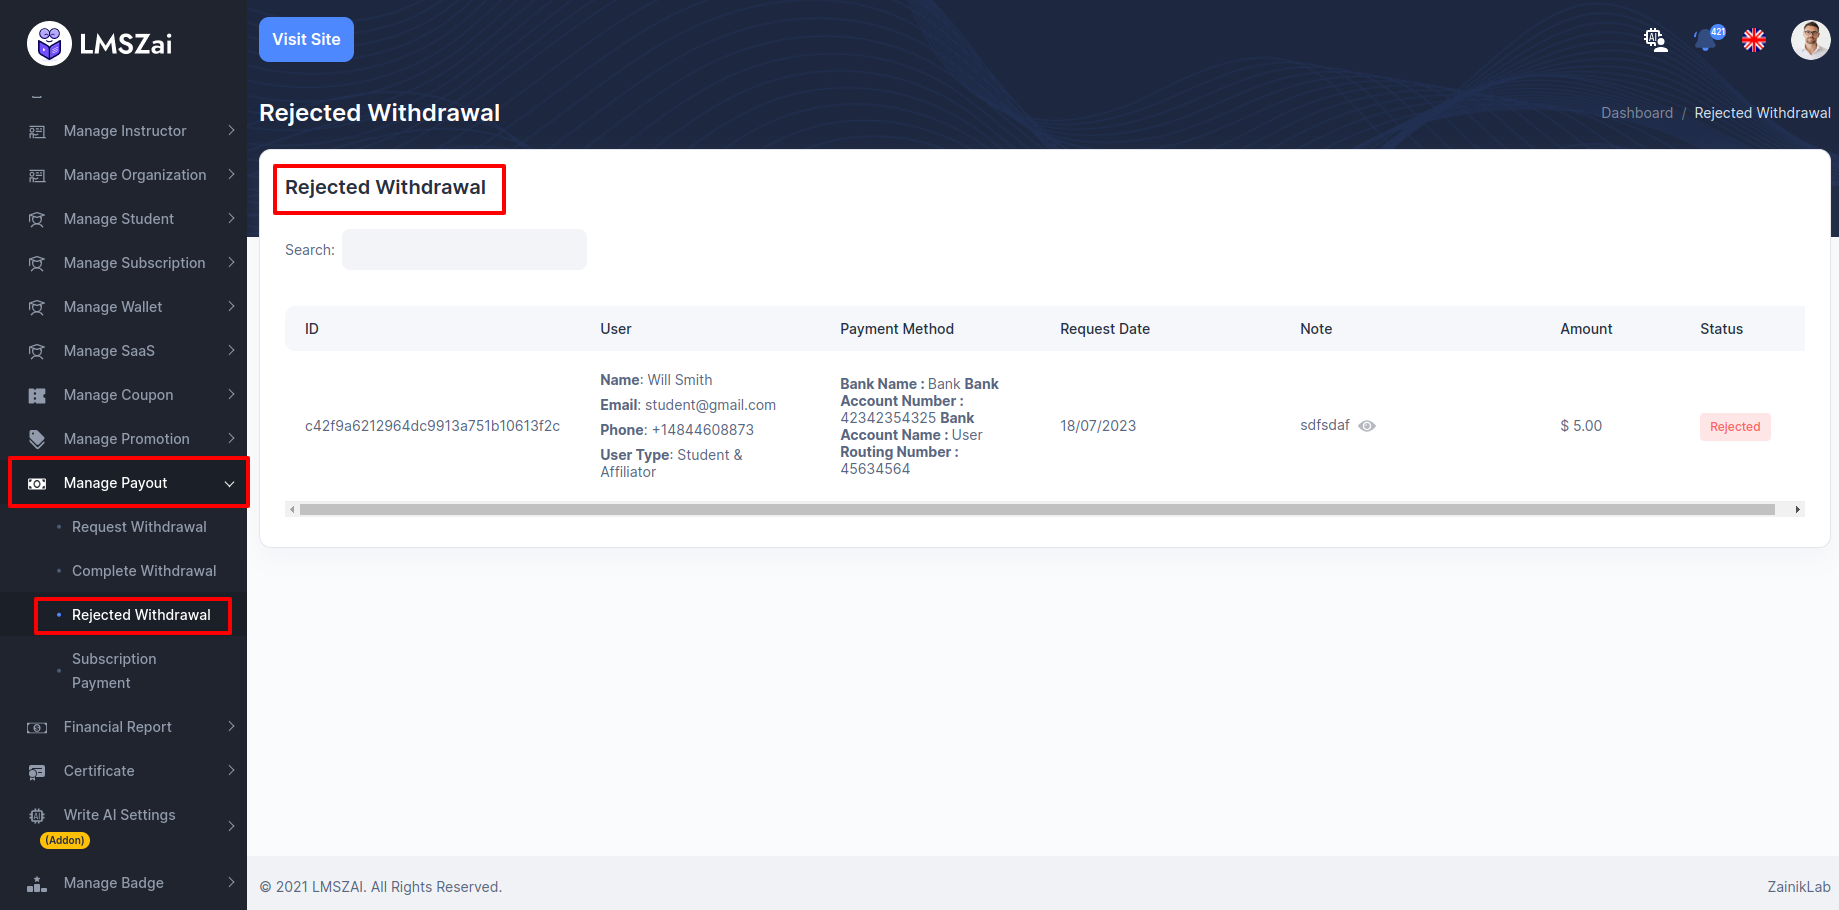
Rejected Withdrawal
- You can manage this rejected withdrawal
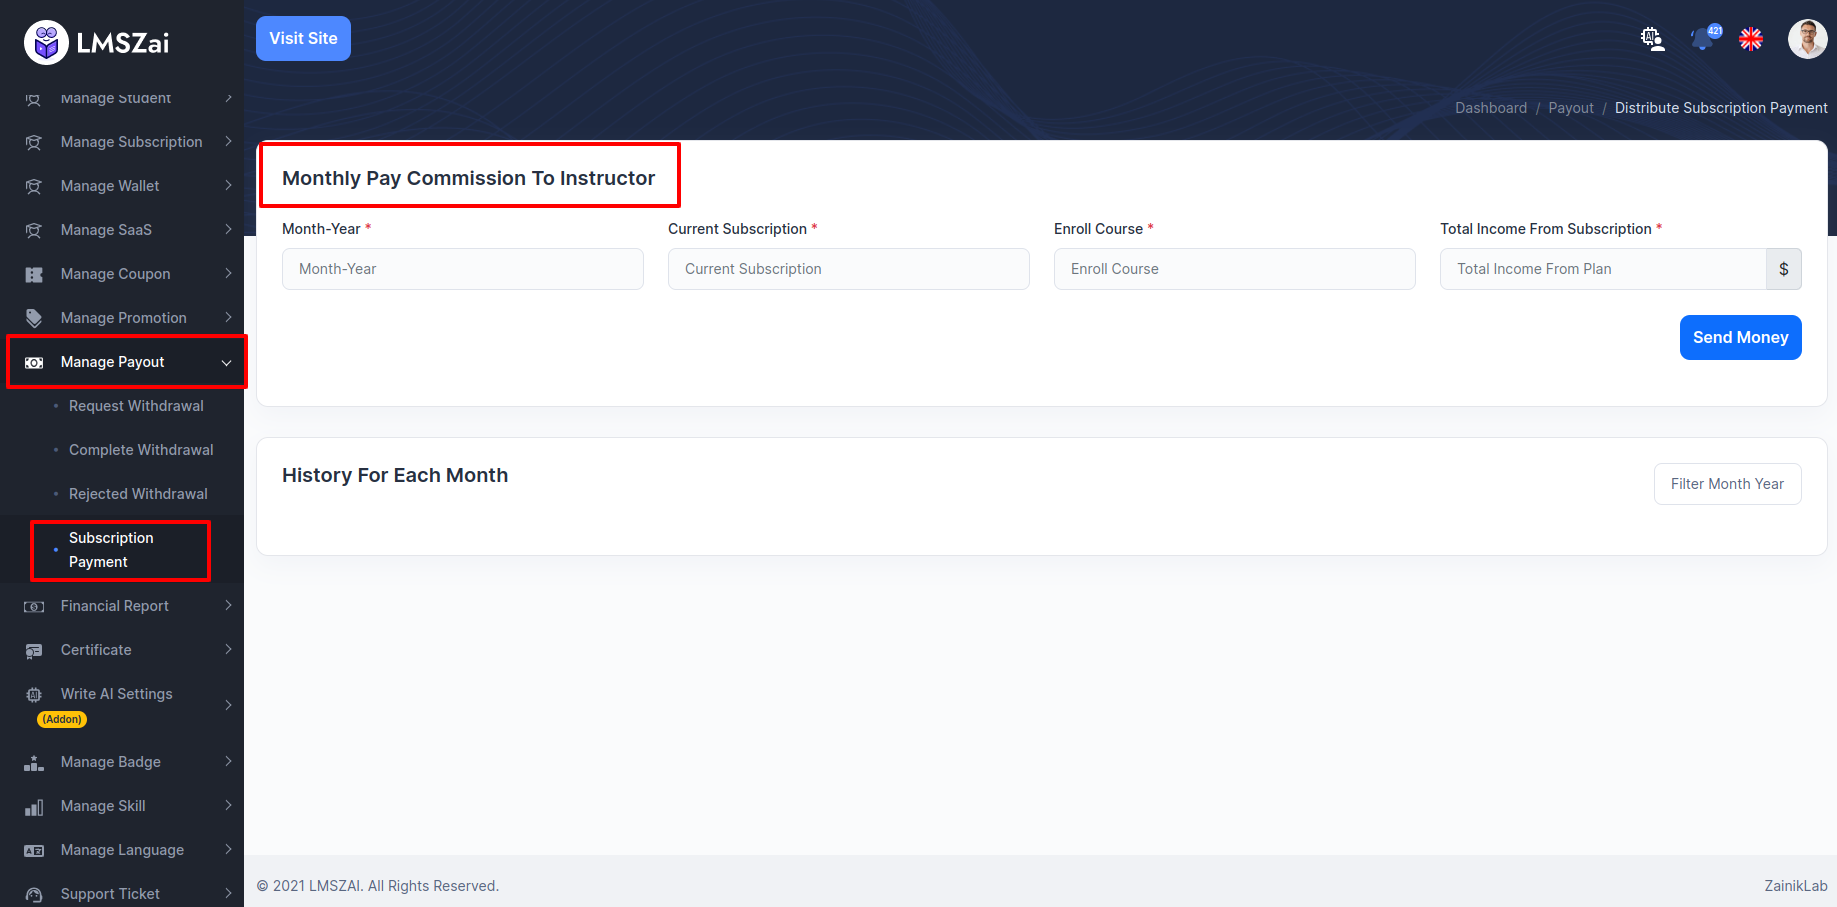
Subscription Payment
- You can manage this subscription payment
Financial Report
Admin can manage all the financial report (Pending application to approved, financial details, cancel)
Manage financial has many functions. Given here
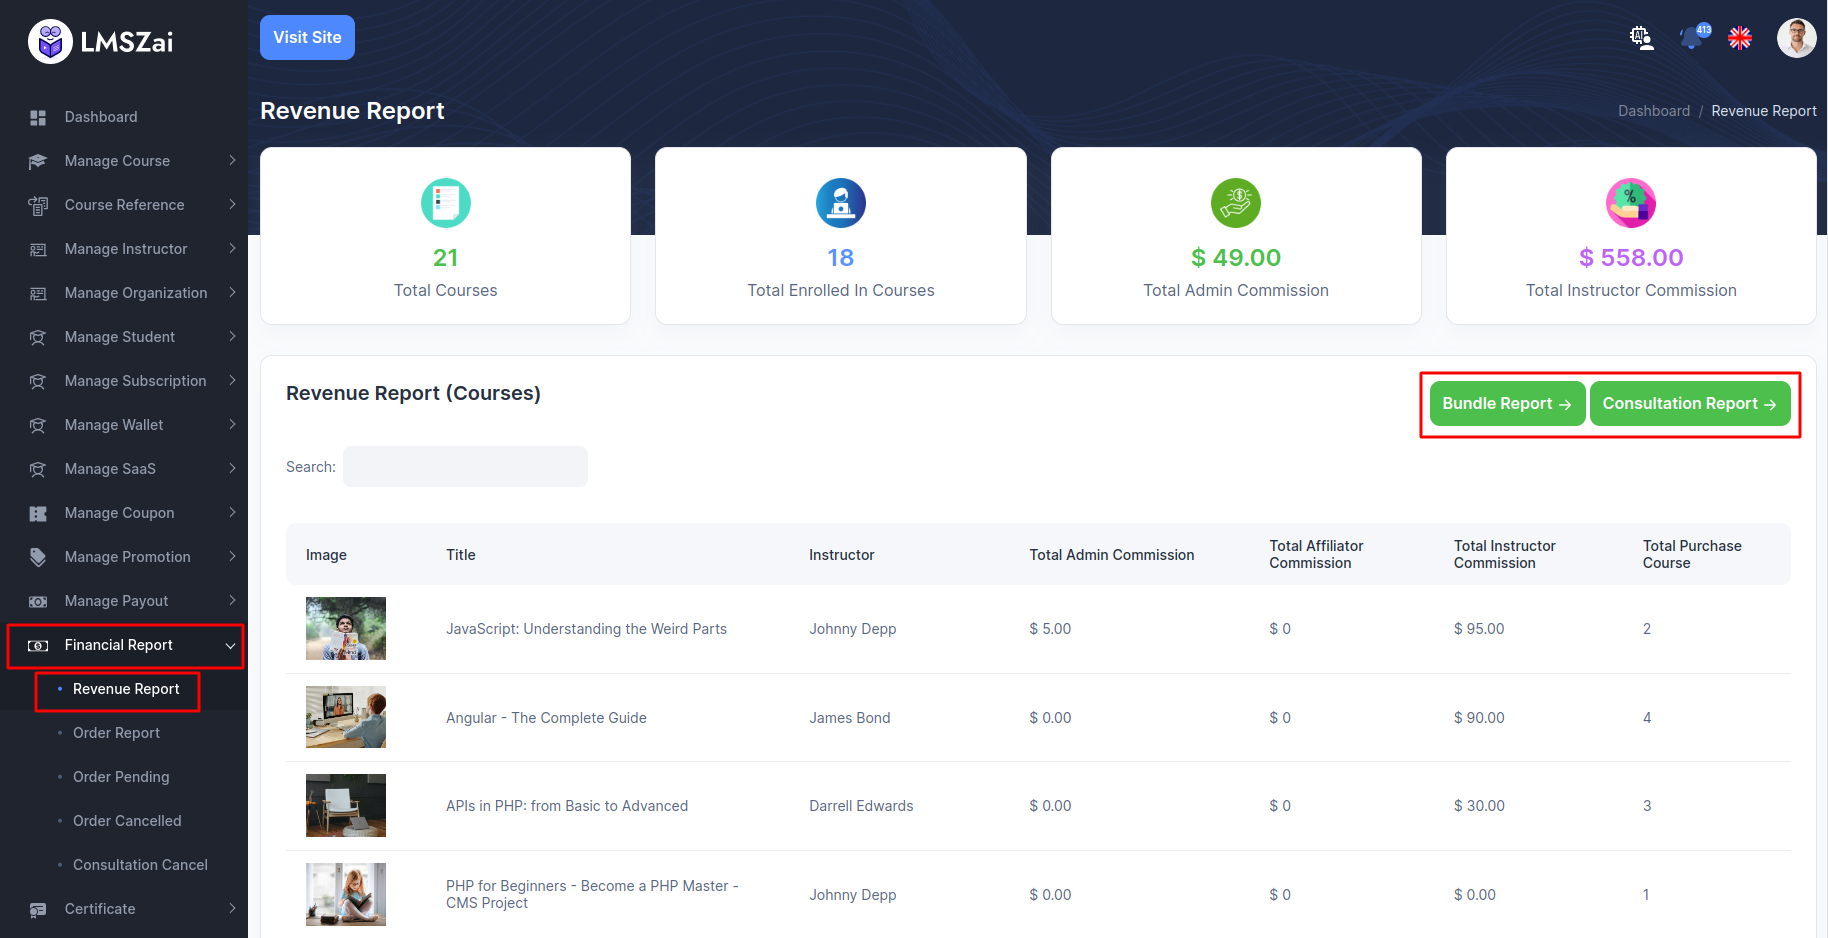
Revenue Report
- You can manage this revenue report(Courses)
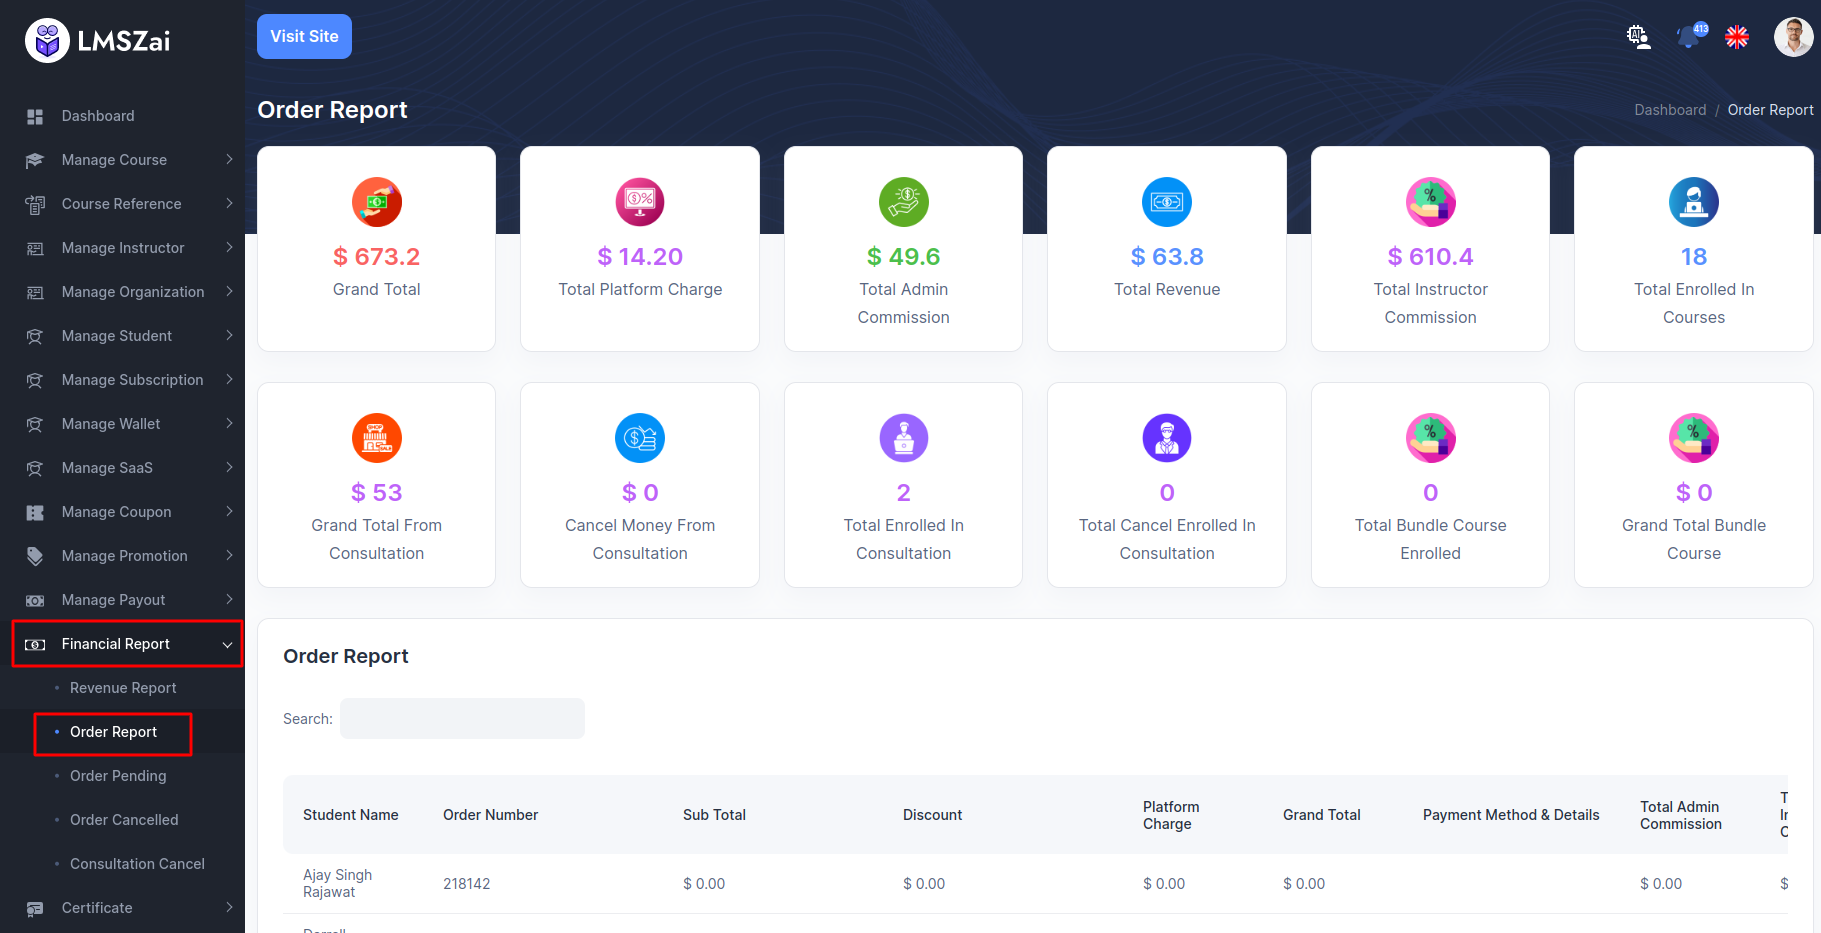
Order Report
- You can manage this order report
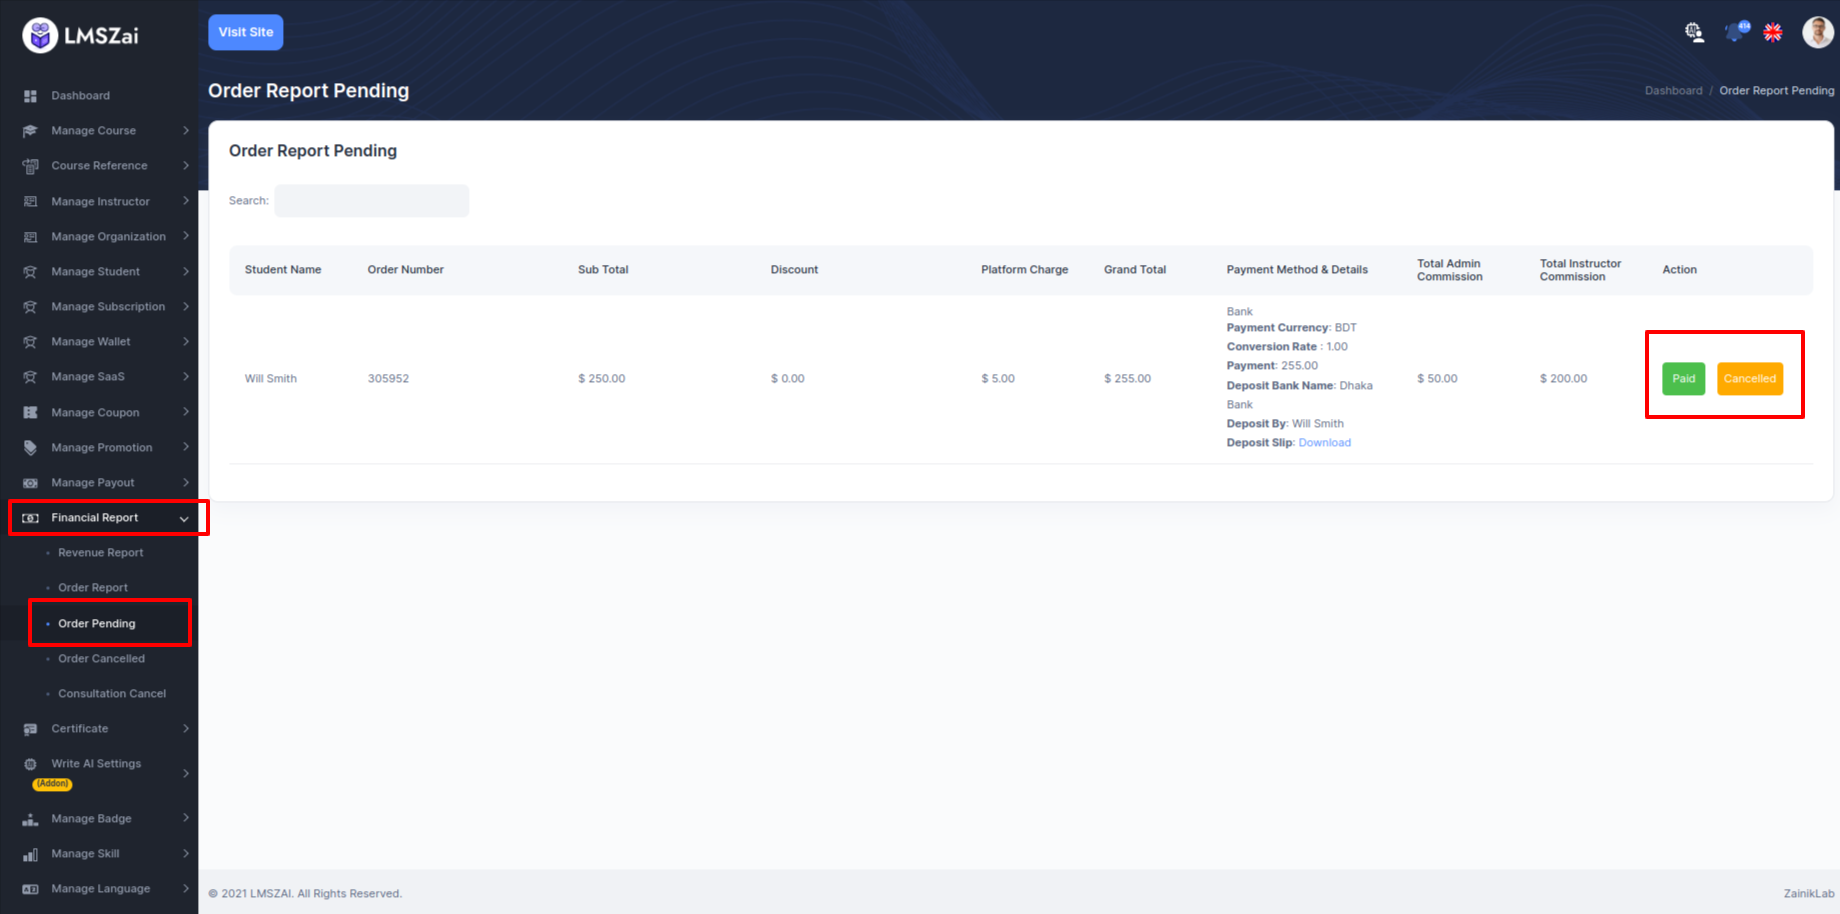
Order Pending
- You can manage this pending order
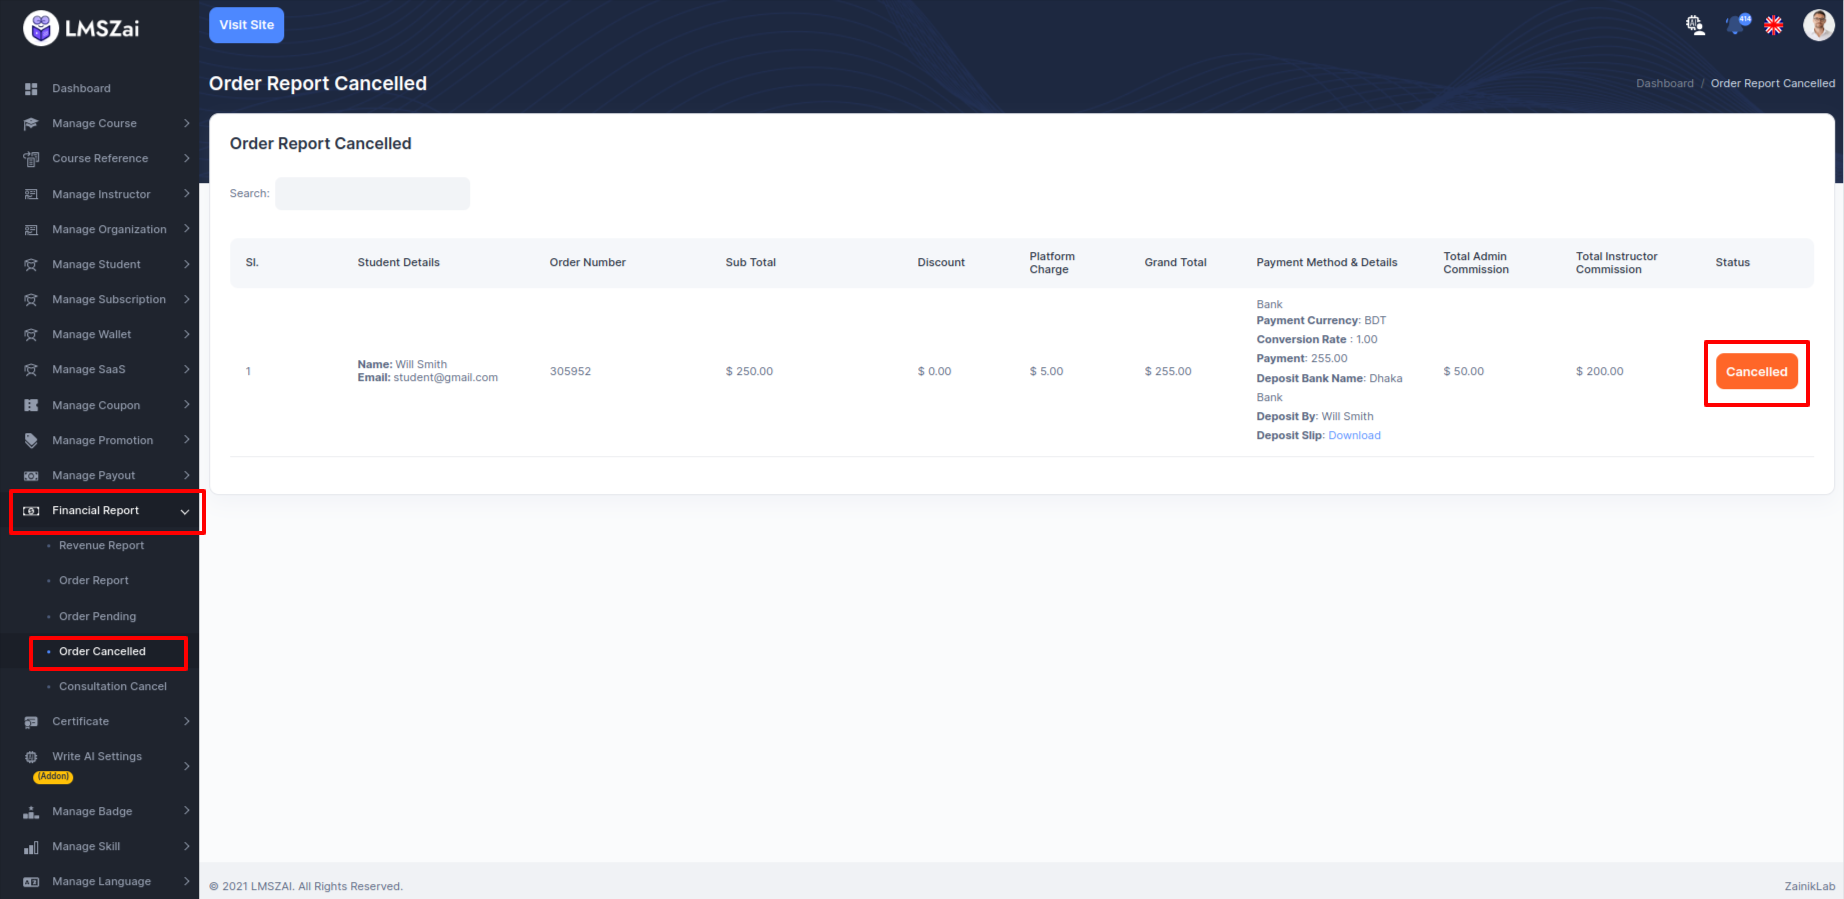
Order Cancelled
- You can manage this order cancelled
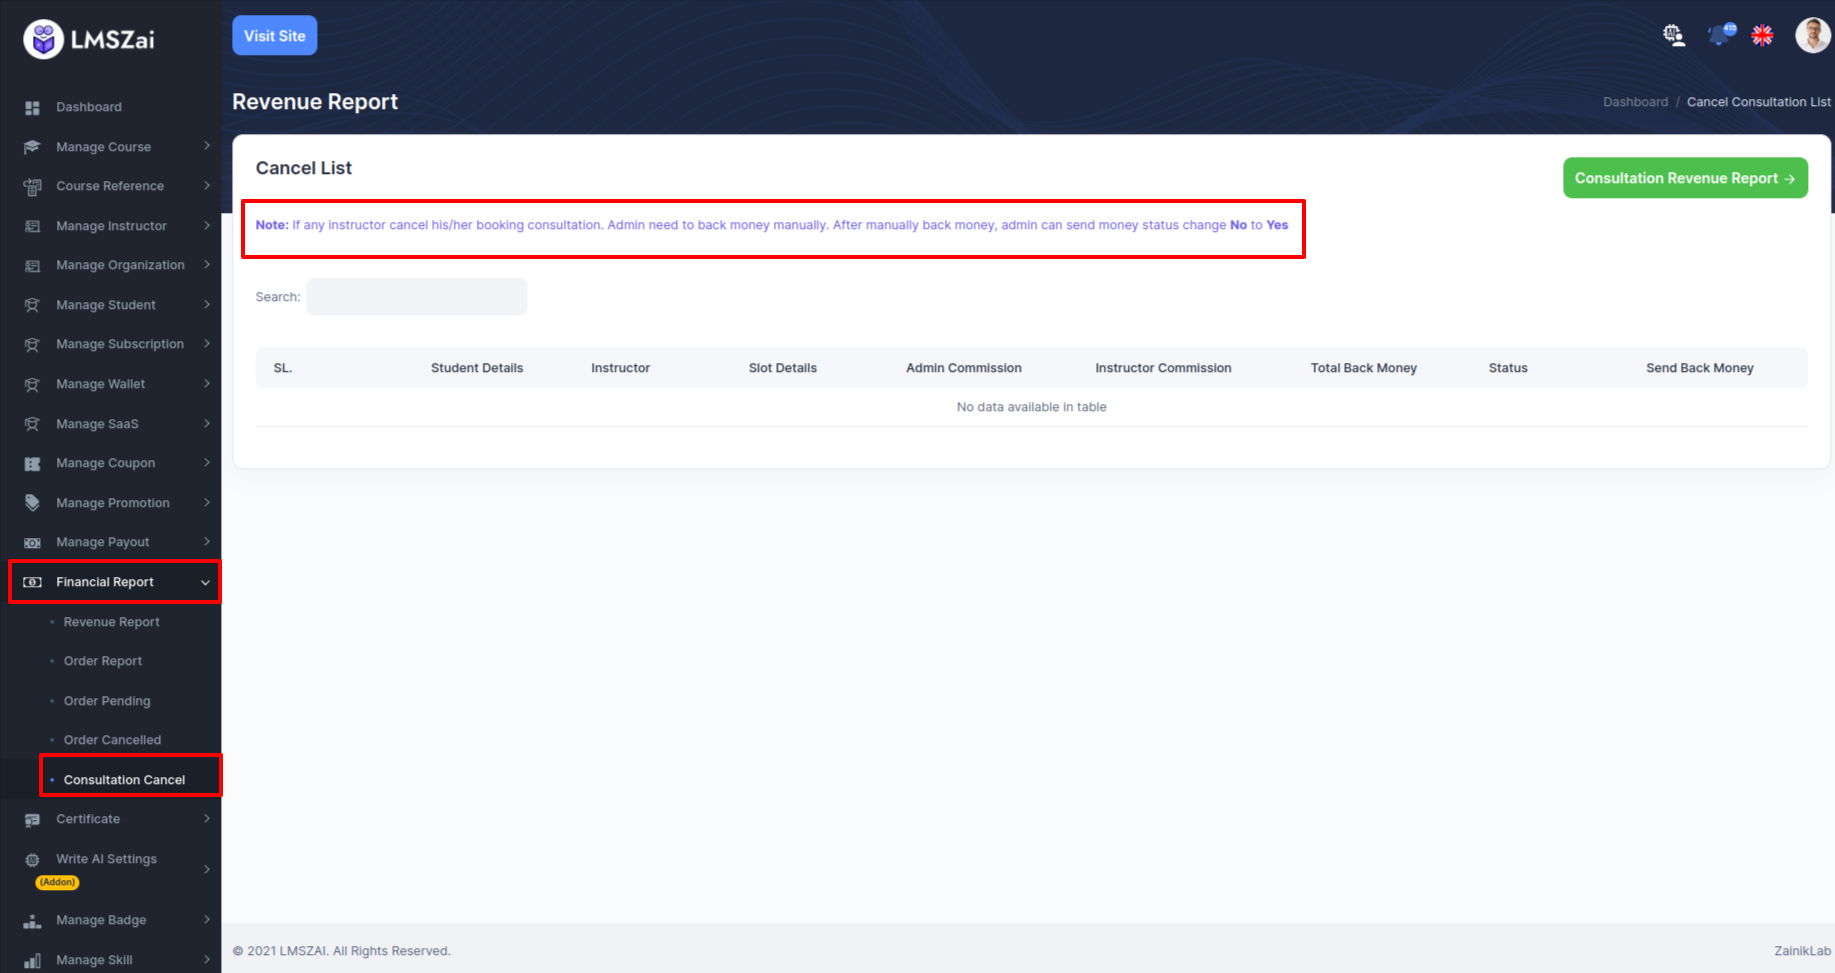
Consultation Cancel
- You can manage this cancel consultation
Certificate
Admin can manage all the certificate report (add a certificate, certificate details)
Manage certificate has many functions. Given here
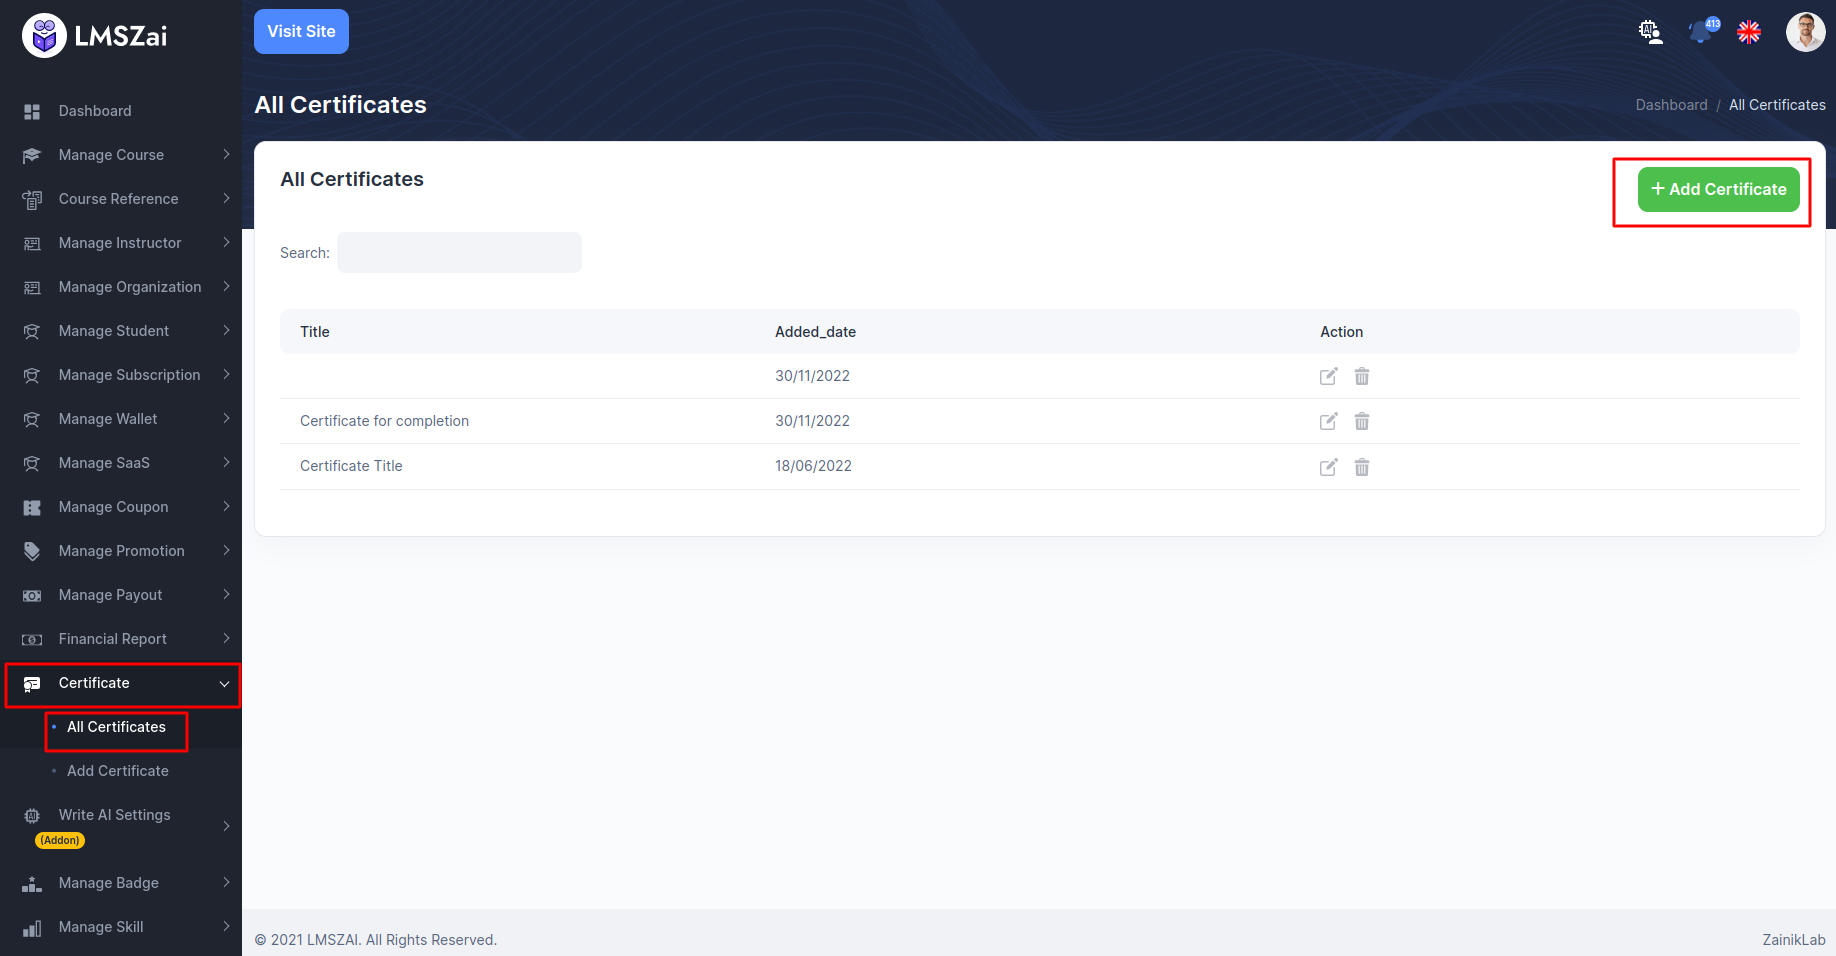
All Certificates
- You can manage this all certificates
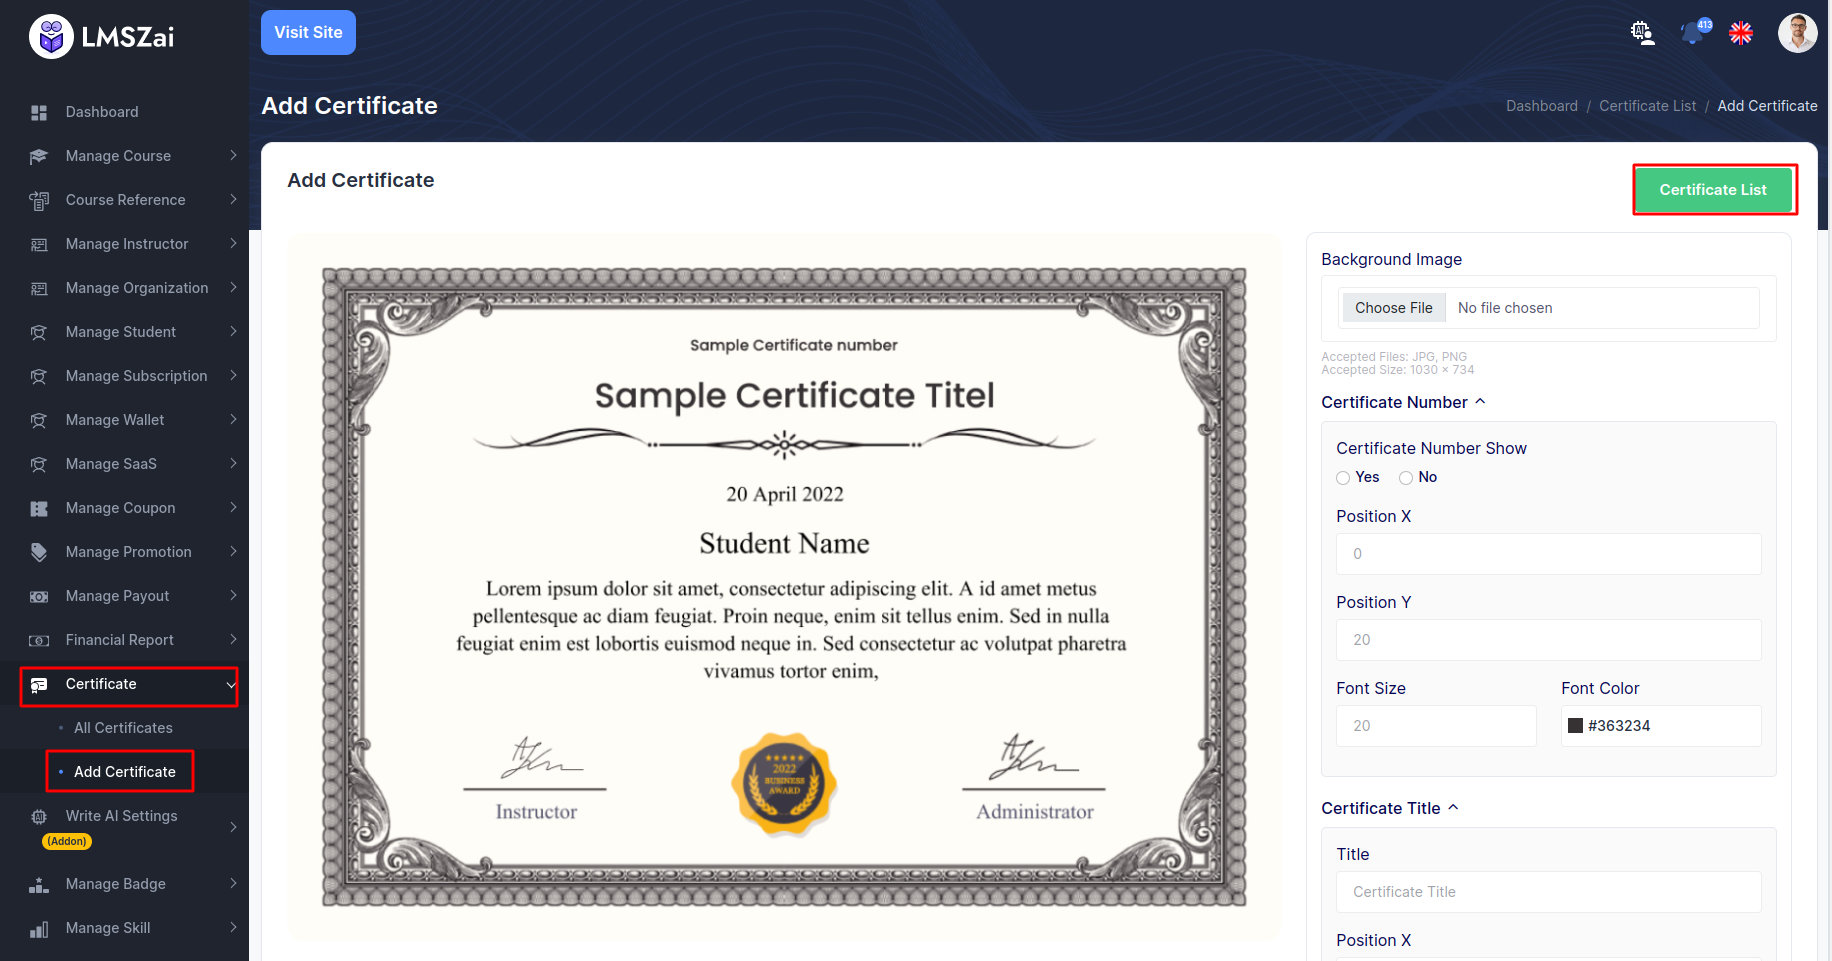
Add Certificates
- You can manage this add a certificates
Write AI Settings (Addon)
-
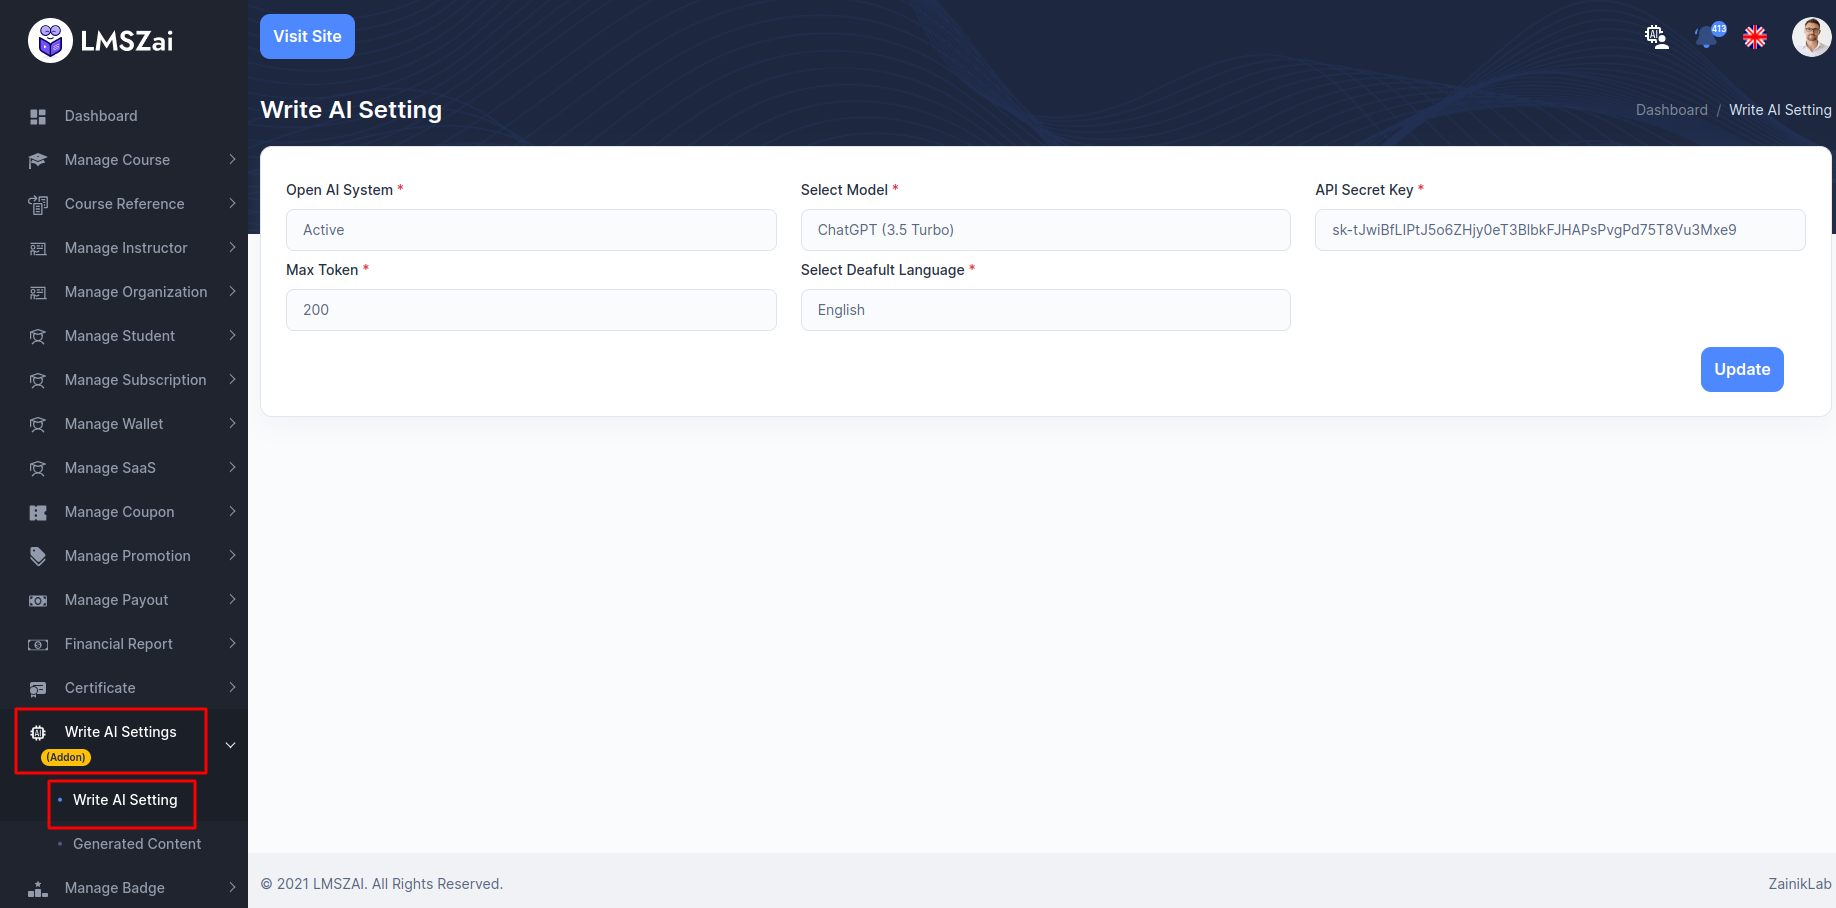
After that go to the write AI settings. There is some input field.
-
Open AI System: Select the Active button for AI System.
-
Select model: Select a model for openAI API.
-
API Secret Key: Put the valid API secret key.
-
Max Token: Give a number for maximum words you want to get in the output. For example, 50 numbers means approximate max 50 words you can get in the output.
Select Default Language: select a language for the output.
Write AI Settings
- You can manage this AI settings
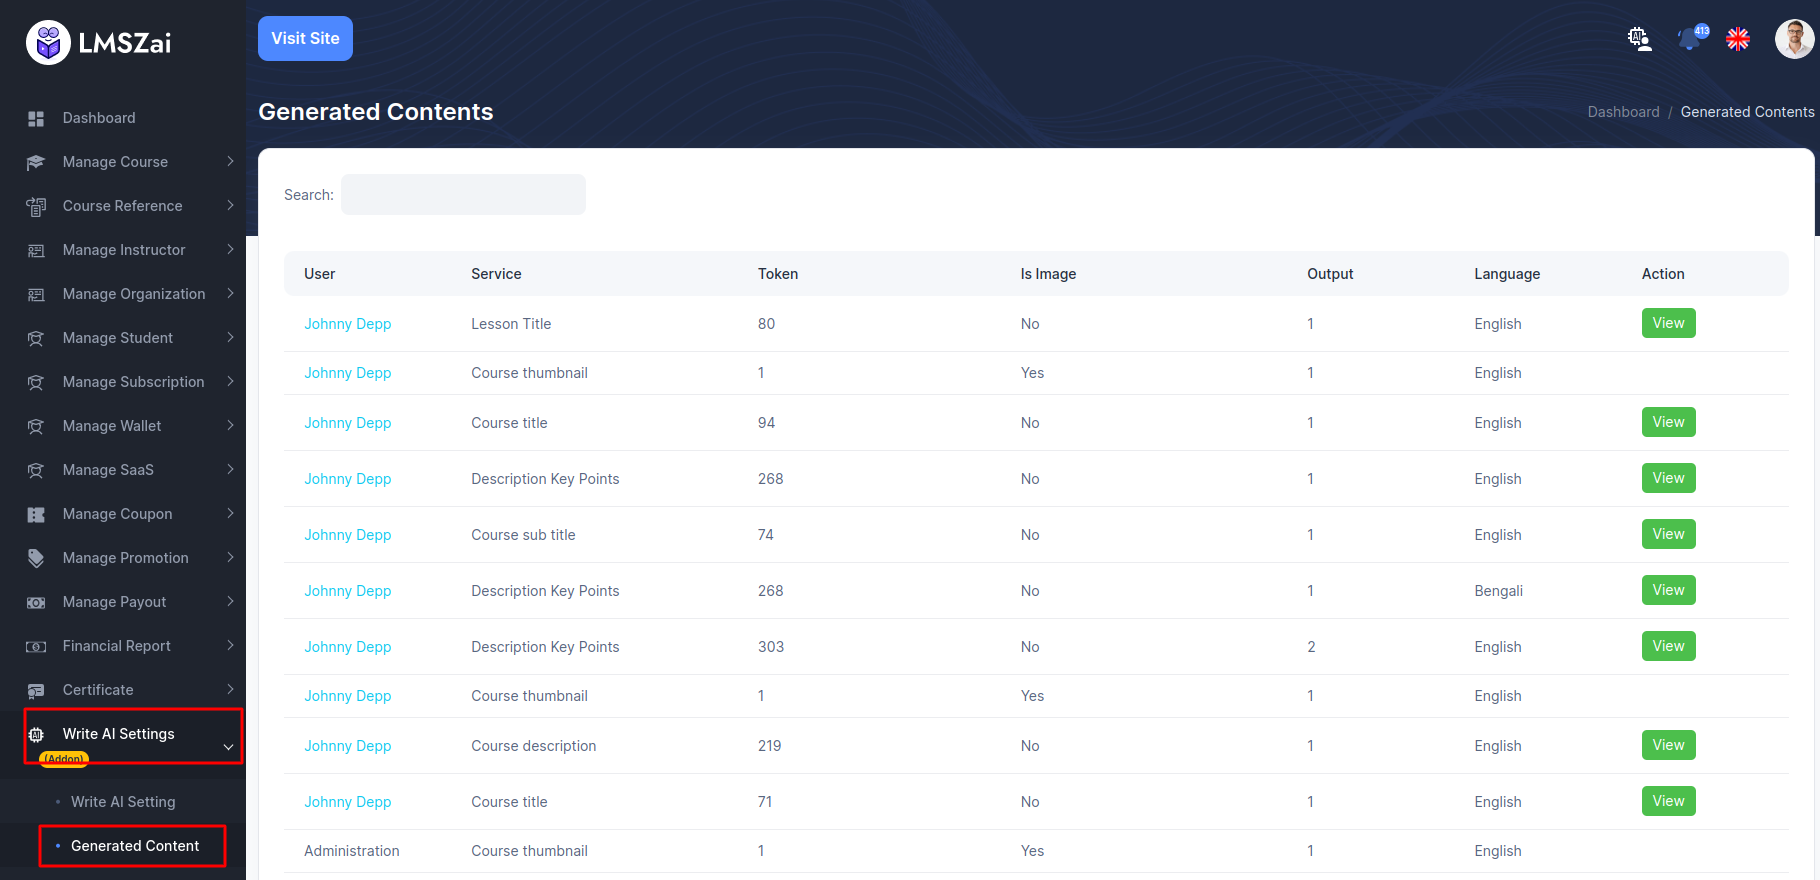
Generated Contents
- On this page, admin can see all the content list.
Manage Badge
Admin can manage all the badge settings (badge details,refresh user badge)
Manage badge has many functions. Given here
Badges
-
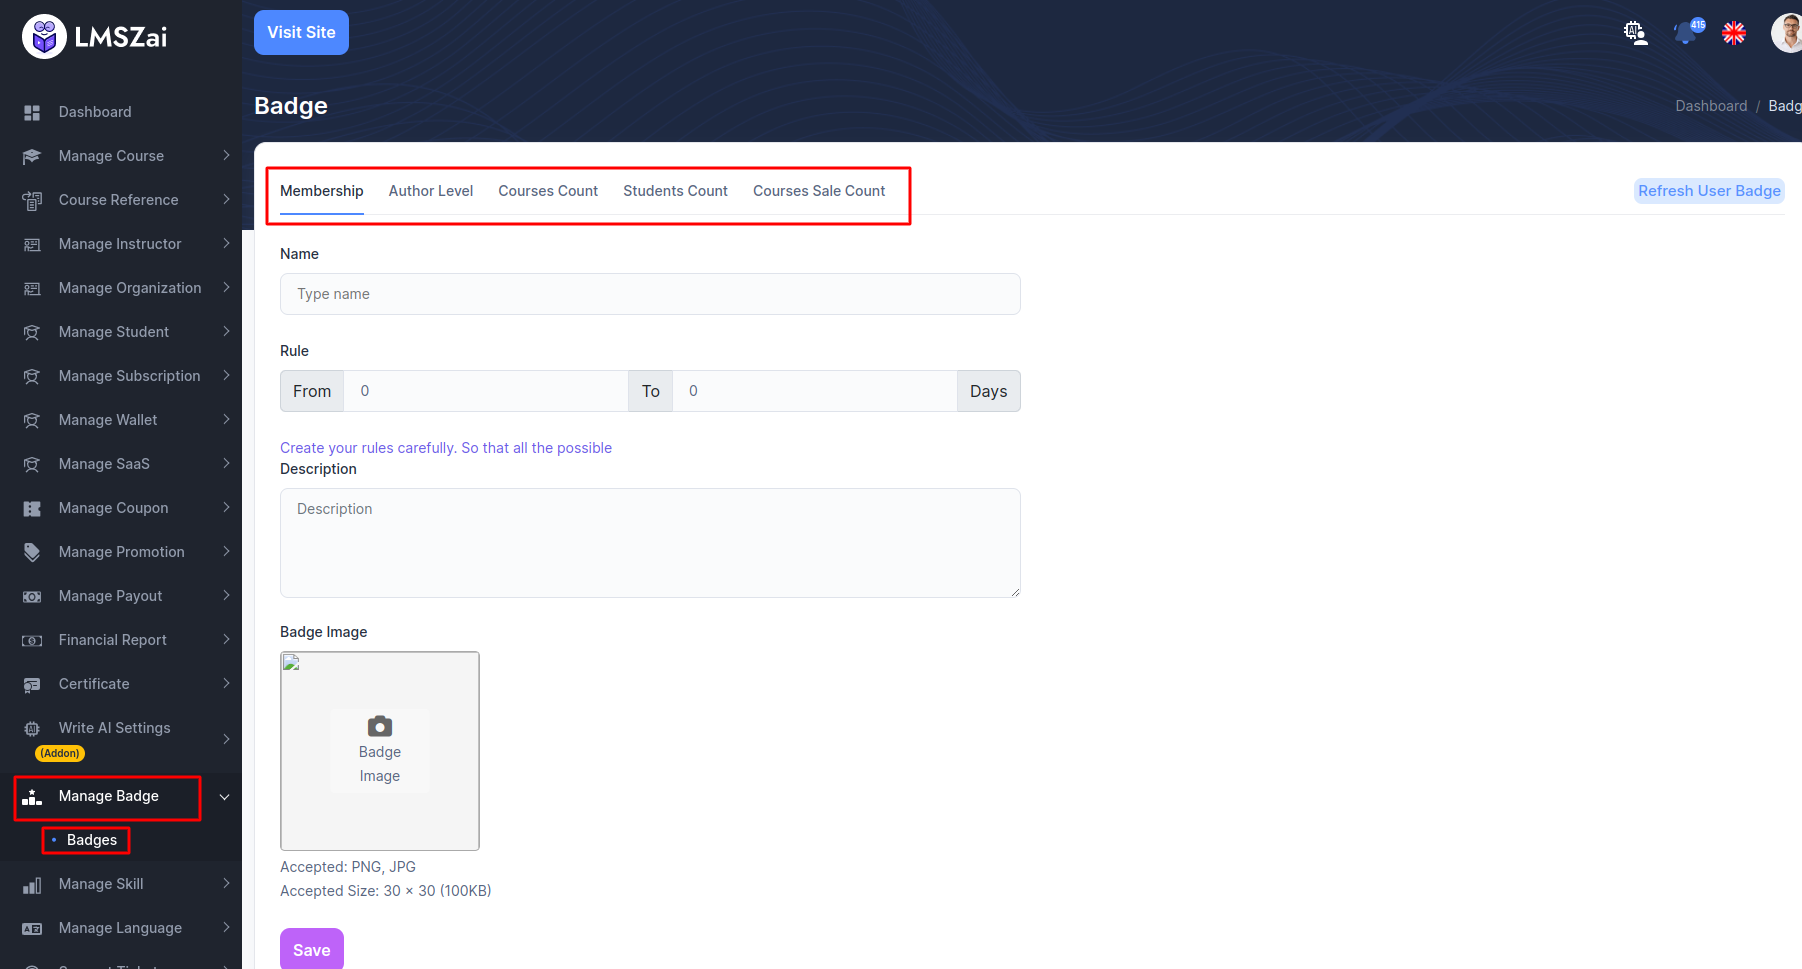
You can manage this badge settings
-
Membership
- Author Level
- Courses Count
- Students Count
- Courses Sale Count
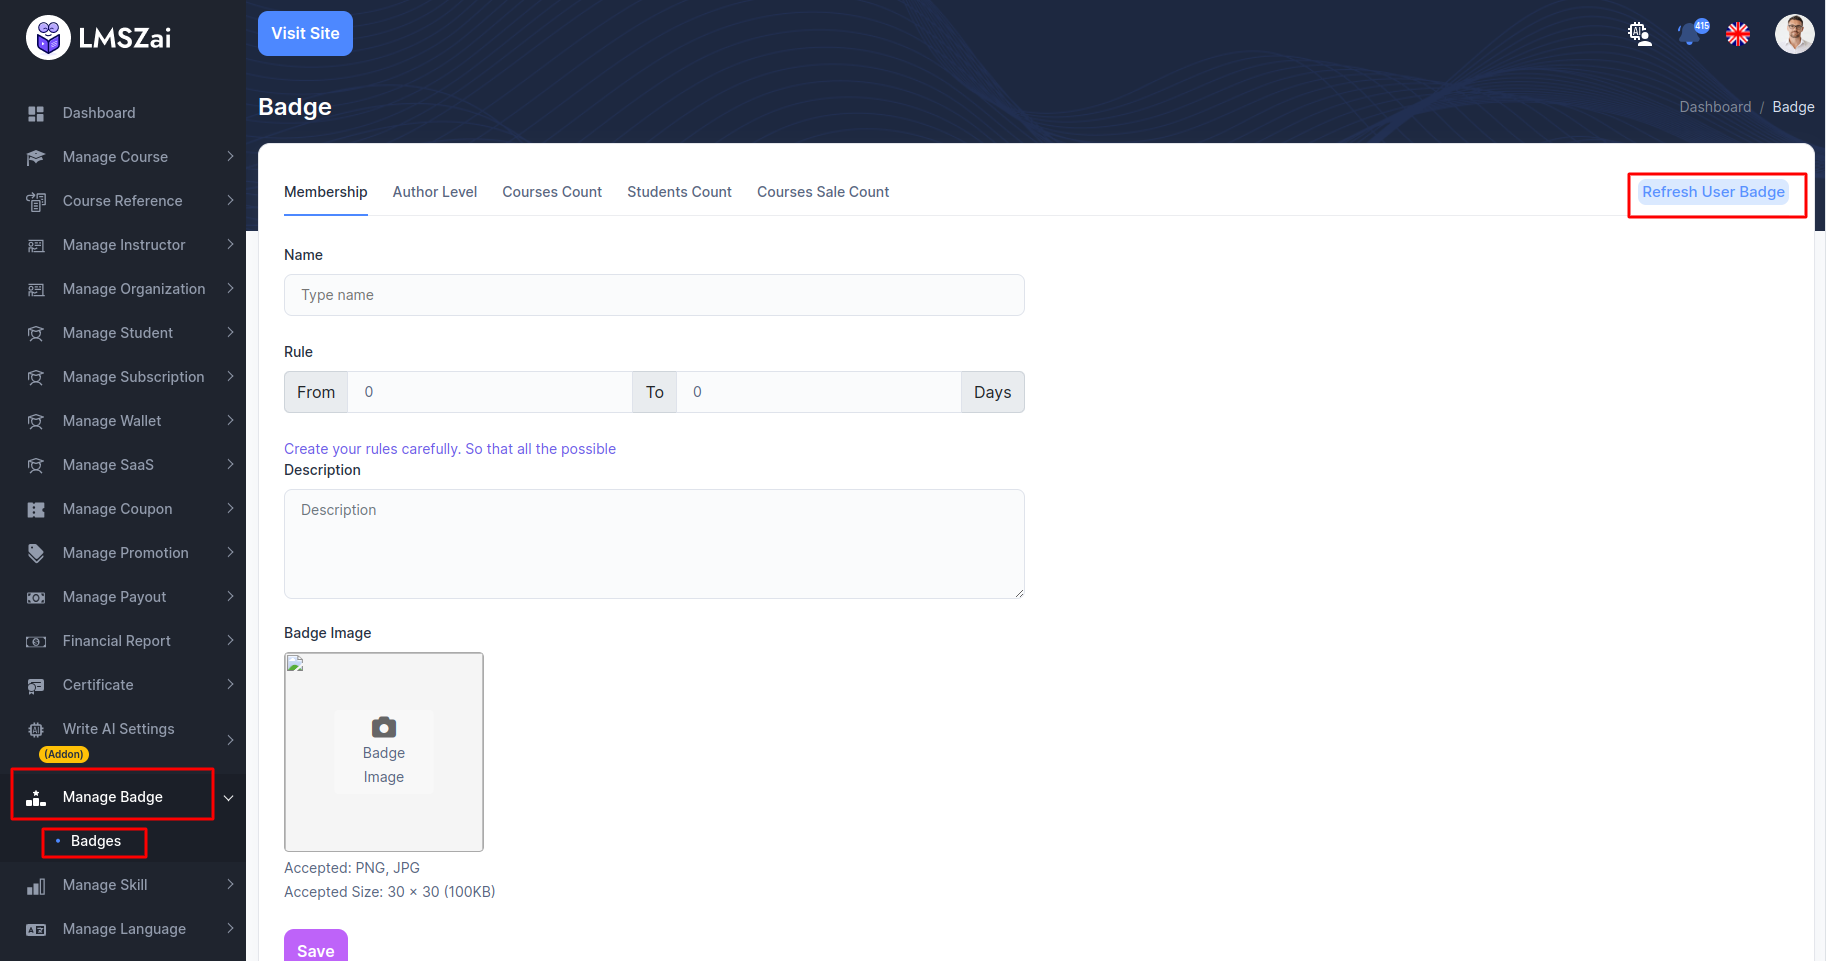
- Refresh User Badge
If in your Badge setting ( Membership, Author Level, Course Count, Student Count, Courses Sale Count ) If this doesn't work, you can click on the Refresh user badge button and start working again.
Manage Skill
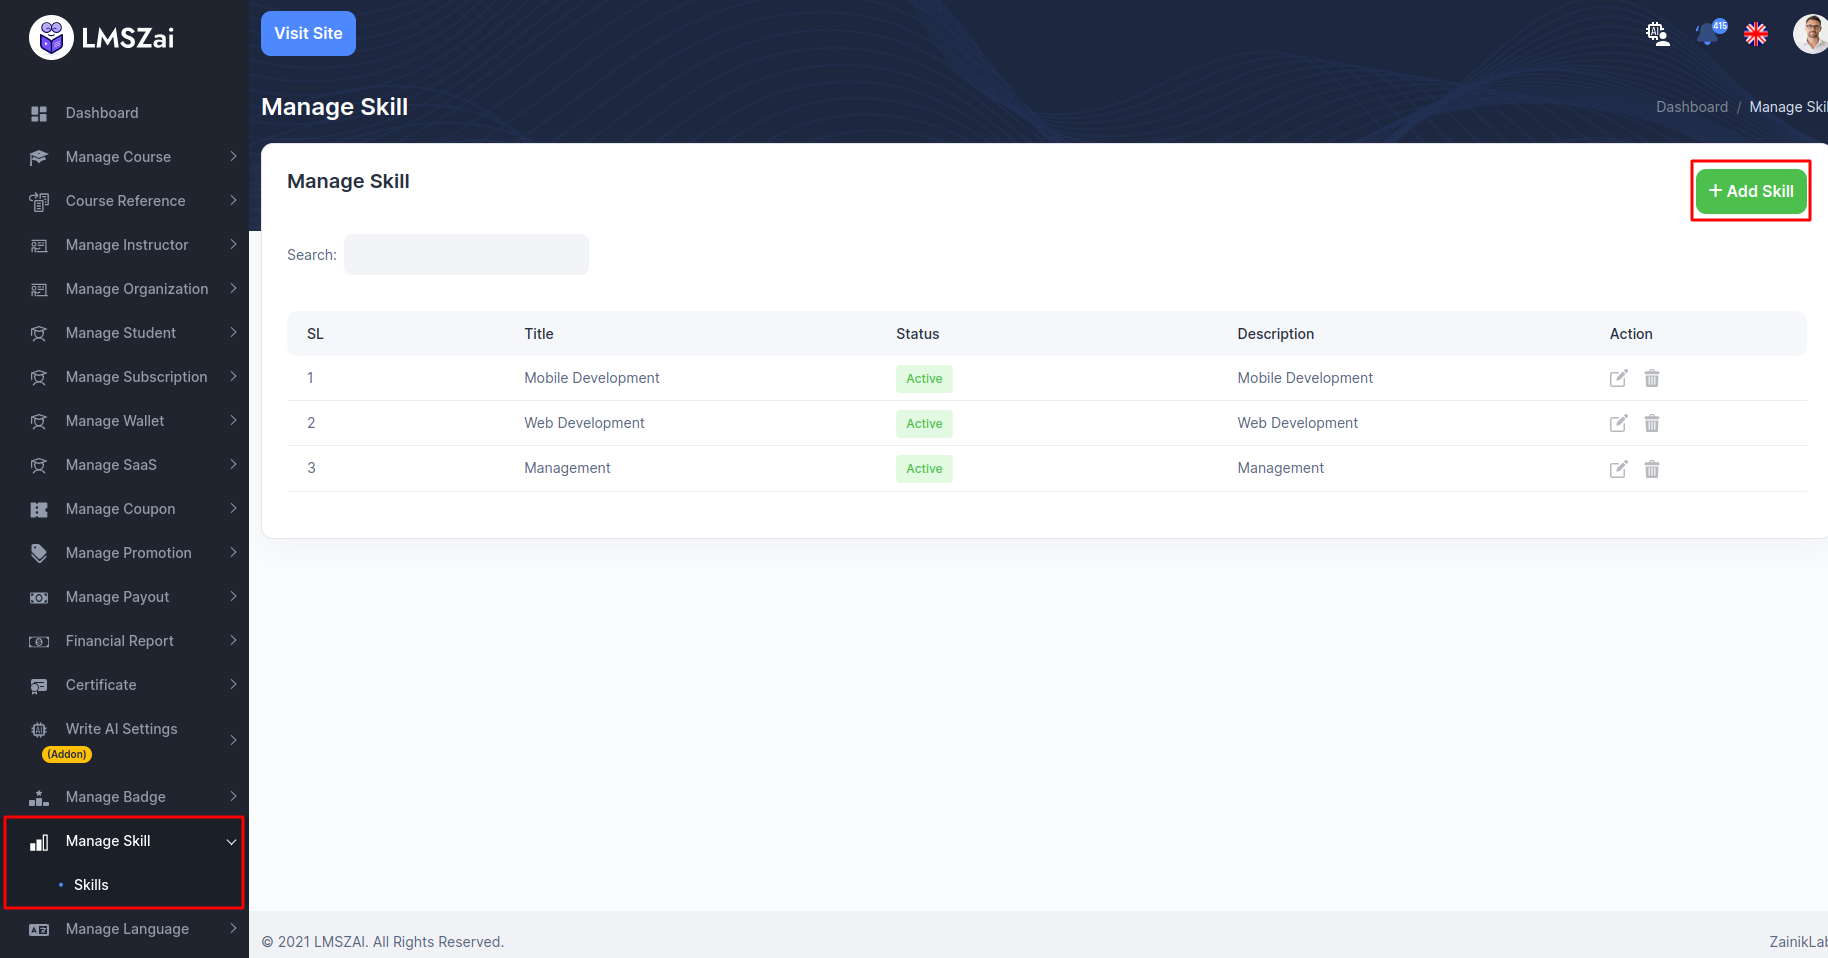
Admin can manage all the skill (skill details,add a skill)
Manage skill has many functions. Given here
Skills
Manage Language
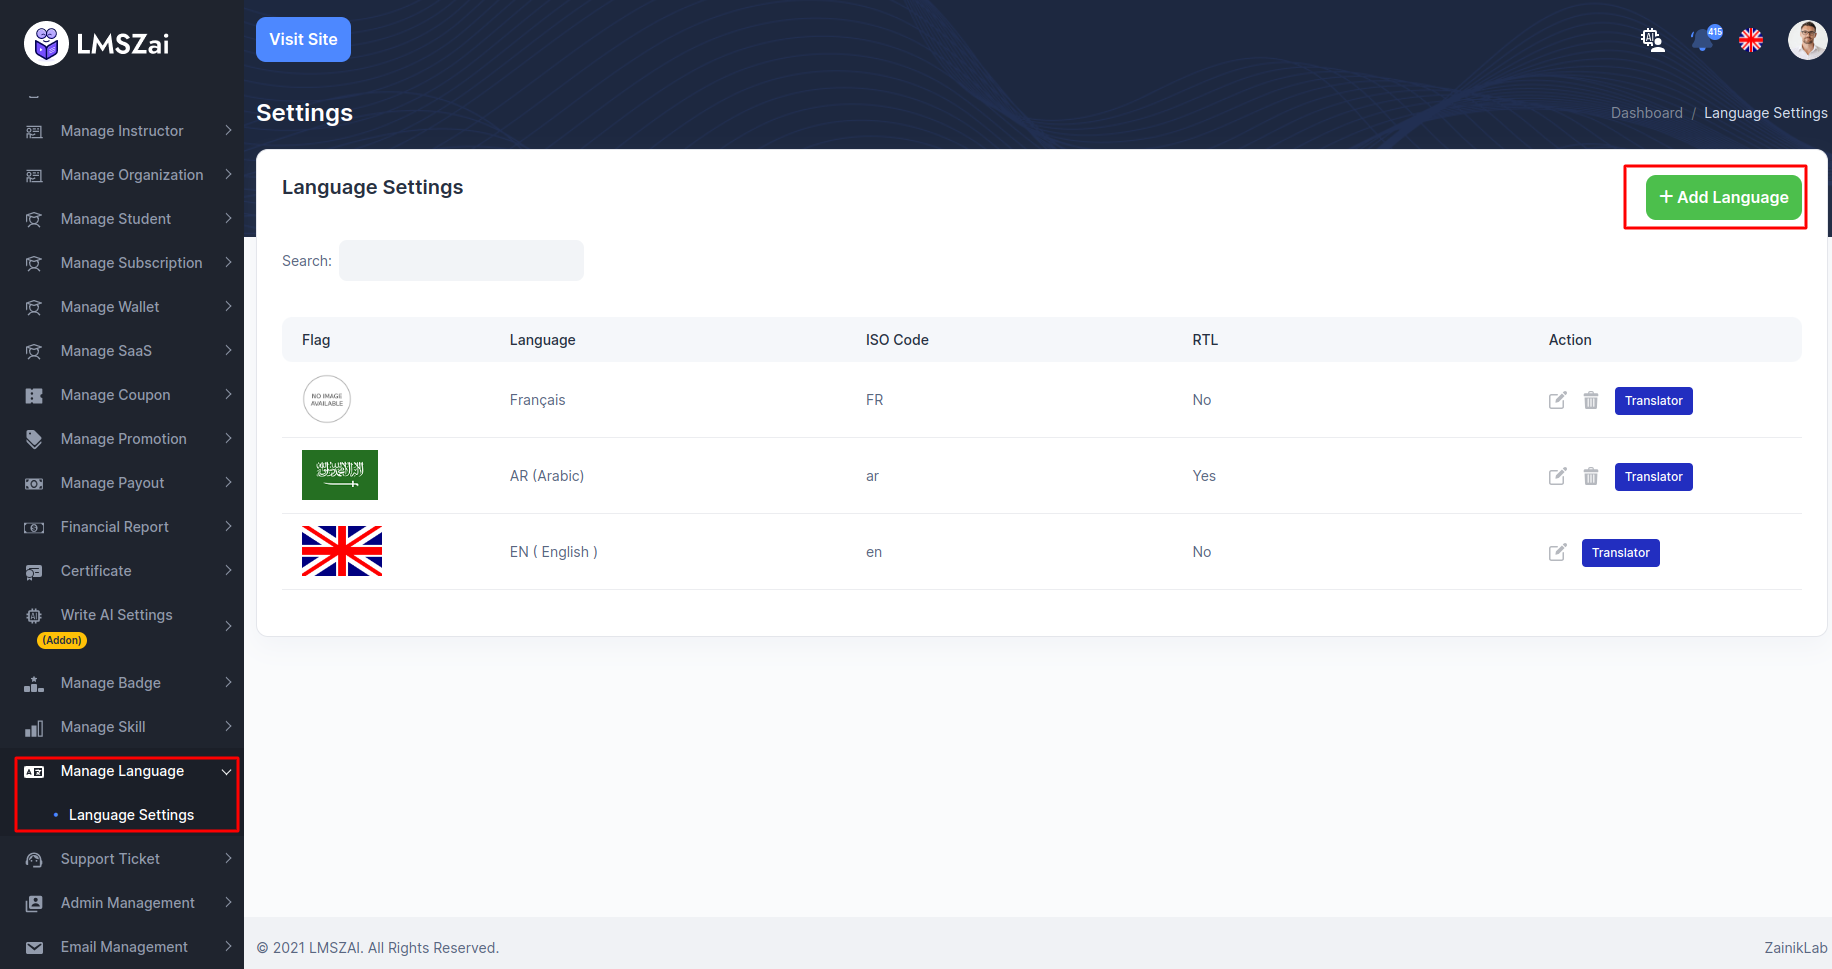
Admin can create, update, delete any language from here
Language Settings
- You can manage this language settings
Support Ticket
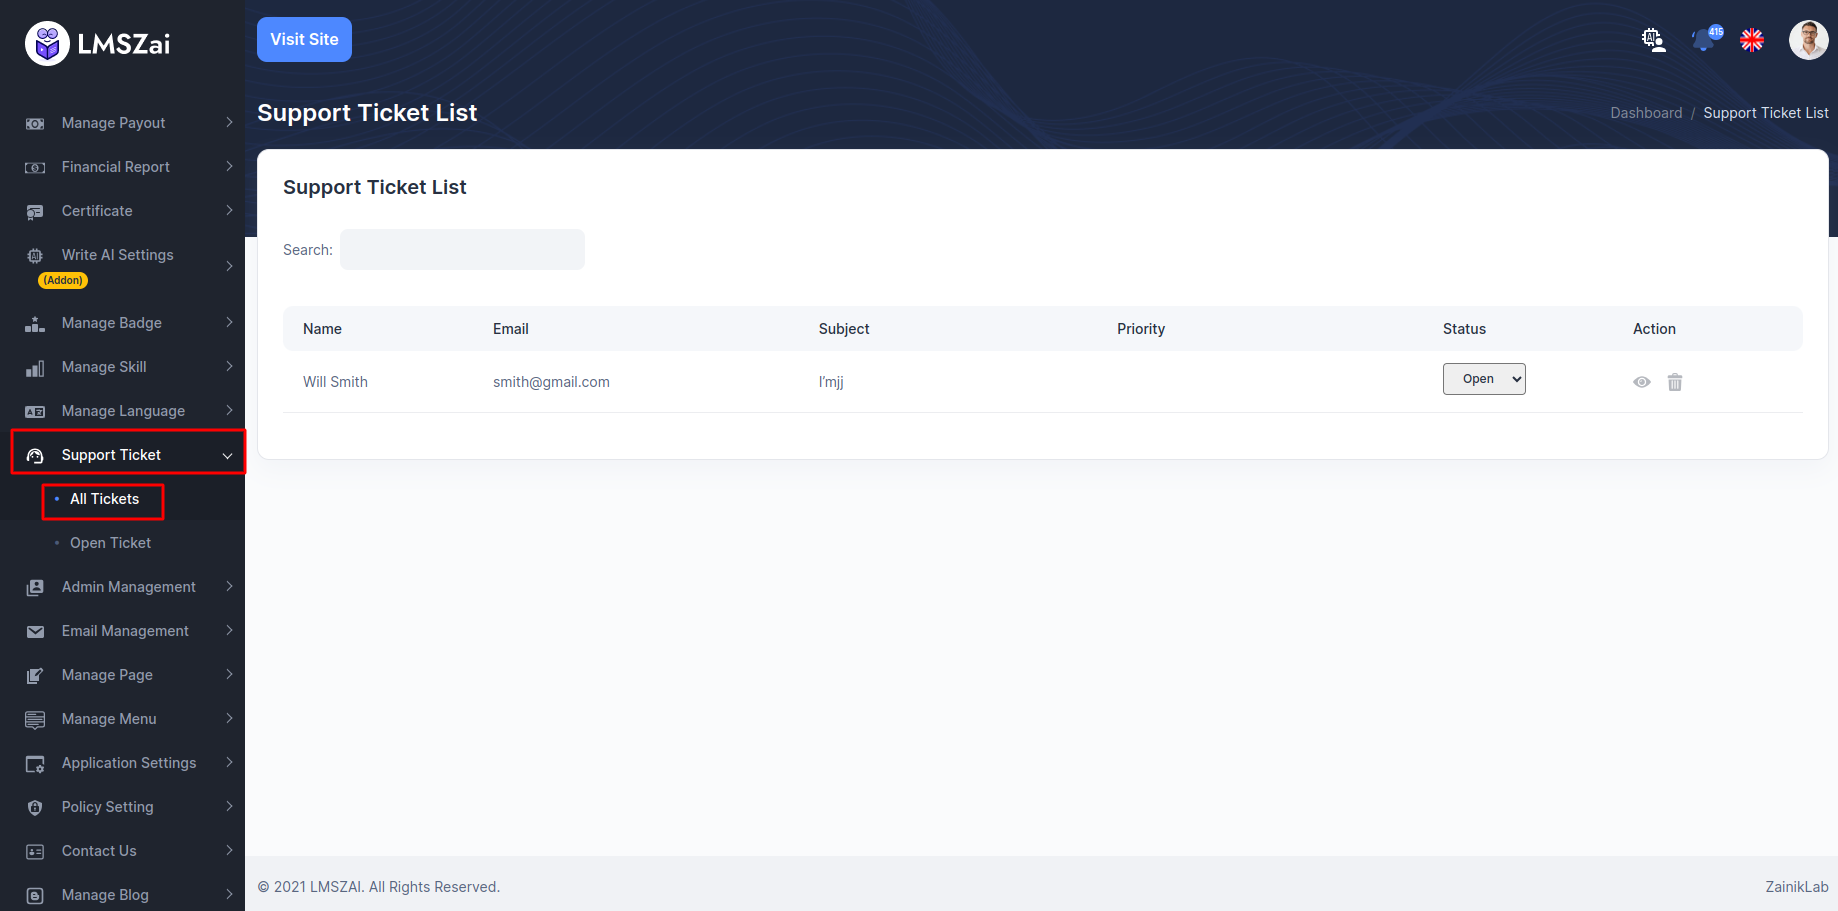
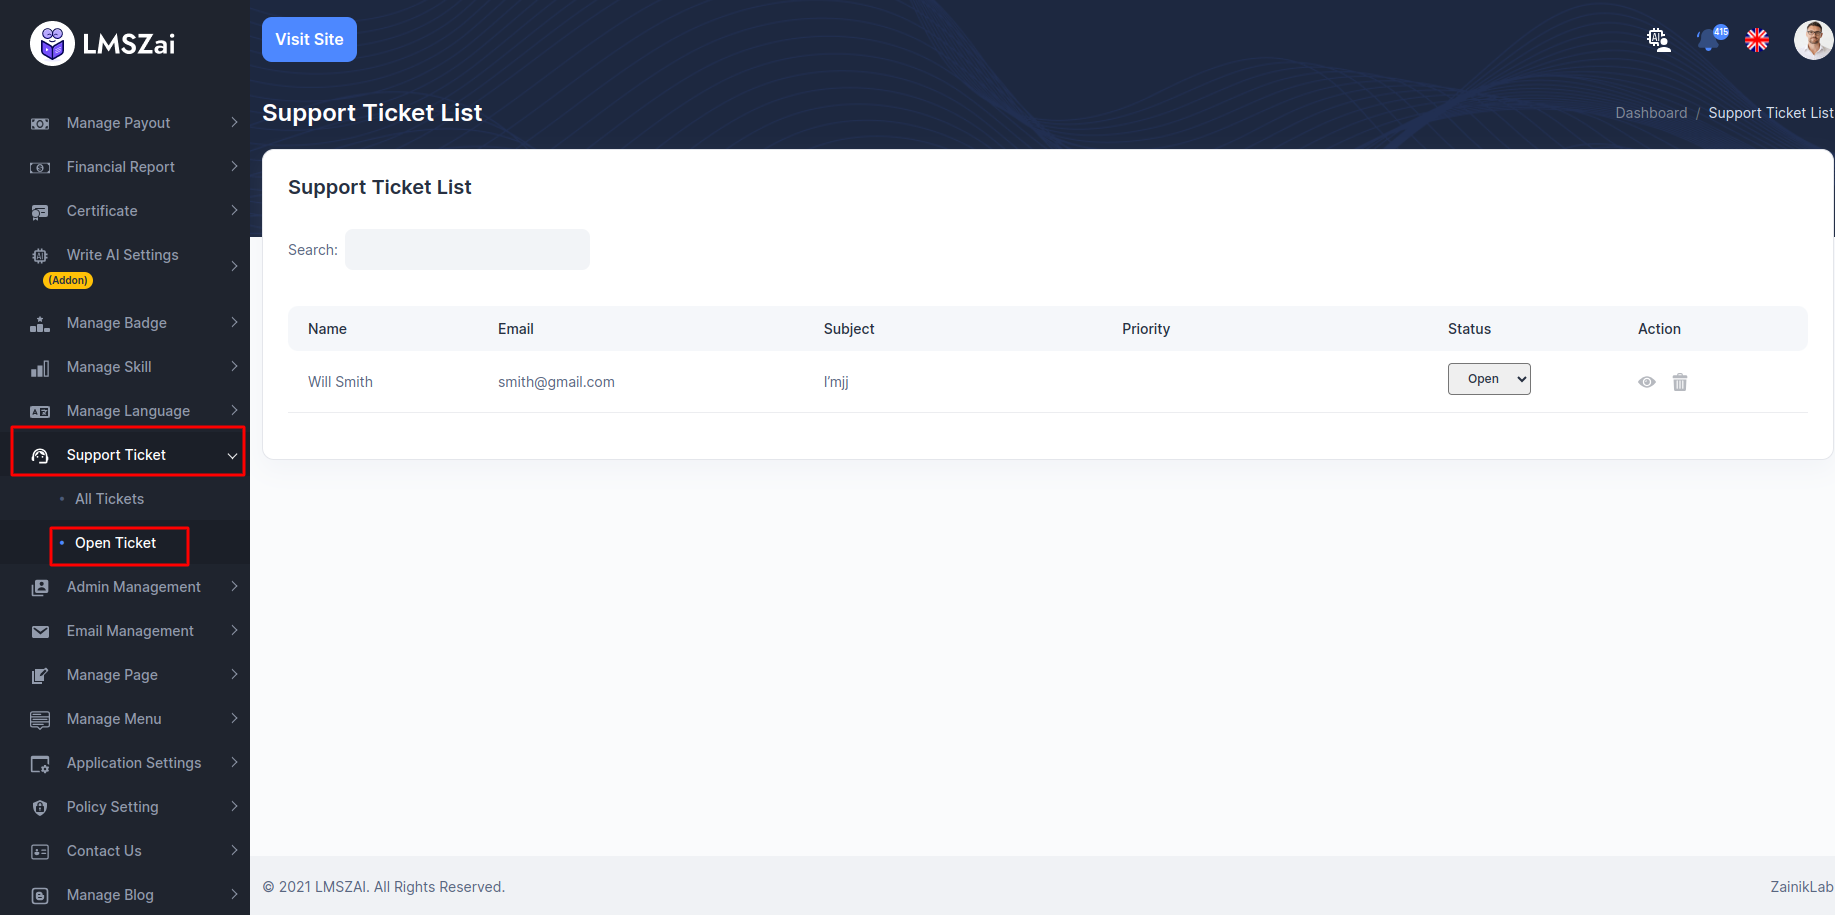
If any user needs any help/support form the admin or administration he can create a ticket from support in the front end. And the admin will get all this ticket here. He will manage, answer, delete it from here.
All Tickets
- You can manage this all tickets
Open Ticket
- You can manage this language settings
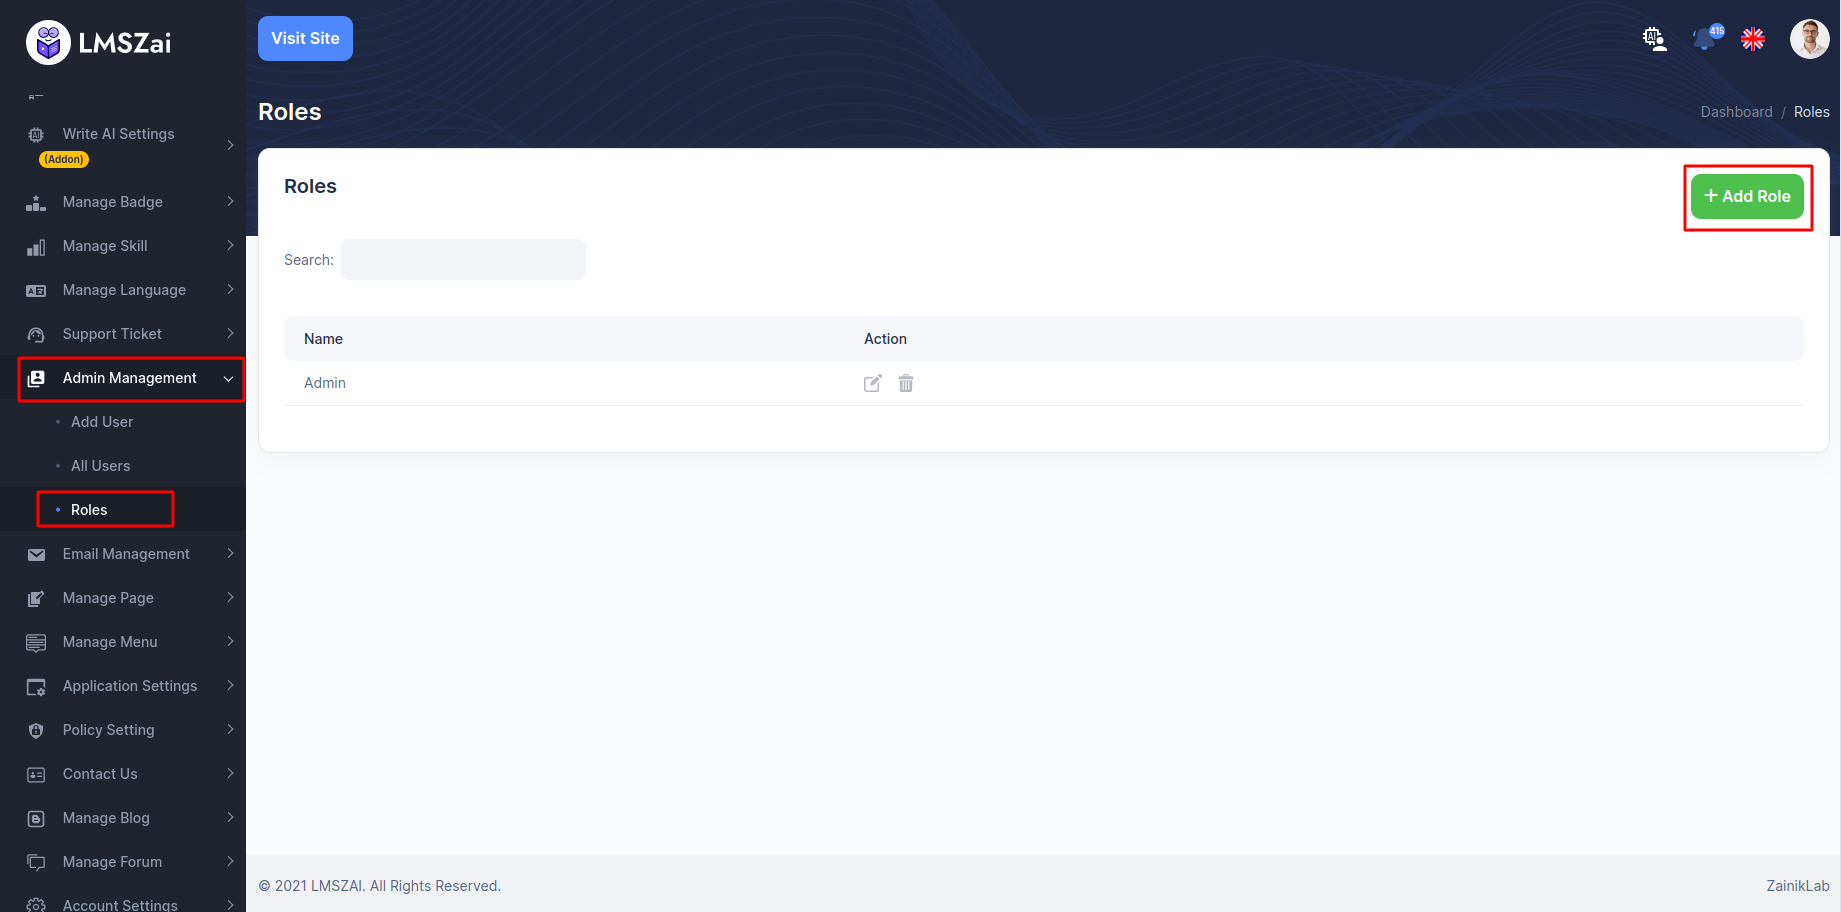
Admin Management
Admin can manage all the manage admin (admin manage details,add a admin)
Manage admin has many functions. Given here
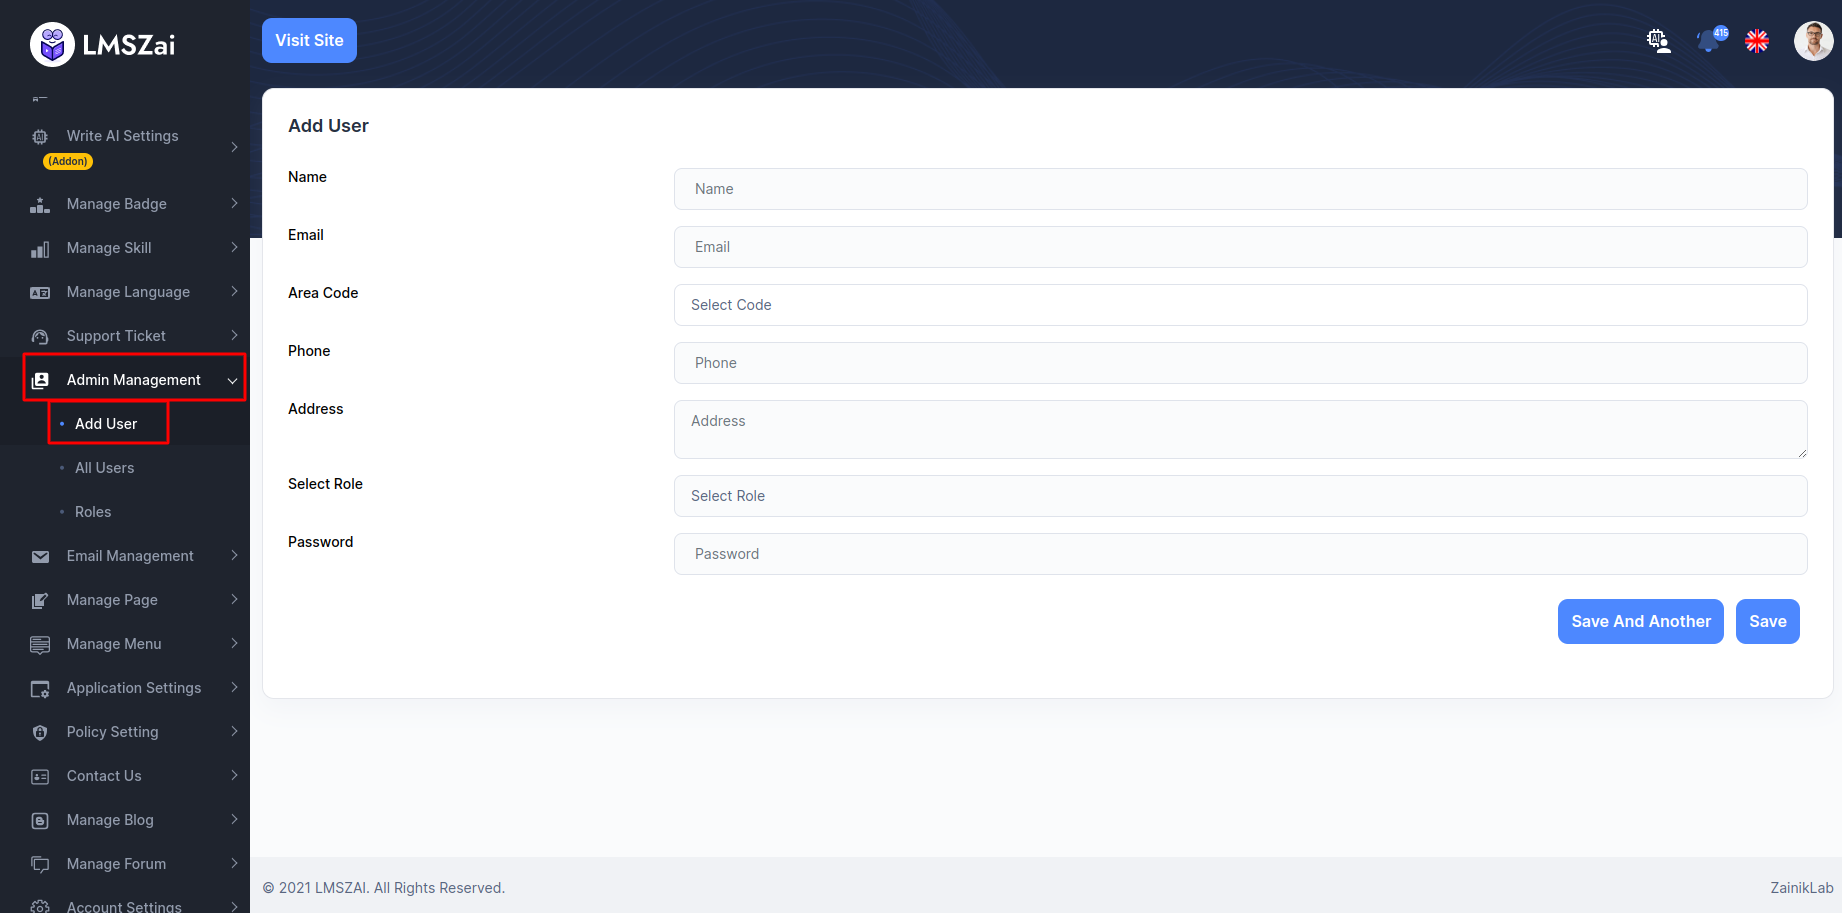
Add User
- You can manage this adds users
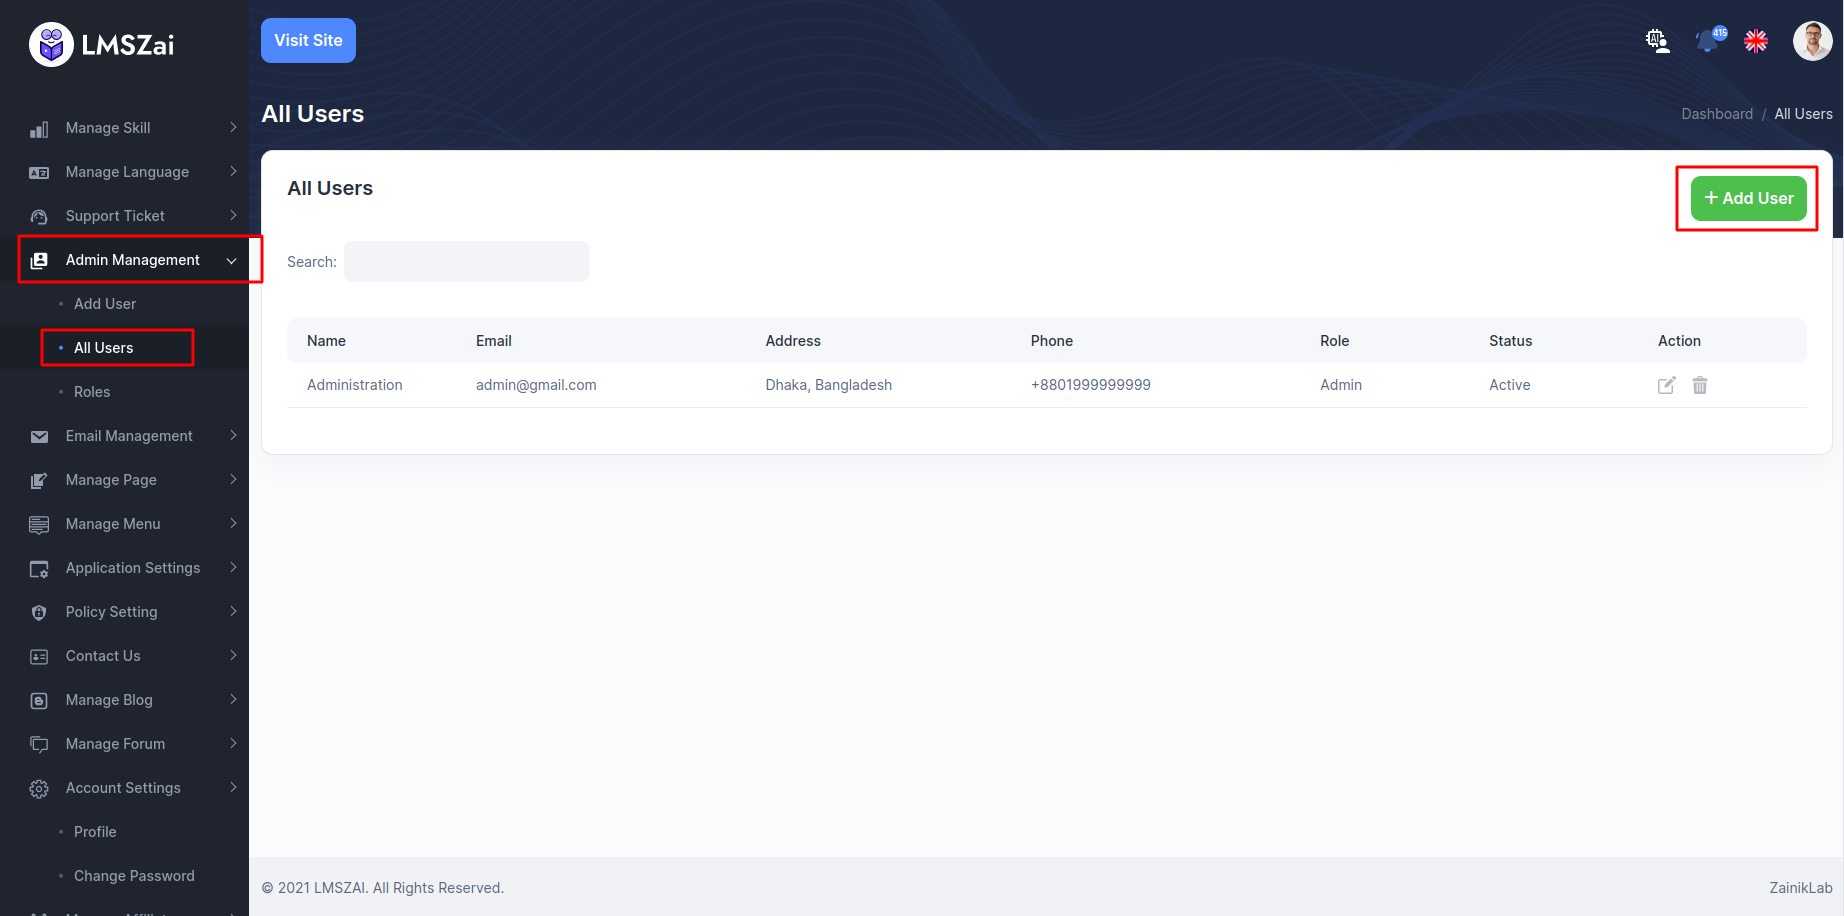
All Users
- You can manage this users
Roles
- You can manage this roles
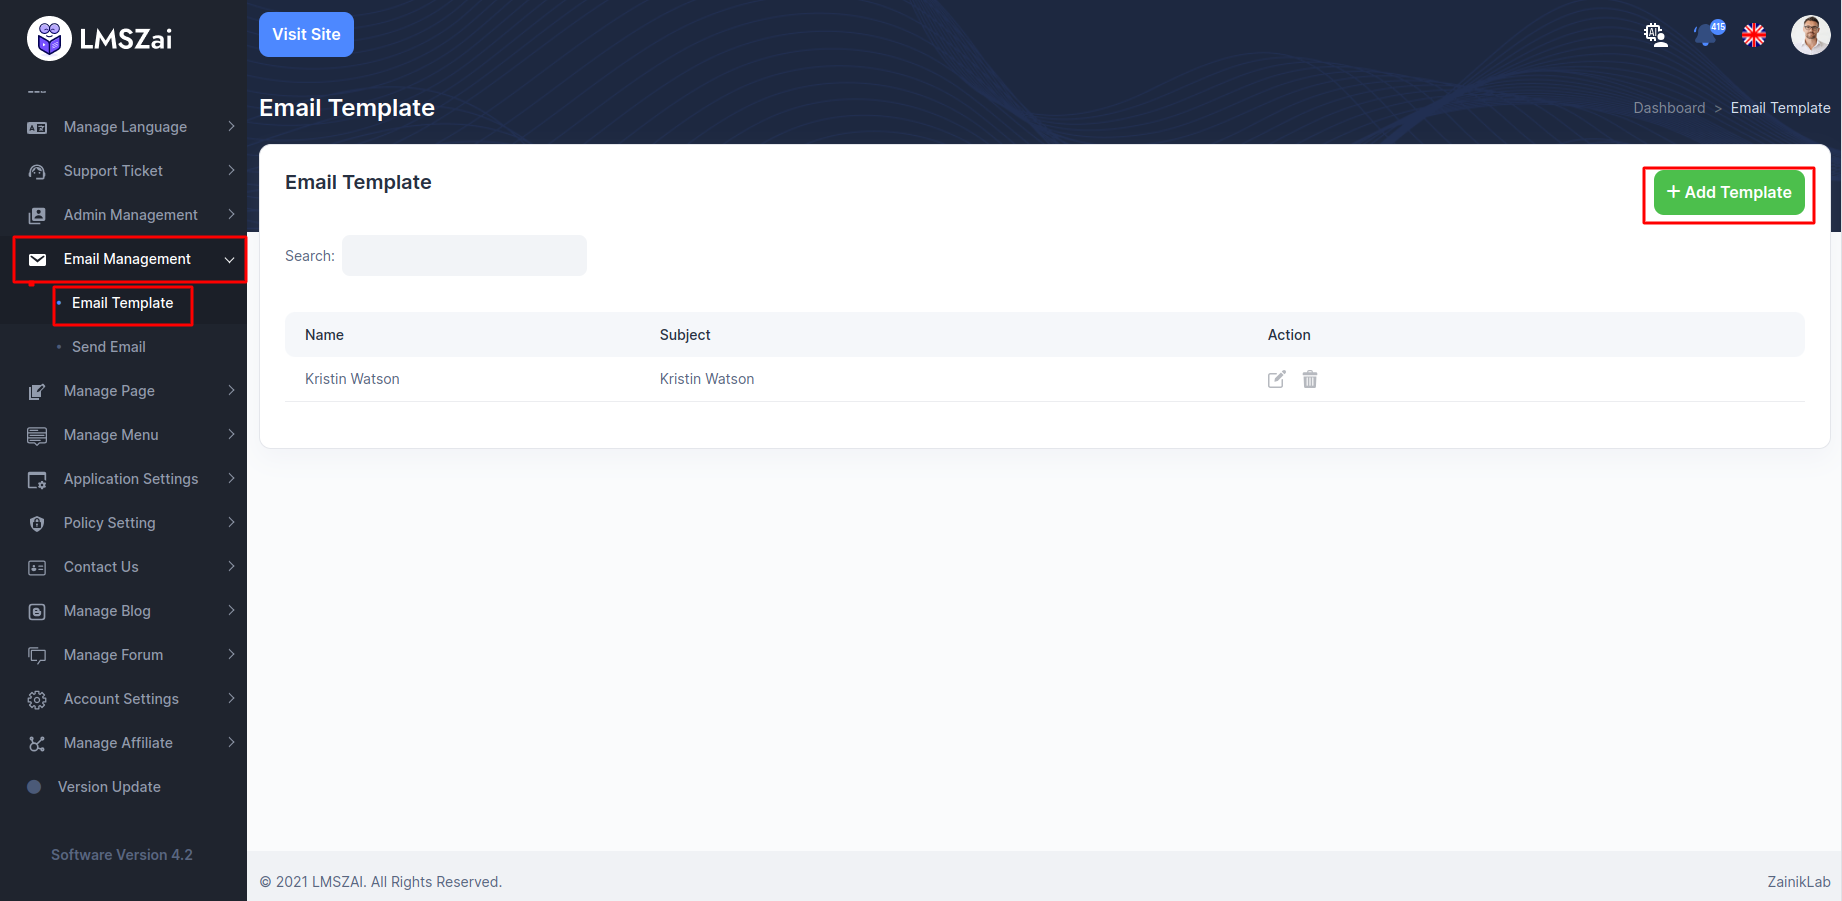
Email Management
Admin can manage all the manage email (email manage details,add a email)
Manage email has many functions. Given here
Email Template
- You can manage this adds users
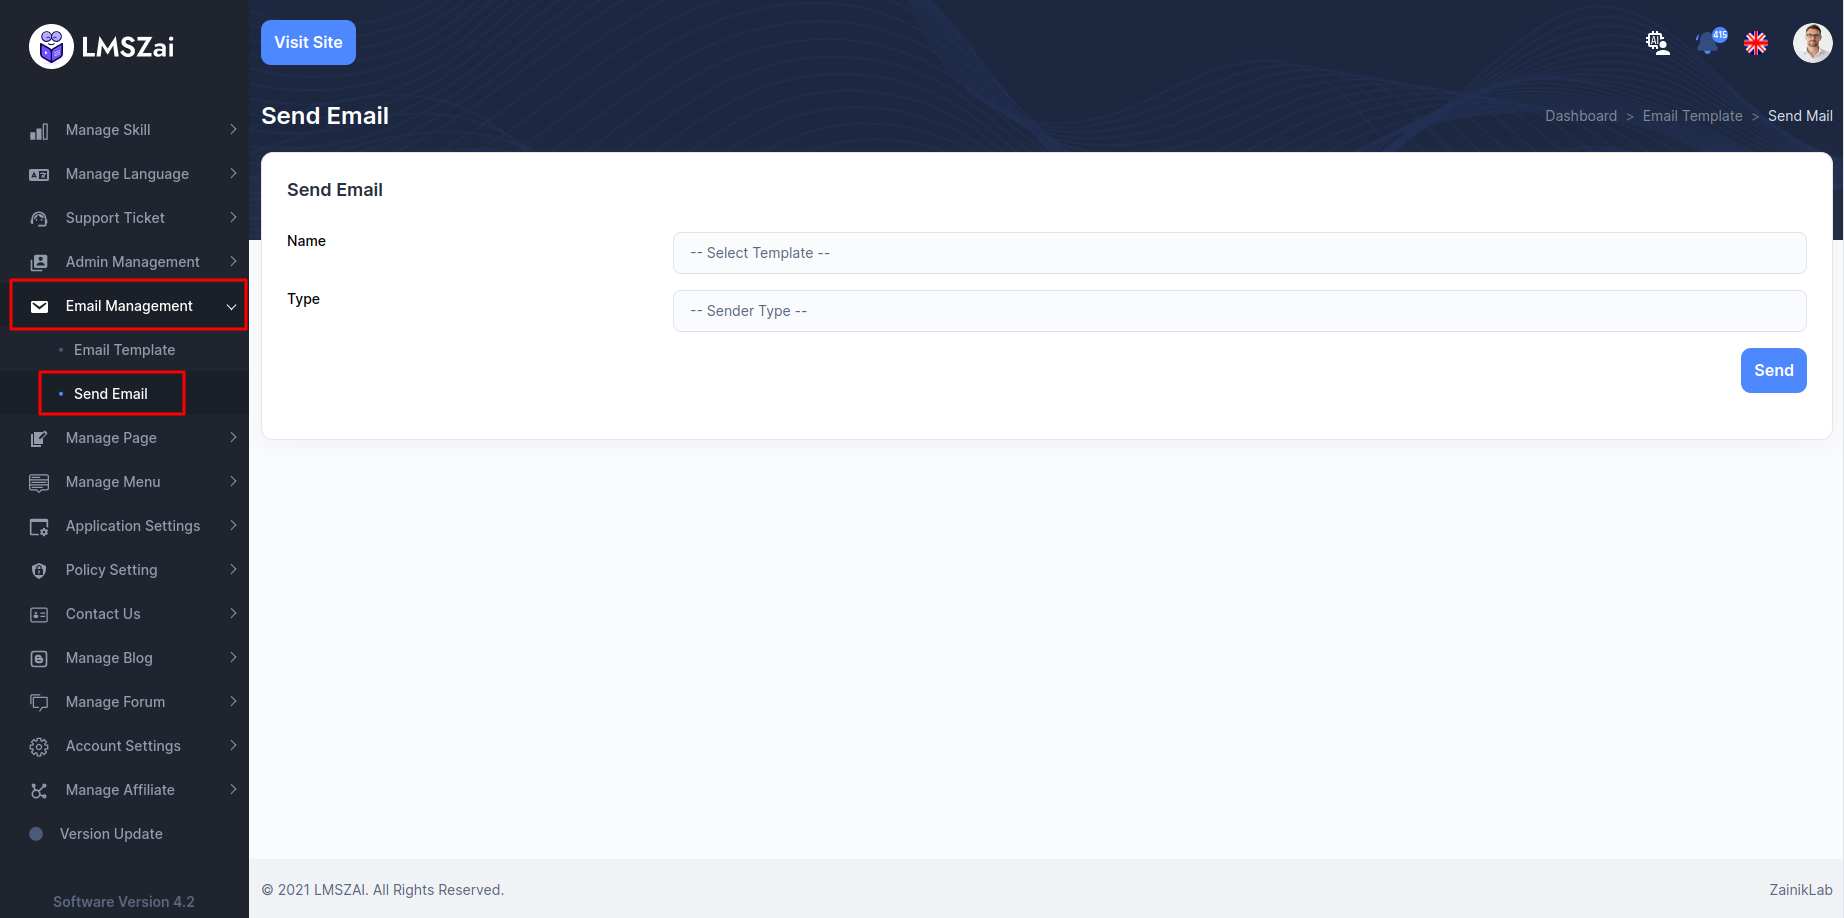
Send Email
- You can manage this email
Email Notification
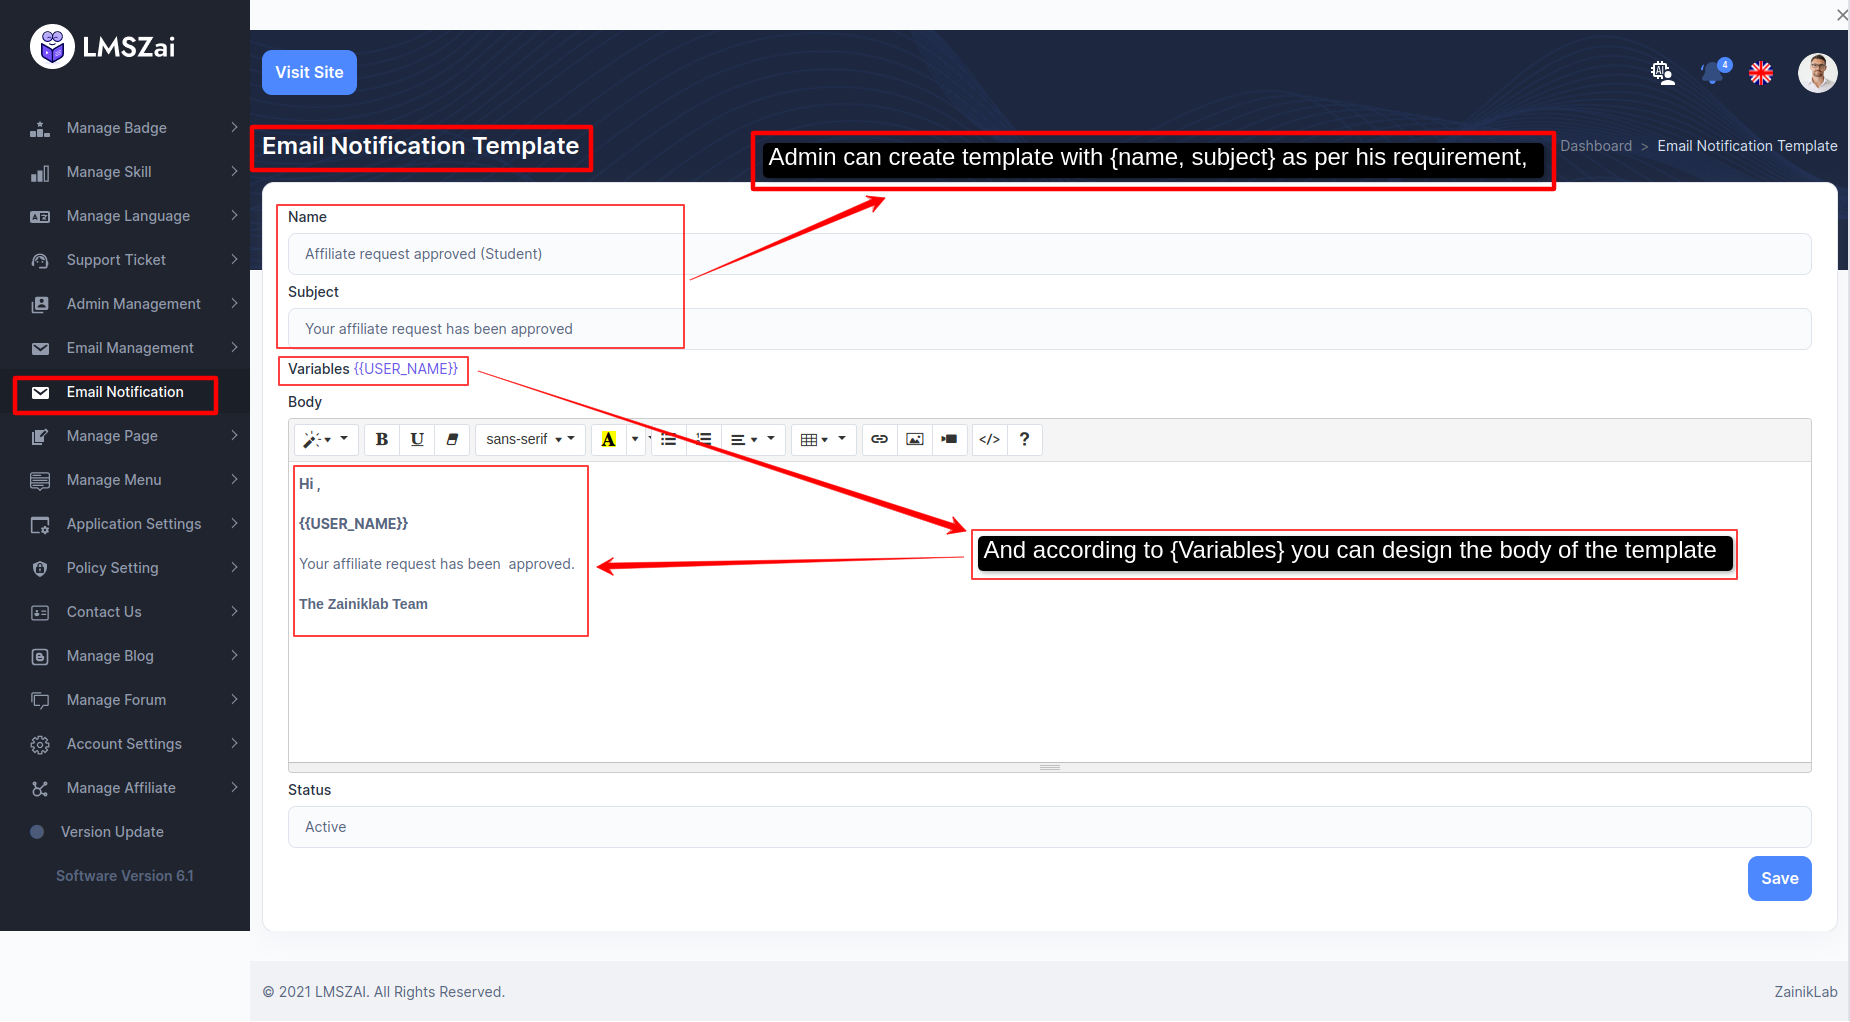
- Admin can edit email notification template from this panel and view template preview.
The recipient for each email notification template is indicated in parentheses () next to the template.
The email will be sent to everyone if no specific recipient is indicated.
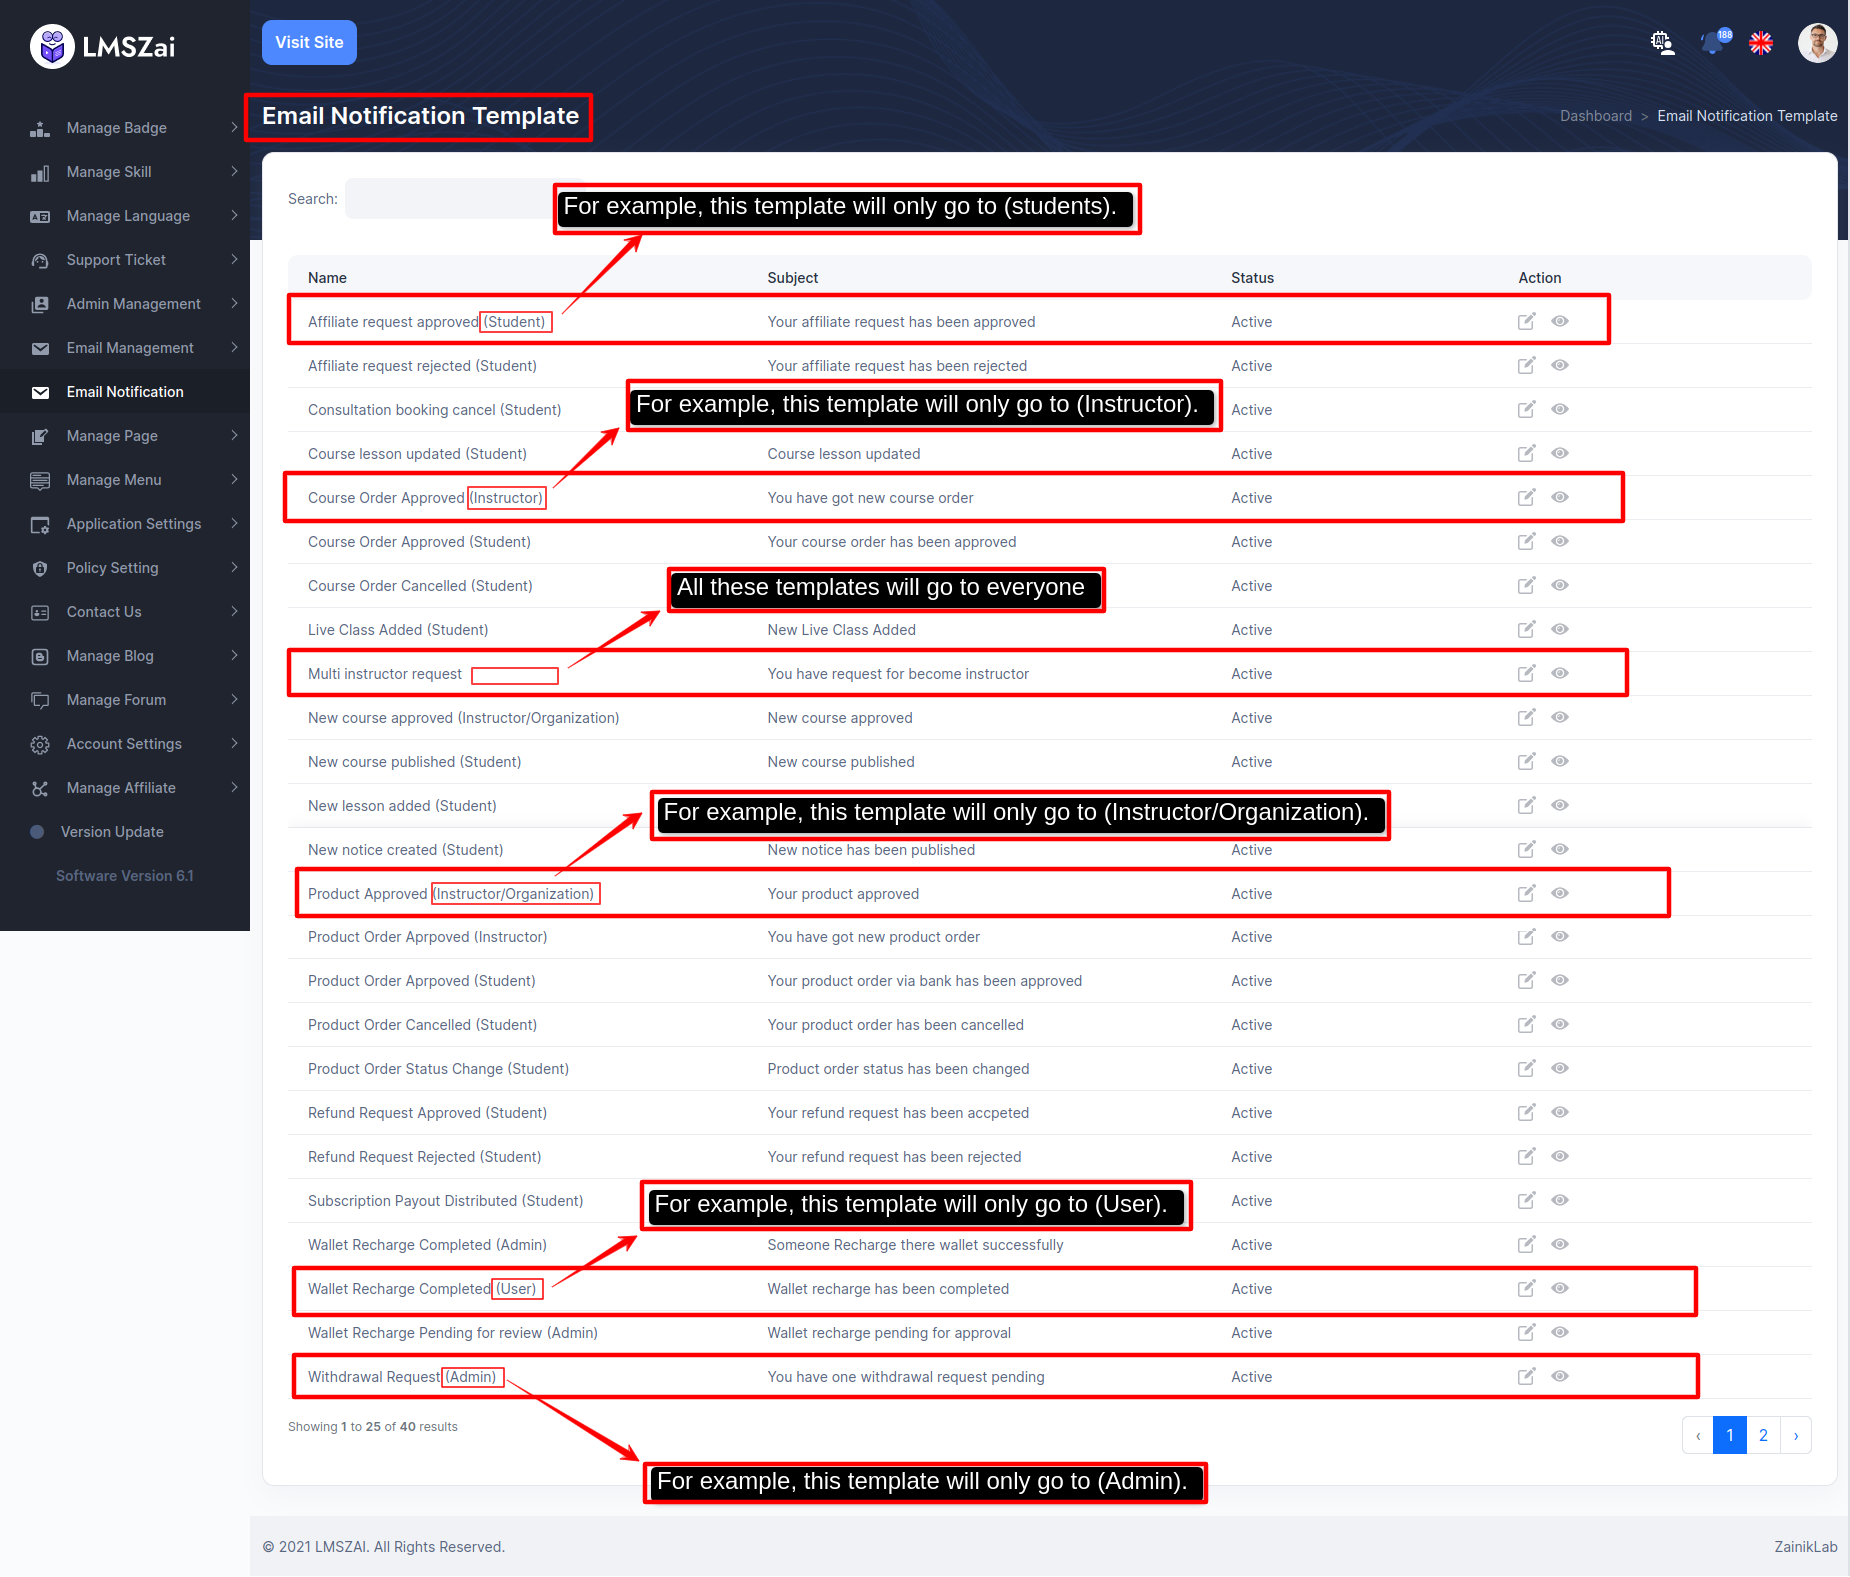
From edit option admin can create a template with {name, subject} as per his requirement ,
And according to {Variables} you can design the body of the template.
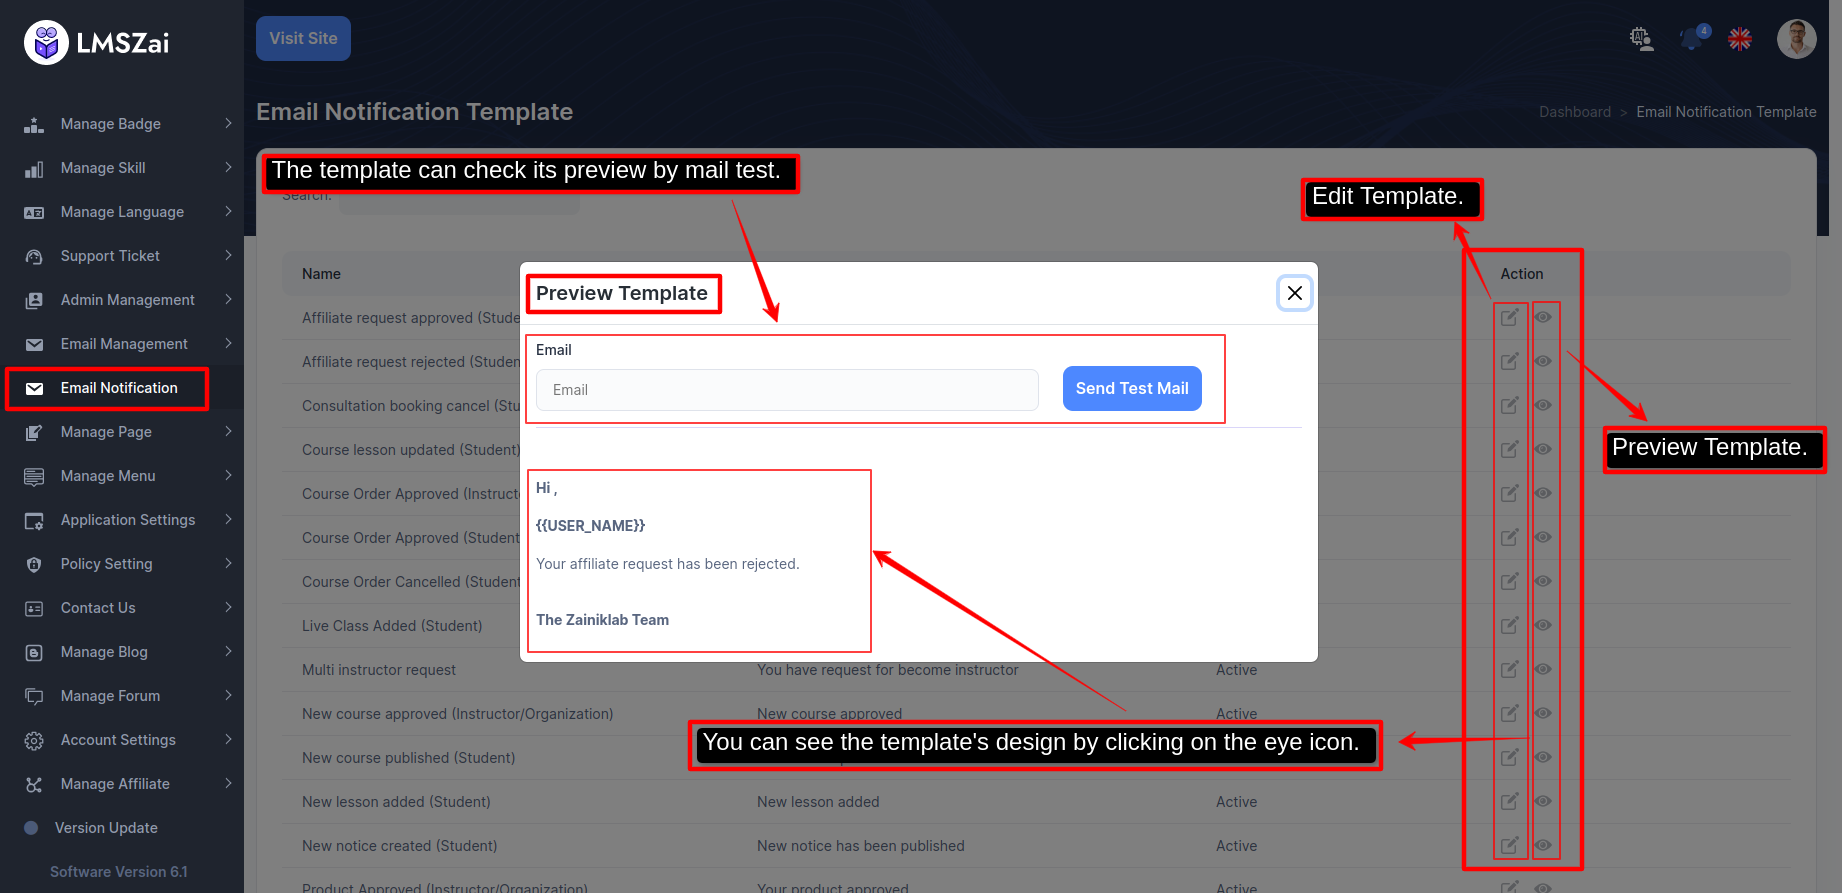
Admin can see the template's design by clicking on the eye icon.
And that template can check its preview by mail test.
-
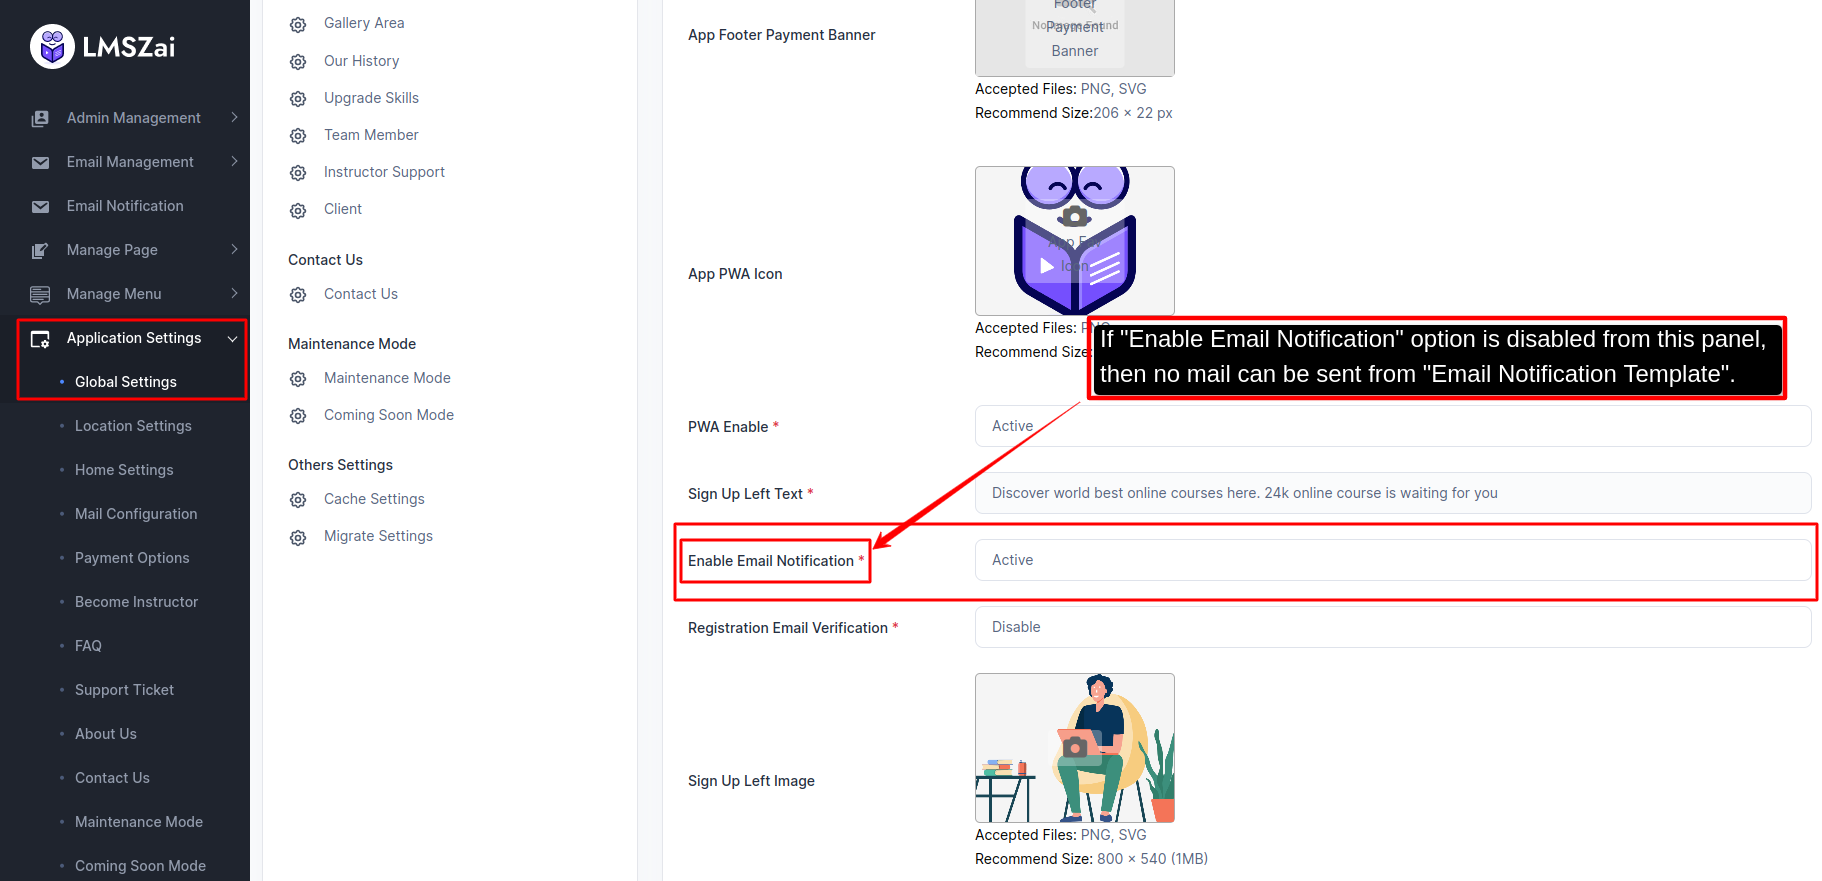
If "Enable Email Notification" option is disabled from this panel then no mail can be sent from "Email Notification Template". -
[N:B: It should be kept "Active" all the time]
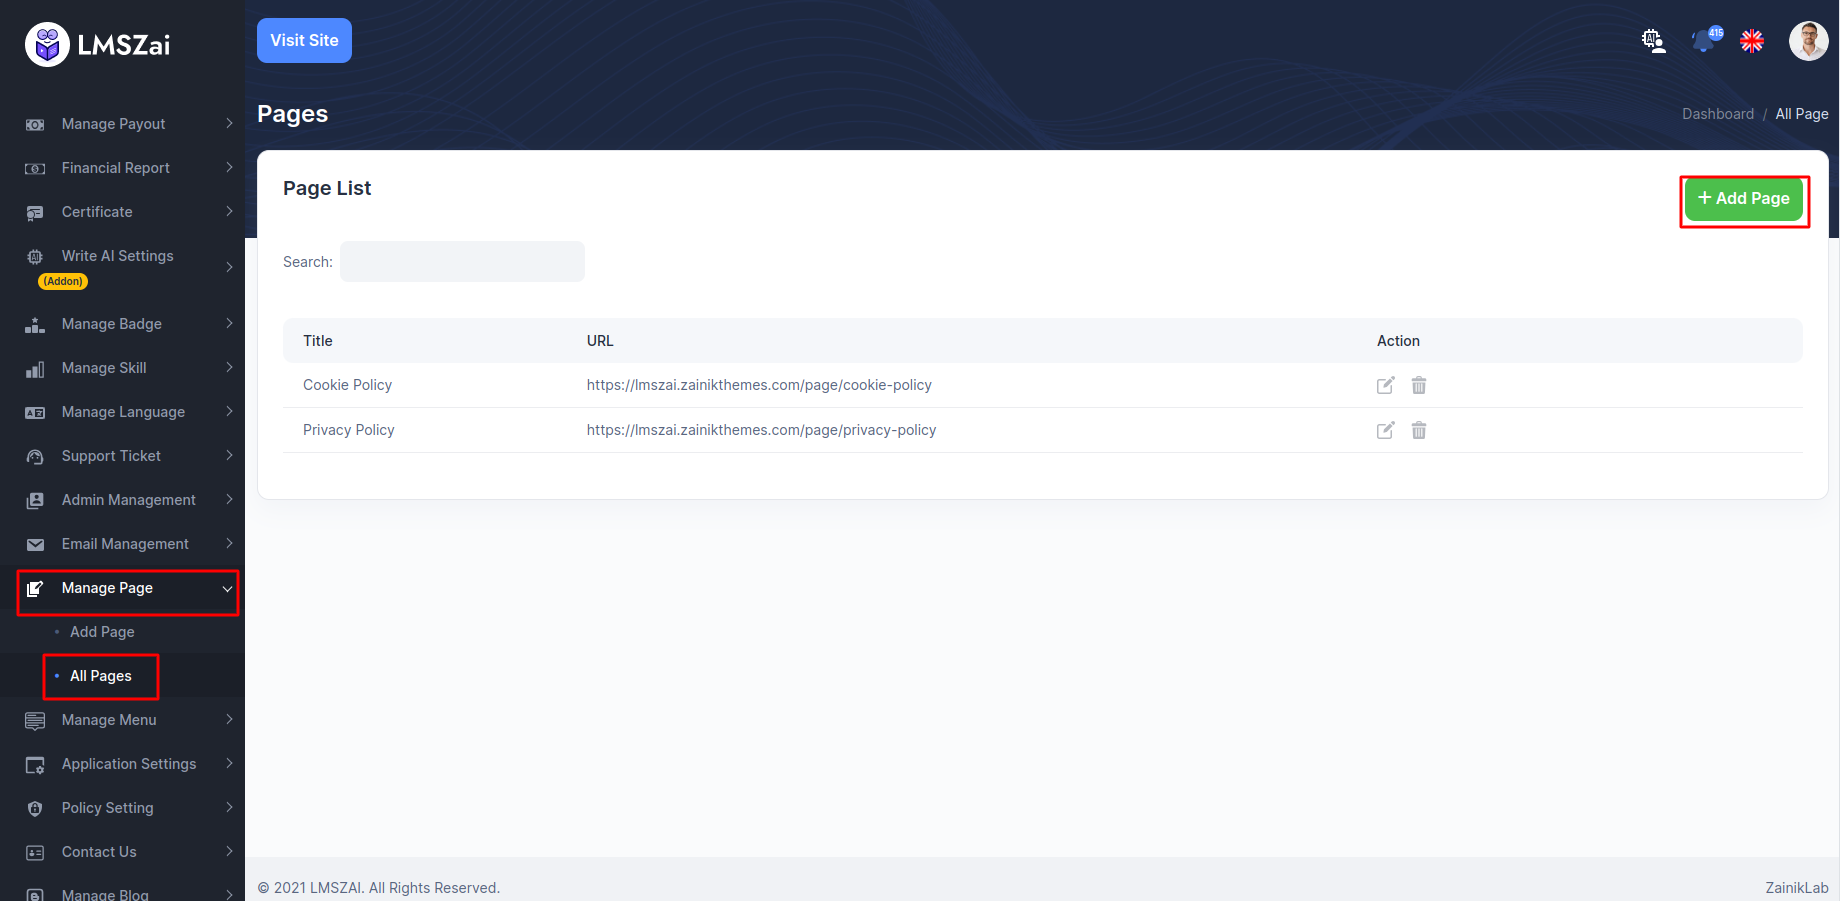
Manage Page
Admin can manage all the manage page (page manage details,add a page)
Manage page has many functions. Given here
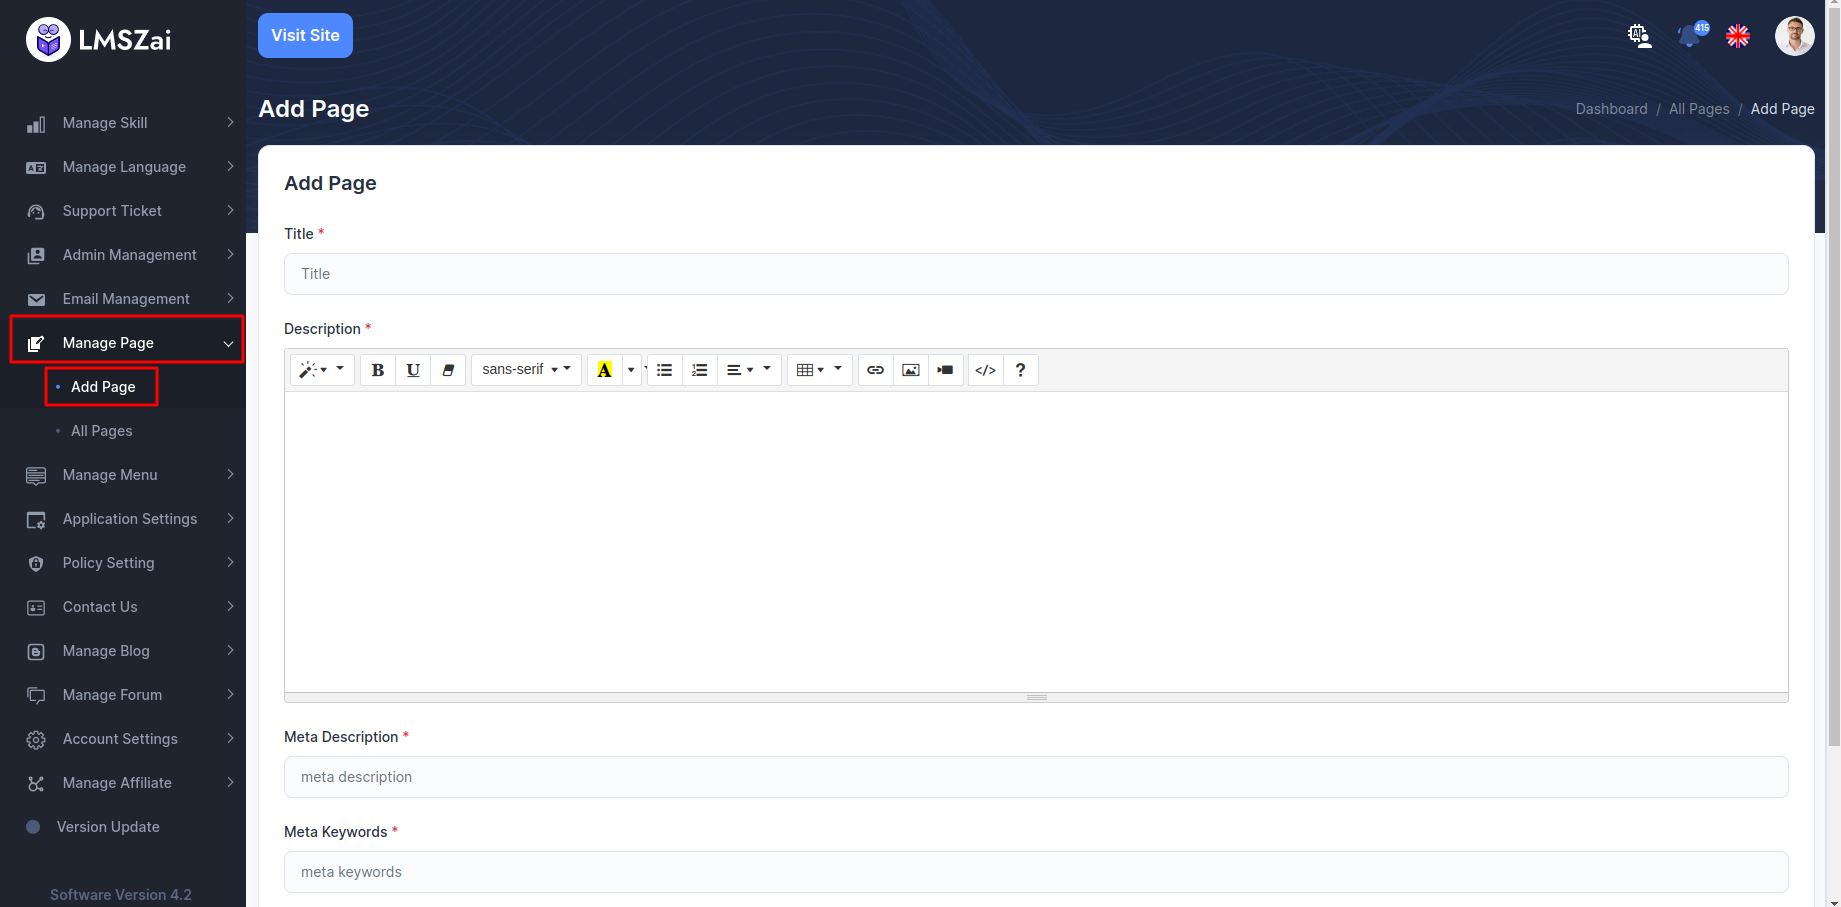
Add Page
- You can manage this adds pages
All Pages
- Admin can manage this pages
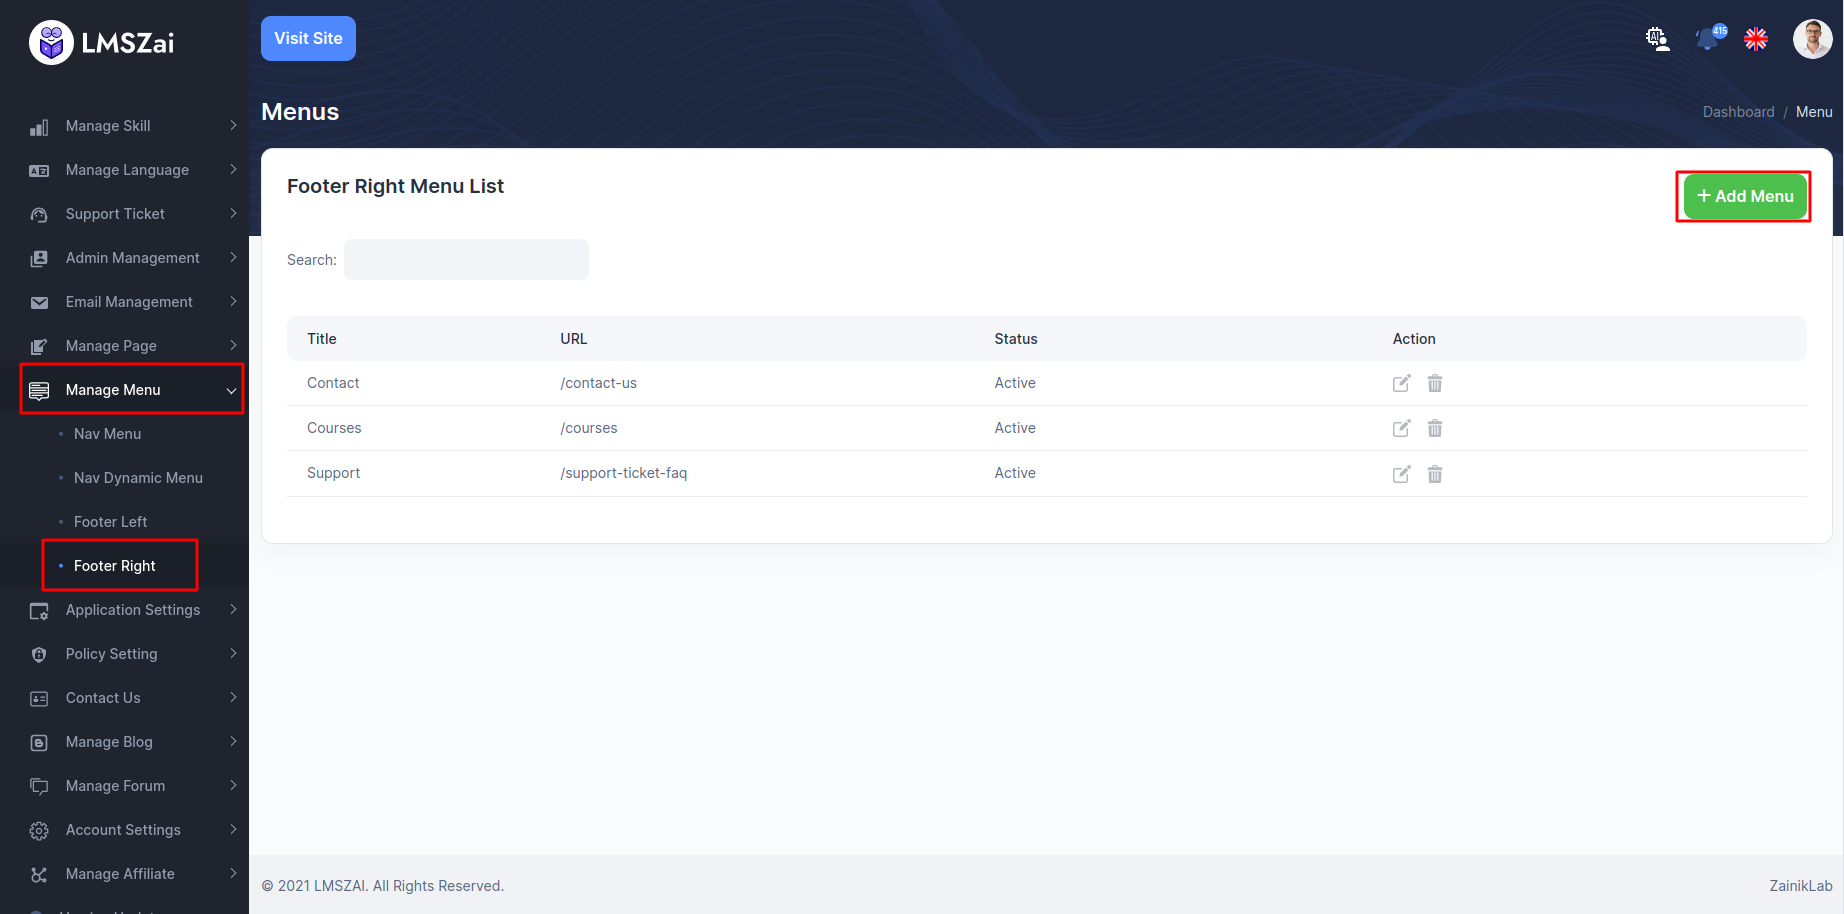
Manage Menu
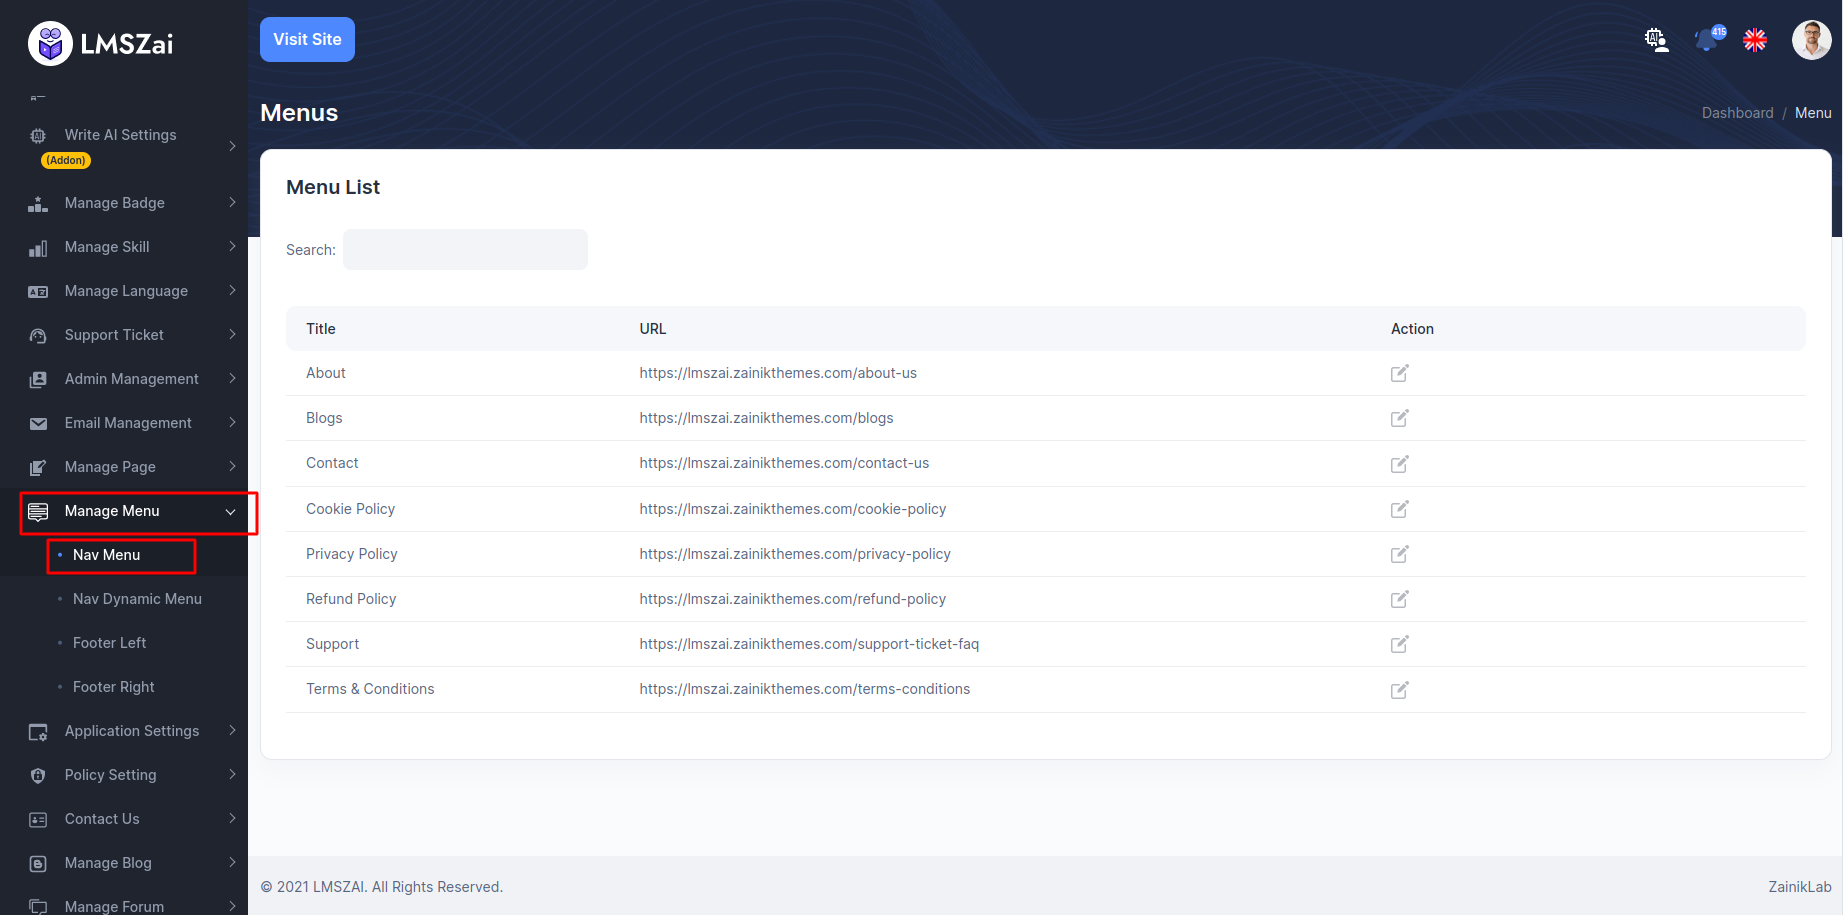
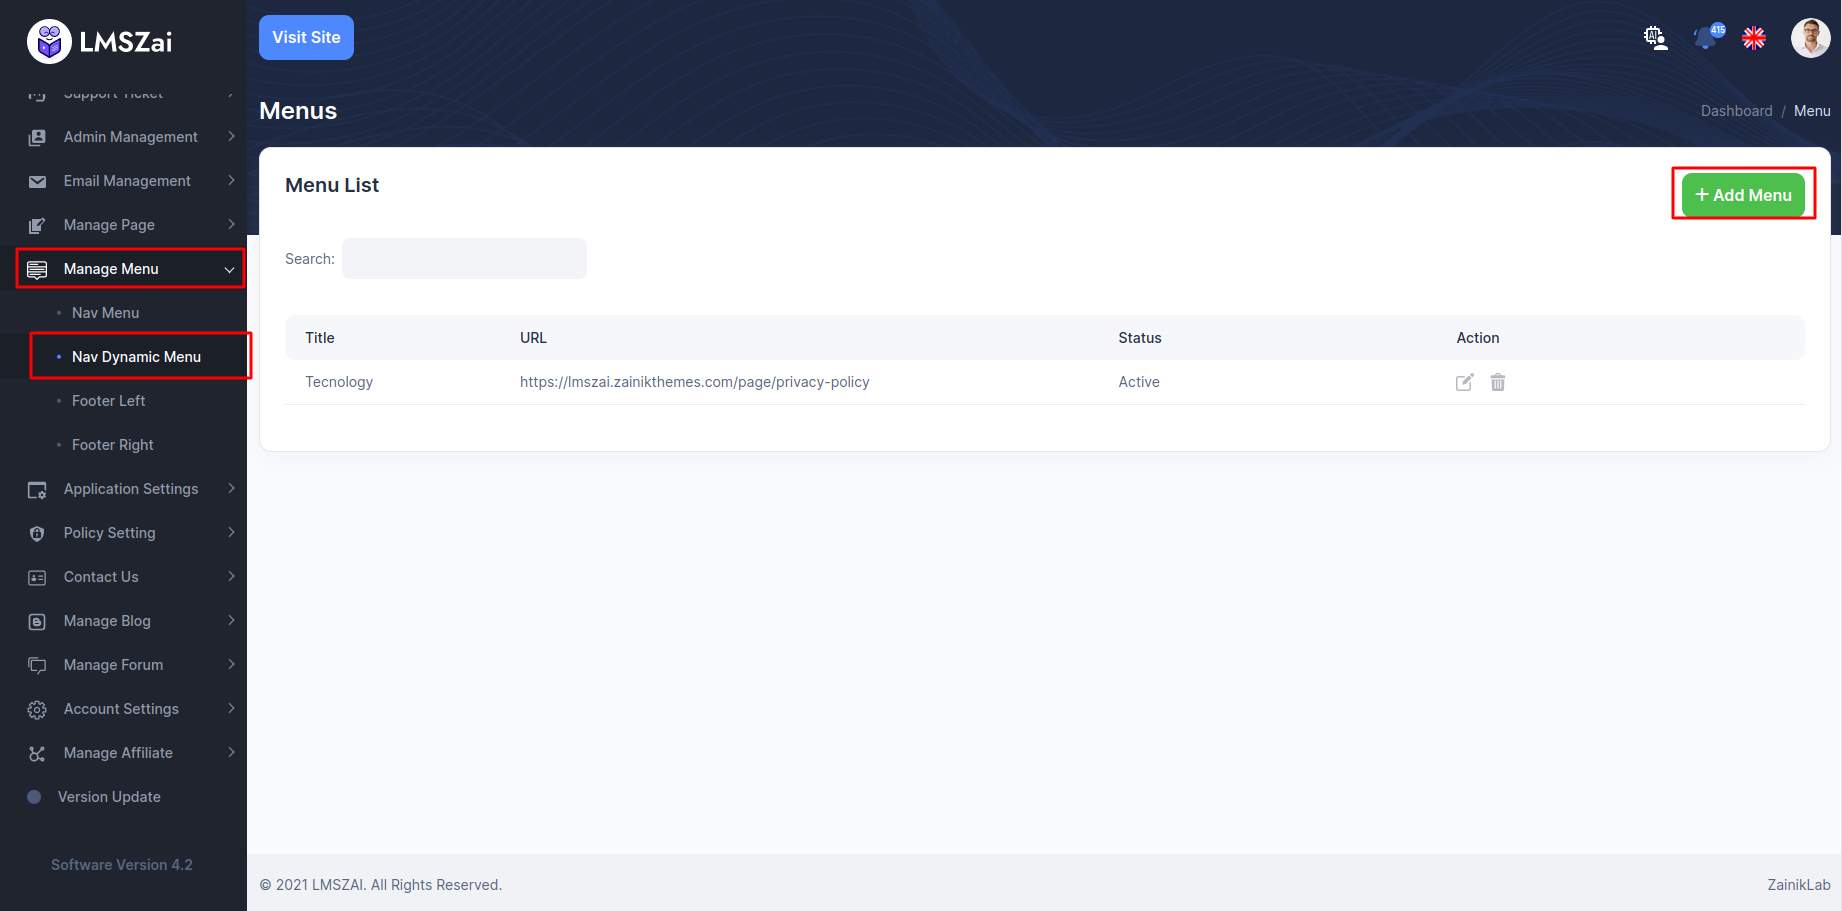
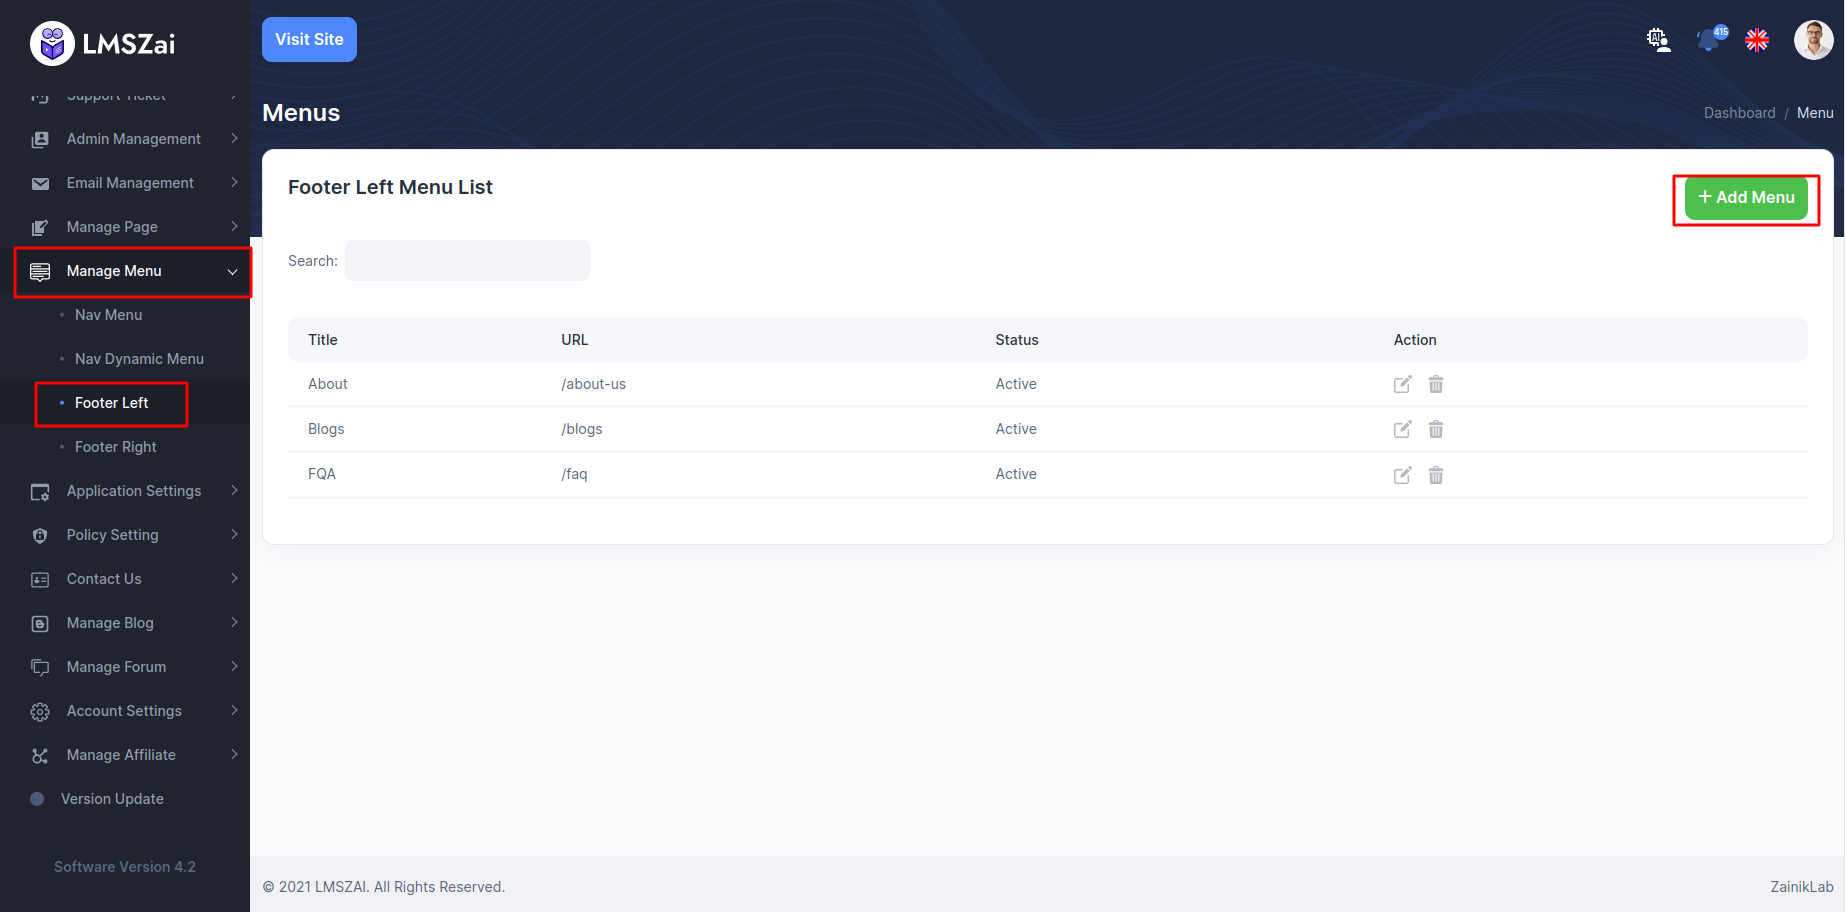
Admin can manage all the menu (menu manage details,add a menu)
Manage menu has many functions. Given here
Nav Menu
- You can manage this nav menu
Nav Dynamic Menu
- You can manage nav dynamic menu
Footer Left
- You can manage footer left
Footer Right
- You can manage footer right
Application Settings
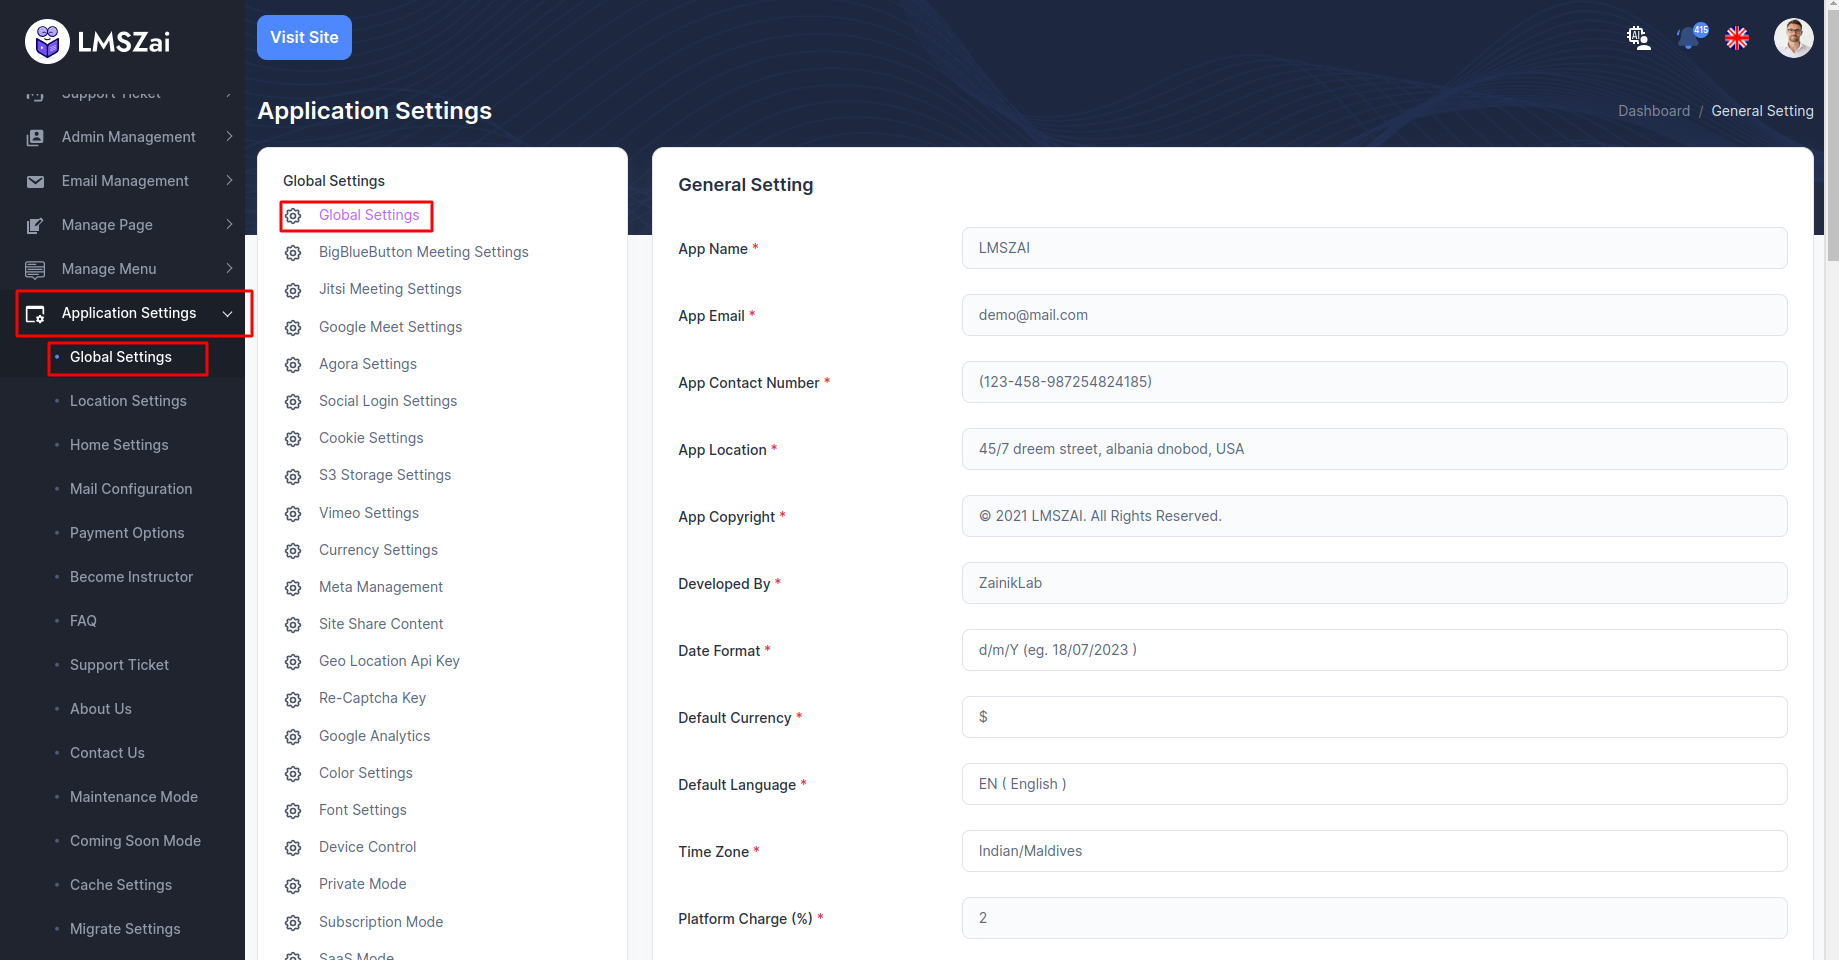
Admin can manage LMSZAI platform form here. You can see all the changes
Global Settings
You can show and manage global settings
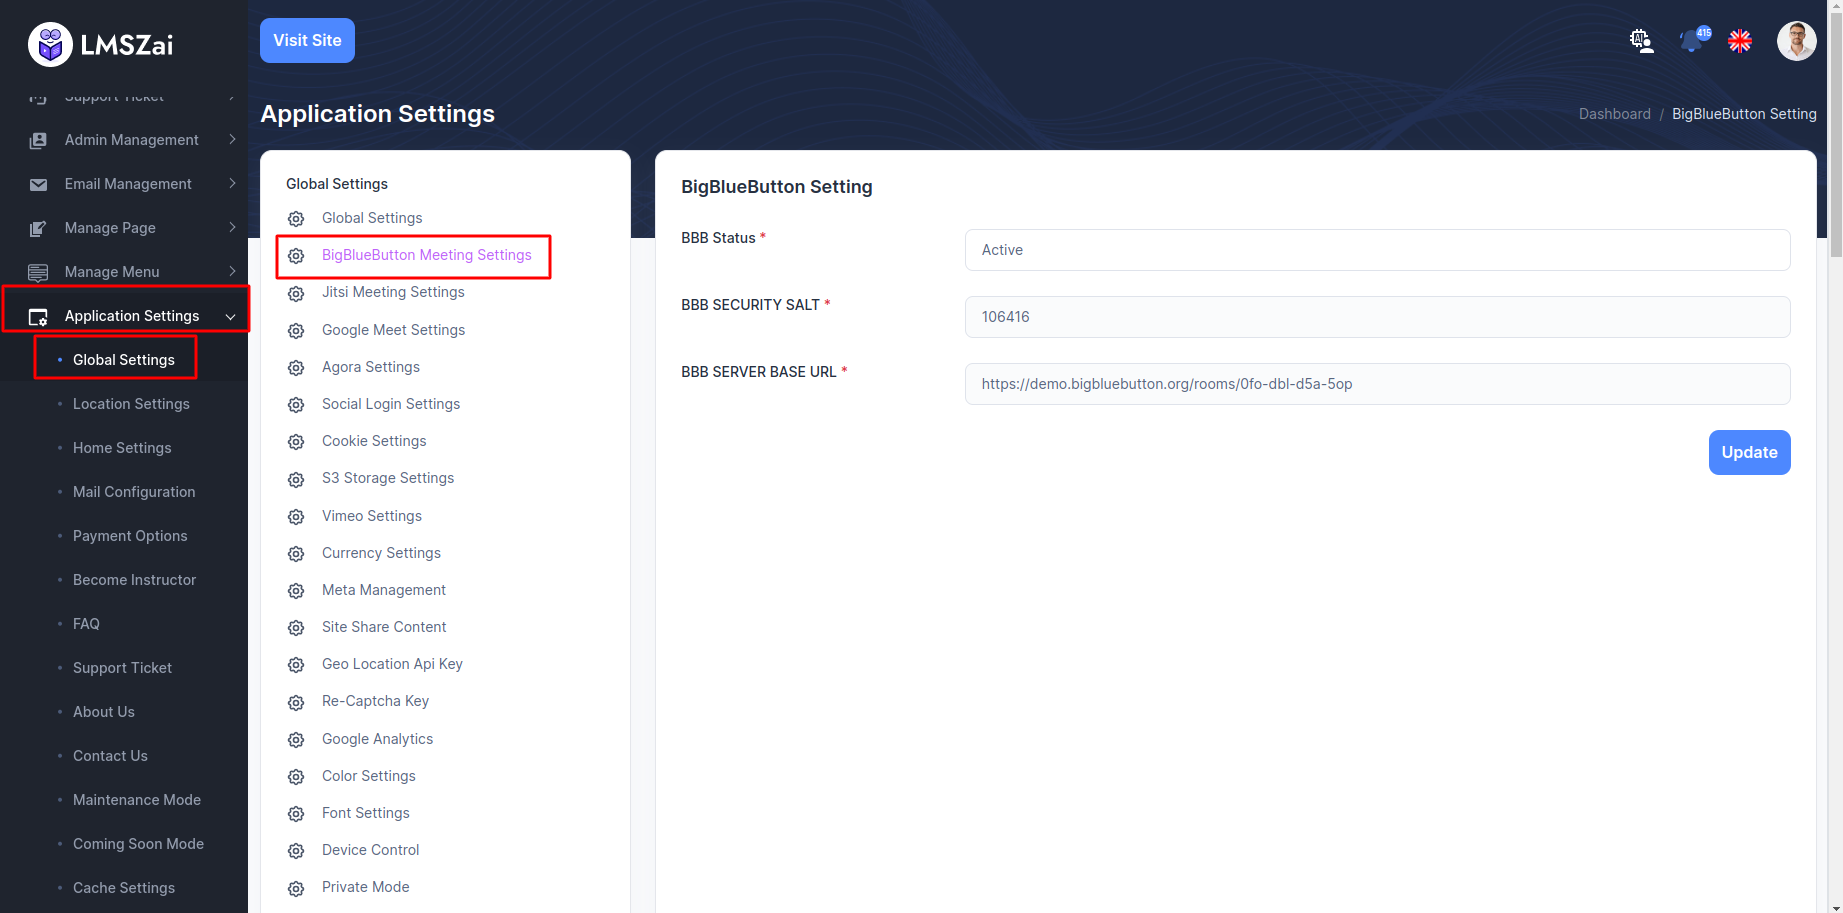
BigBlueButton Meeting Settings
In LMSZAI, you can add BigBlueButton Live Class to enhance different features after configuring this, the Instructors can take live video classes on the BigBlueButton live-streaming service.
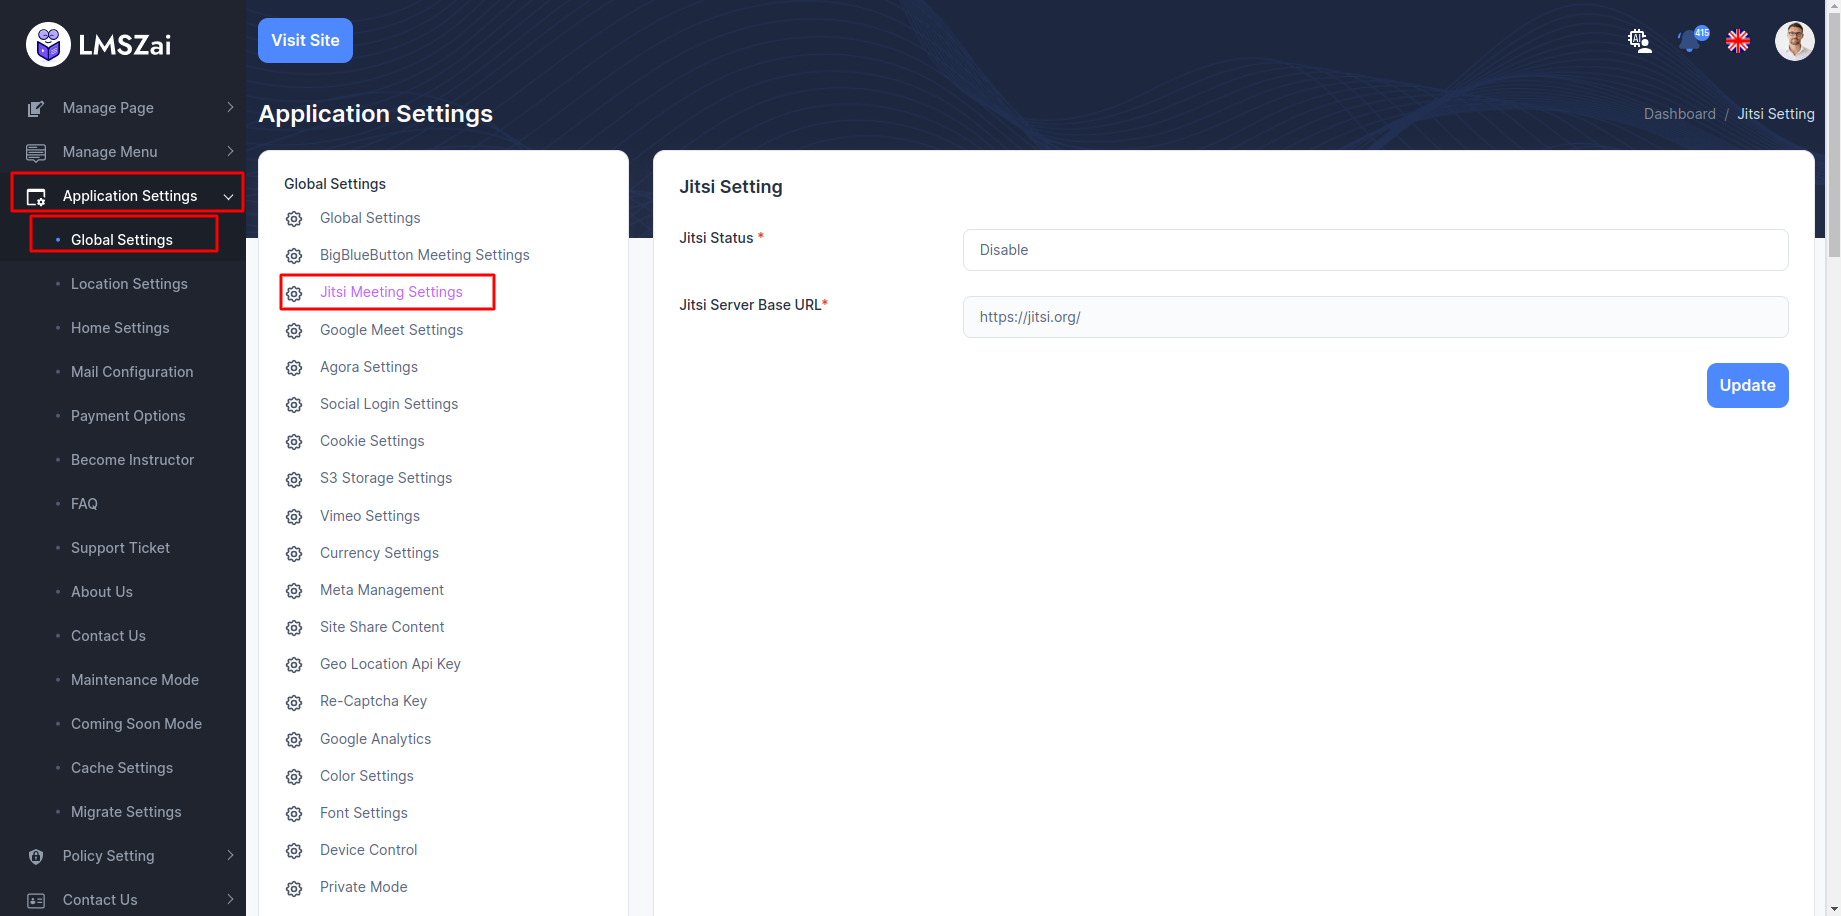
Jitsi Meeting Settings
In LMSZAI, you can add Jitsi Live Class to enhance different features after configuring this, the Instructors can take live video classes on the Jitsi live-streaming service.
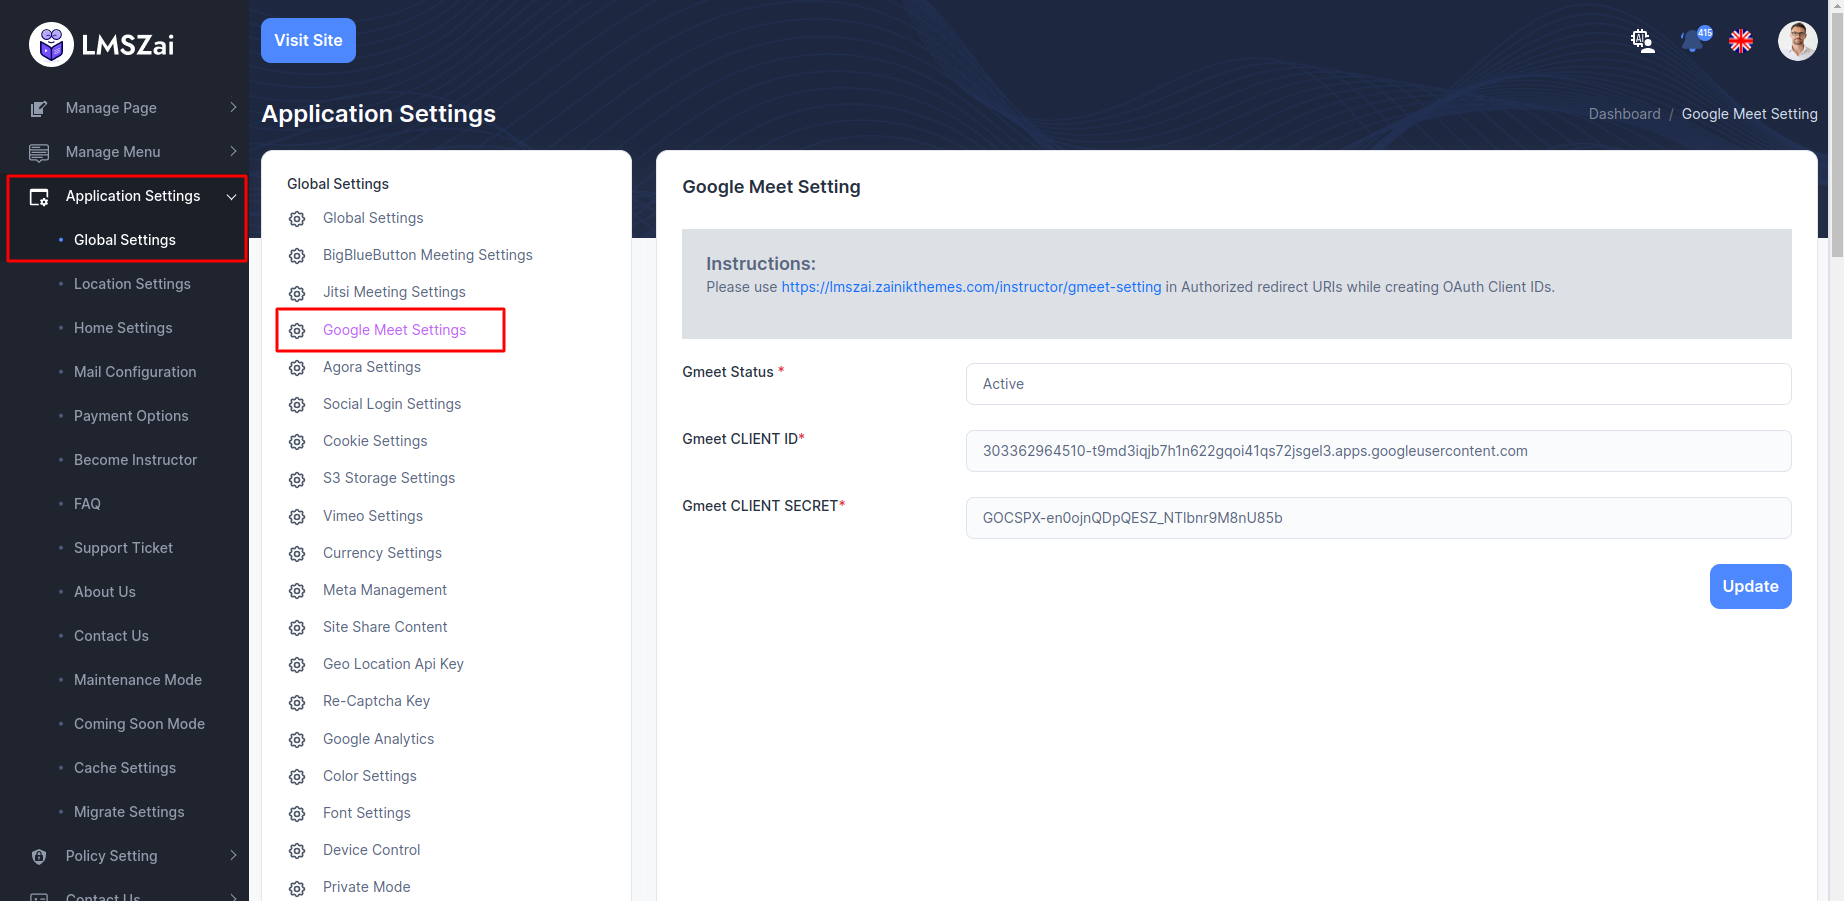
Google Meet Settings
You can show and manage google meet settings
set the redirect url to {root_url}/instructor/gmeet-callback
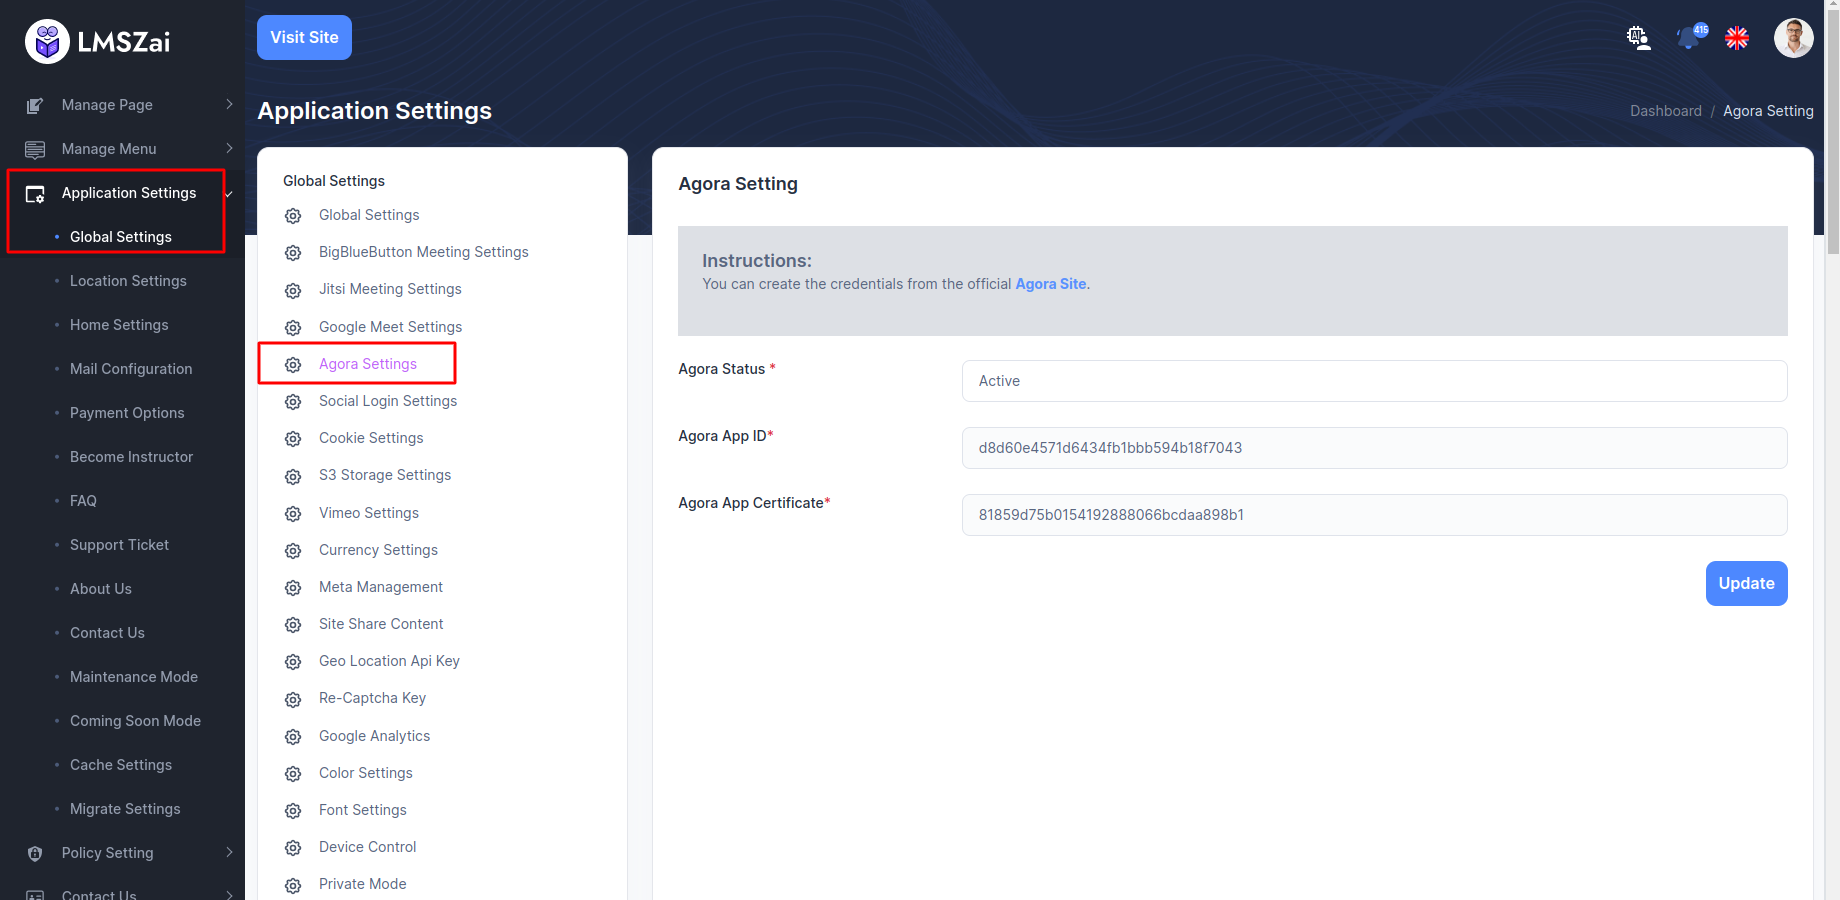
Agora Settings
In LMSZAI, you can add Agora in app live class to enhance different features after configuring this, the Instructors/Organizations can take live video classes on the in app live service.
Social Login Settings
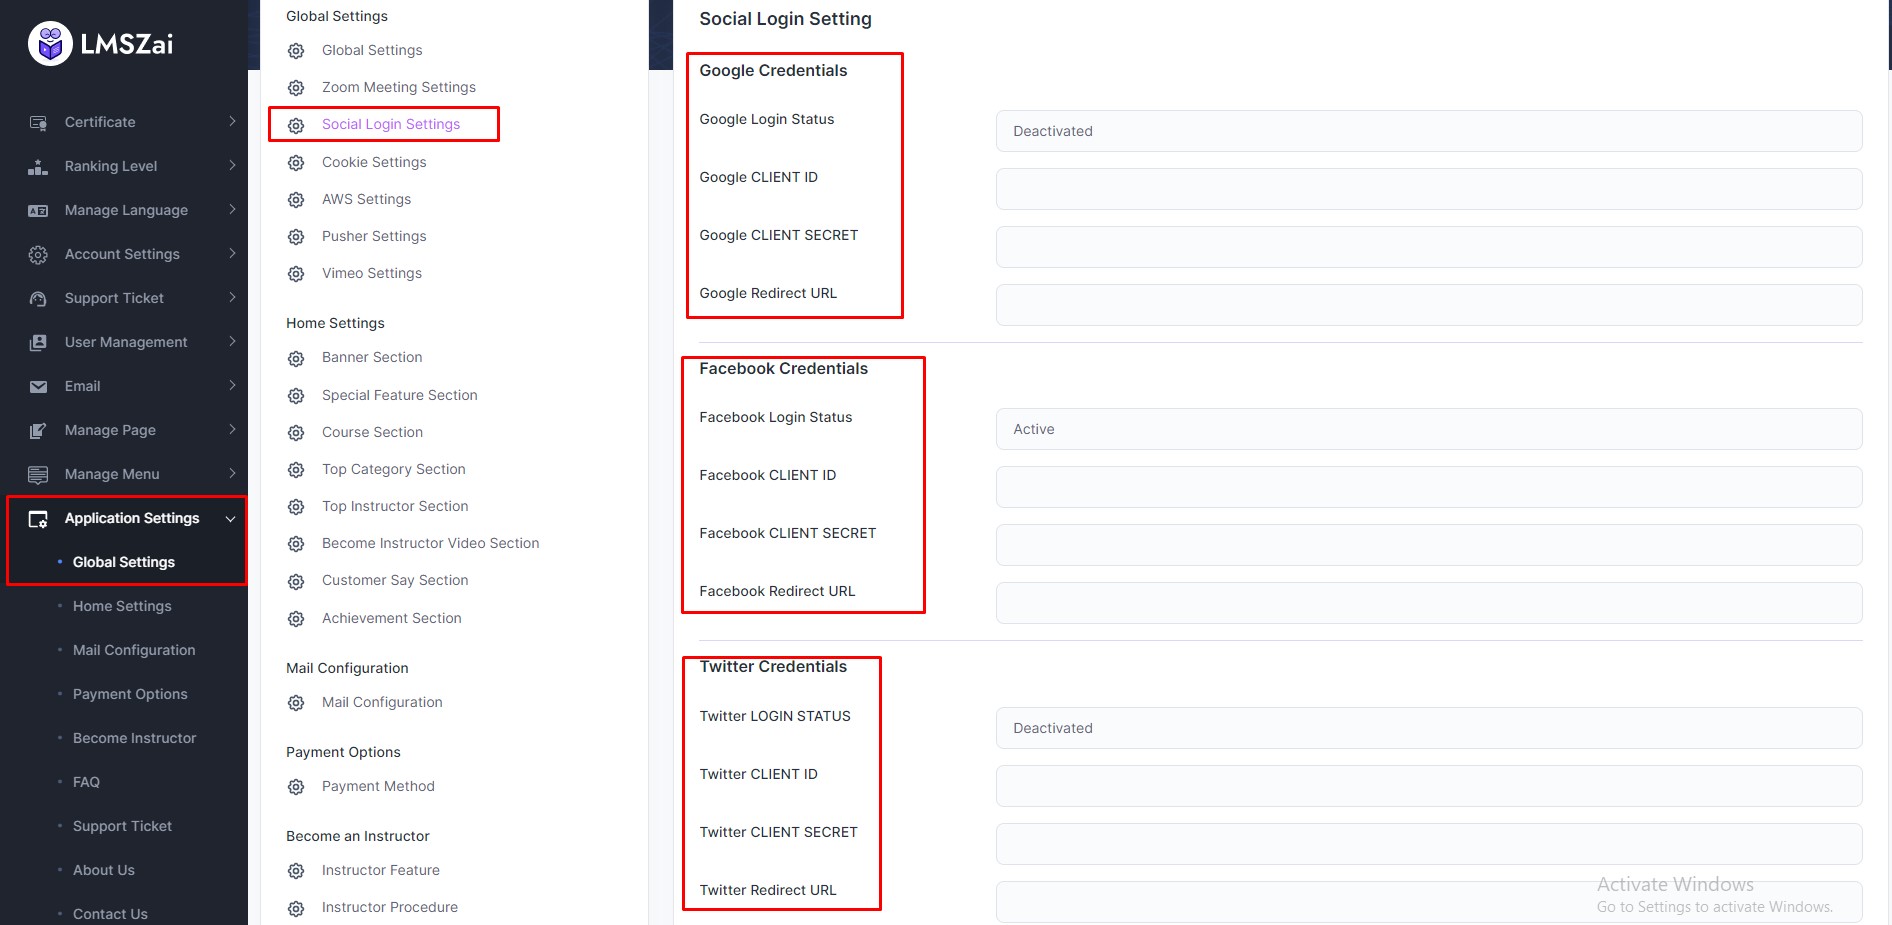
In LMSZAI, you can add social login (google, facebook, twitter) to enhance different features after configuring this, Any user can login with social login.
To enhance this feature, you have to set some credentials on your application. Admin can active/deactivated option for social login. Now, you have to follow the easy steps to setup social login:
- Login to the Admin Panel
- From admin panel sidebar you need to select Application Settings->Global Settings->Social Login Settings
- For social login admin need to set up credentials of google, twitter, facebook
- Example given here
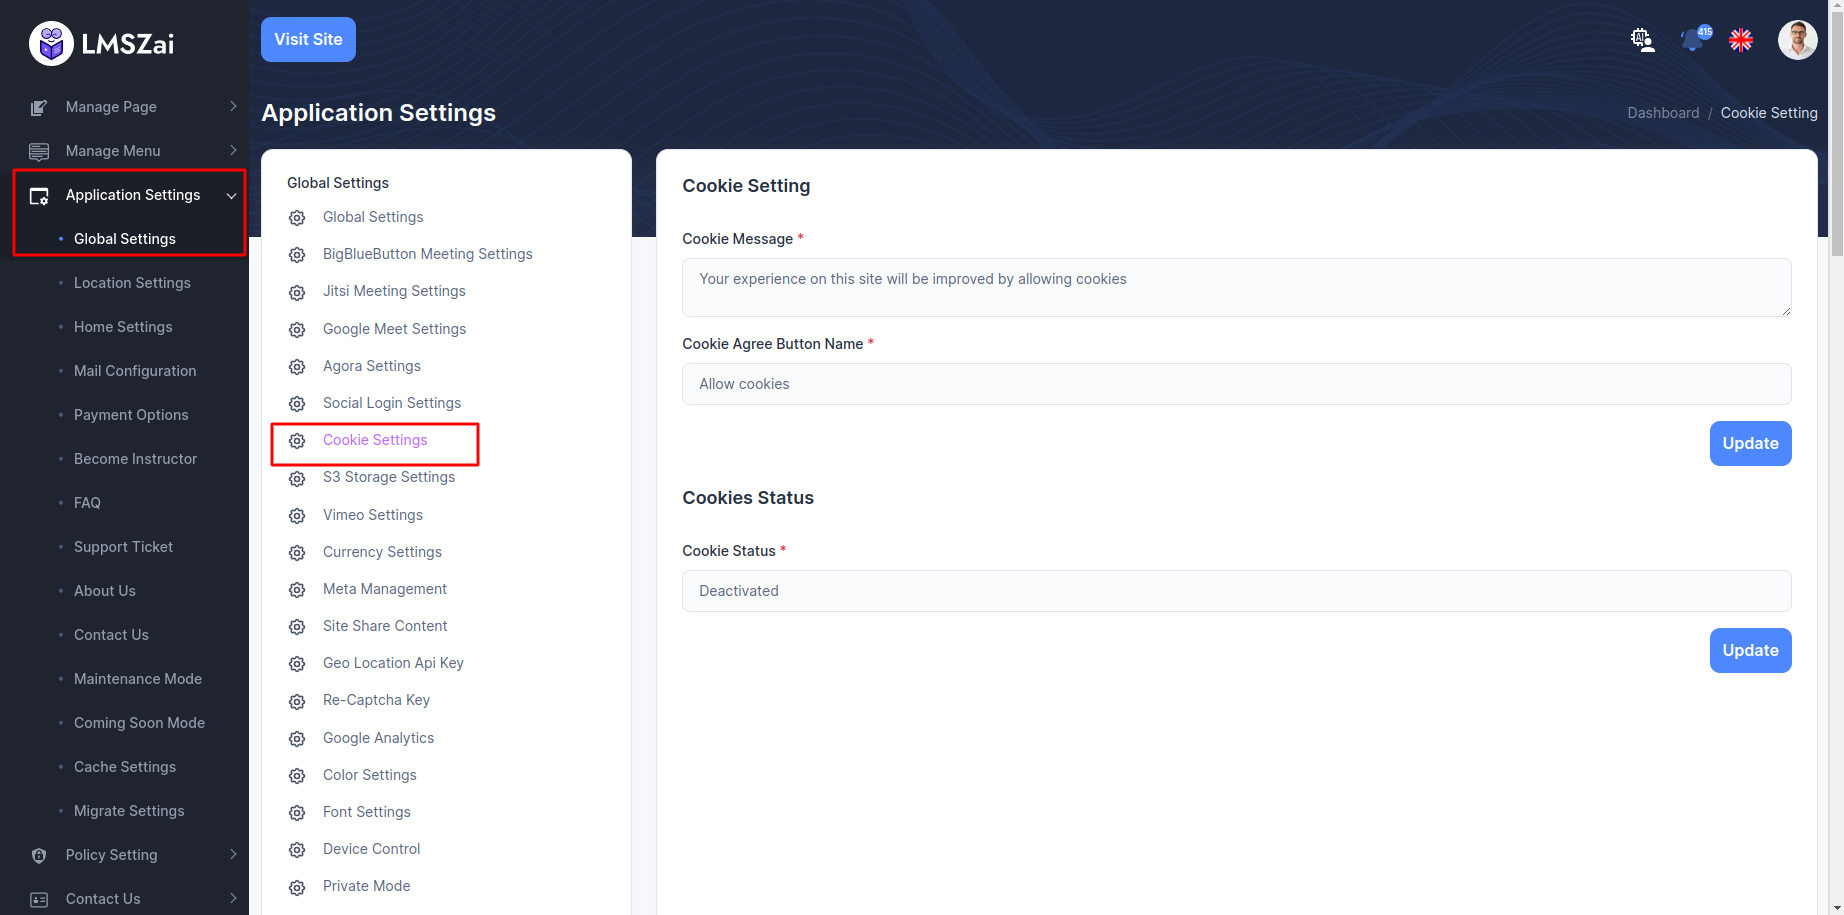
Cookie Settings
You can manage cookie settings
S3 Storage Settings
In LMSZAI, you can add s3 server to enhance different features after configuring this. This only work for video and file upload. If you want to video and file upload in s3 server. You need to add credentials
To enhance this feature, you have to set some credentials on your application. Admin can activate/deactivated option for AWS S3/Wasabi S3/Vultr S3. If you deactivate, please select Video Storage Driver = public. Now, you have to follow the easy steps to set up :
- Login to the Admin Panel
- From admin panel sidebar you need to select Application Settings->Global Settings->S3 Storage Settings
- For aws setup admin need to set up credentials.
- Example given here

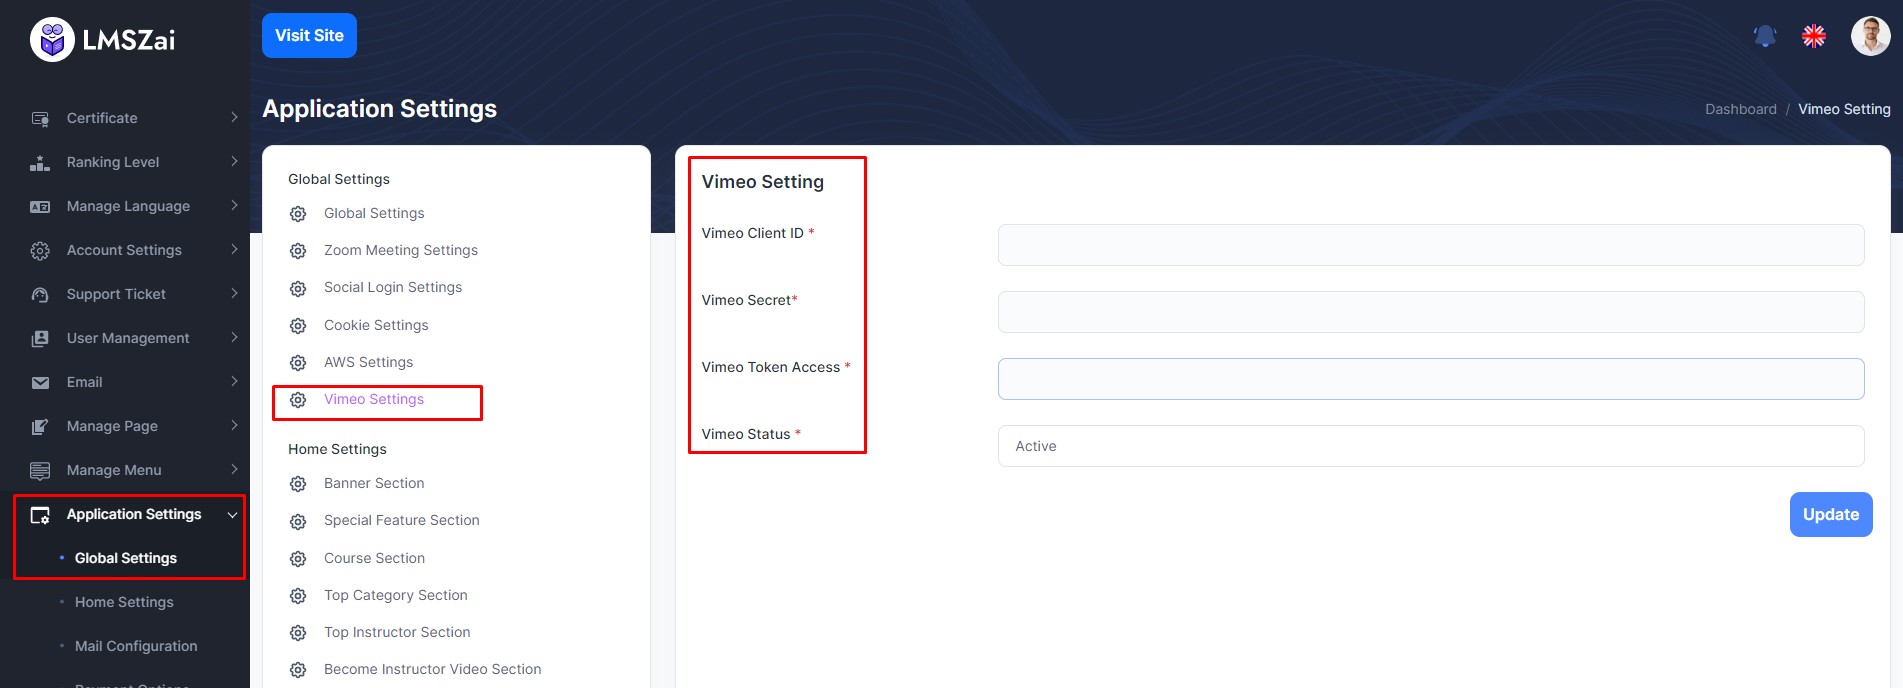
Vimeo Settings
In LMSZAI, you can add vimeo server to enhance different features after configuring this. This only work for video. If you want to video upload in vimeo server. You need to add credentials
To enhance this feature, you have to set some credentials on your application. Admin can activate/deactivated option for vimeo. if you deactivate, please select Vimeo Status = Deactivated Now, you have to follow the easy steps to set up :
- Login to the Admin Panel
- From admin panel sidebar you need to select Application Settings->Global Settings->Vimeo Settings
- For vimeo setup admin need to set up credentials of Vimeo Client ID, Vimeo Secret, Vimeo Token Access, Vimeo Status
- Example given here
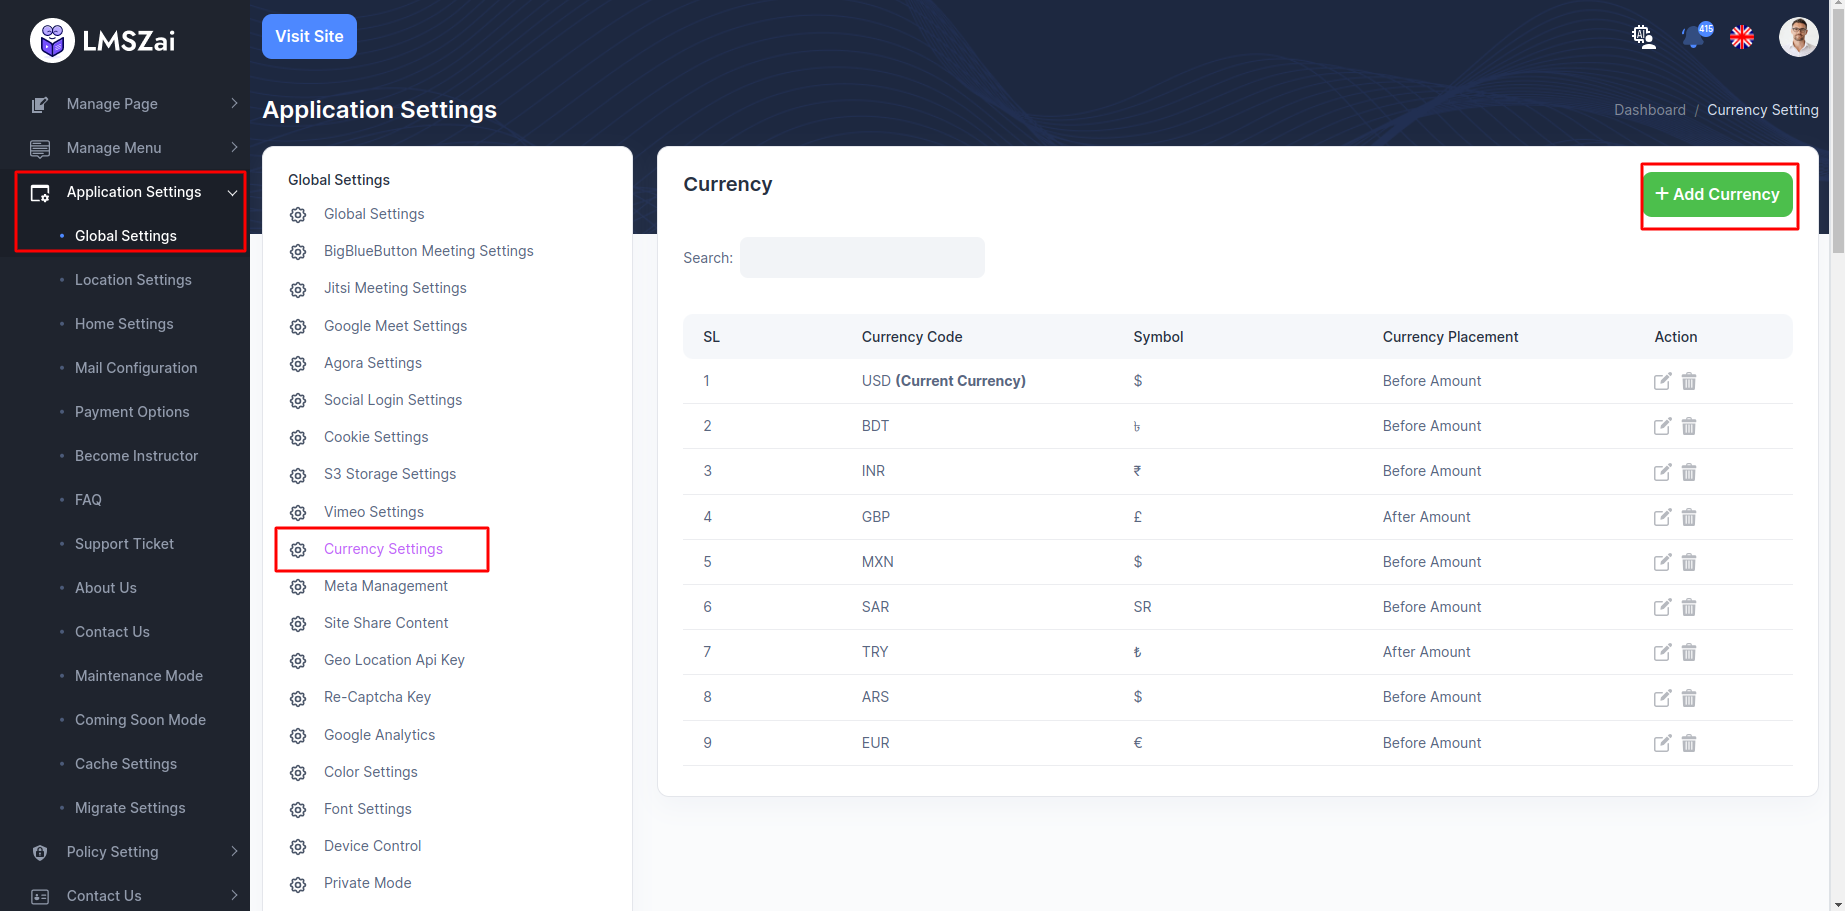
Currency Settings
You can manage currency settings
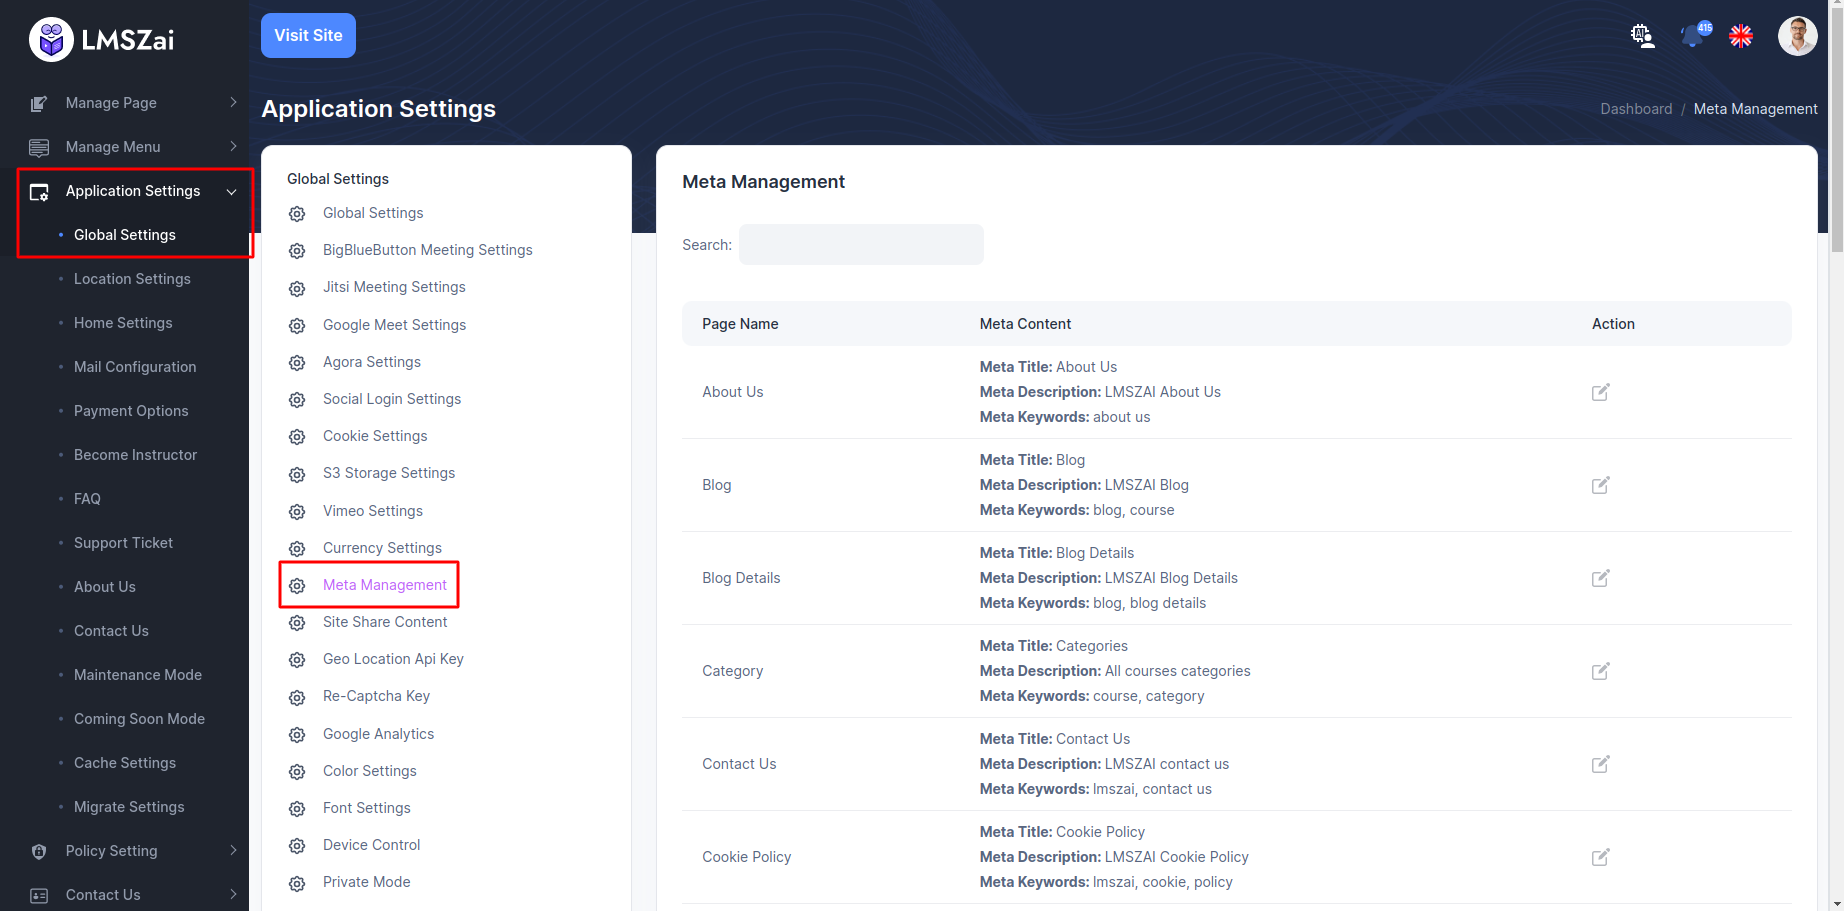
Meta Management
Admin can show and manage meta management settings
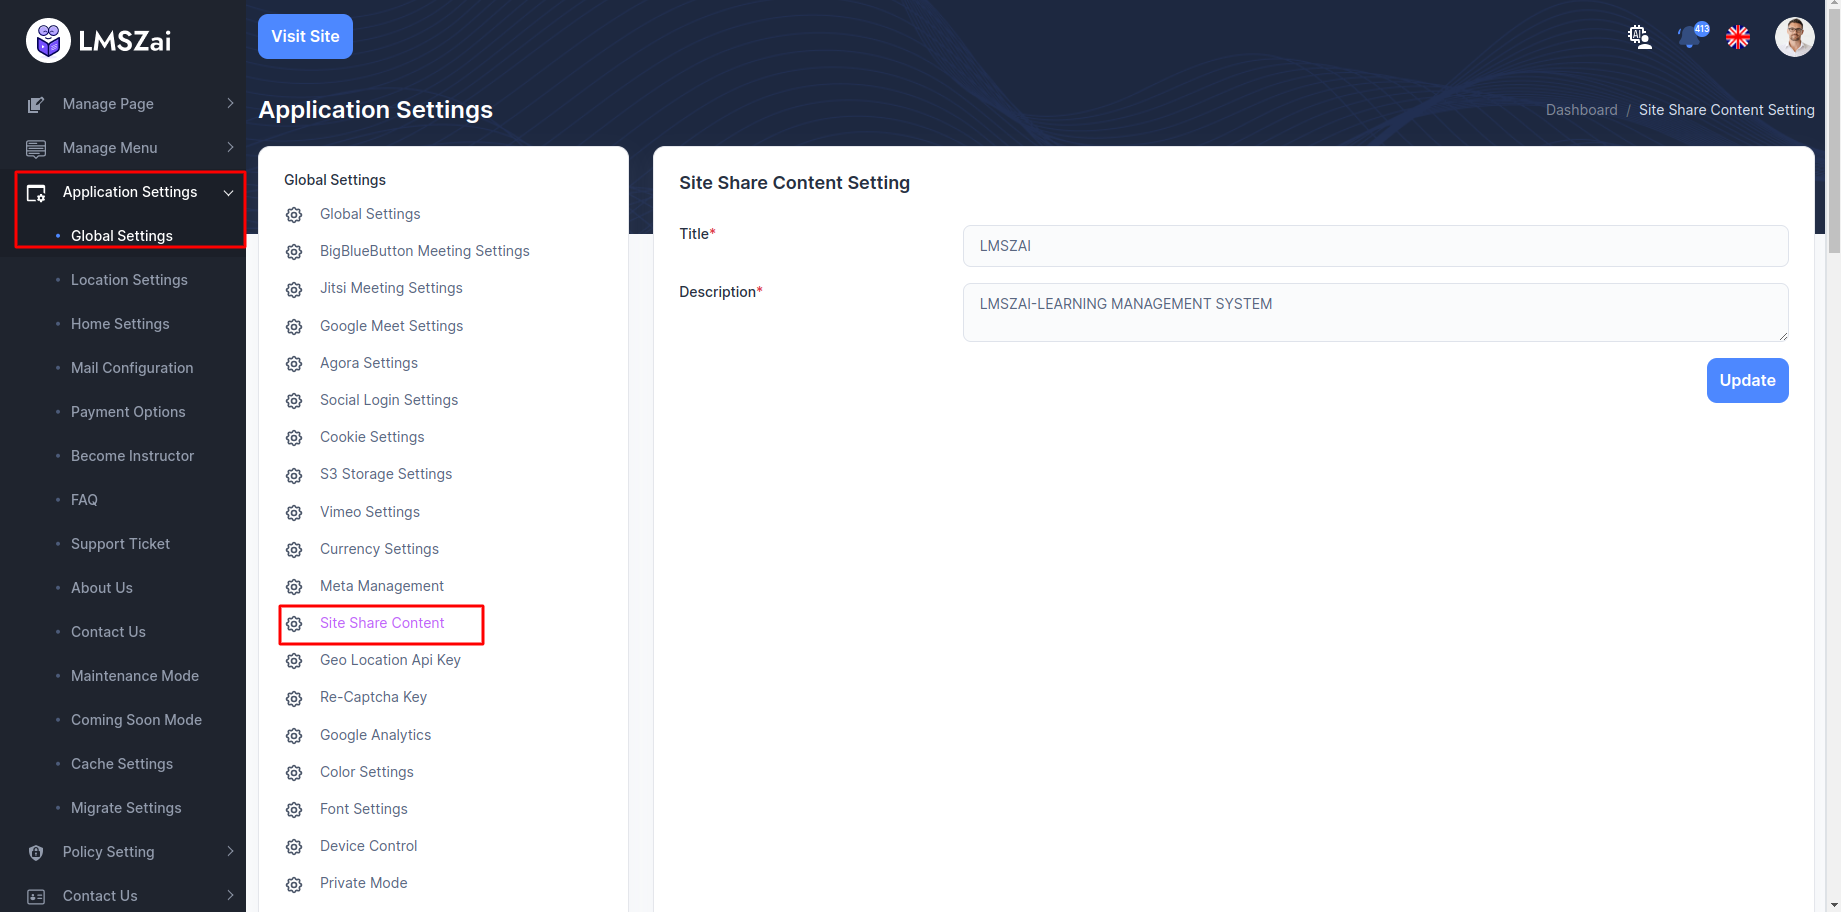
Site Share Content
Admin can show and manage site share content settings
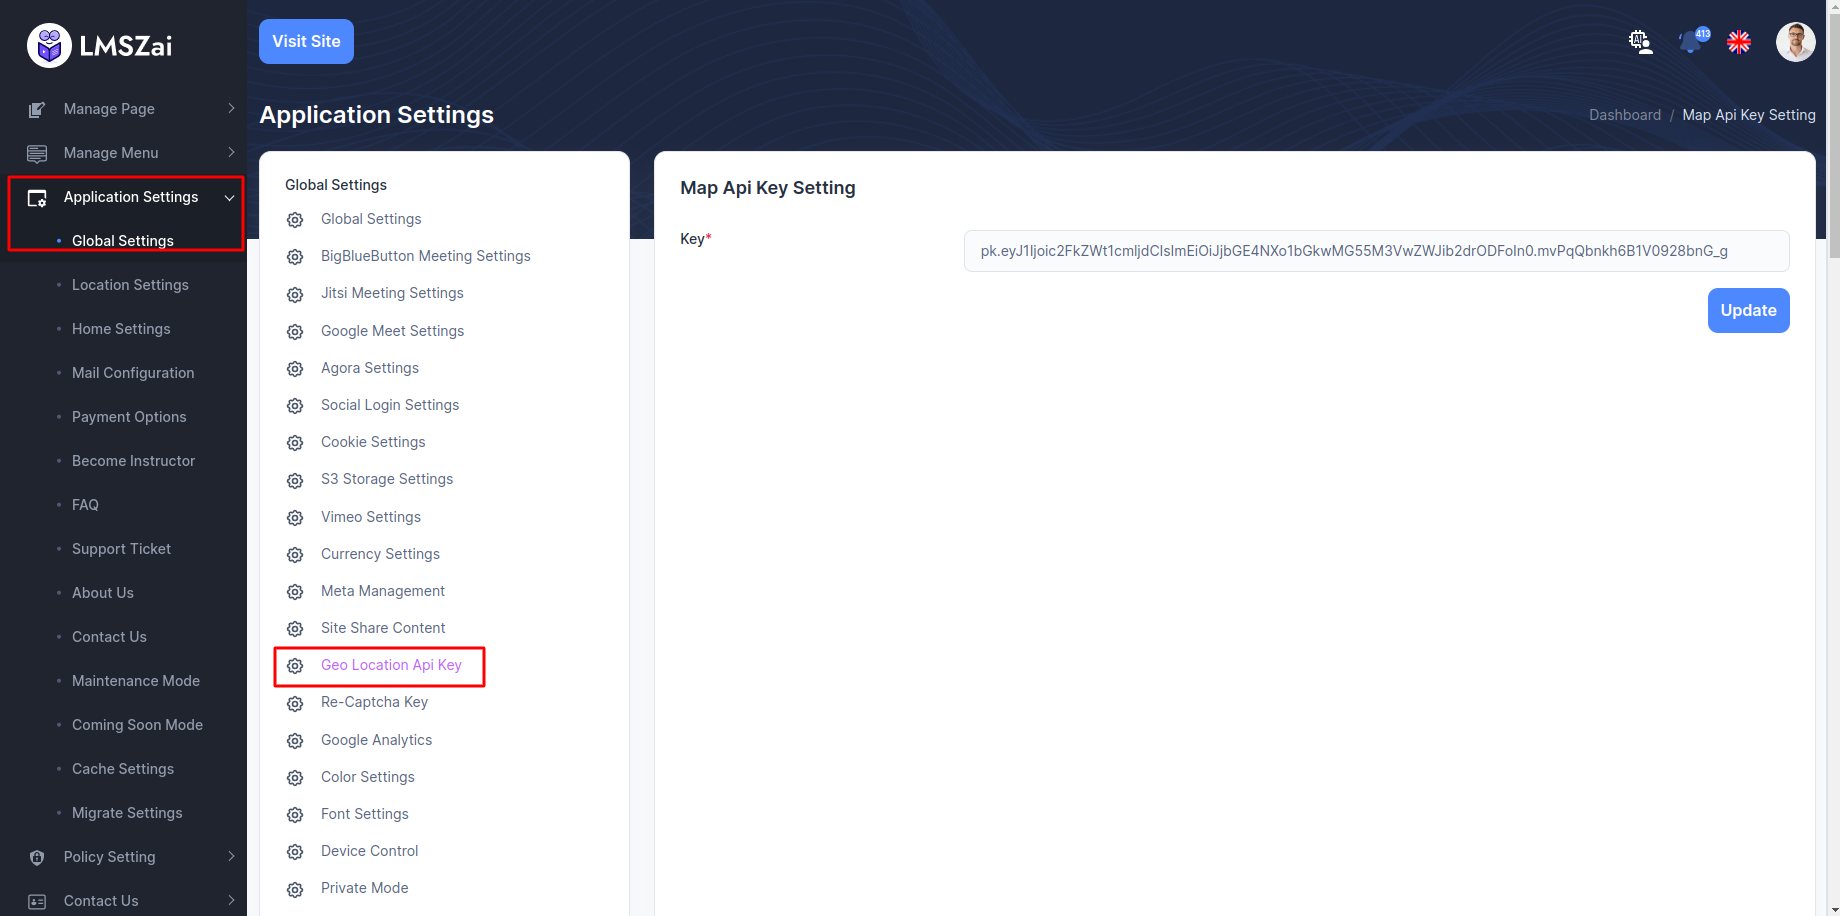
Geo Location Api Key
In LMSZAI, you can add Geo-location in every user to filter the data in instructors page.
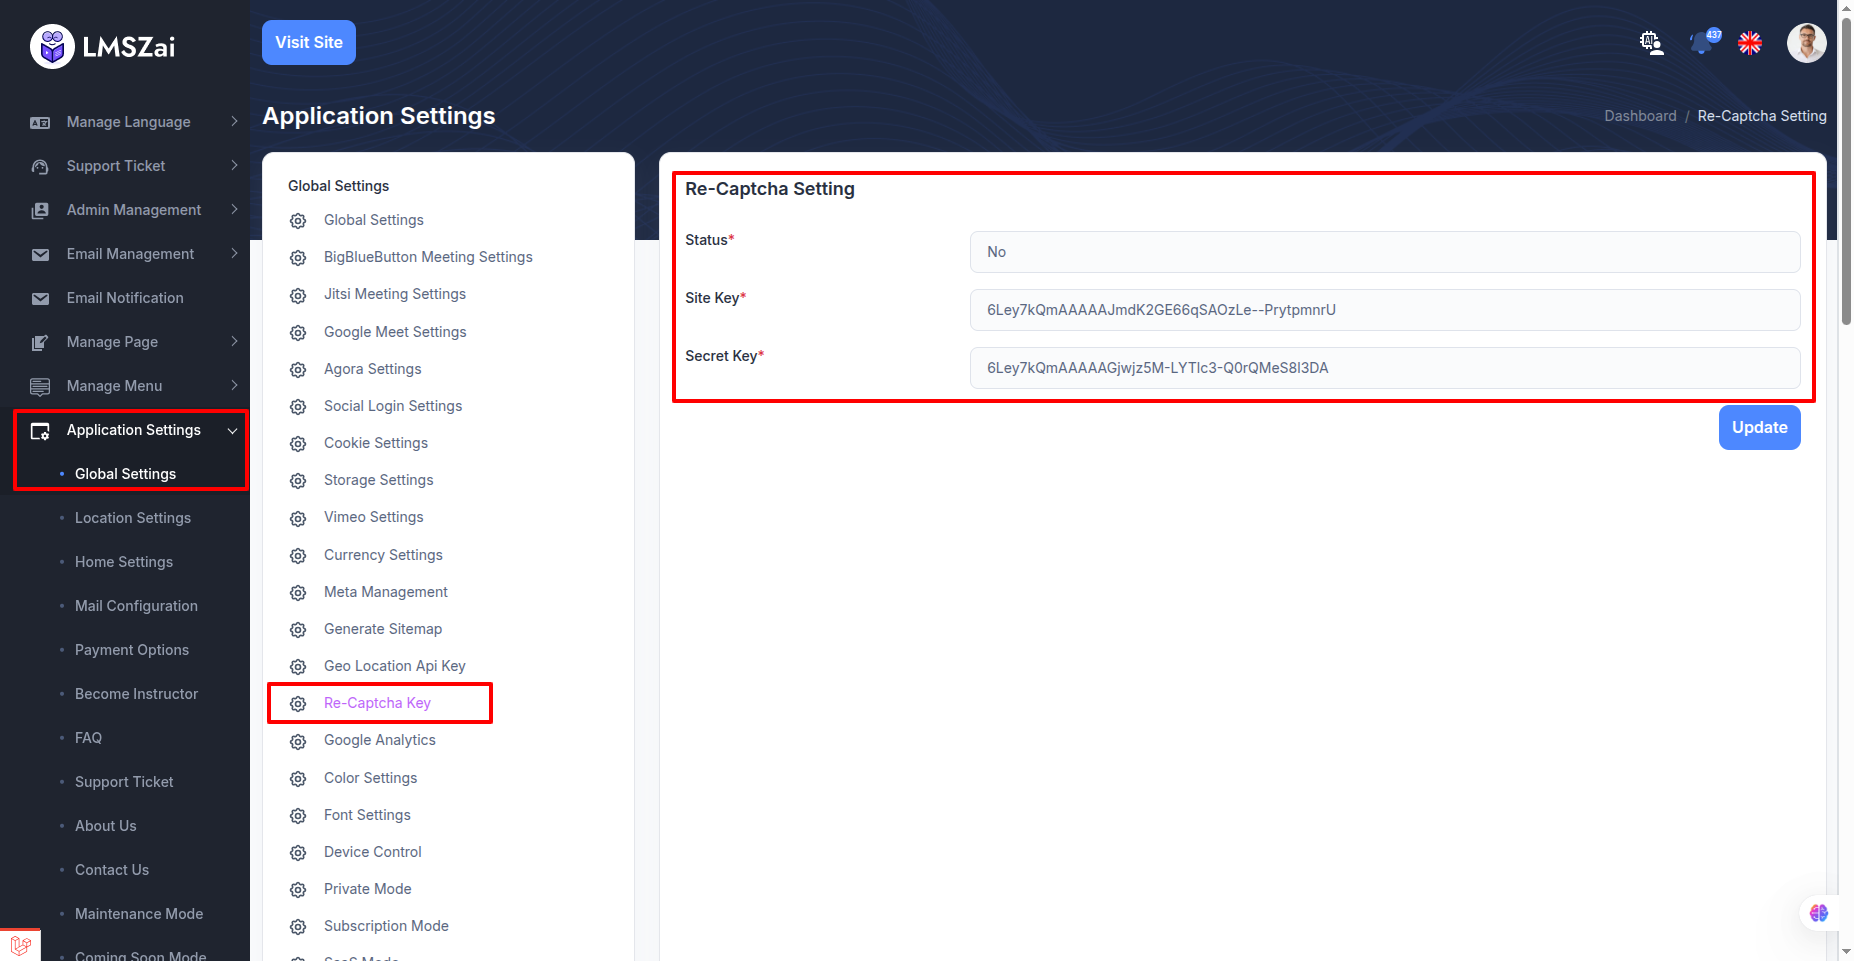
Re-Captcha Key
The admin can manage the Re-Captcha site key and secret key here, and enable or disable Re-Captcha as needed
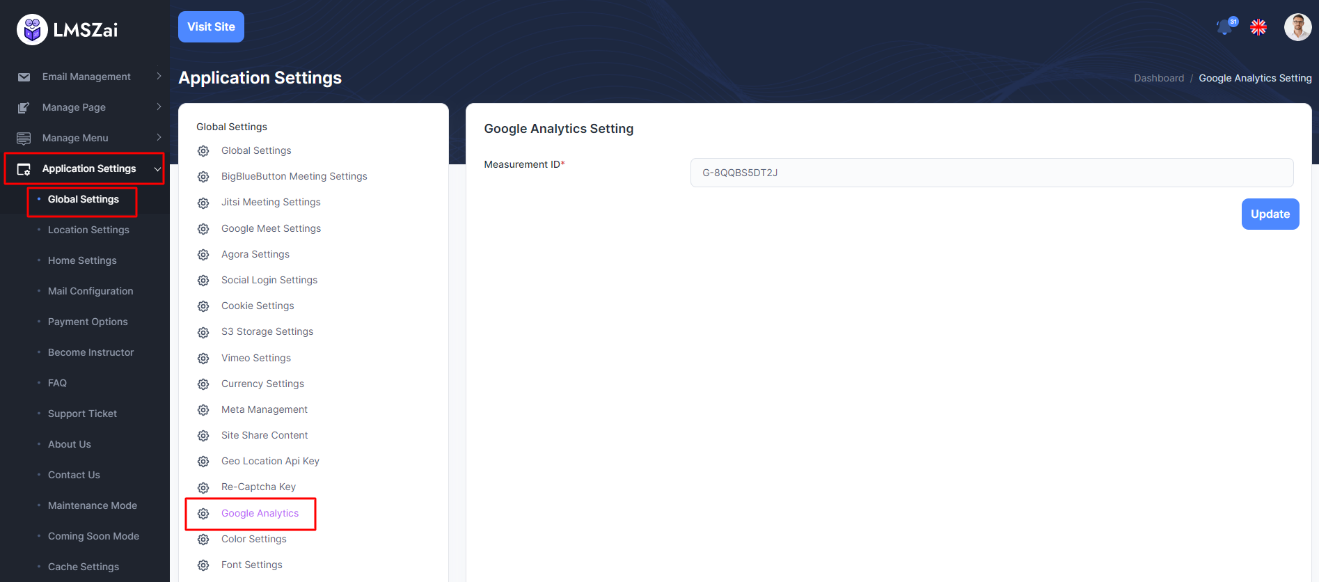
Google Analytics
- Go to the application settings of the admin. Then go to global settings. Below there is Google Analytics. Give measurement ID and save.
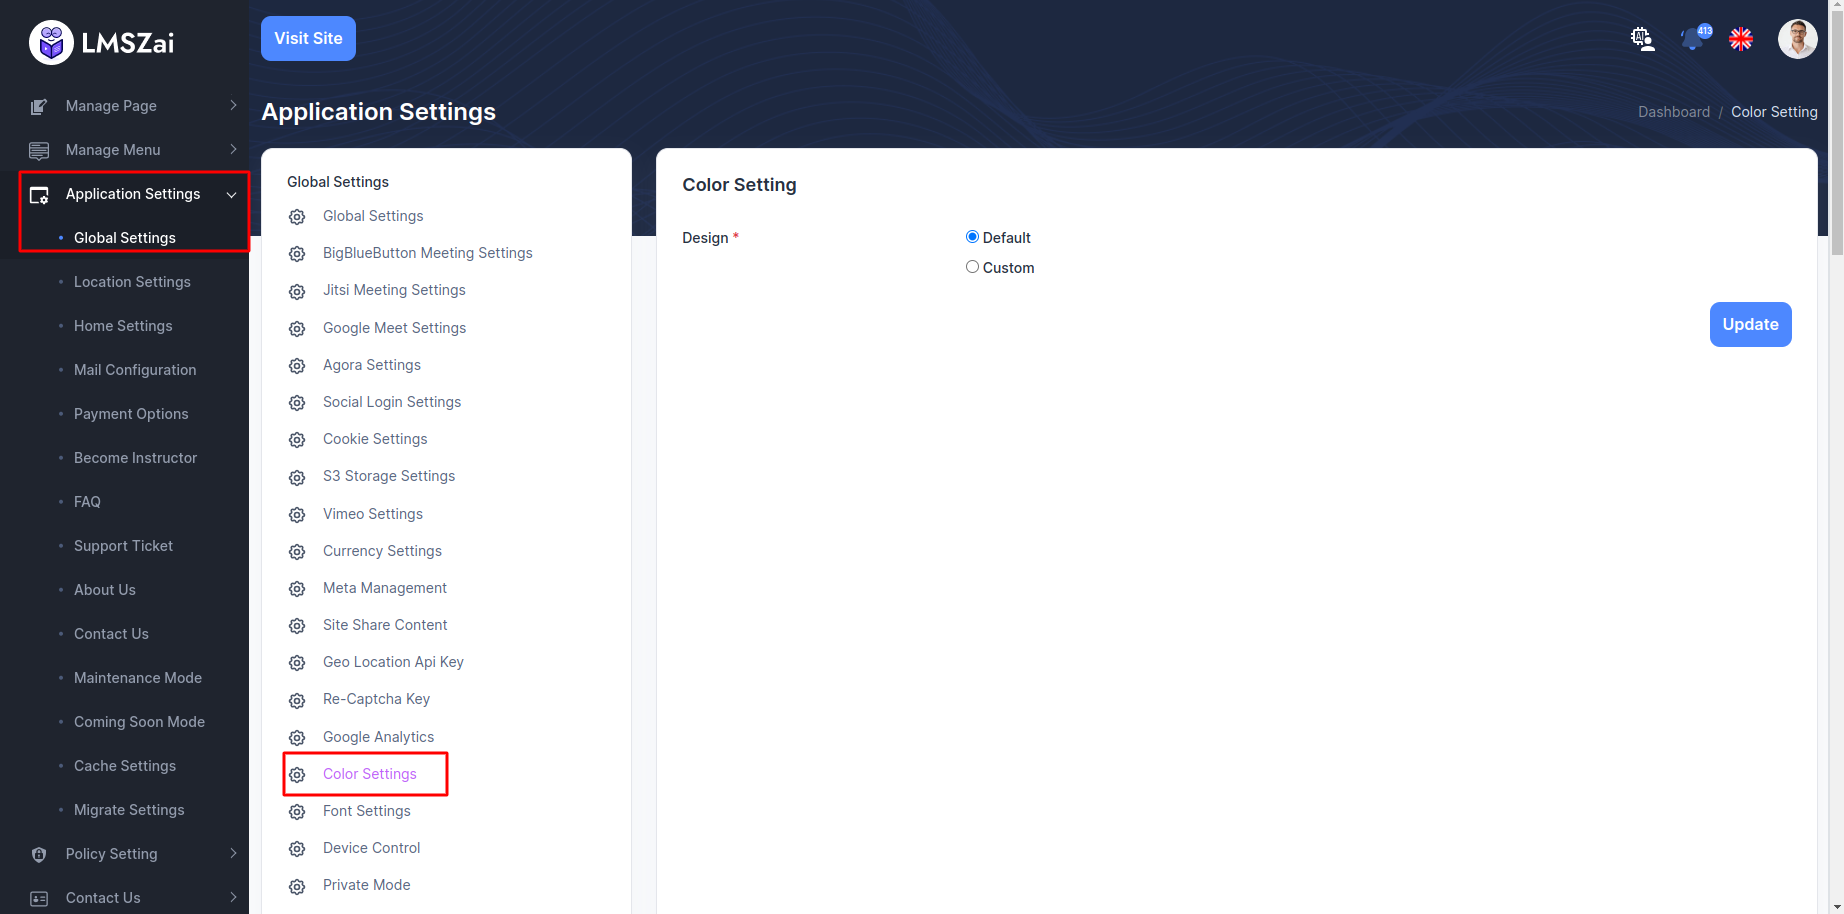
Color Settings
You can manage this color settings
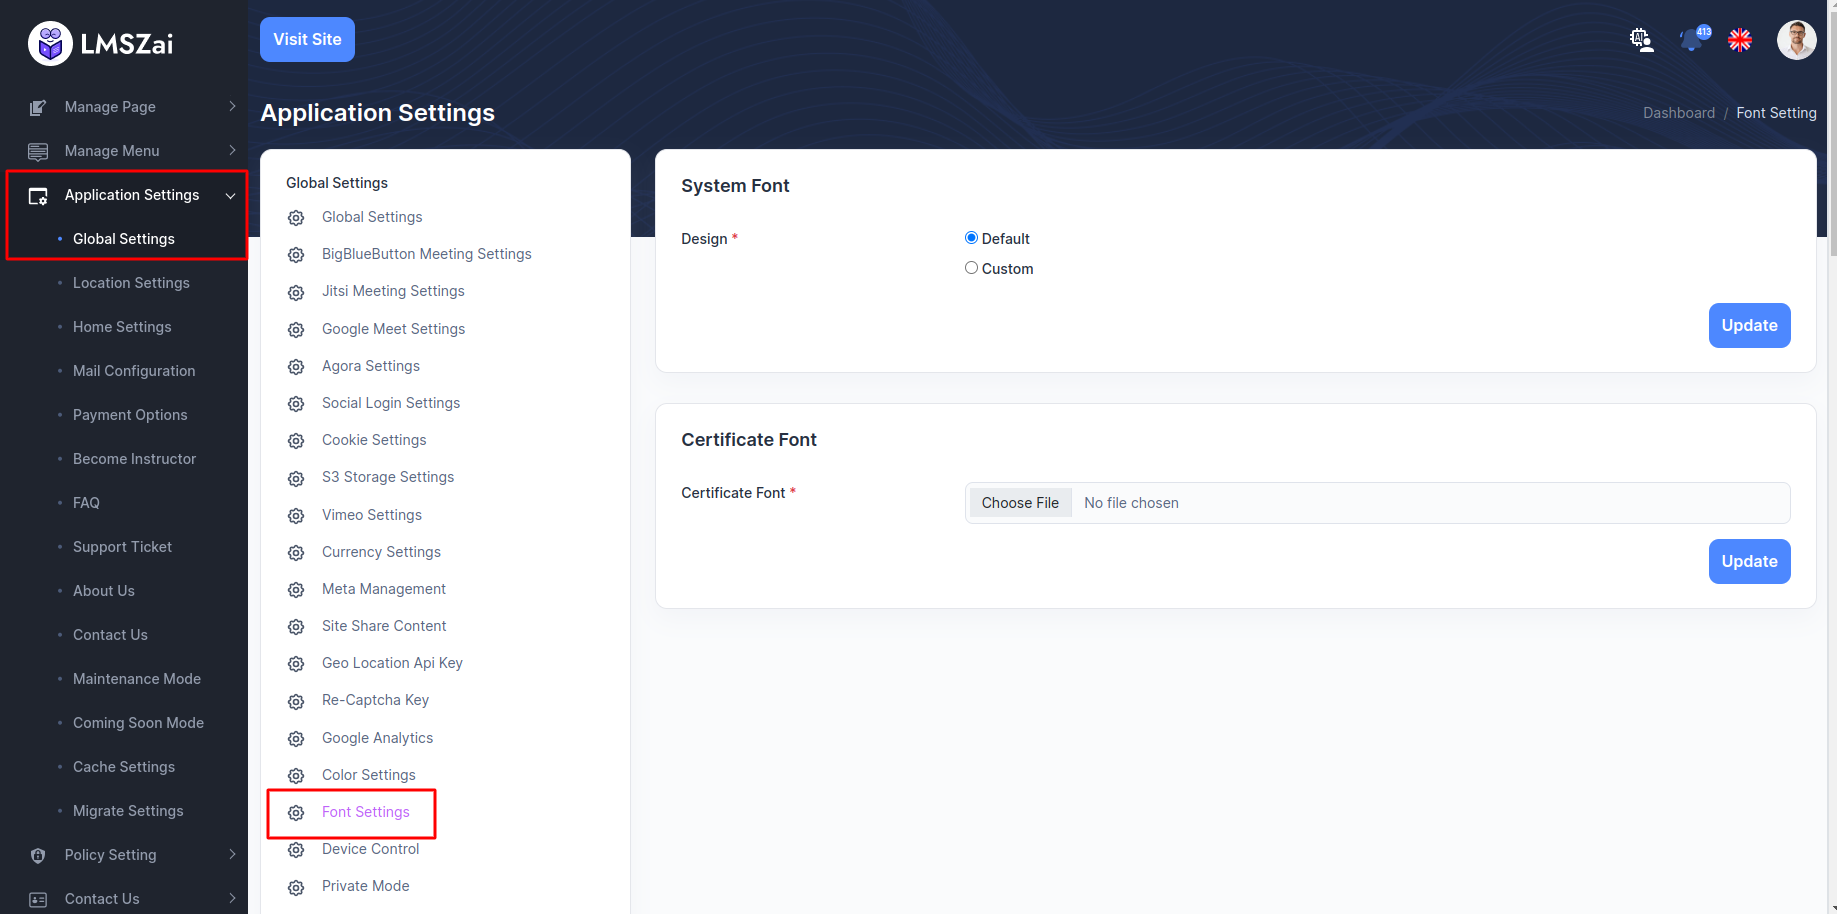
Font Settings
You can manage font settings
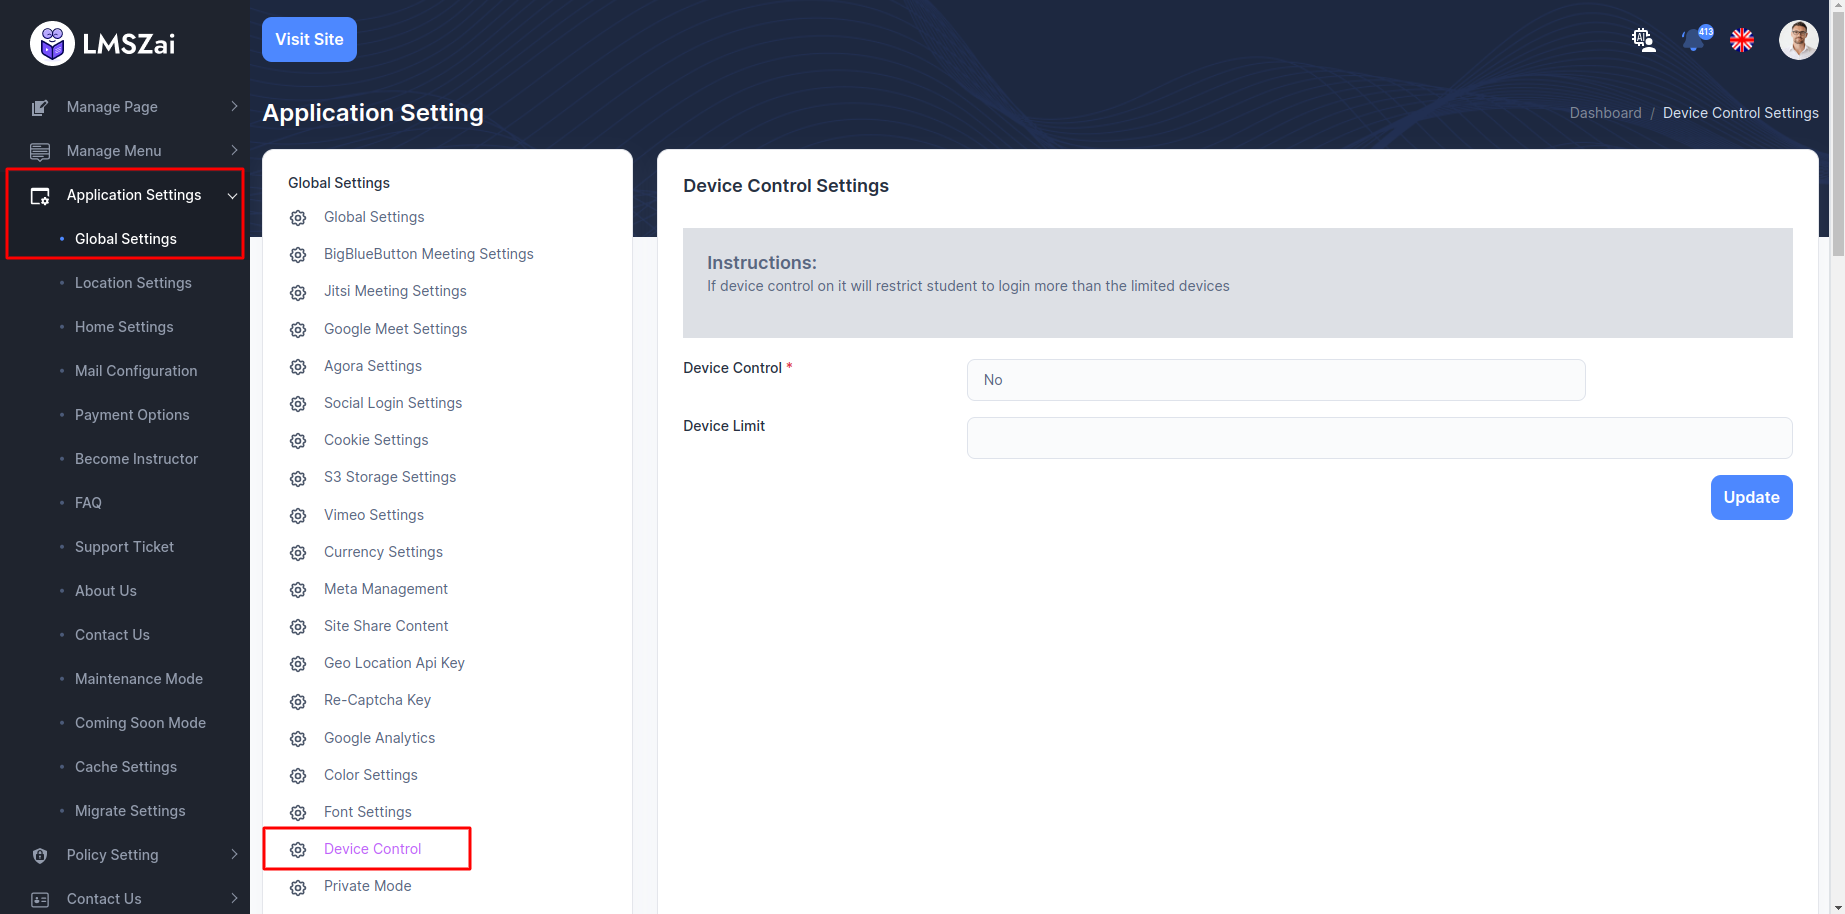
Device Control
Admin can control student login device
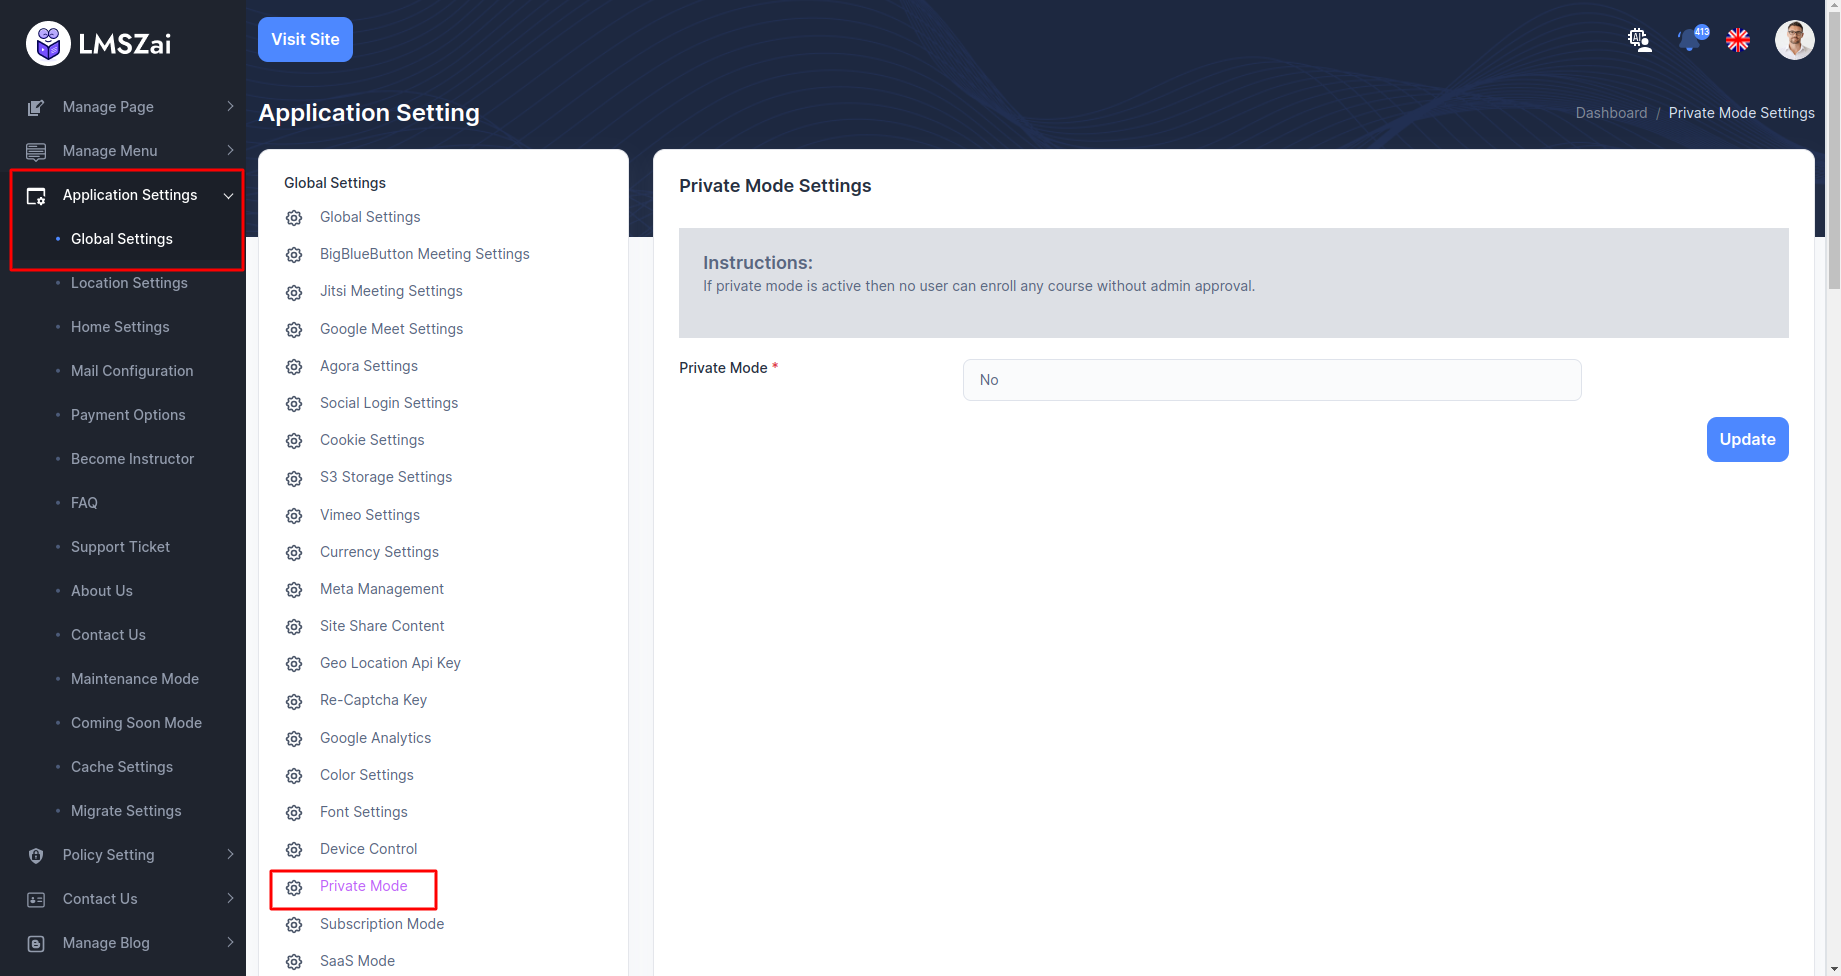
Private Mode
Admin can manage website mode
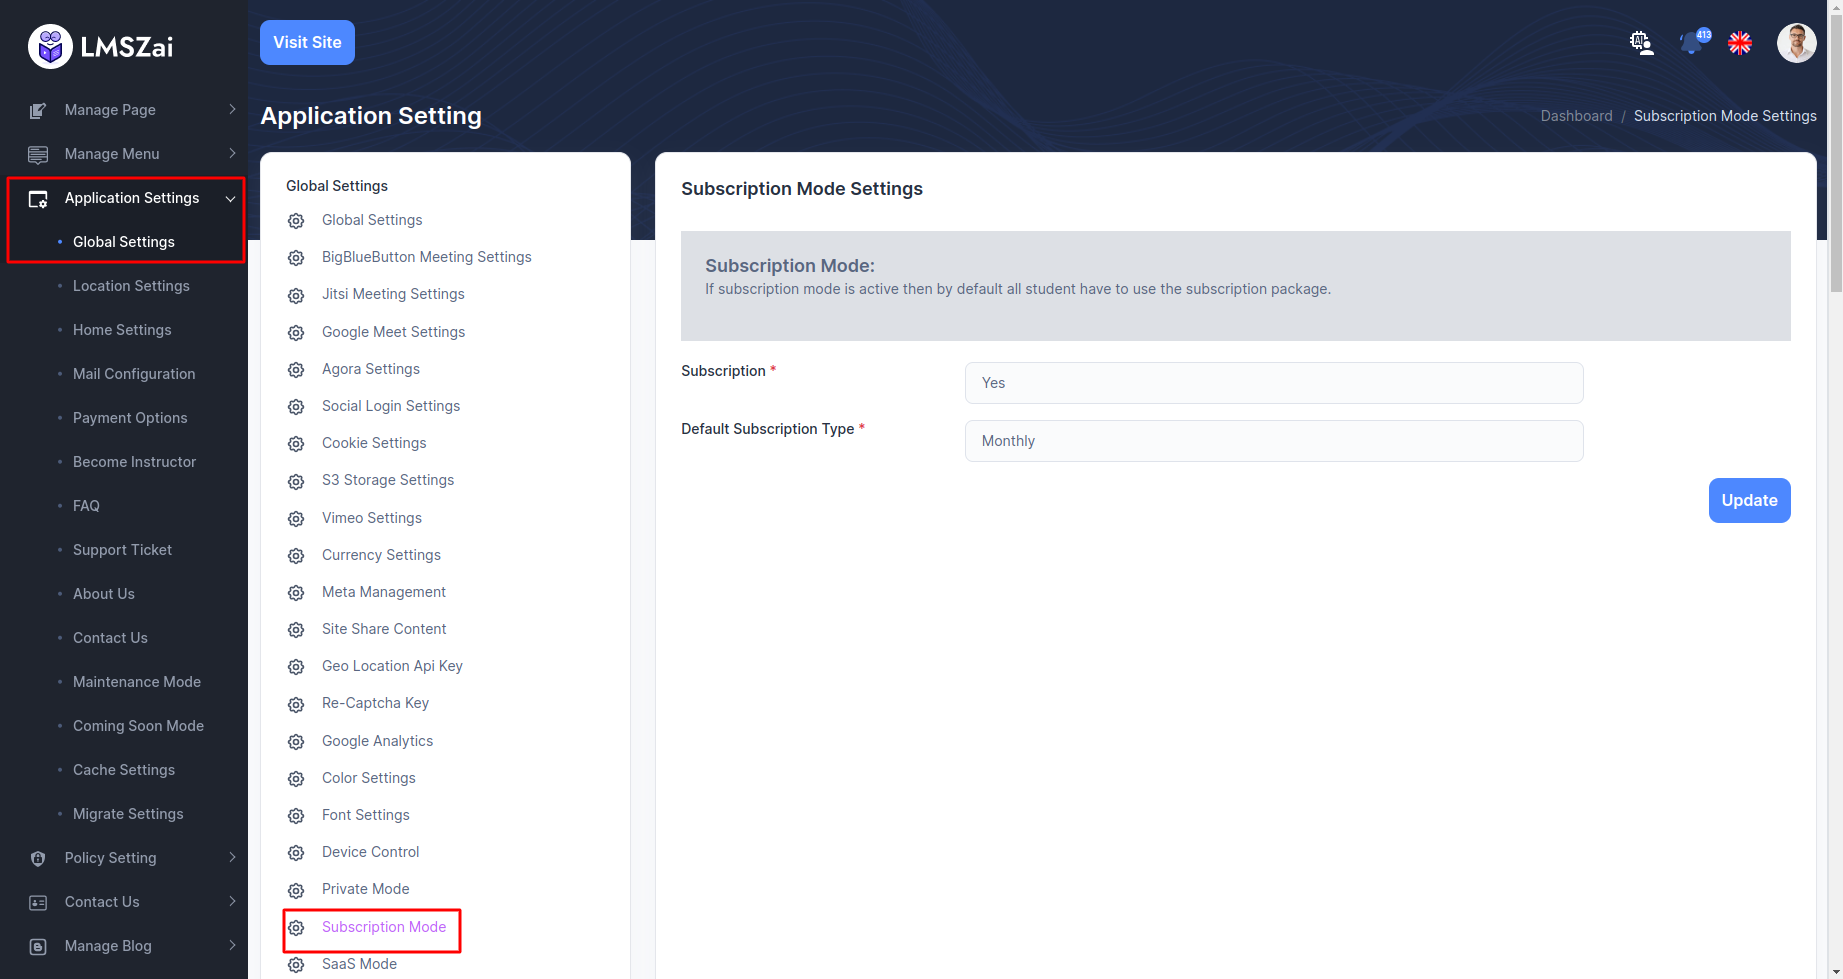
Subscription Mode
Admin can manage subscriptions mode
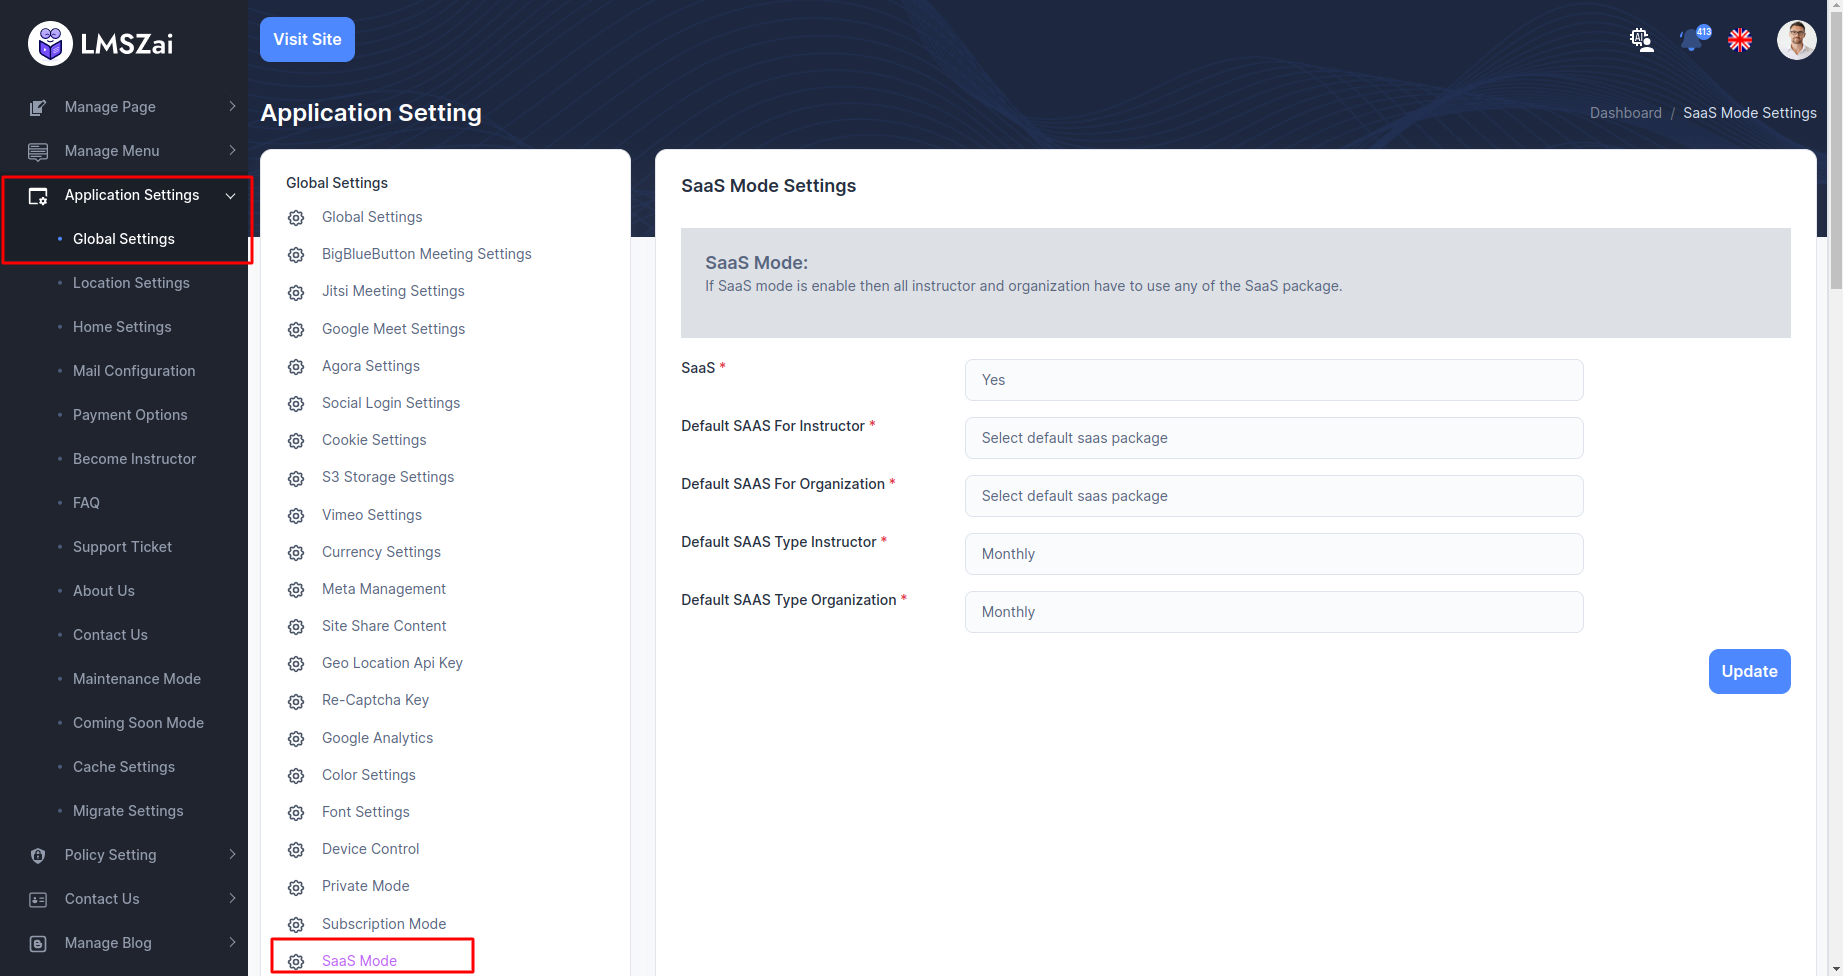
SaaS Mode
You can show and manage SaaS mode
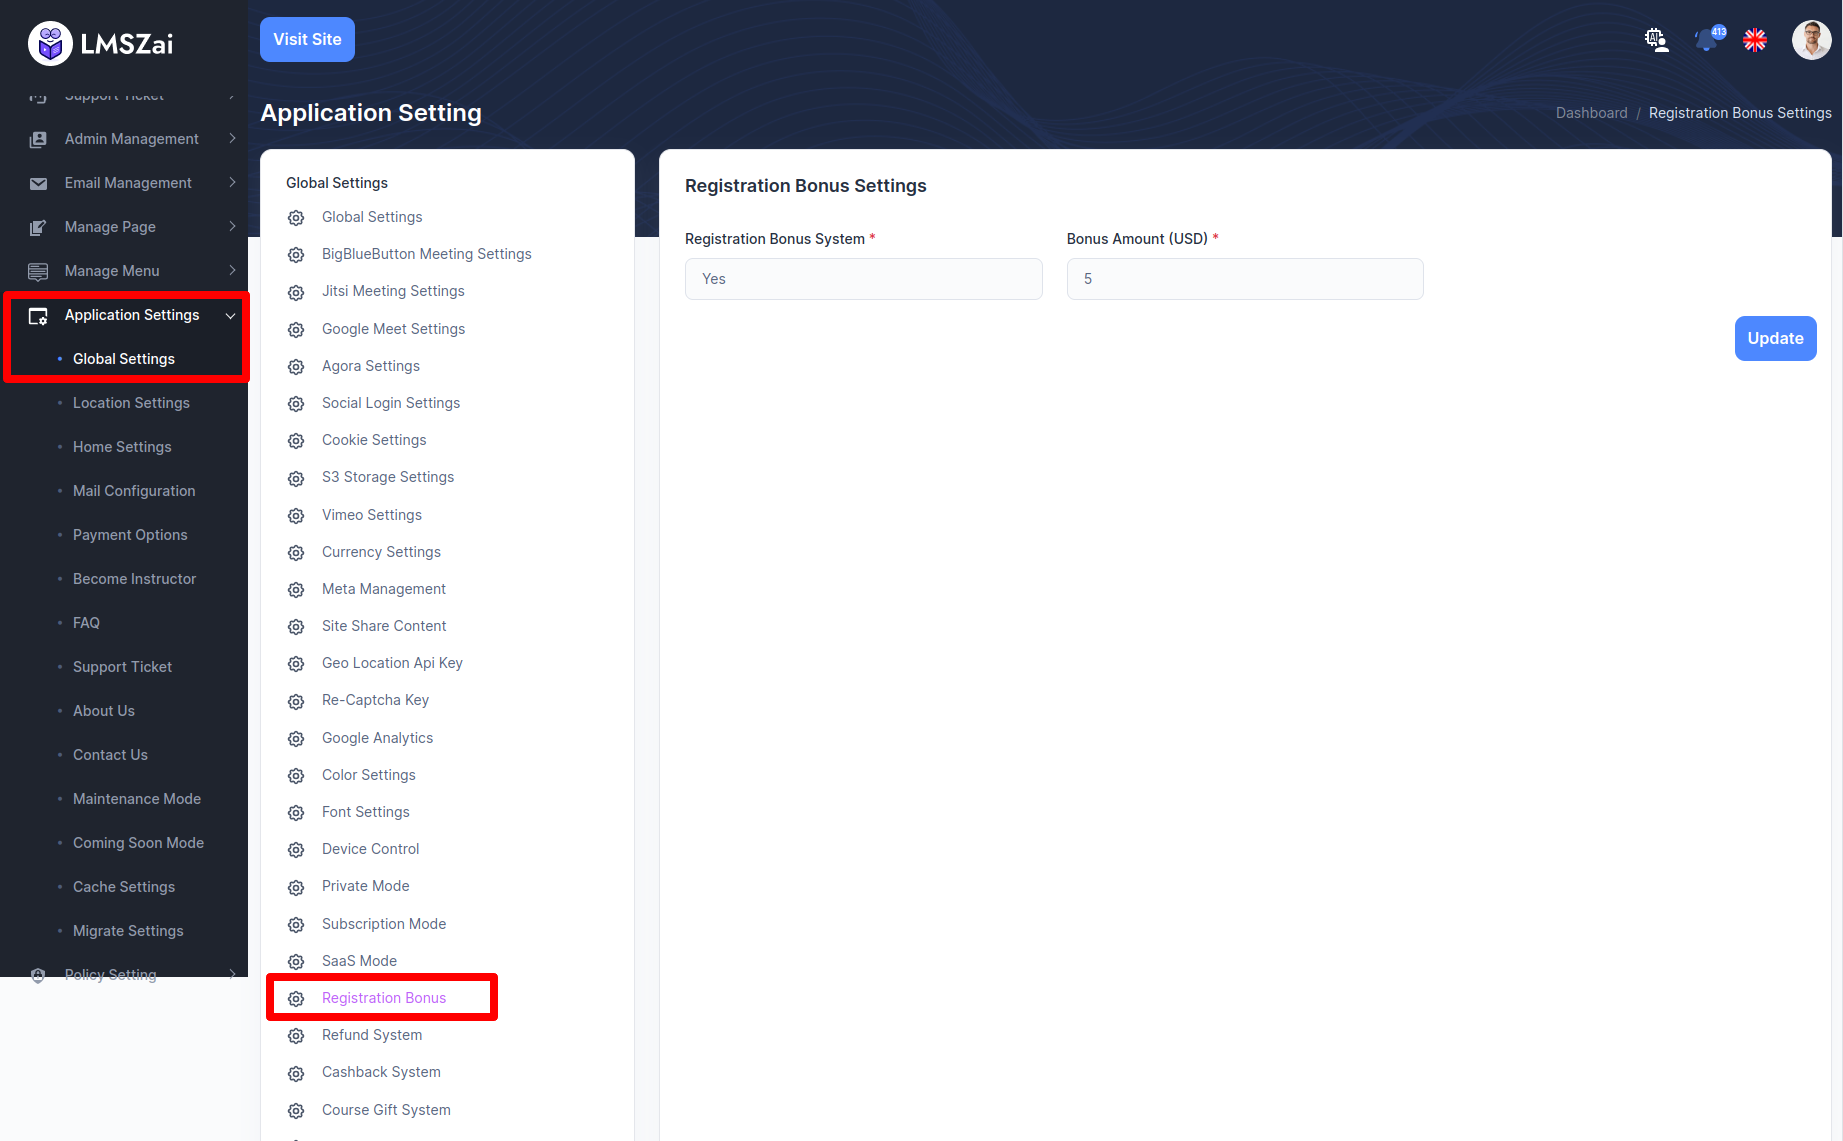
Registration Bonus
- For this feature, the admin has to do some settings. Firstly, go to the admin panel. Go to application settings and then global settings. Below there is a registration bonus. There are two input fields.
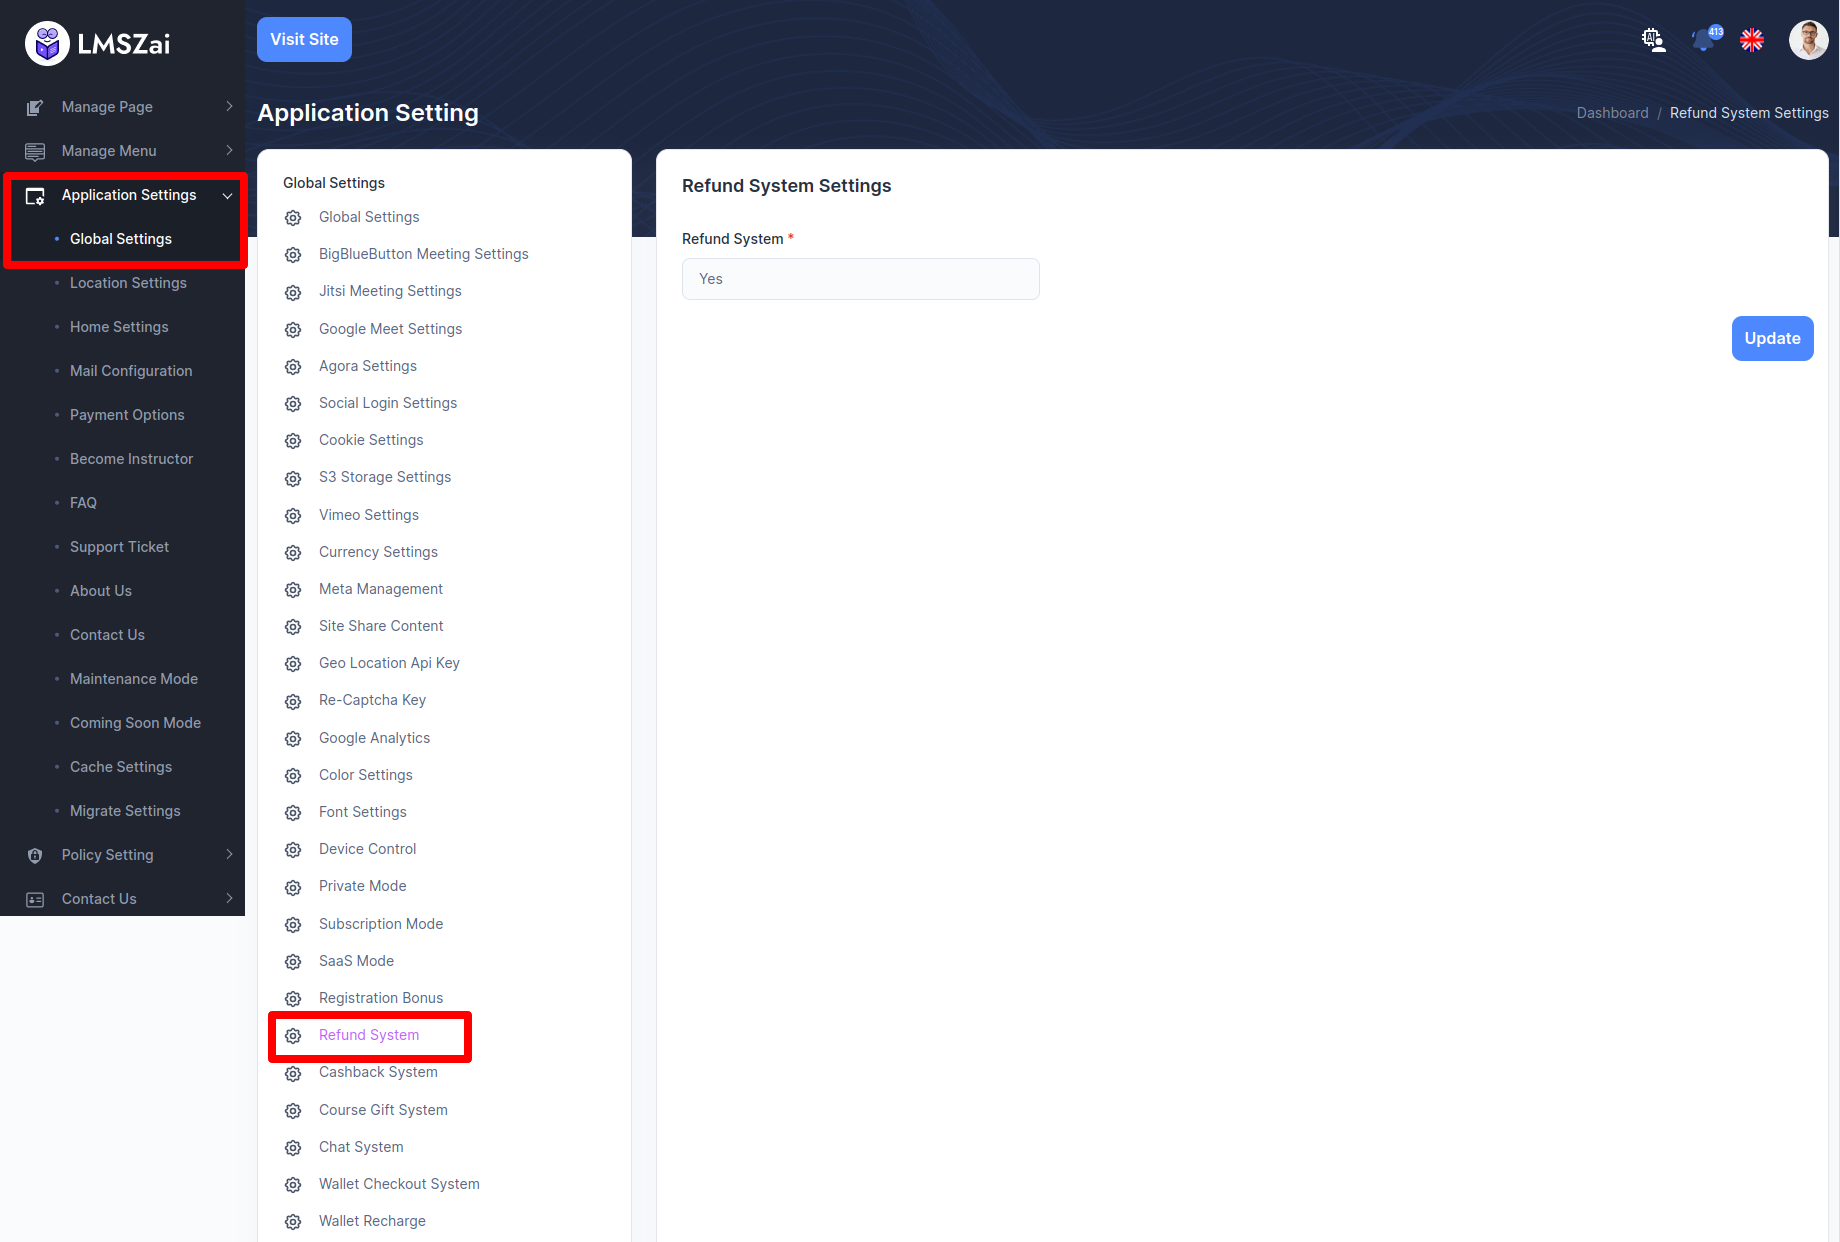
Refund System
Admin can manage refund system
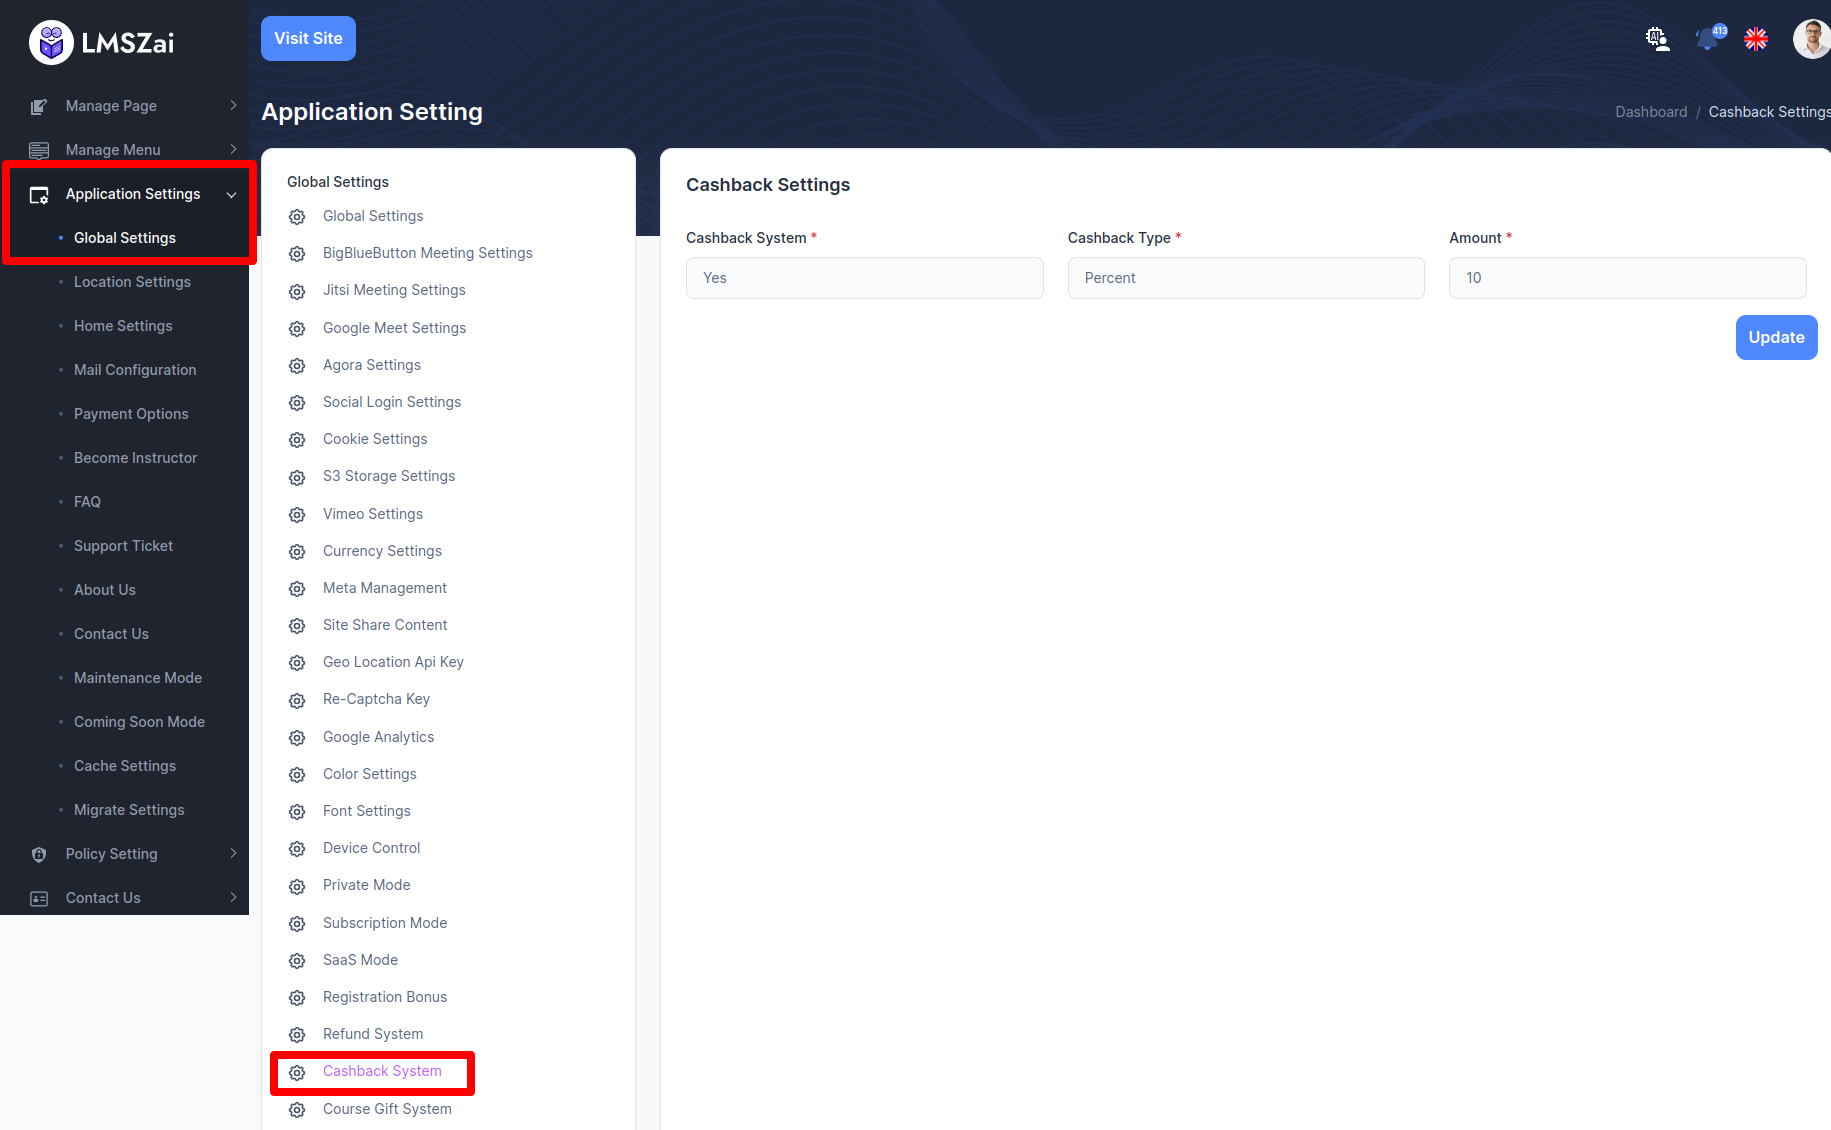
Cashback System
Admin can manage cashback system
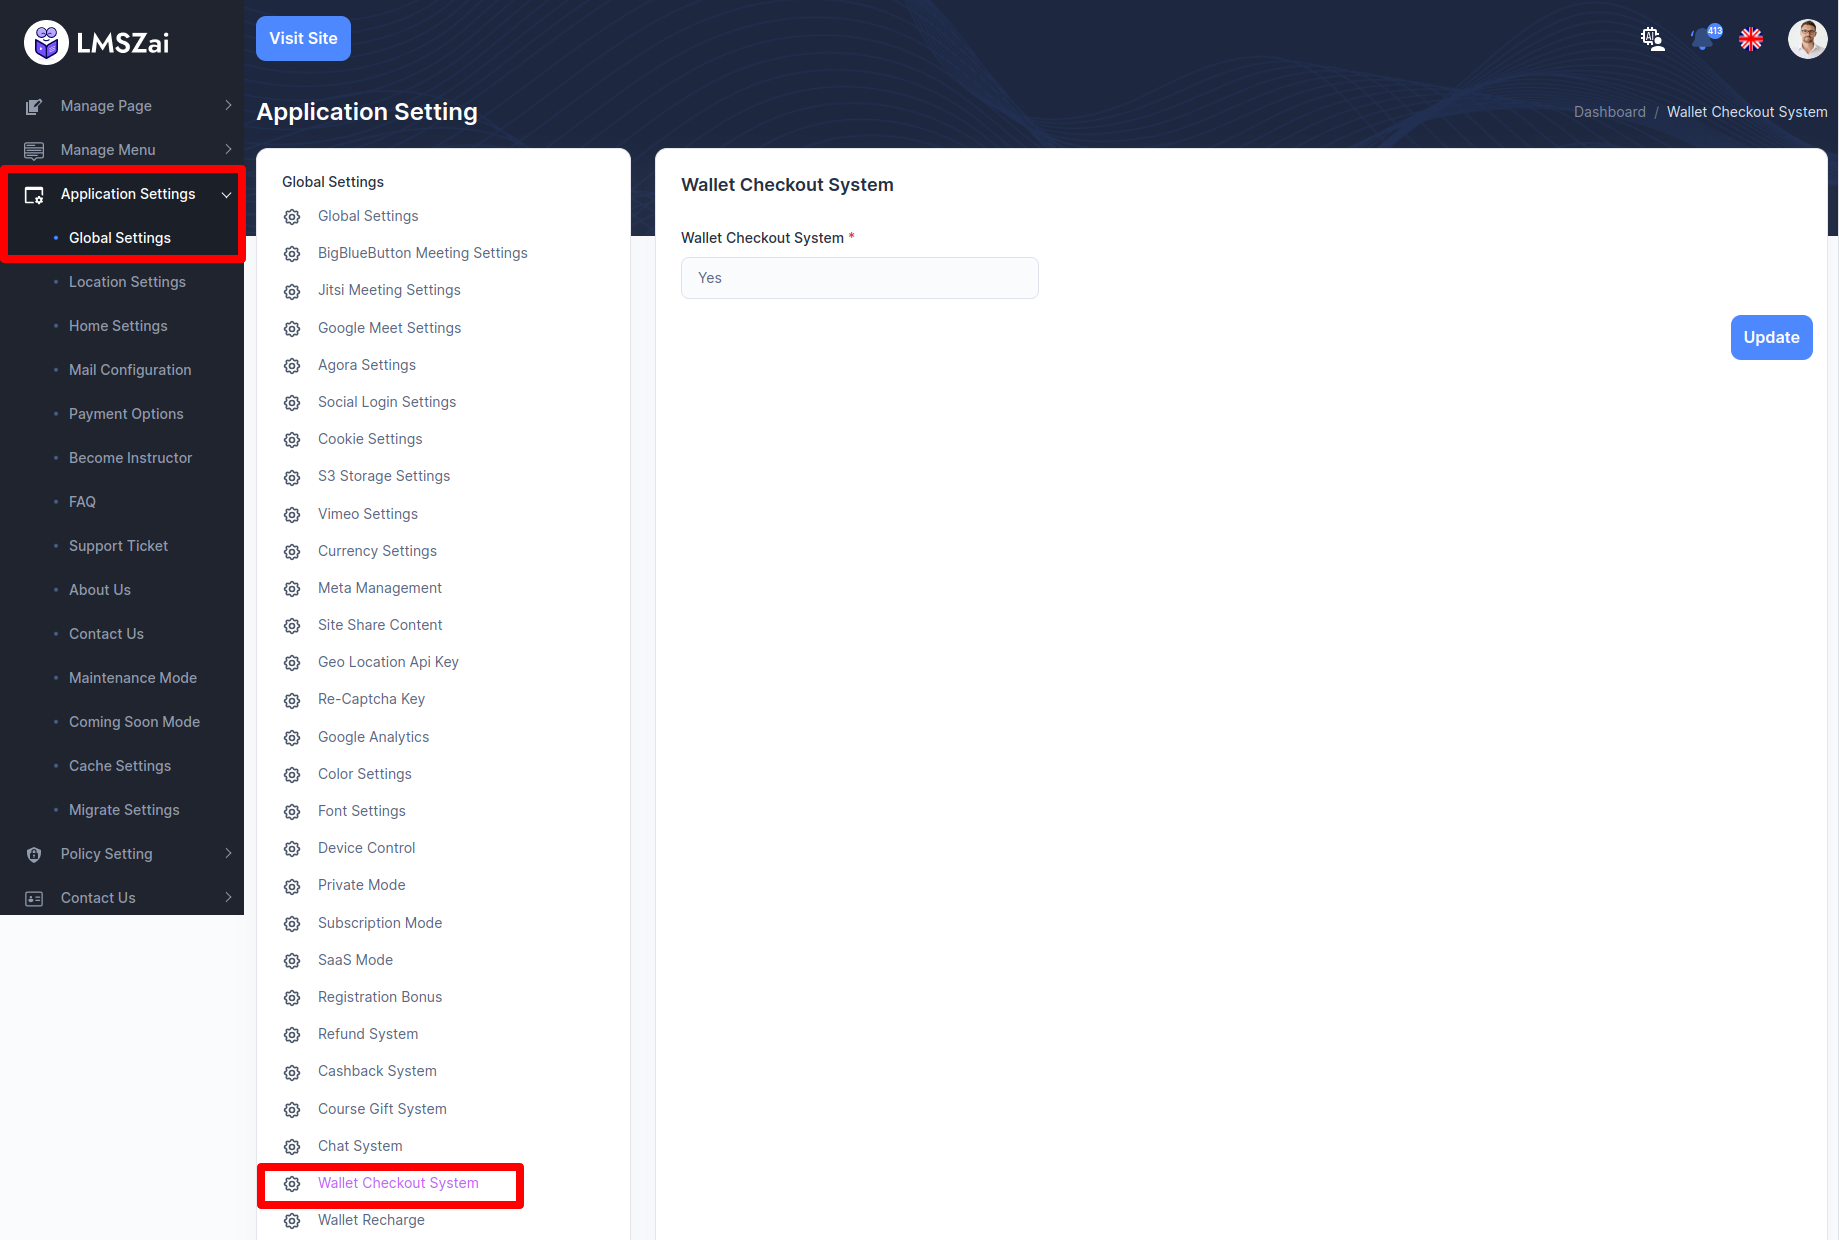
Course Gift System
Admin can show and manage course gift sustem
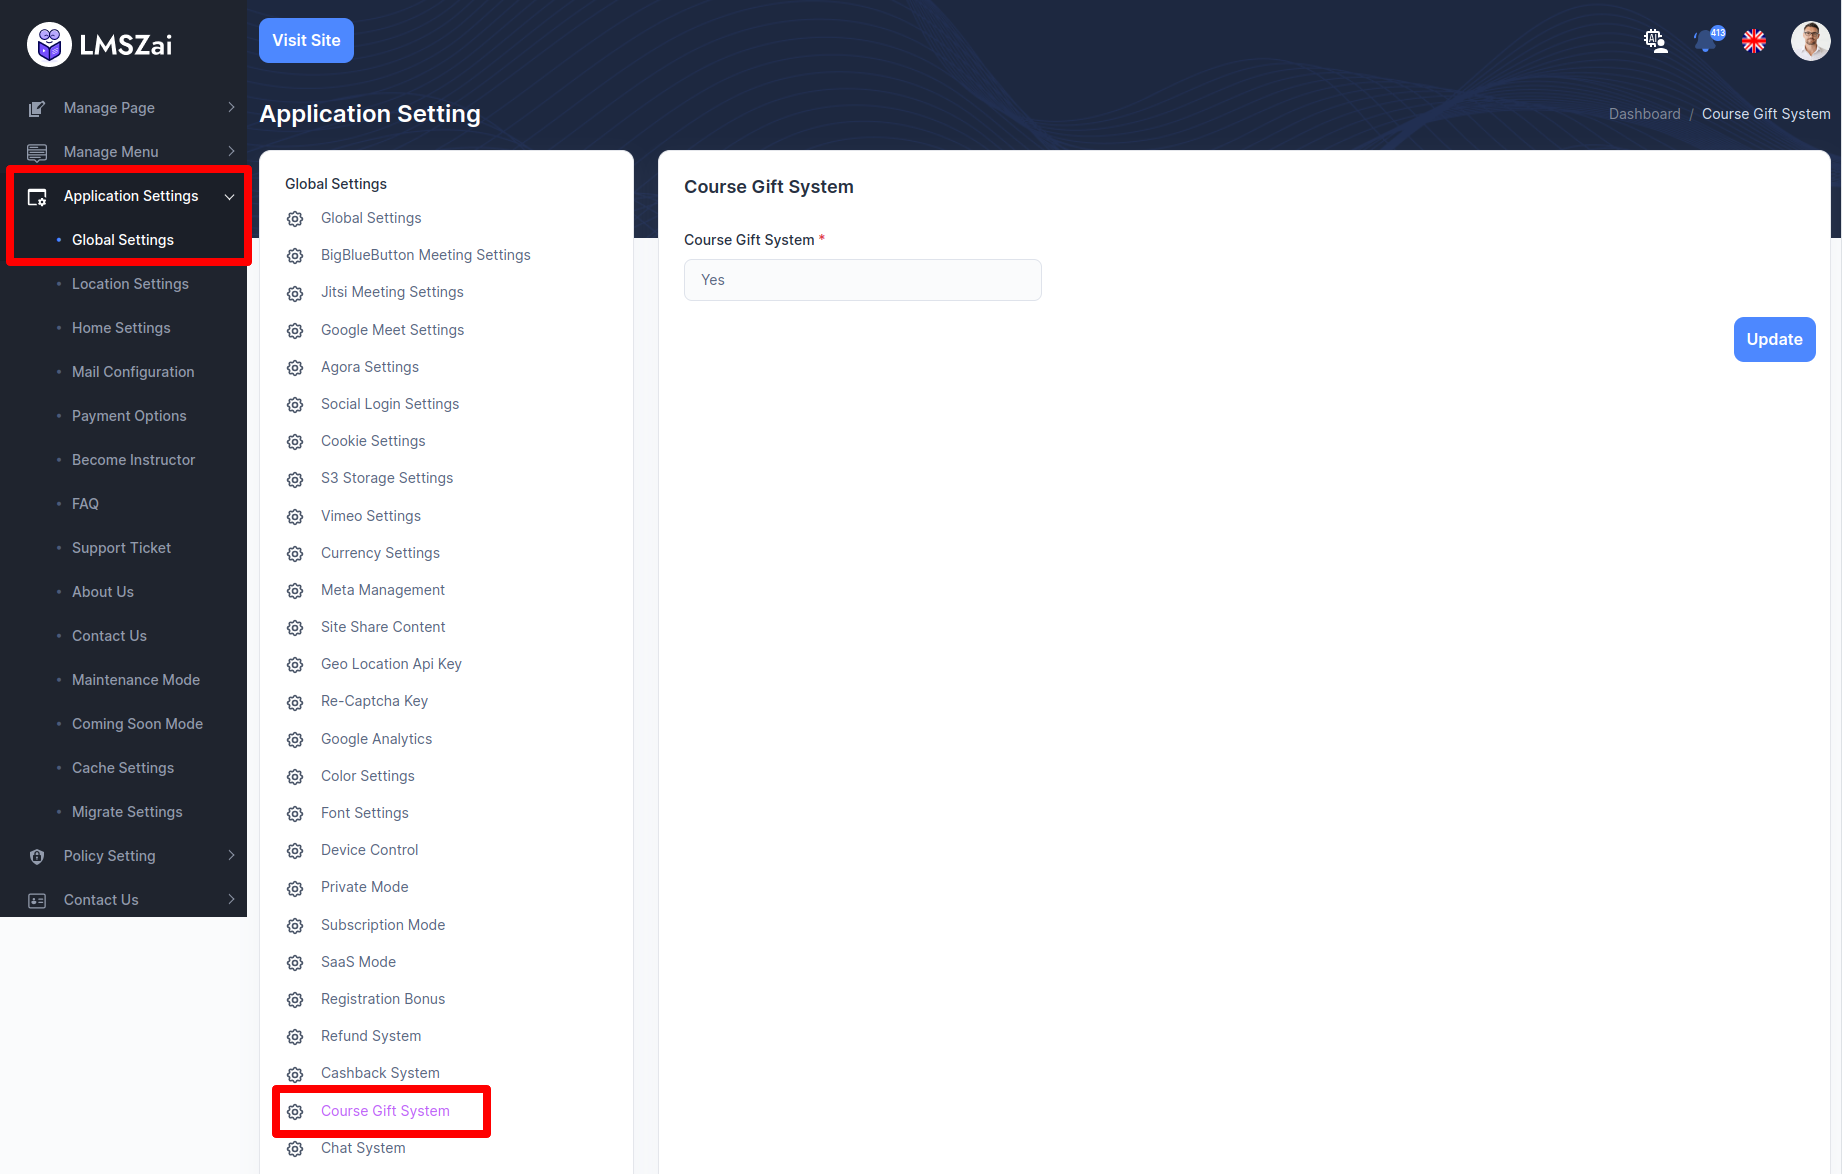
Chat System
- Students and teachers can make internal conversation by their course.
- Admin has to do some settings. Go to Application settings. Then go to the chat system. Put valid information.
- Now you will get live chat.
- Go to the chat category of instructor panel.
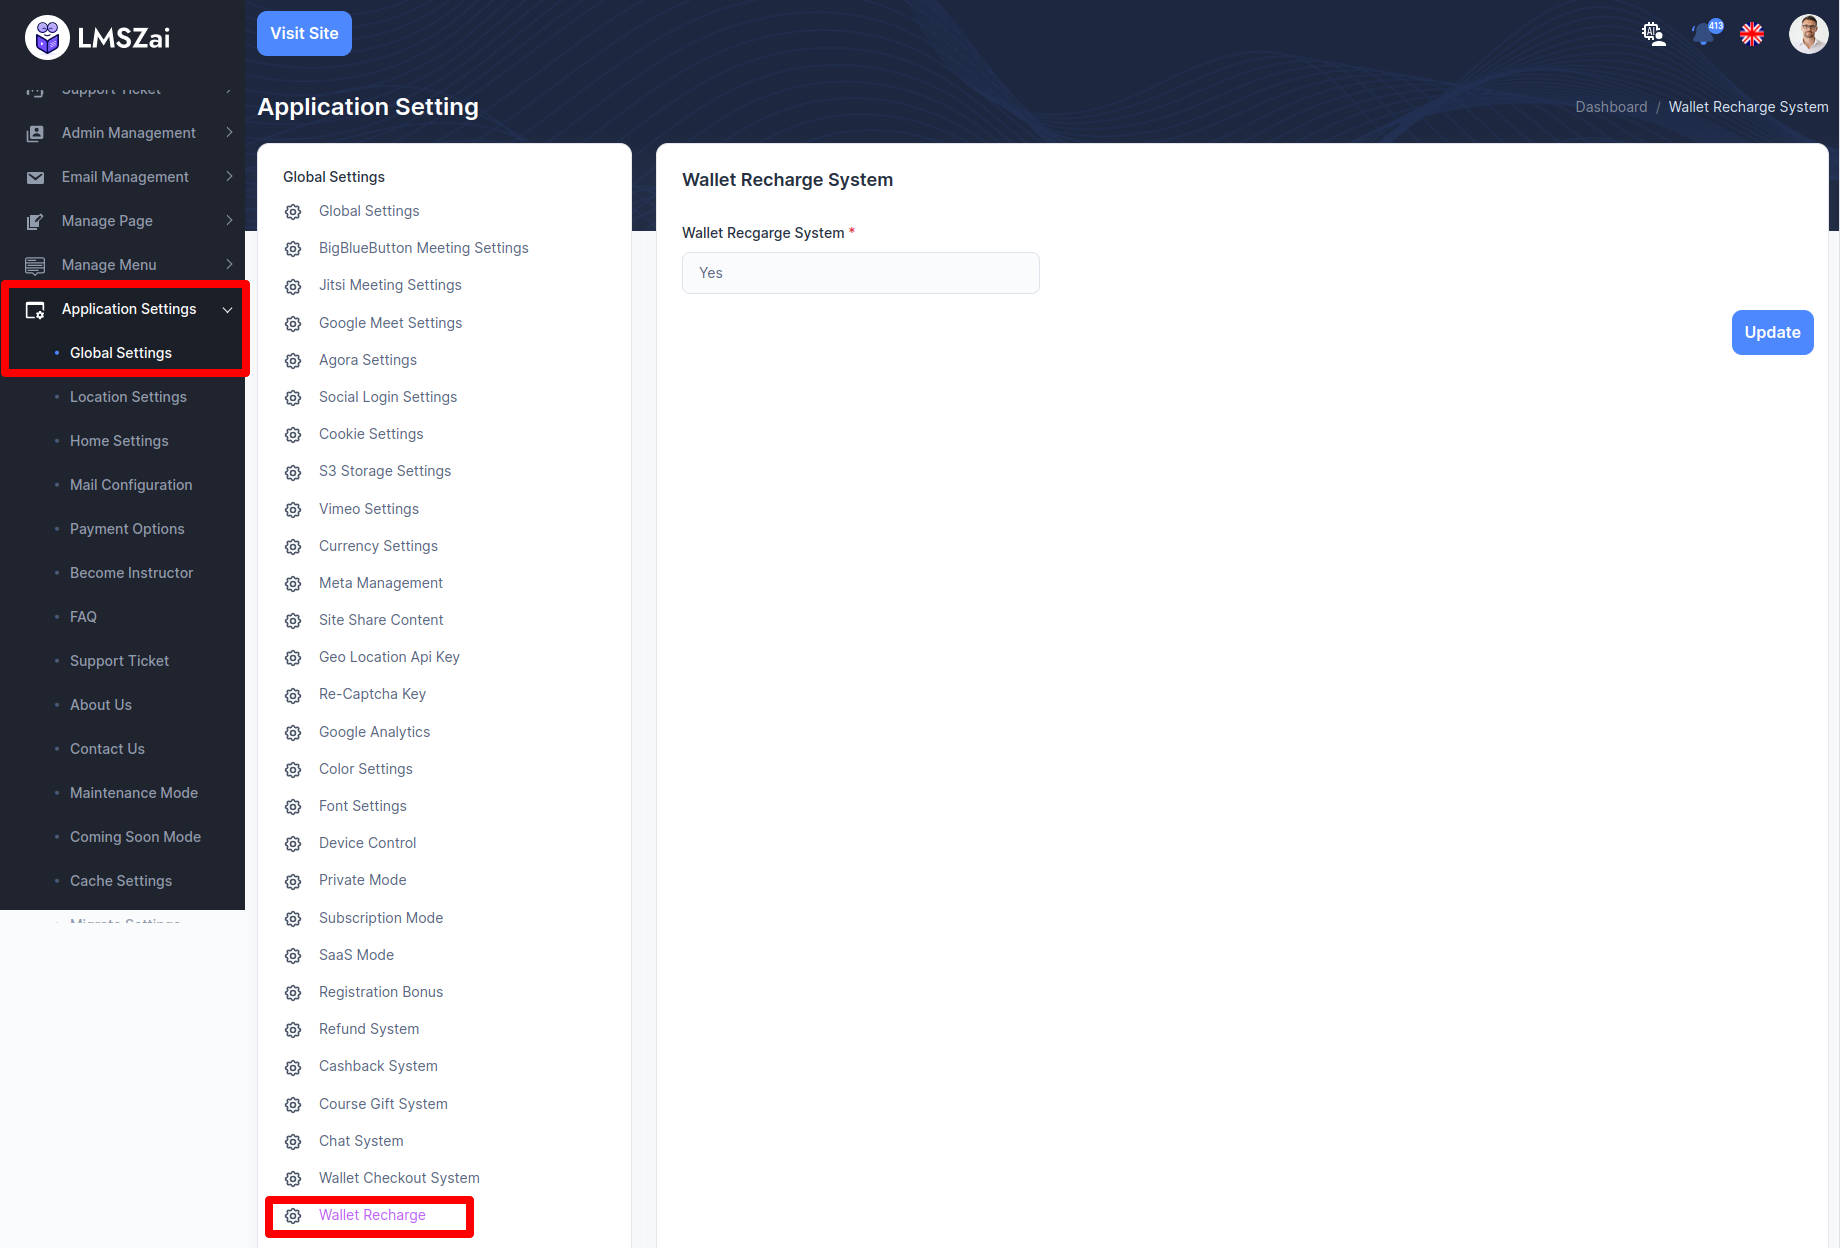
Wallet Checkout System
Admin can manage this wallet checkout system
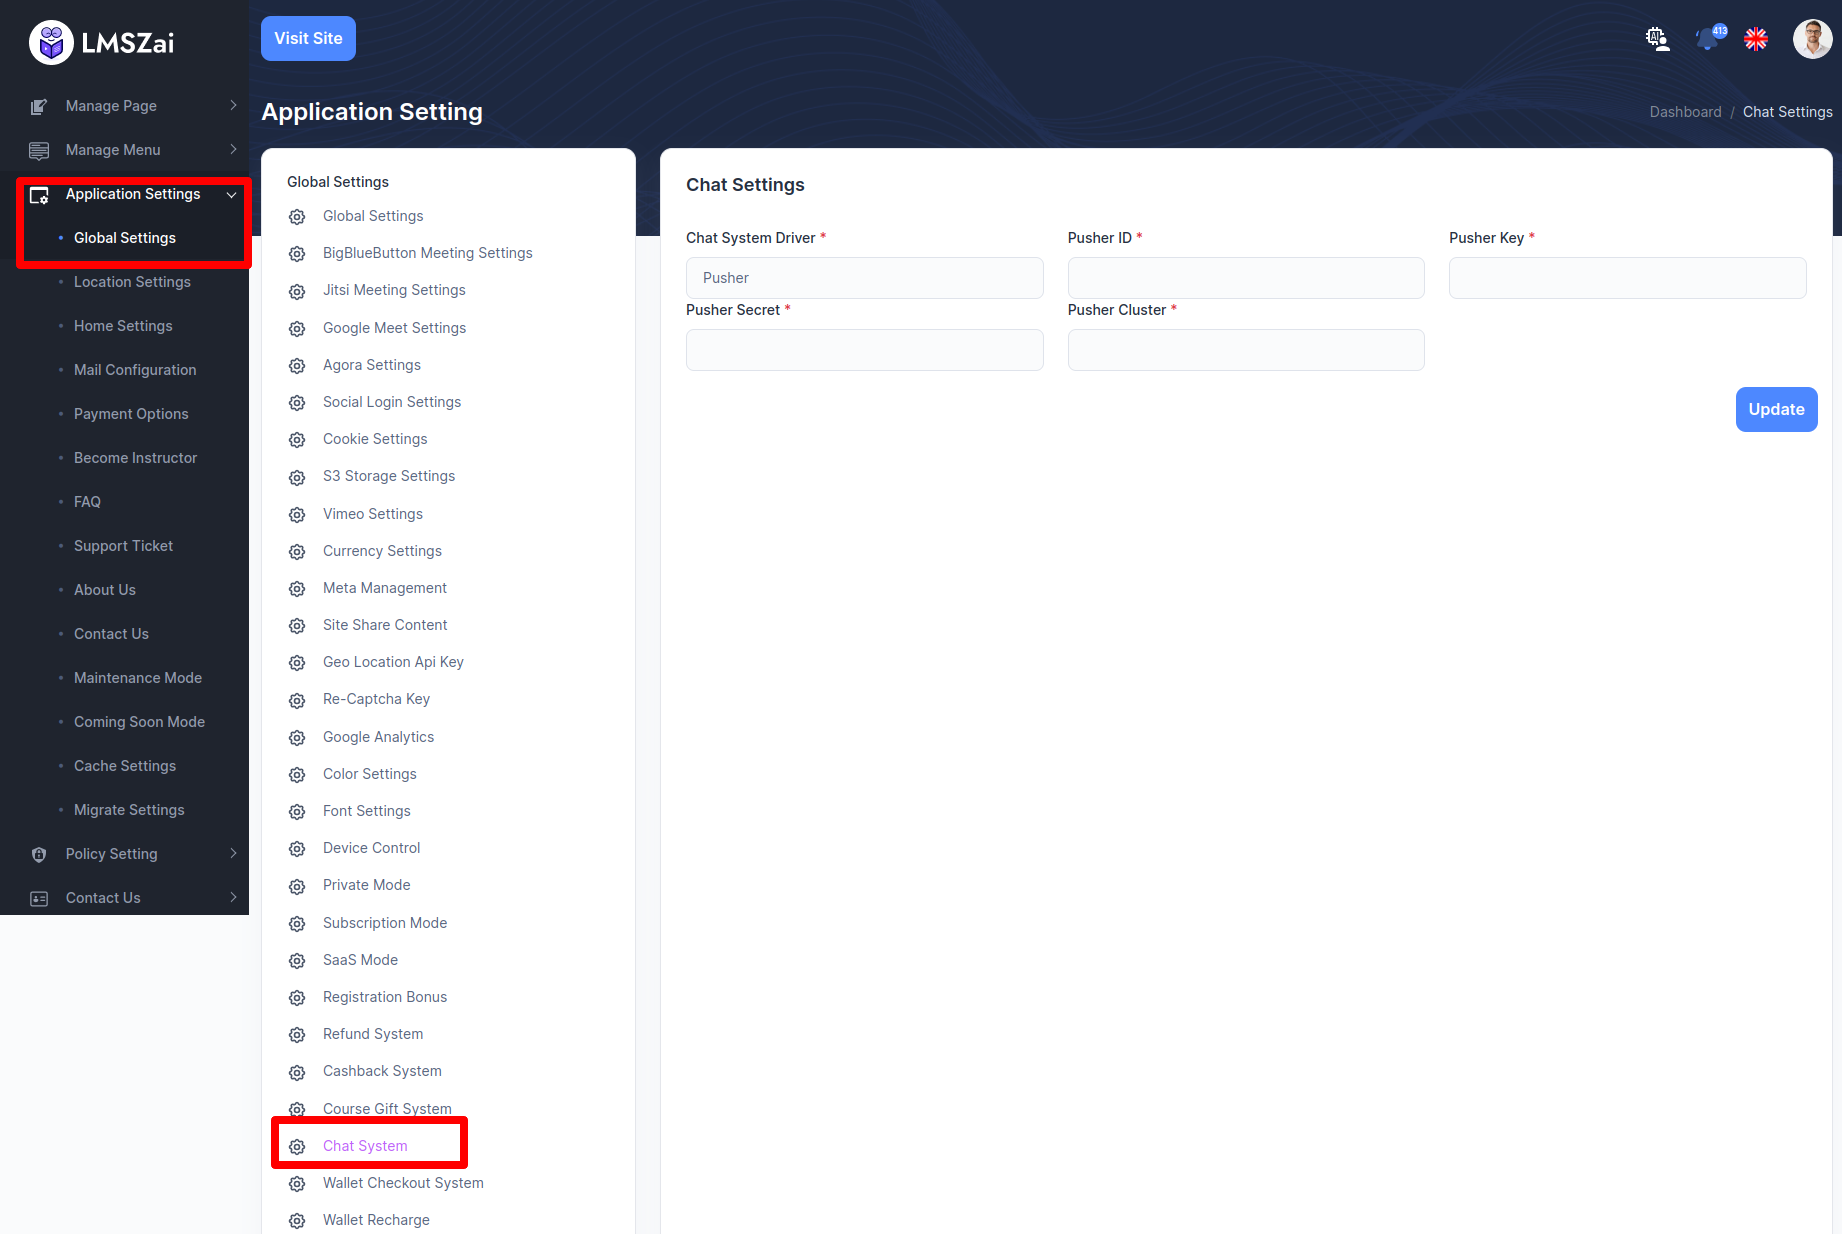
Wallet Recharge
- For this feature you have to do some settings.
- Go to the Roles of Admin management category. Click the edit button.
- Select the wallet recharge button for permission access.
- Then go to the Global Settings of Application Settings. Go to the Wallet Recharge System. Select Yes for enabling the feature.
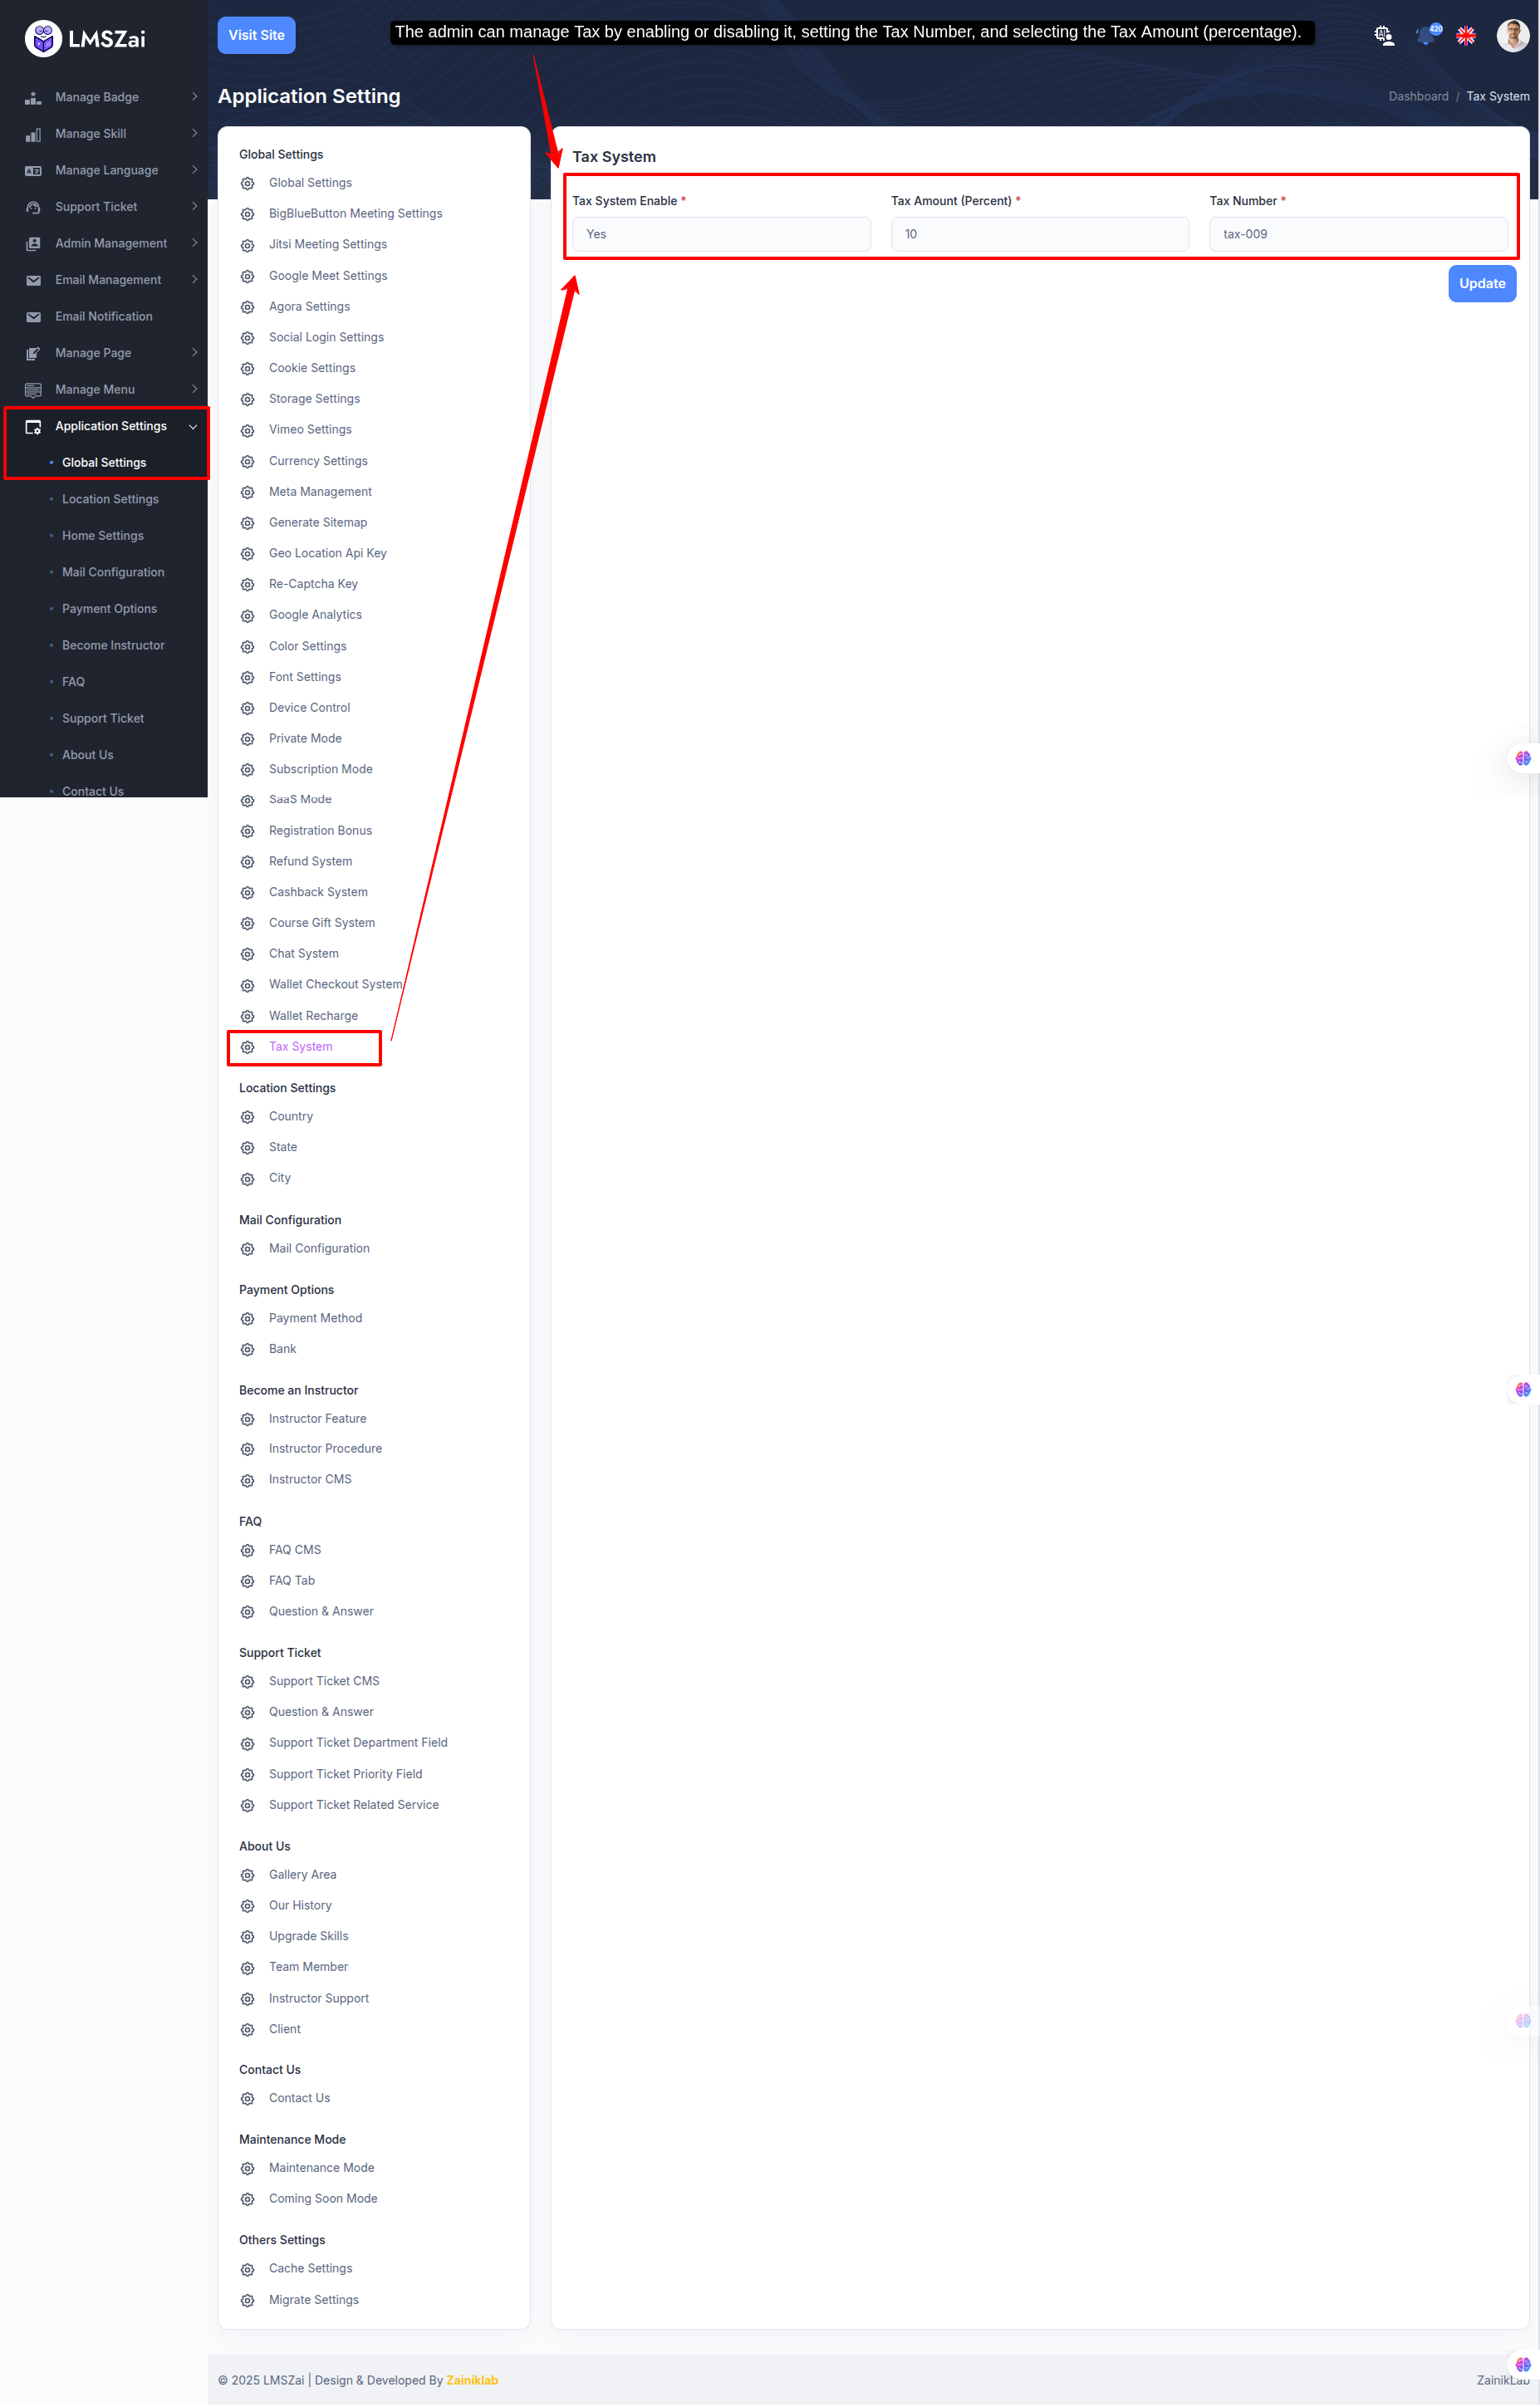
Tax Settings
- The admin can manage Tax by enabling or disabling it, setting the Tax Number, and selecting the Tax Amount (percentage).
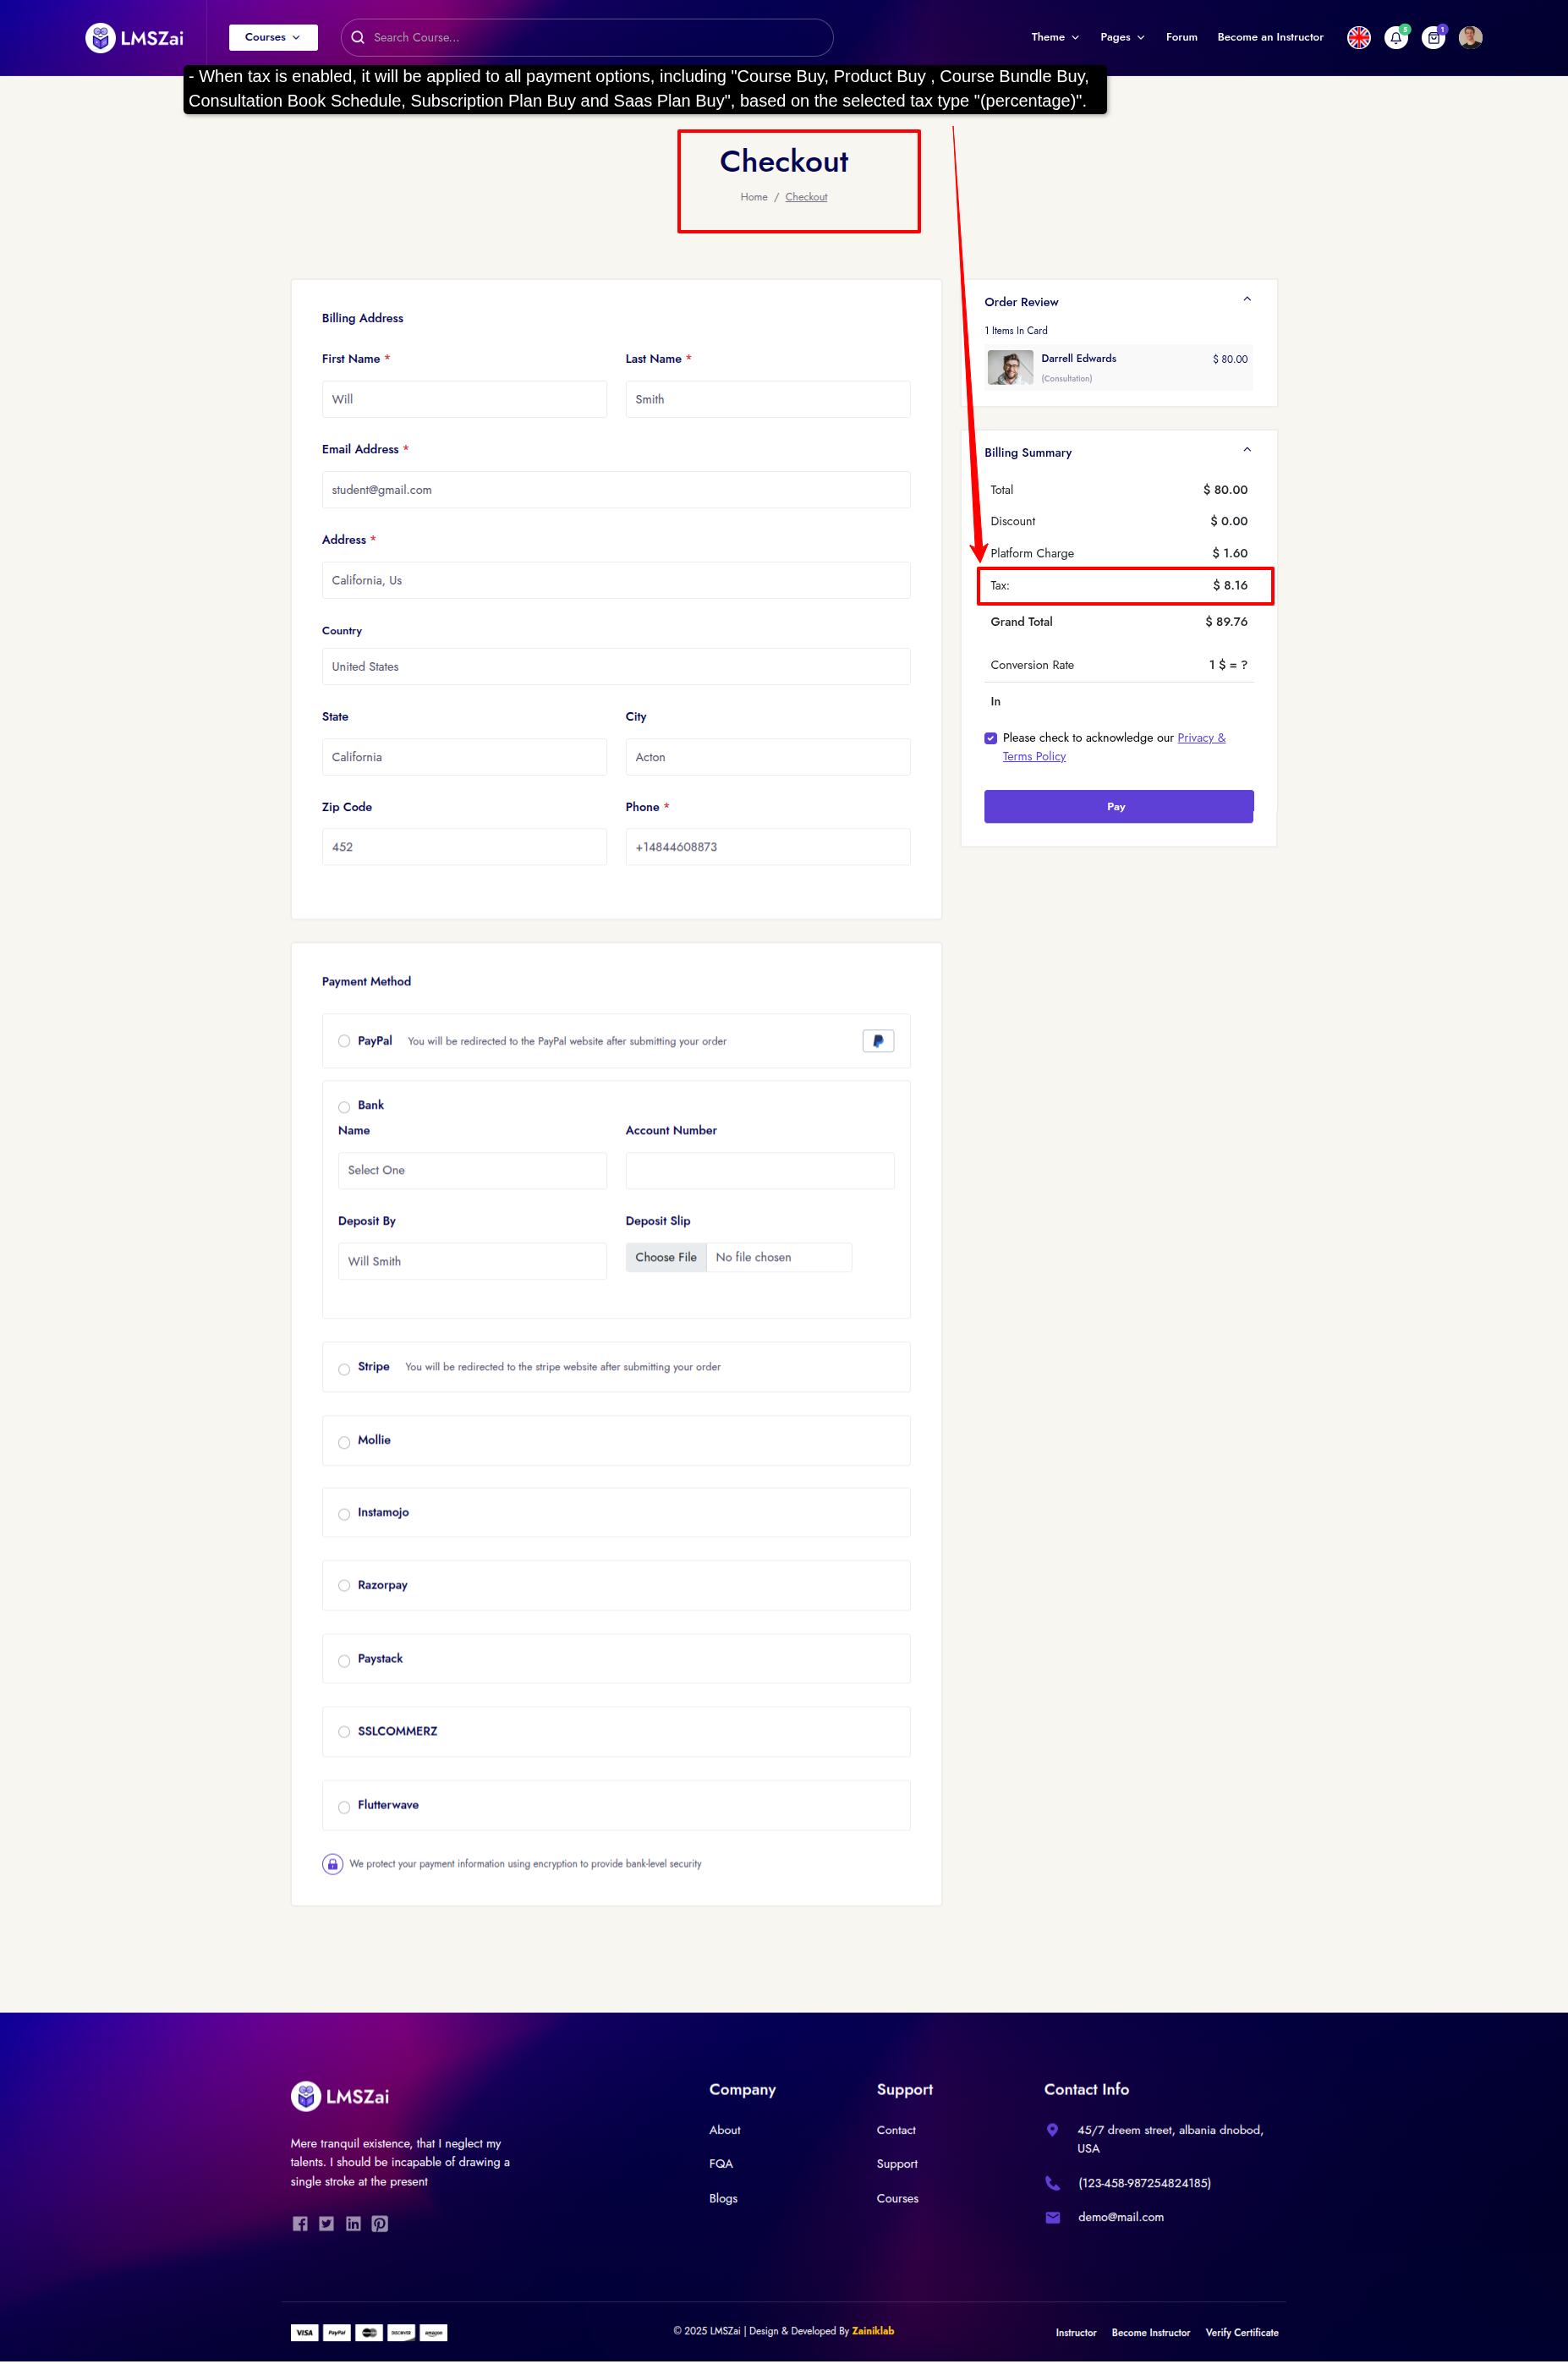
- When tax is enabled, it will be applied to all payment options, including Course Buy, Product Buy , Course Bundle Buy, Consultation Book Schedule, Subscription Plan Buy and Saas Plan Buy, based on the selected tax type (percentage).
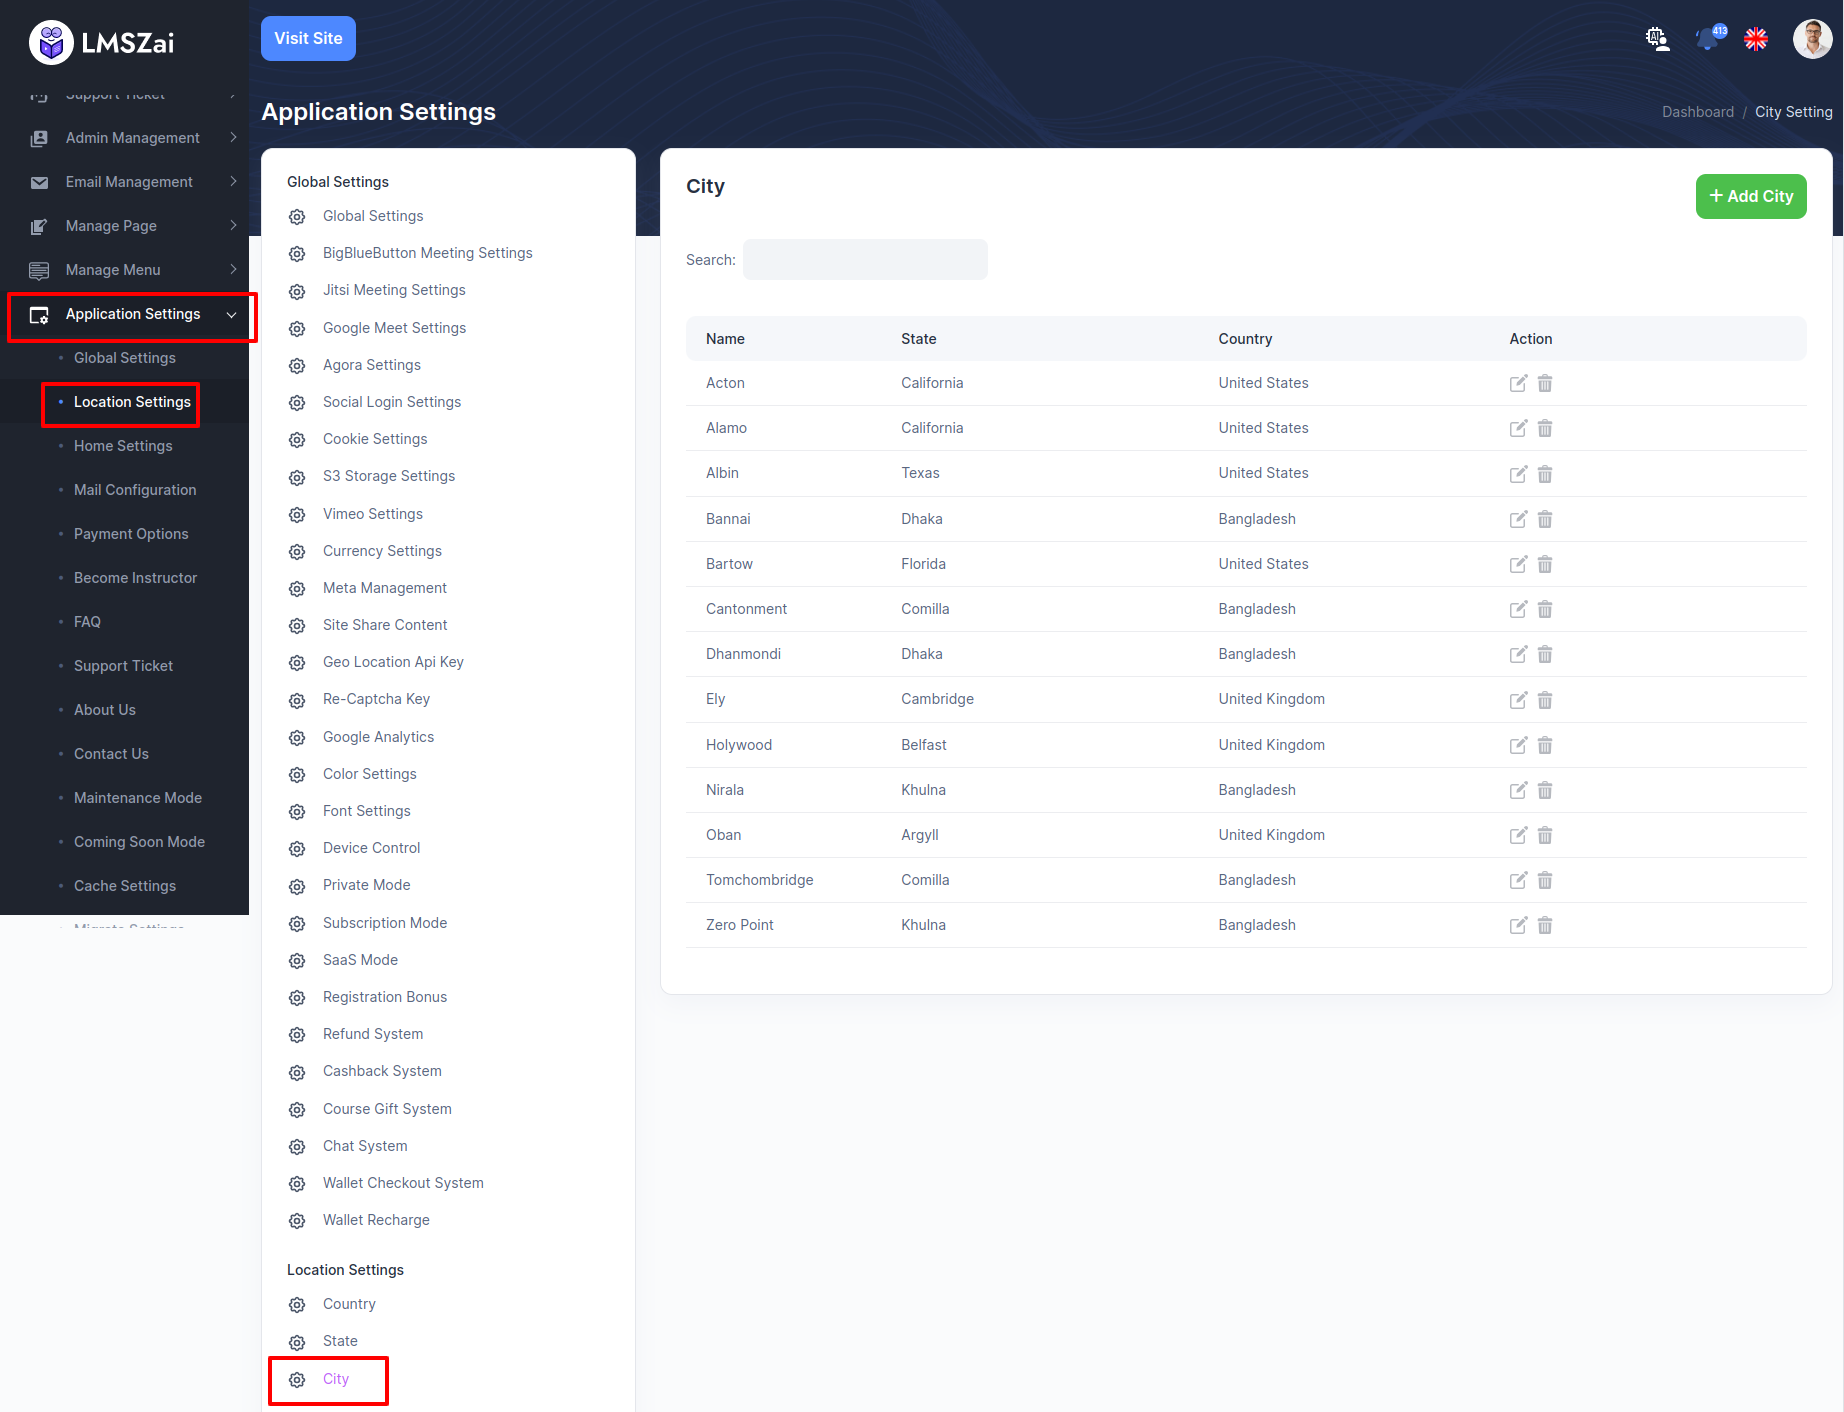
Location Settings
-
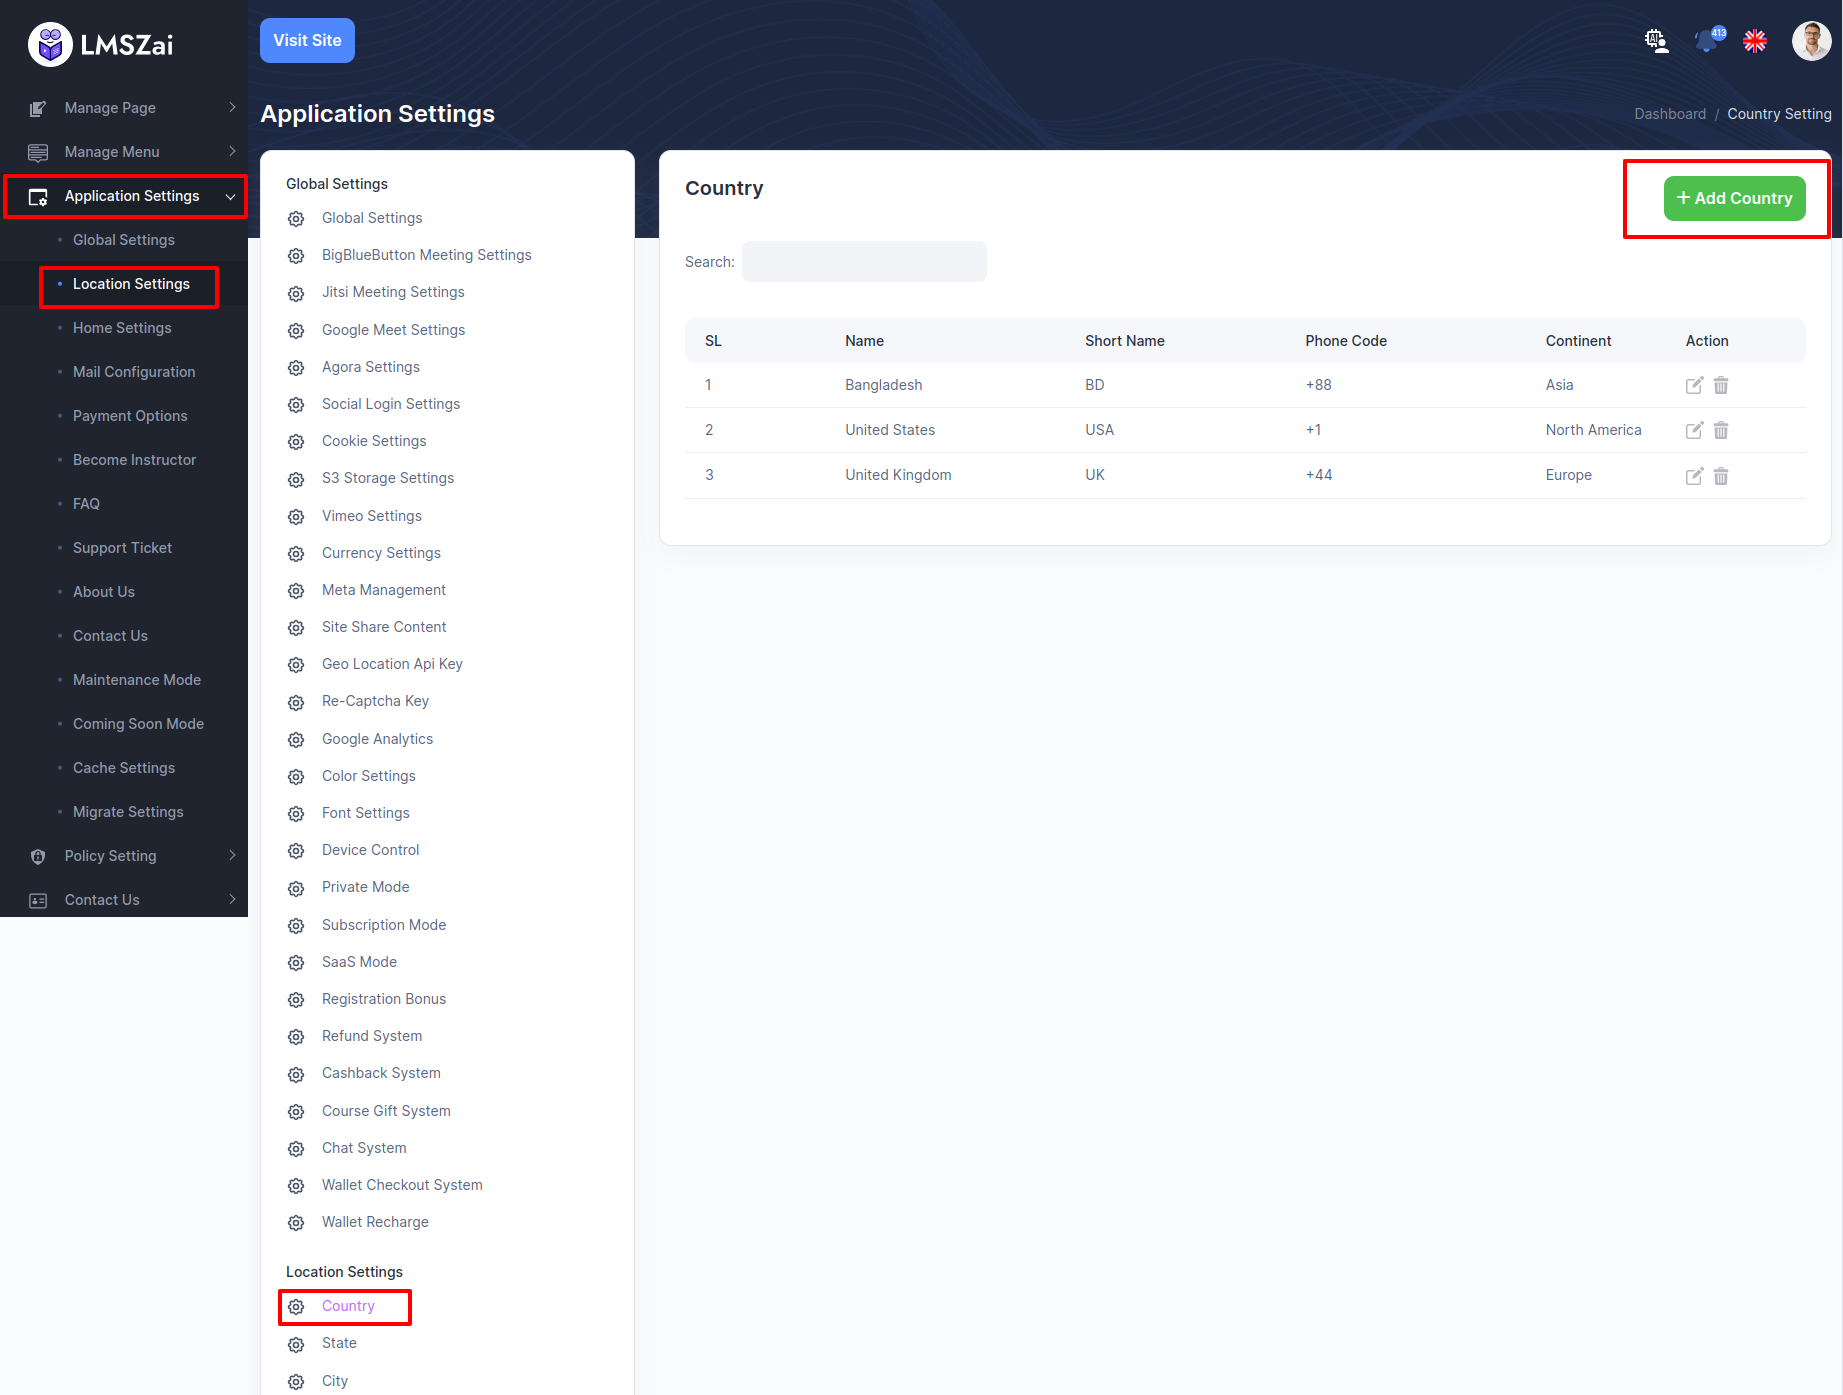
Country
Instructor profile select country, state, city issues fixed
-
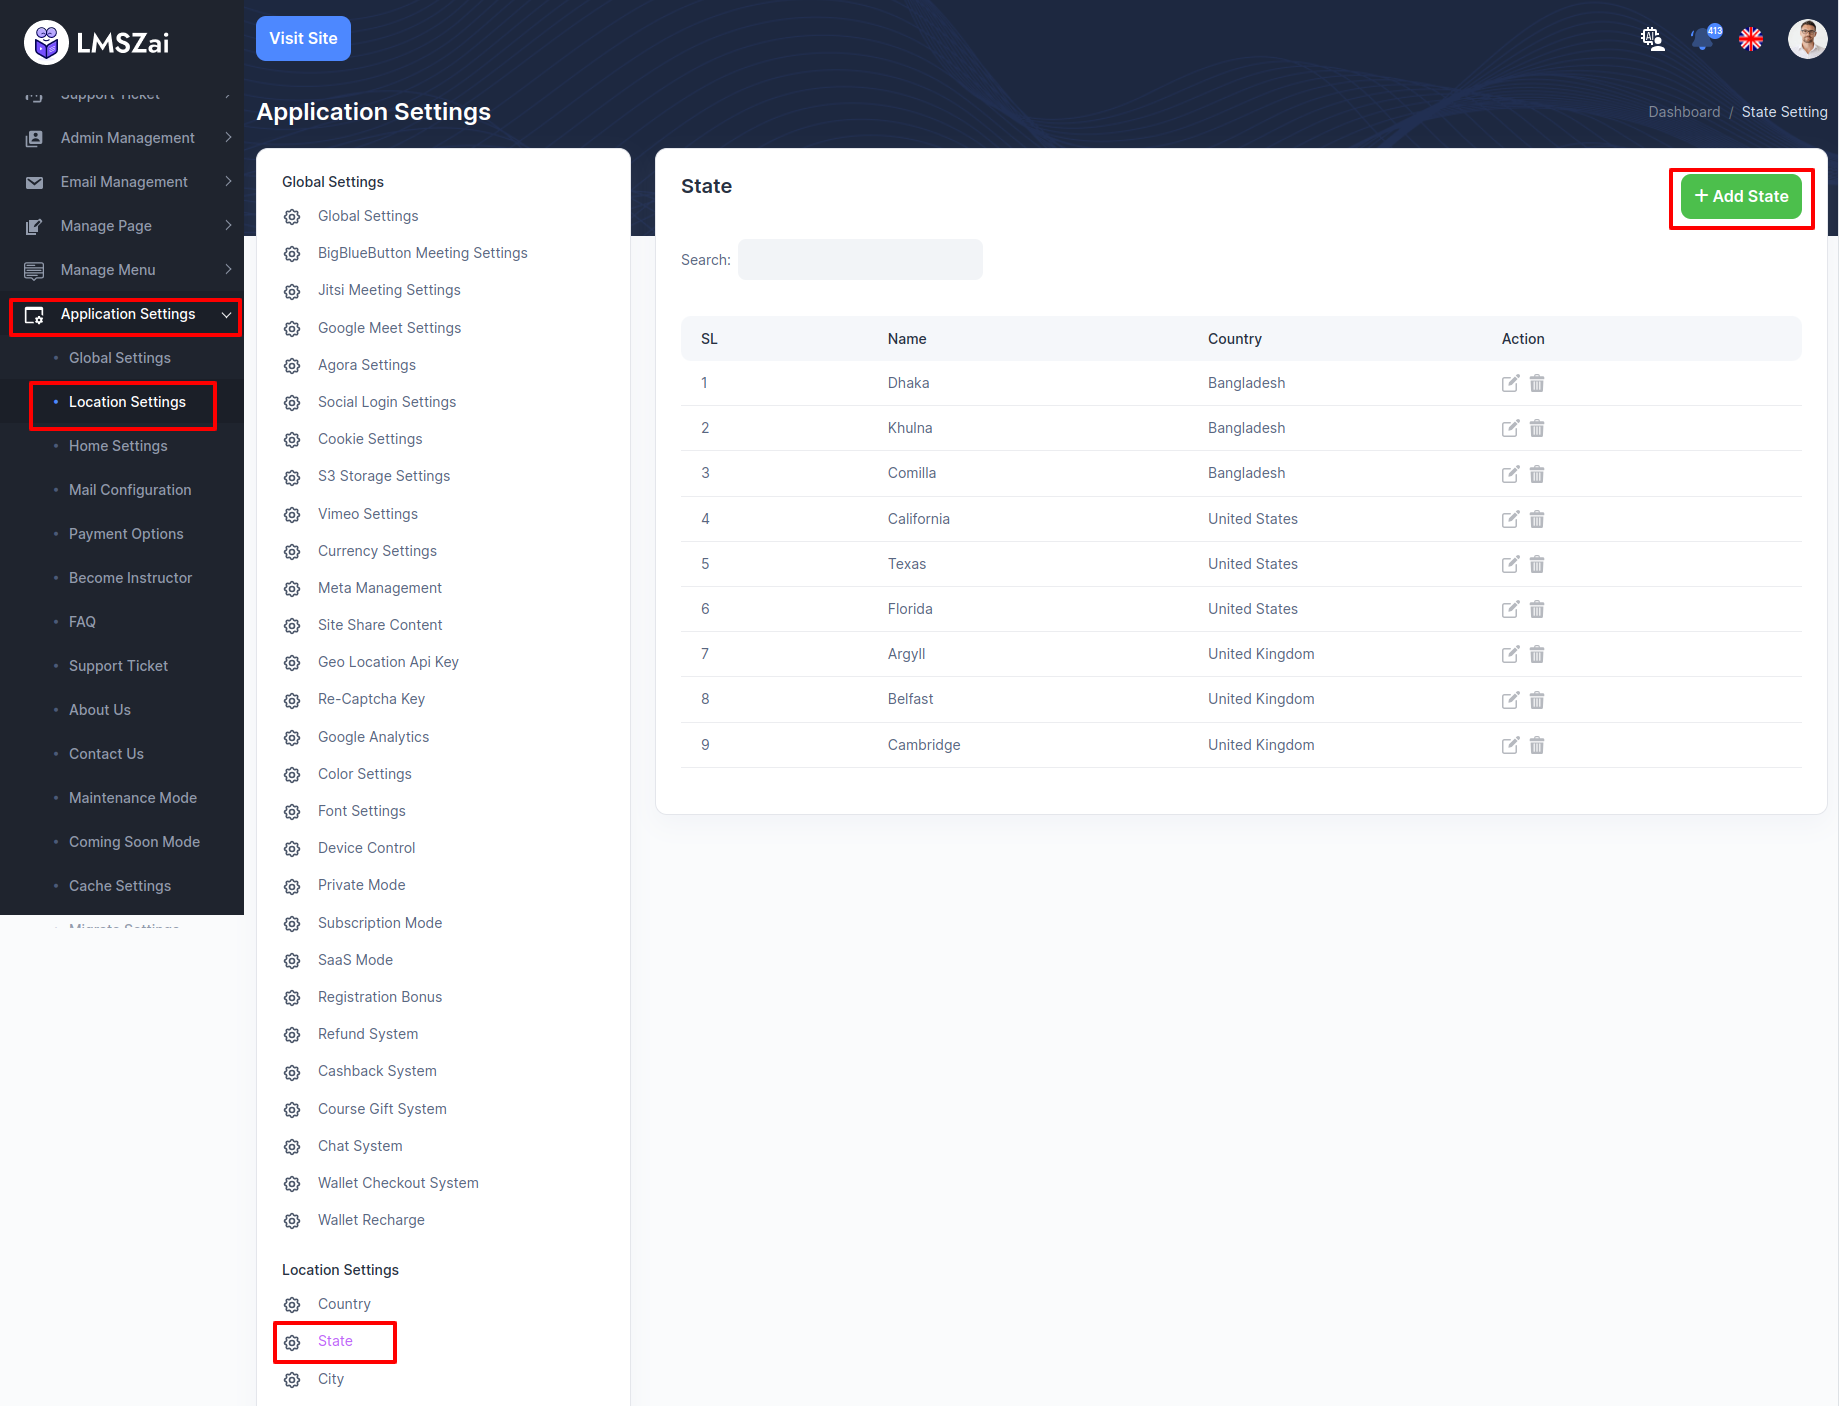
State
Instructor profile select country, state, city issues fixed
-
City
Instructor profile select country, state, city issues fixed
Home Settings
-
Theme Settings
Admin can manage changing the dynamic theme from admin panel. After change the theme they need to update some home page data for better landing page view.
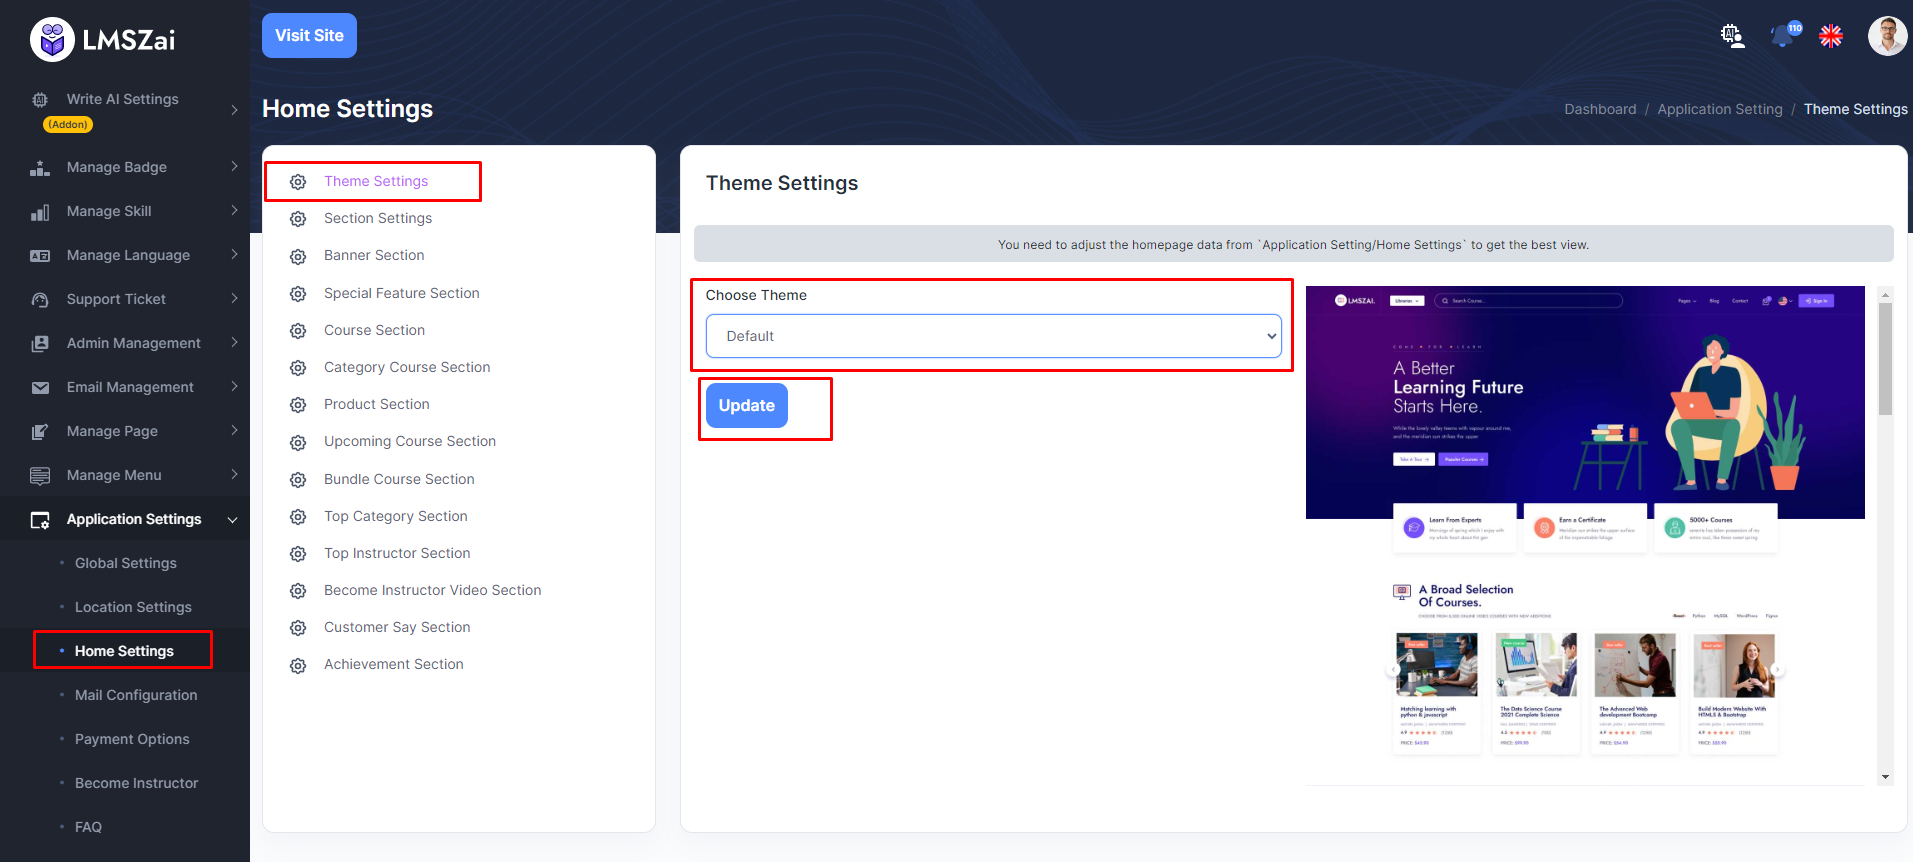
You can get the them list here. Select one theme from there. You can look our video preview here. How it look likes and how to configure.
-
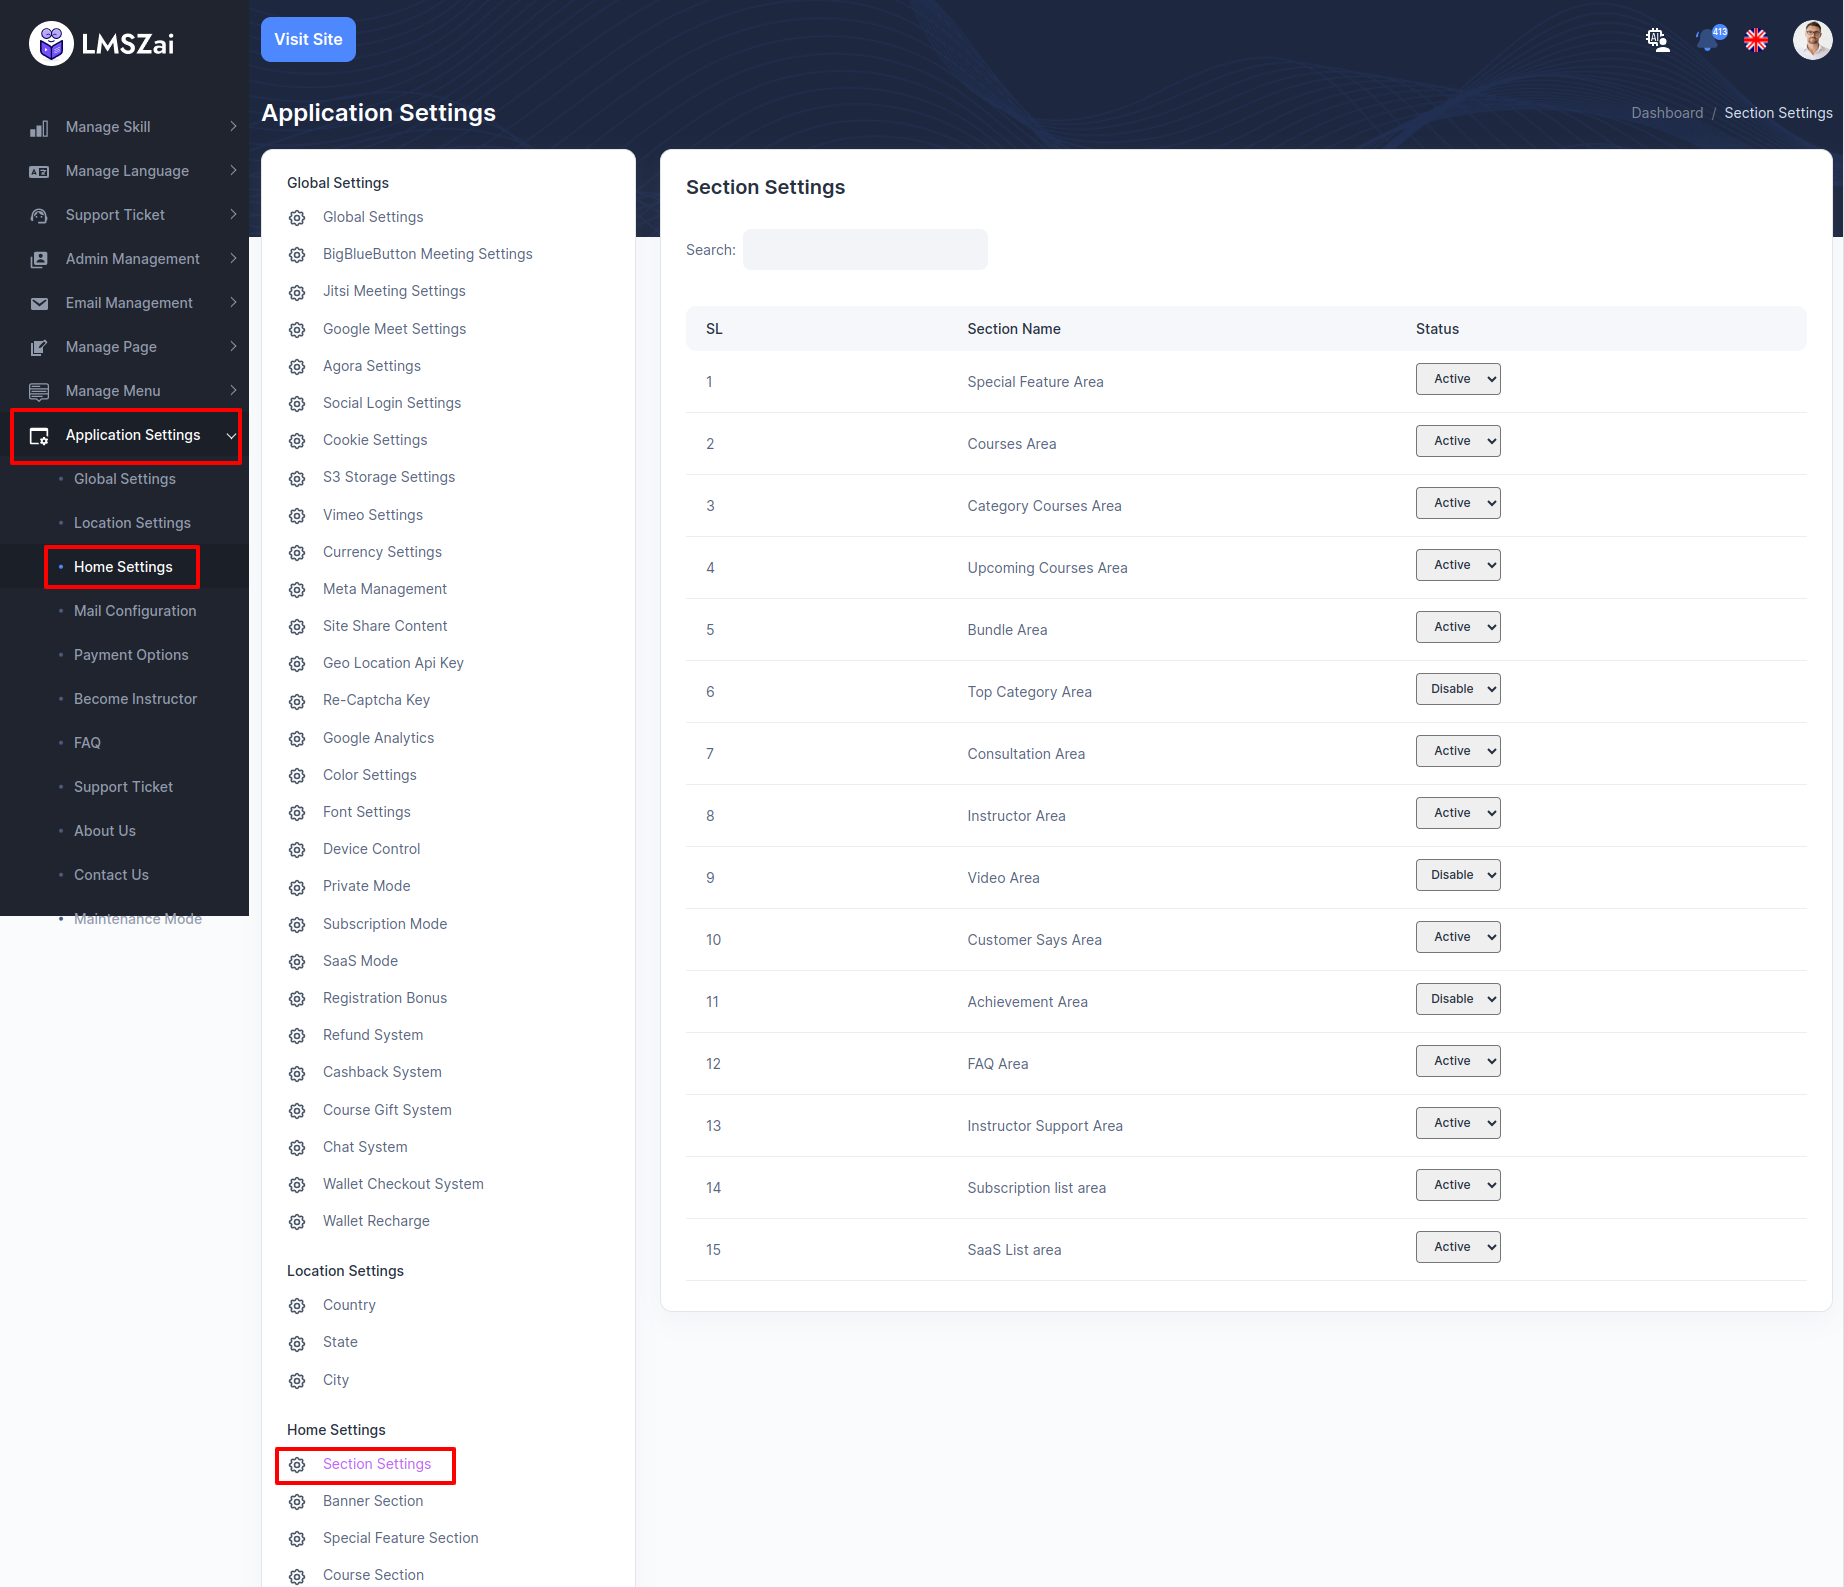
Section Settings
Admin can manage section settings
-
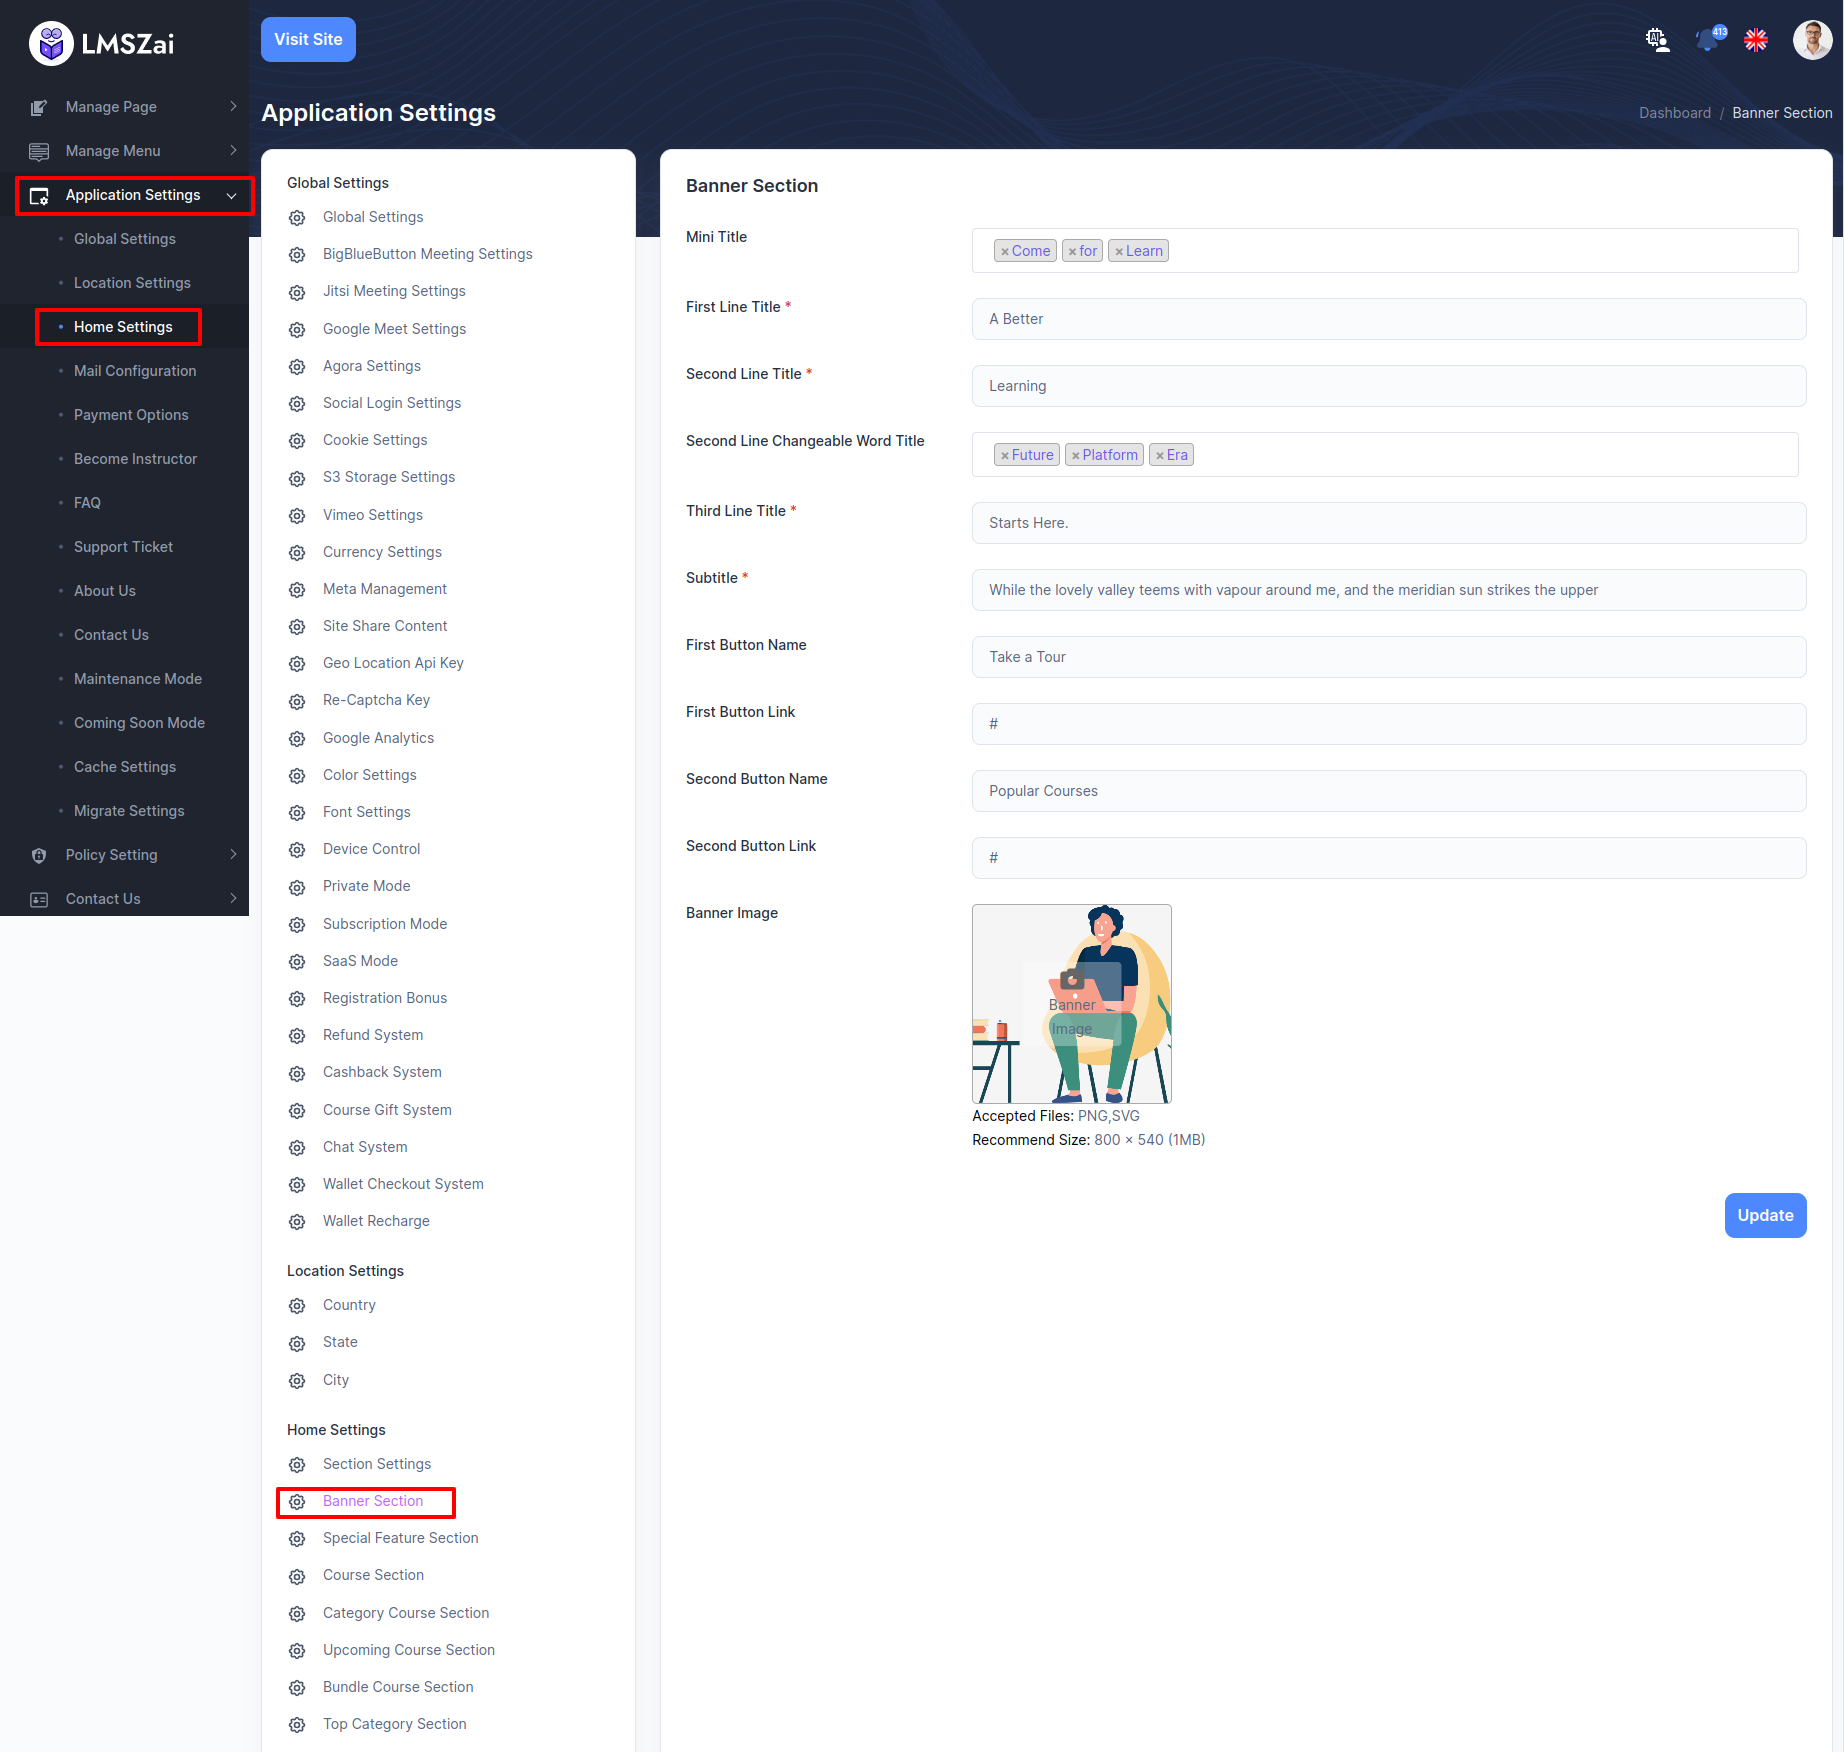
Banner Section
Admin can show and manage banner section
-
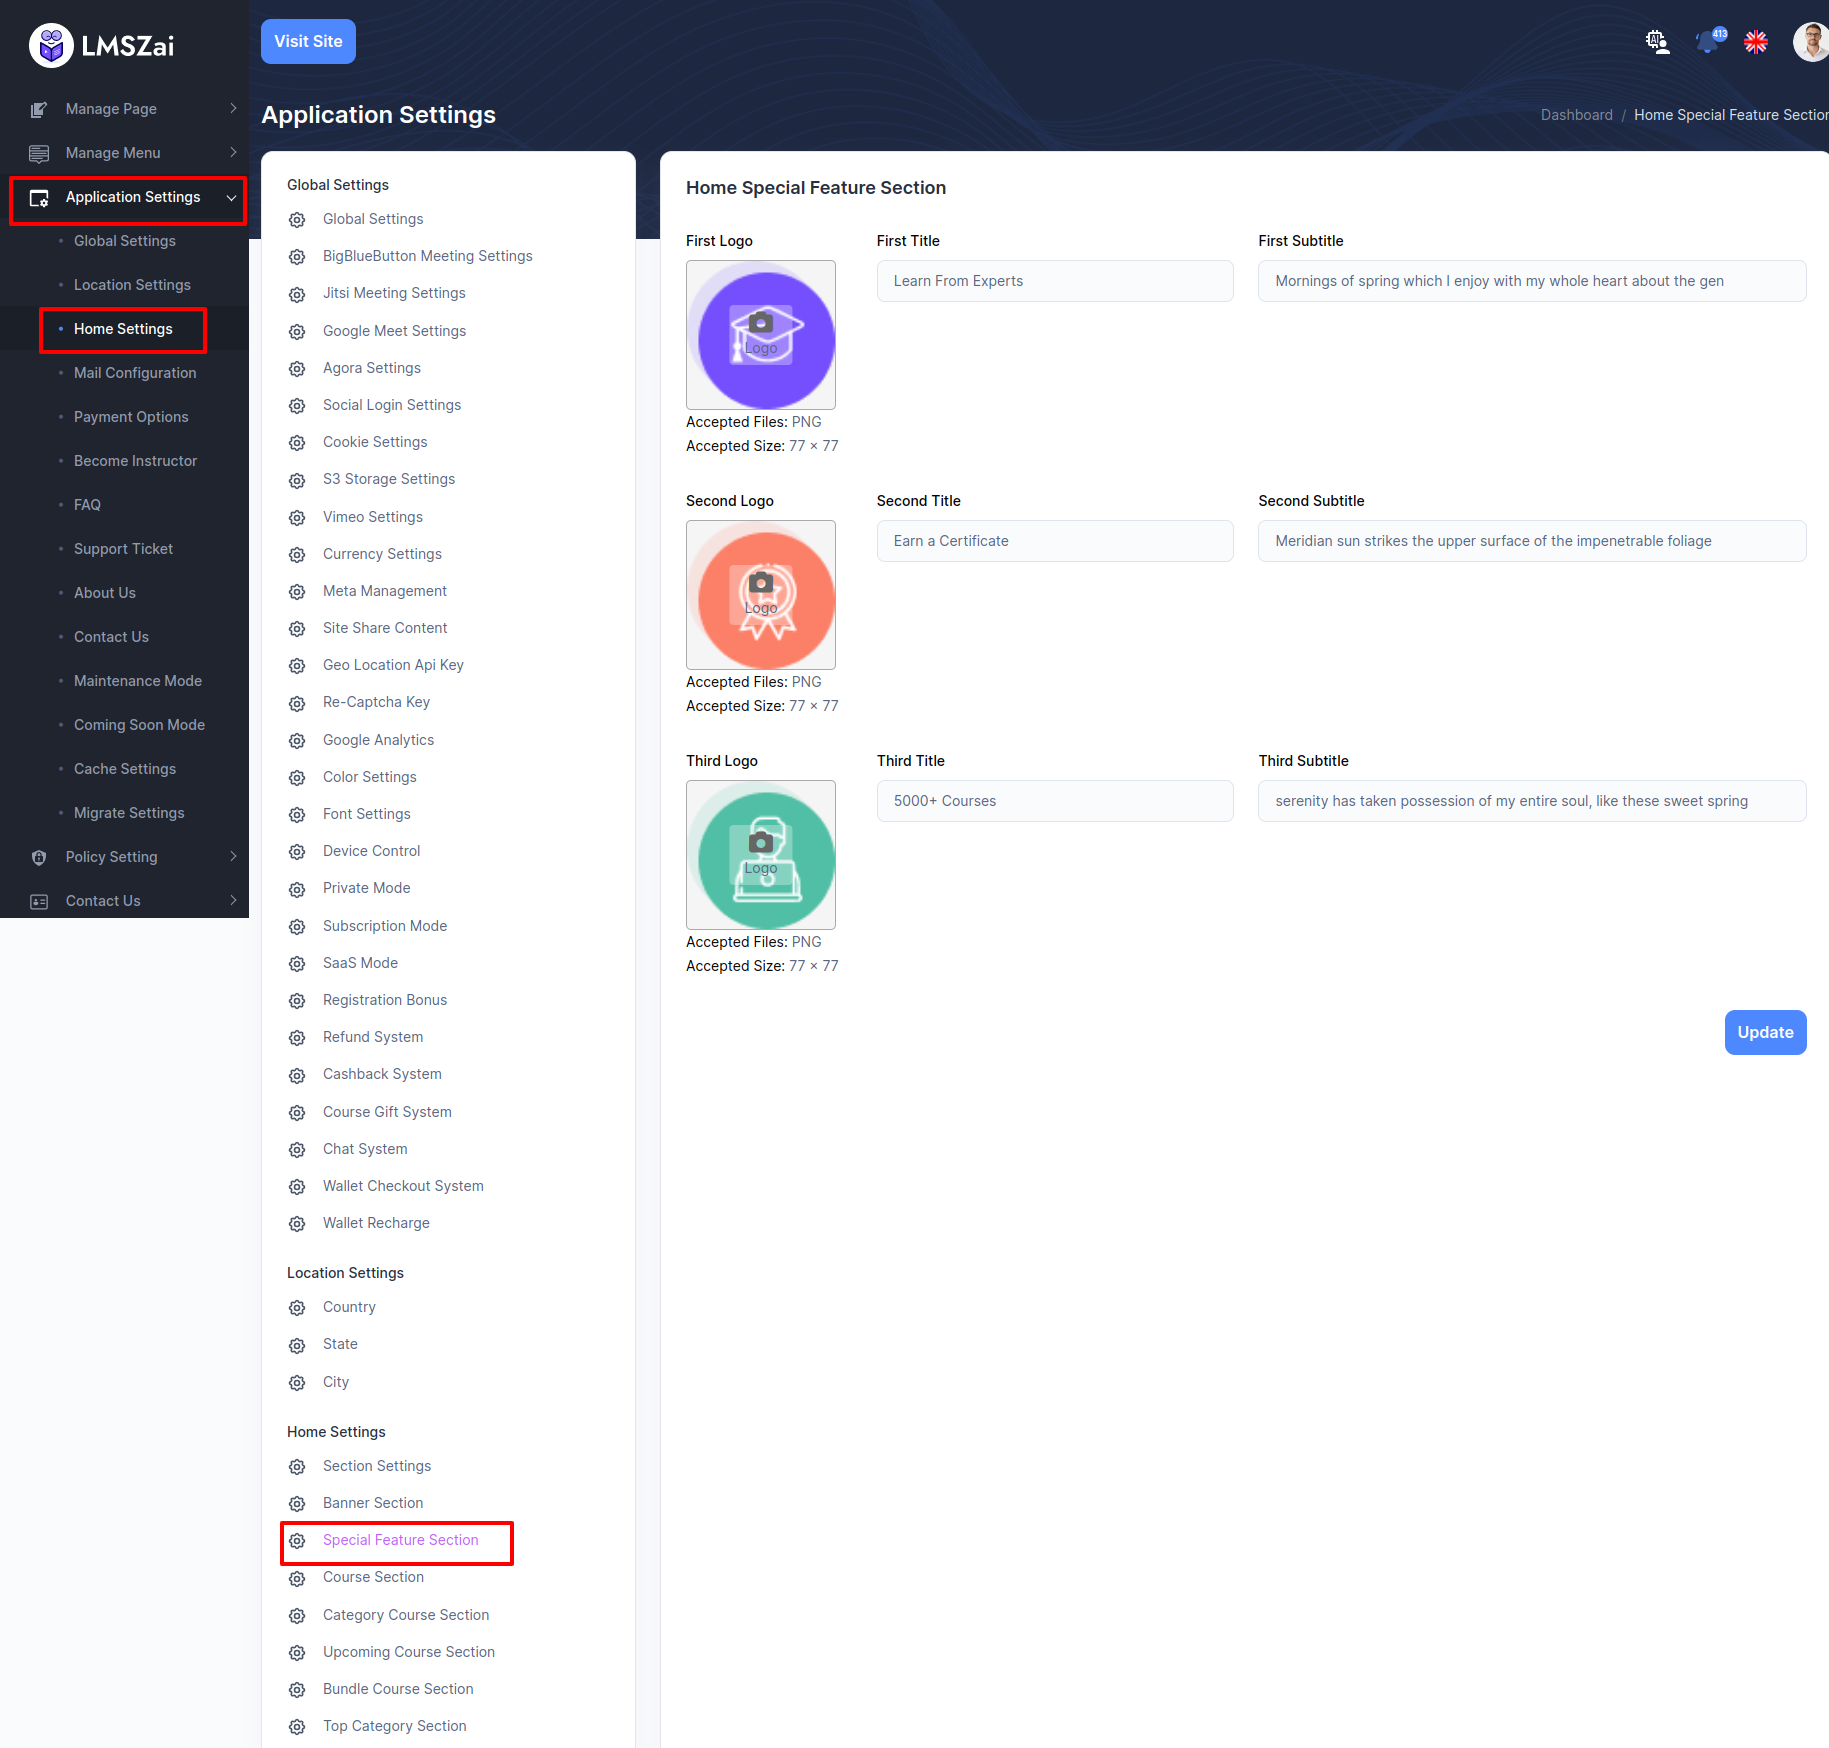
Special Feature Section
Admin can manage special feature section
-
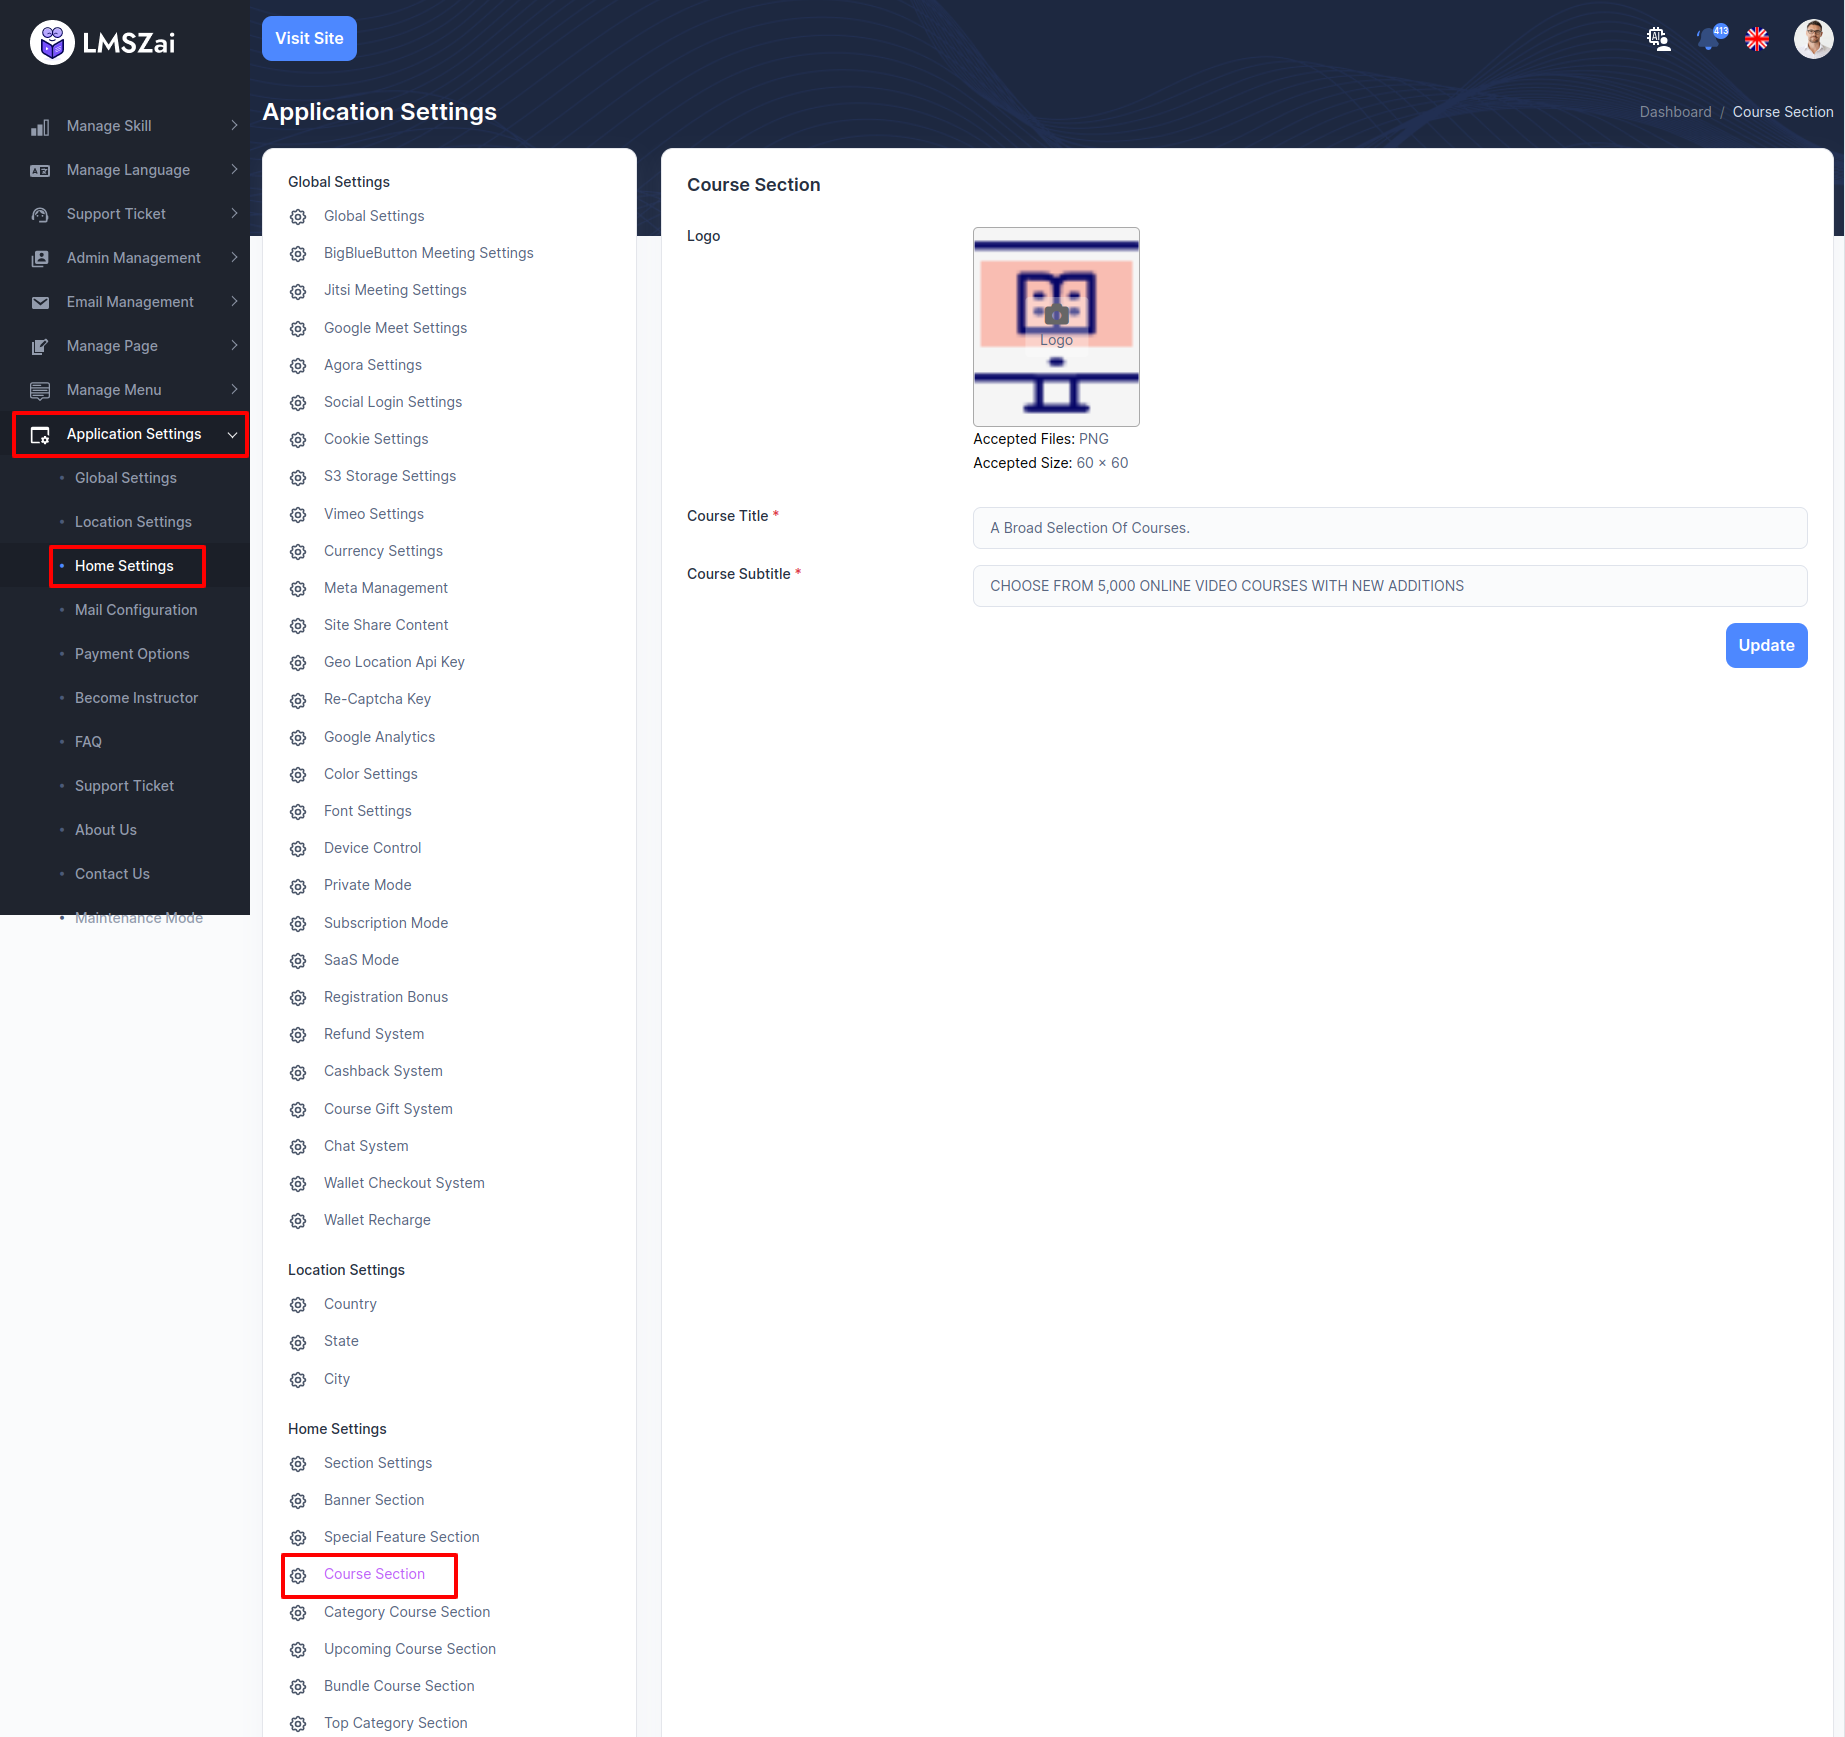
Course Section
Admin can manage special course section
-
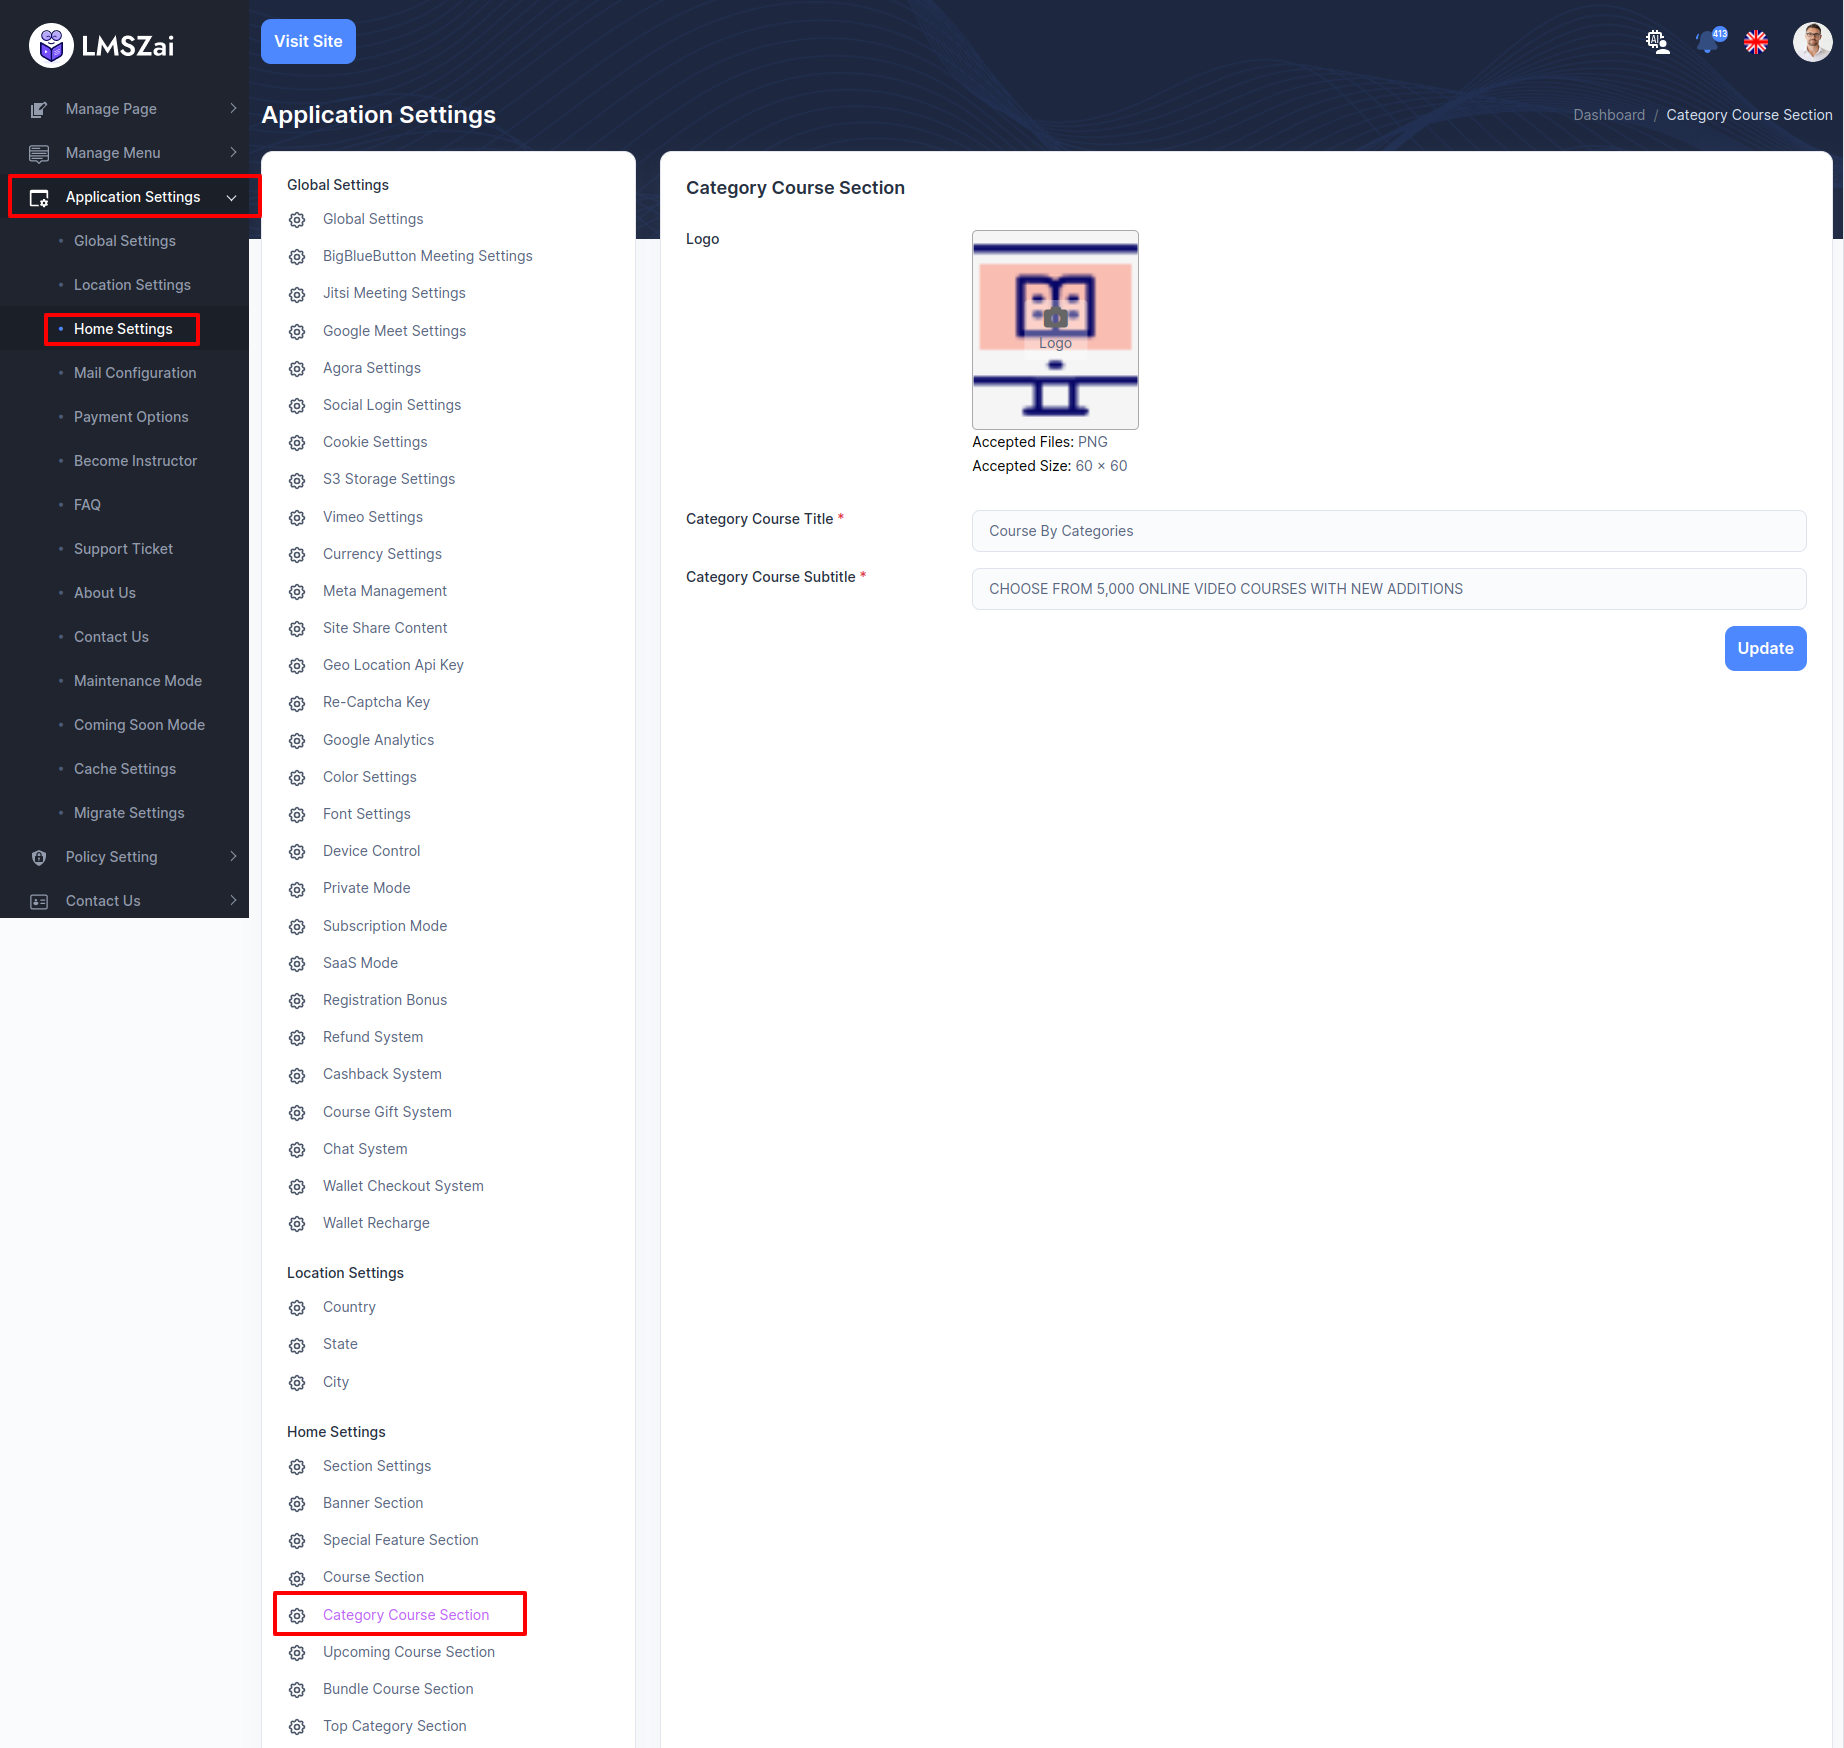
Category Course Section
Admin can manage special category course section
-
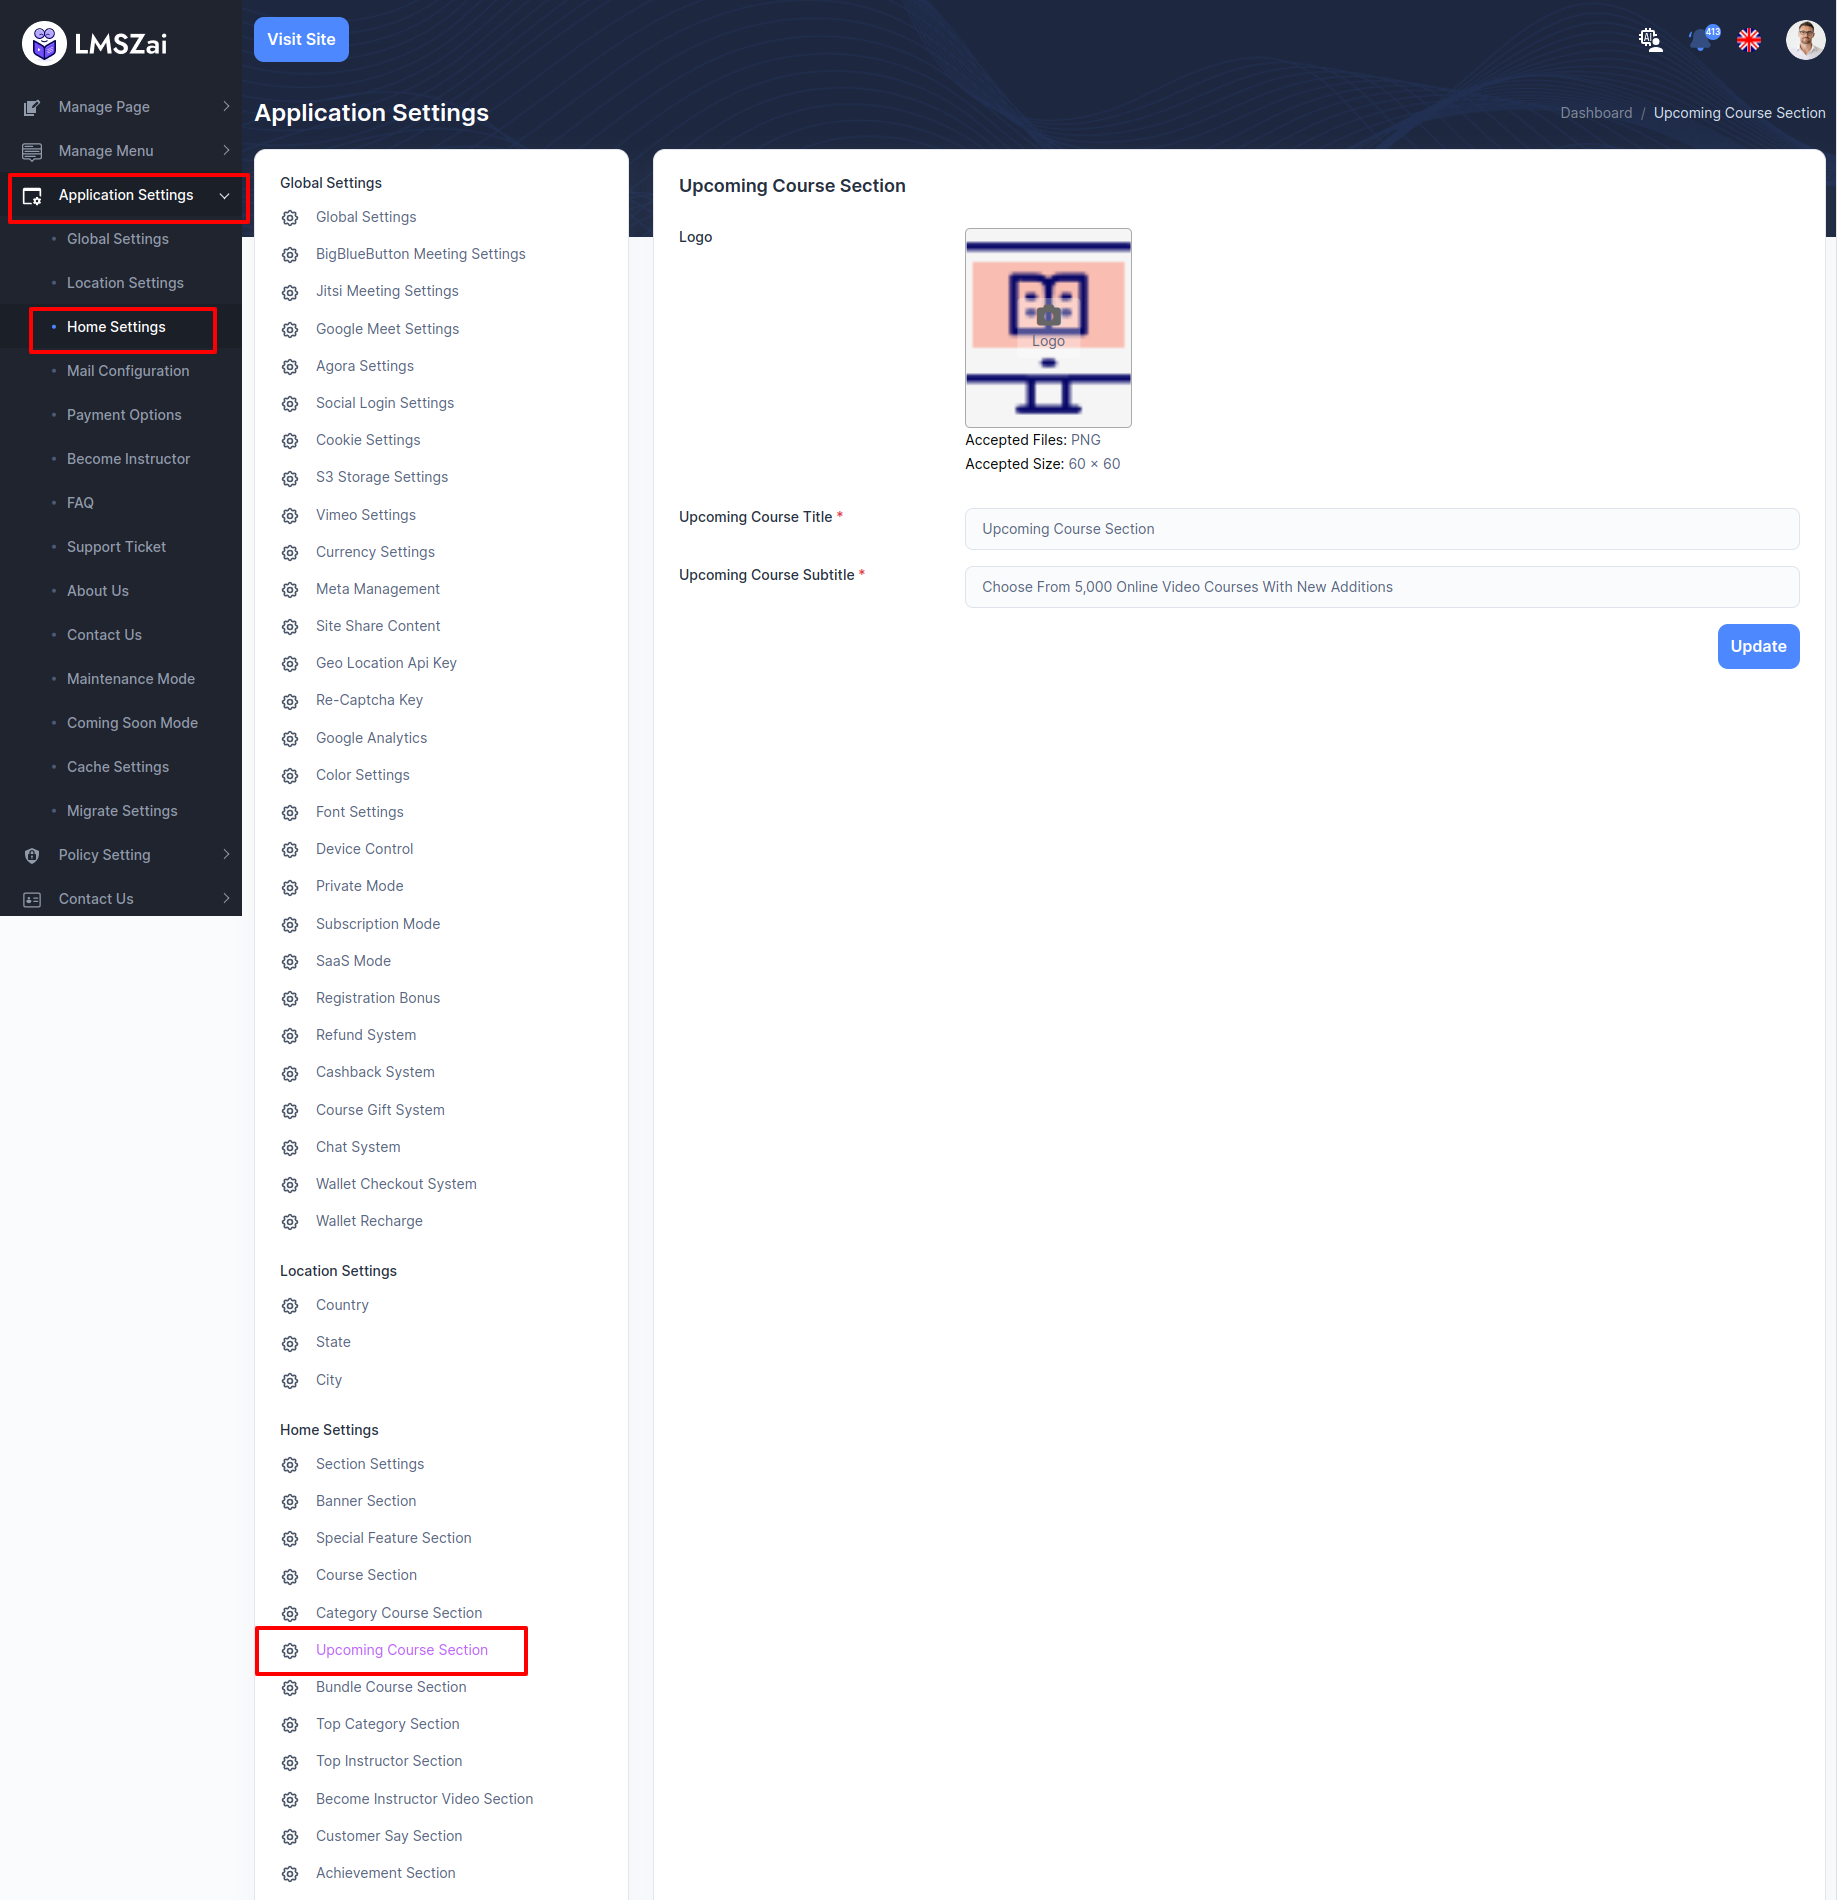
Upcoming Course Section
Admin can manage special pcoming course section
-
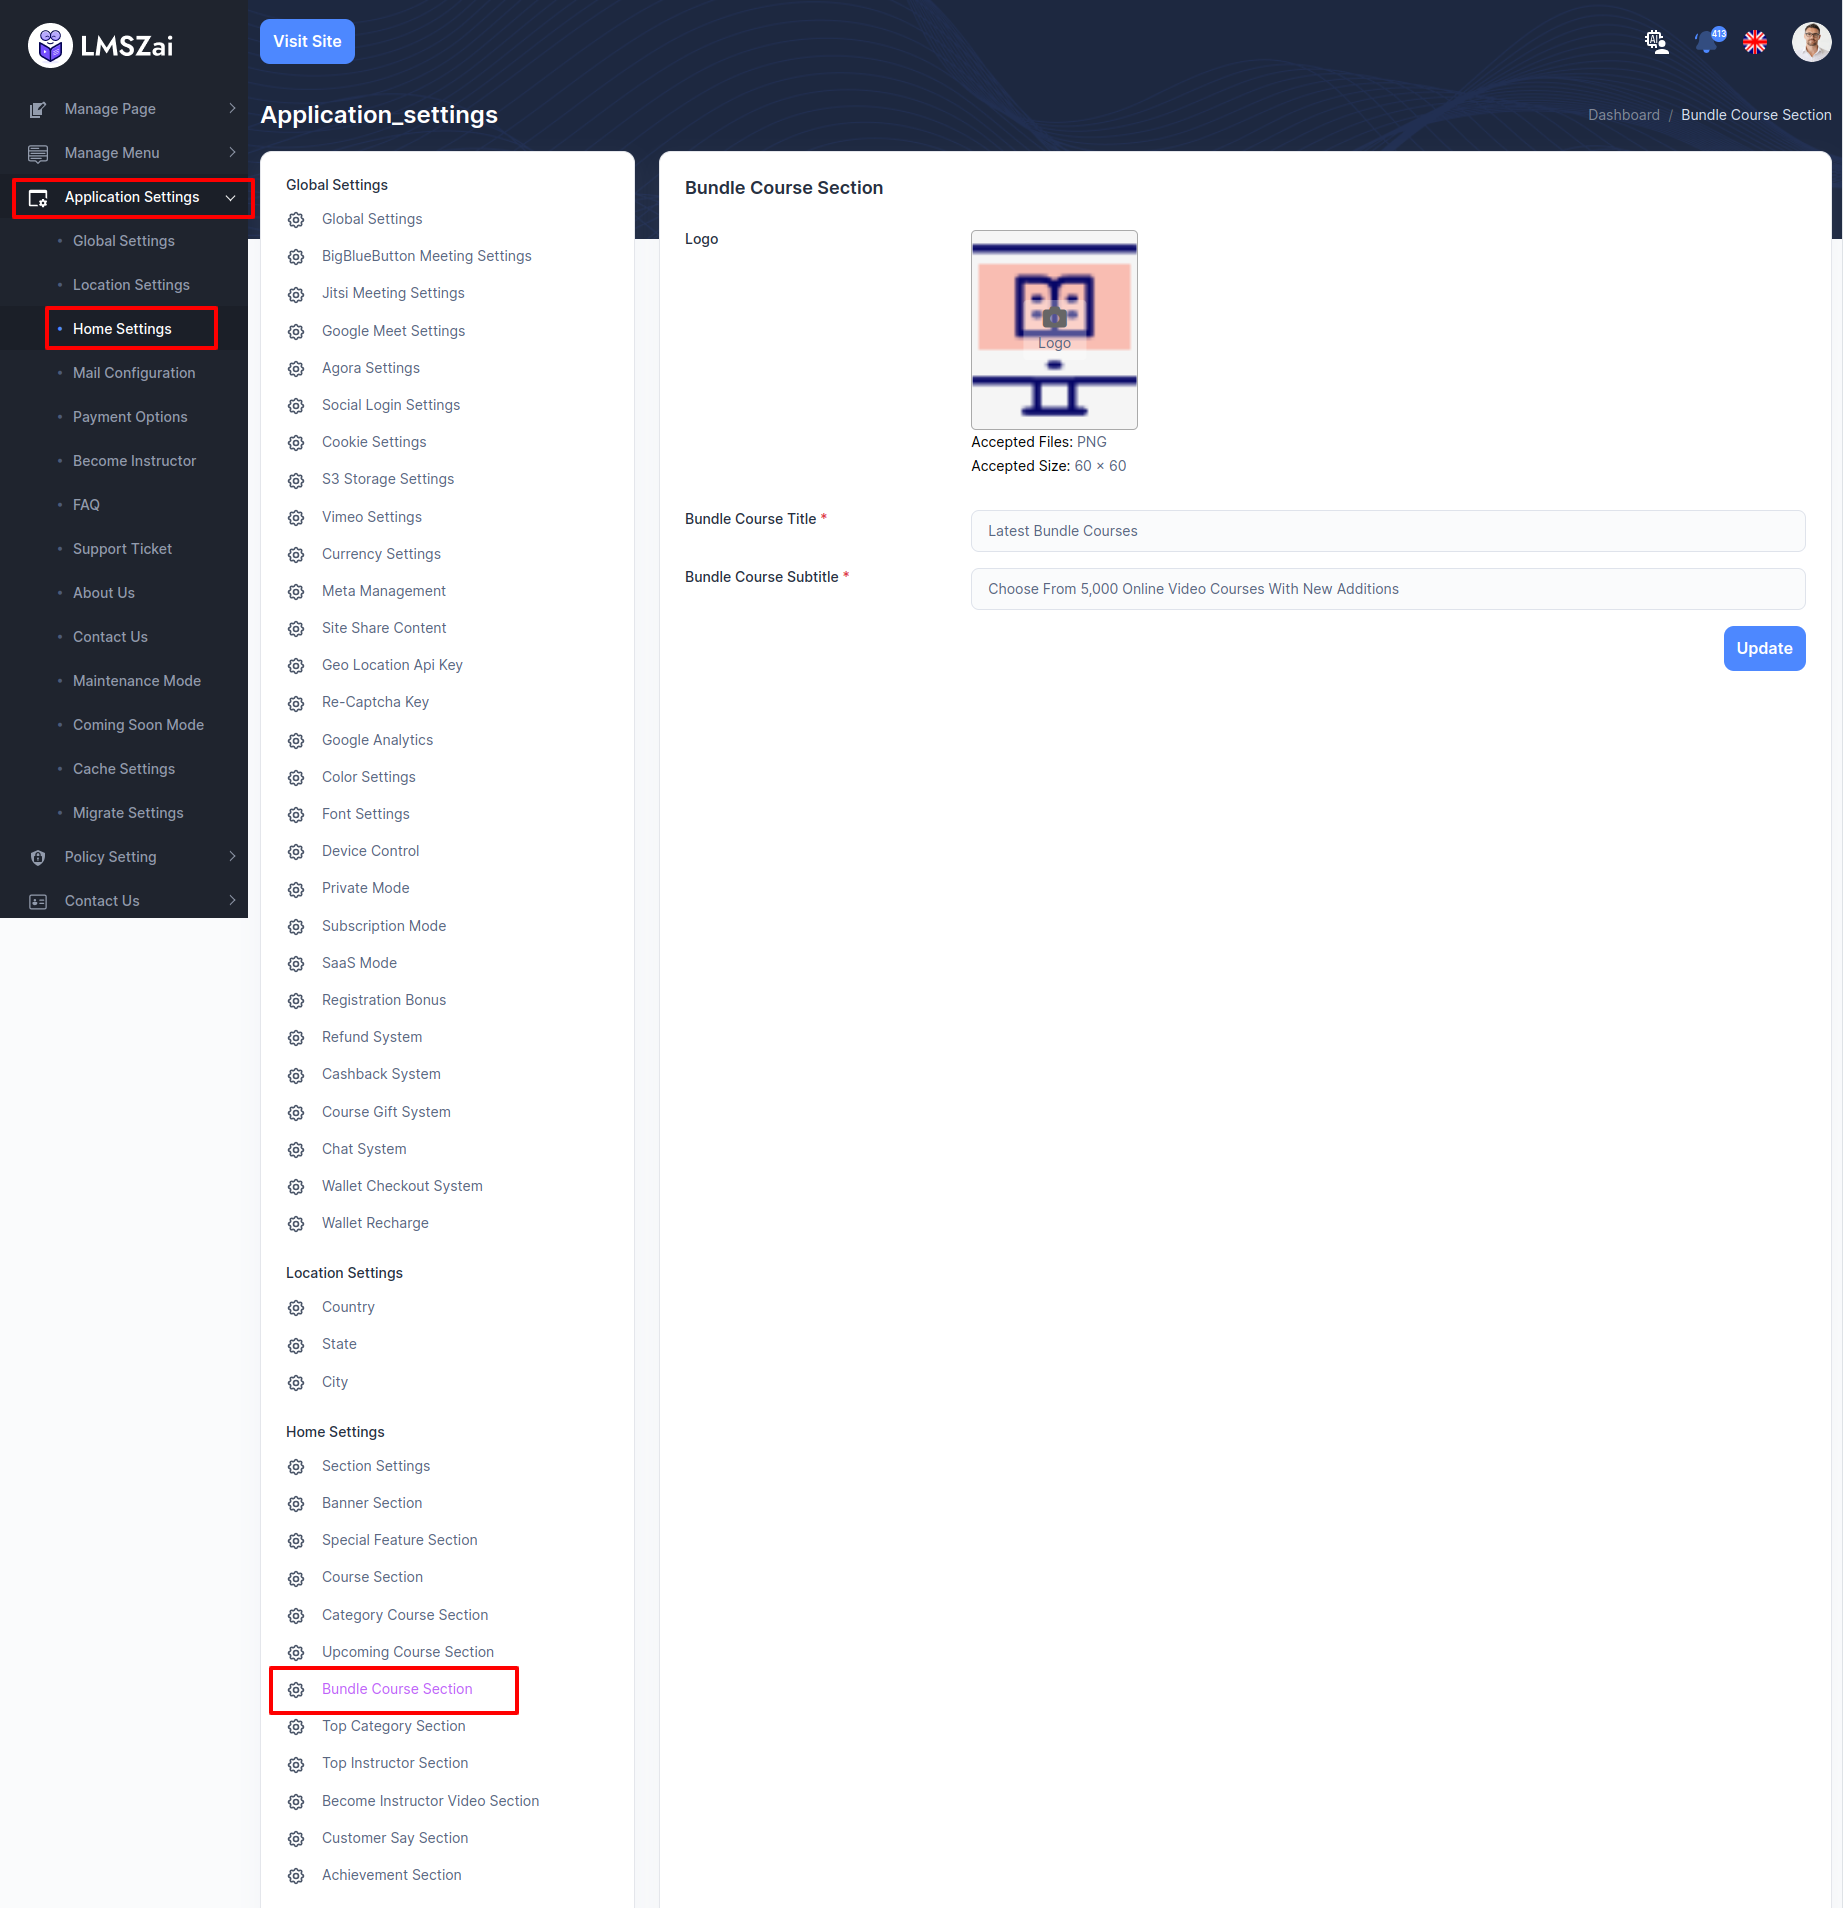
Bundle Course Section
Admin can manage special bundle course section
-
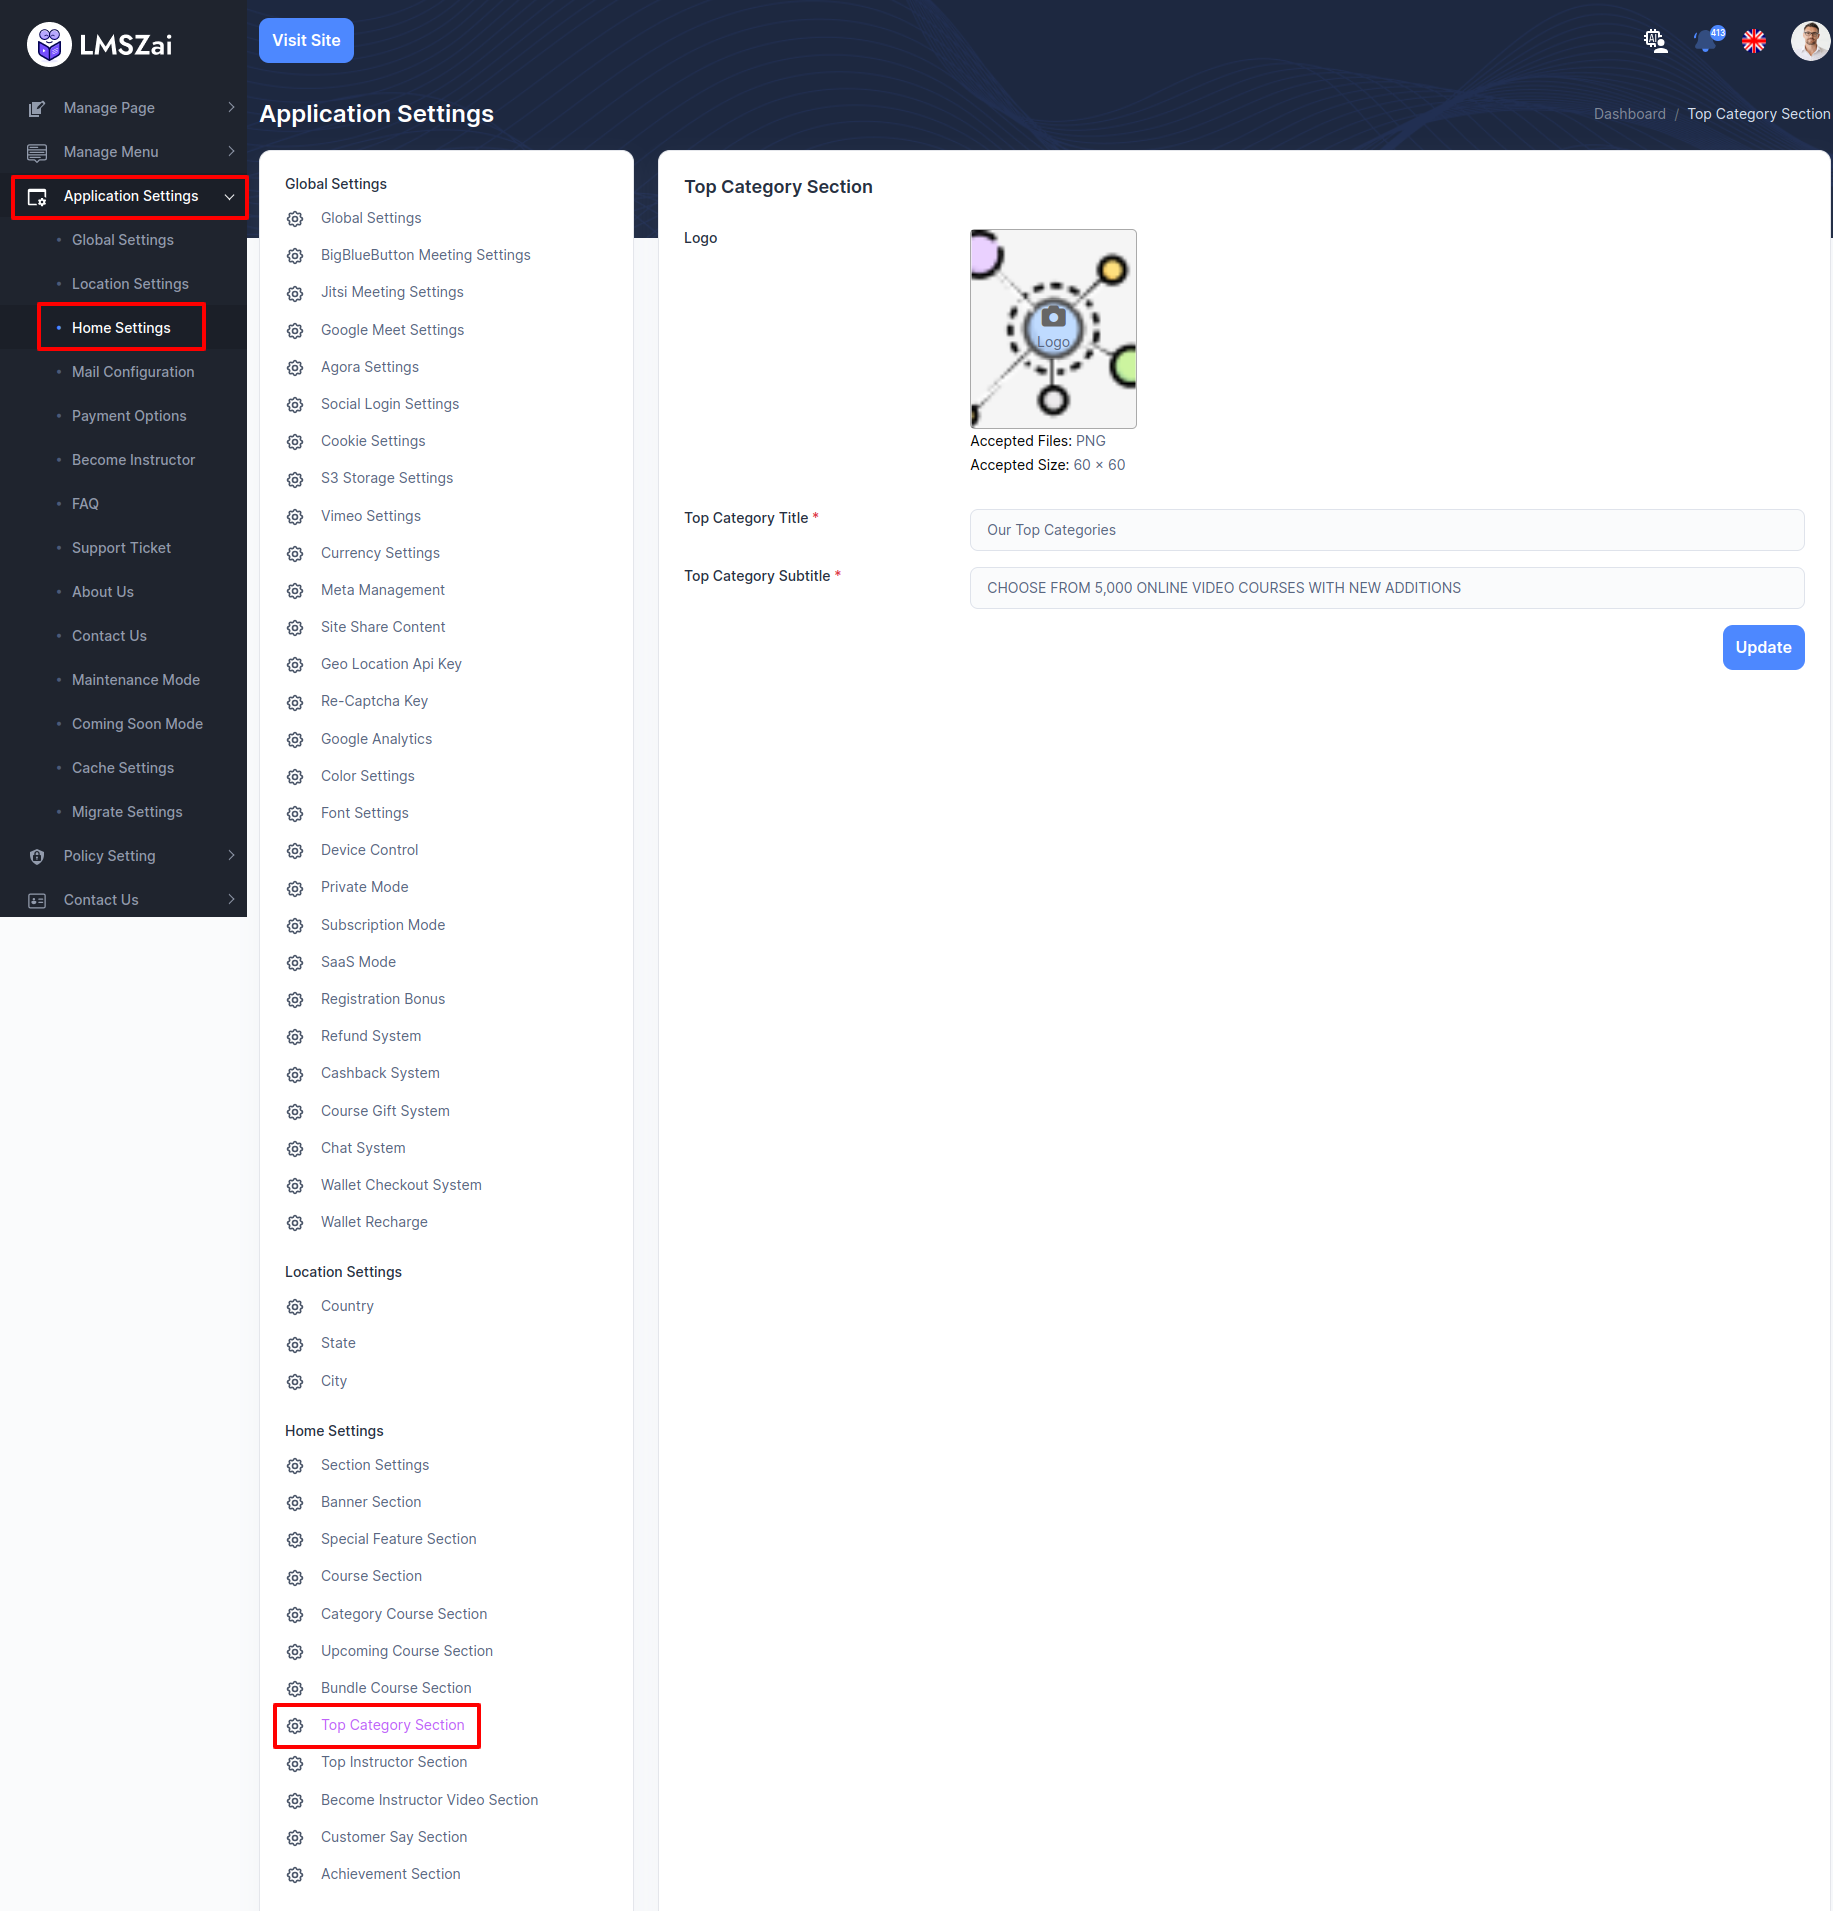
Top Category Section
Admin can manage special top category section
-
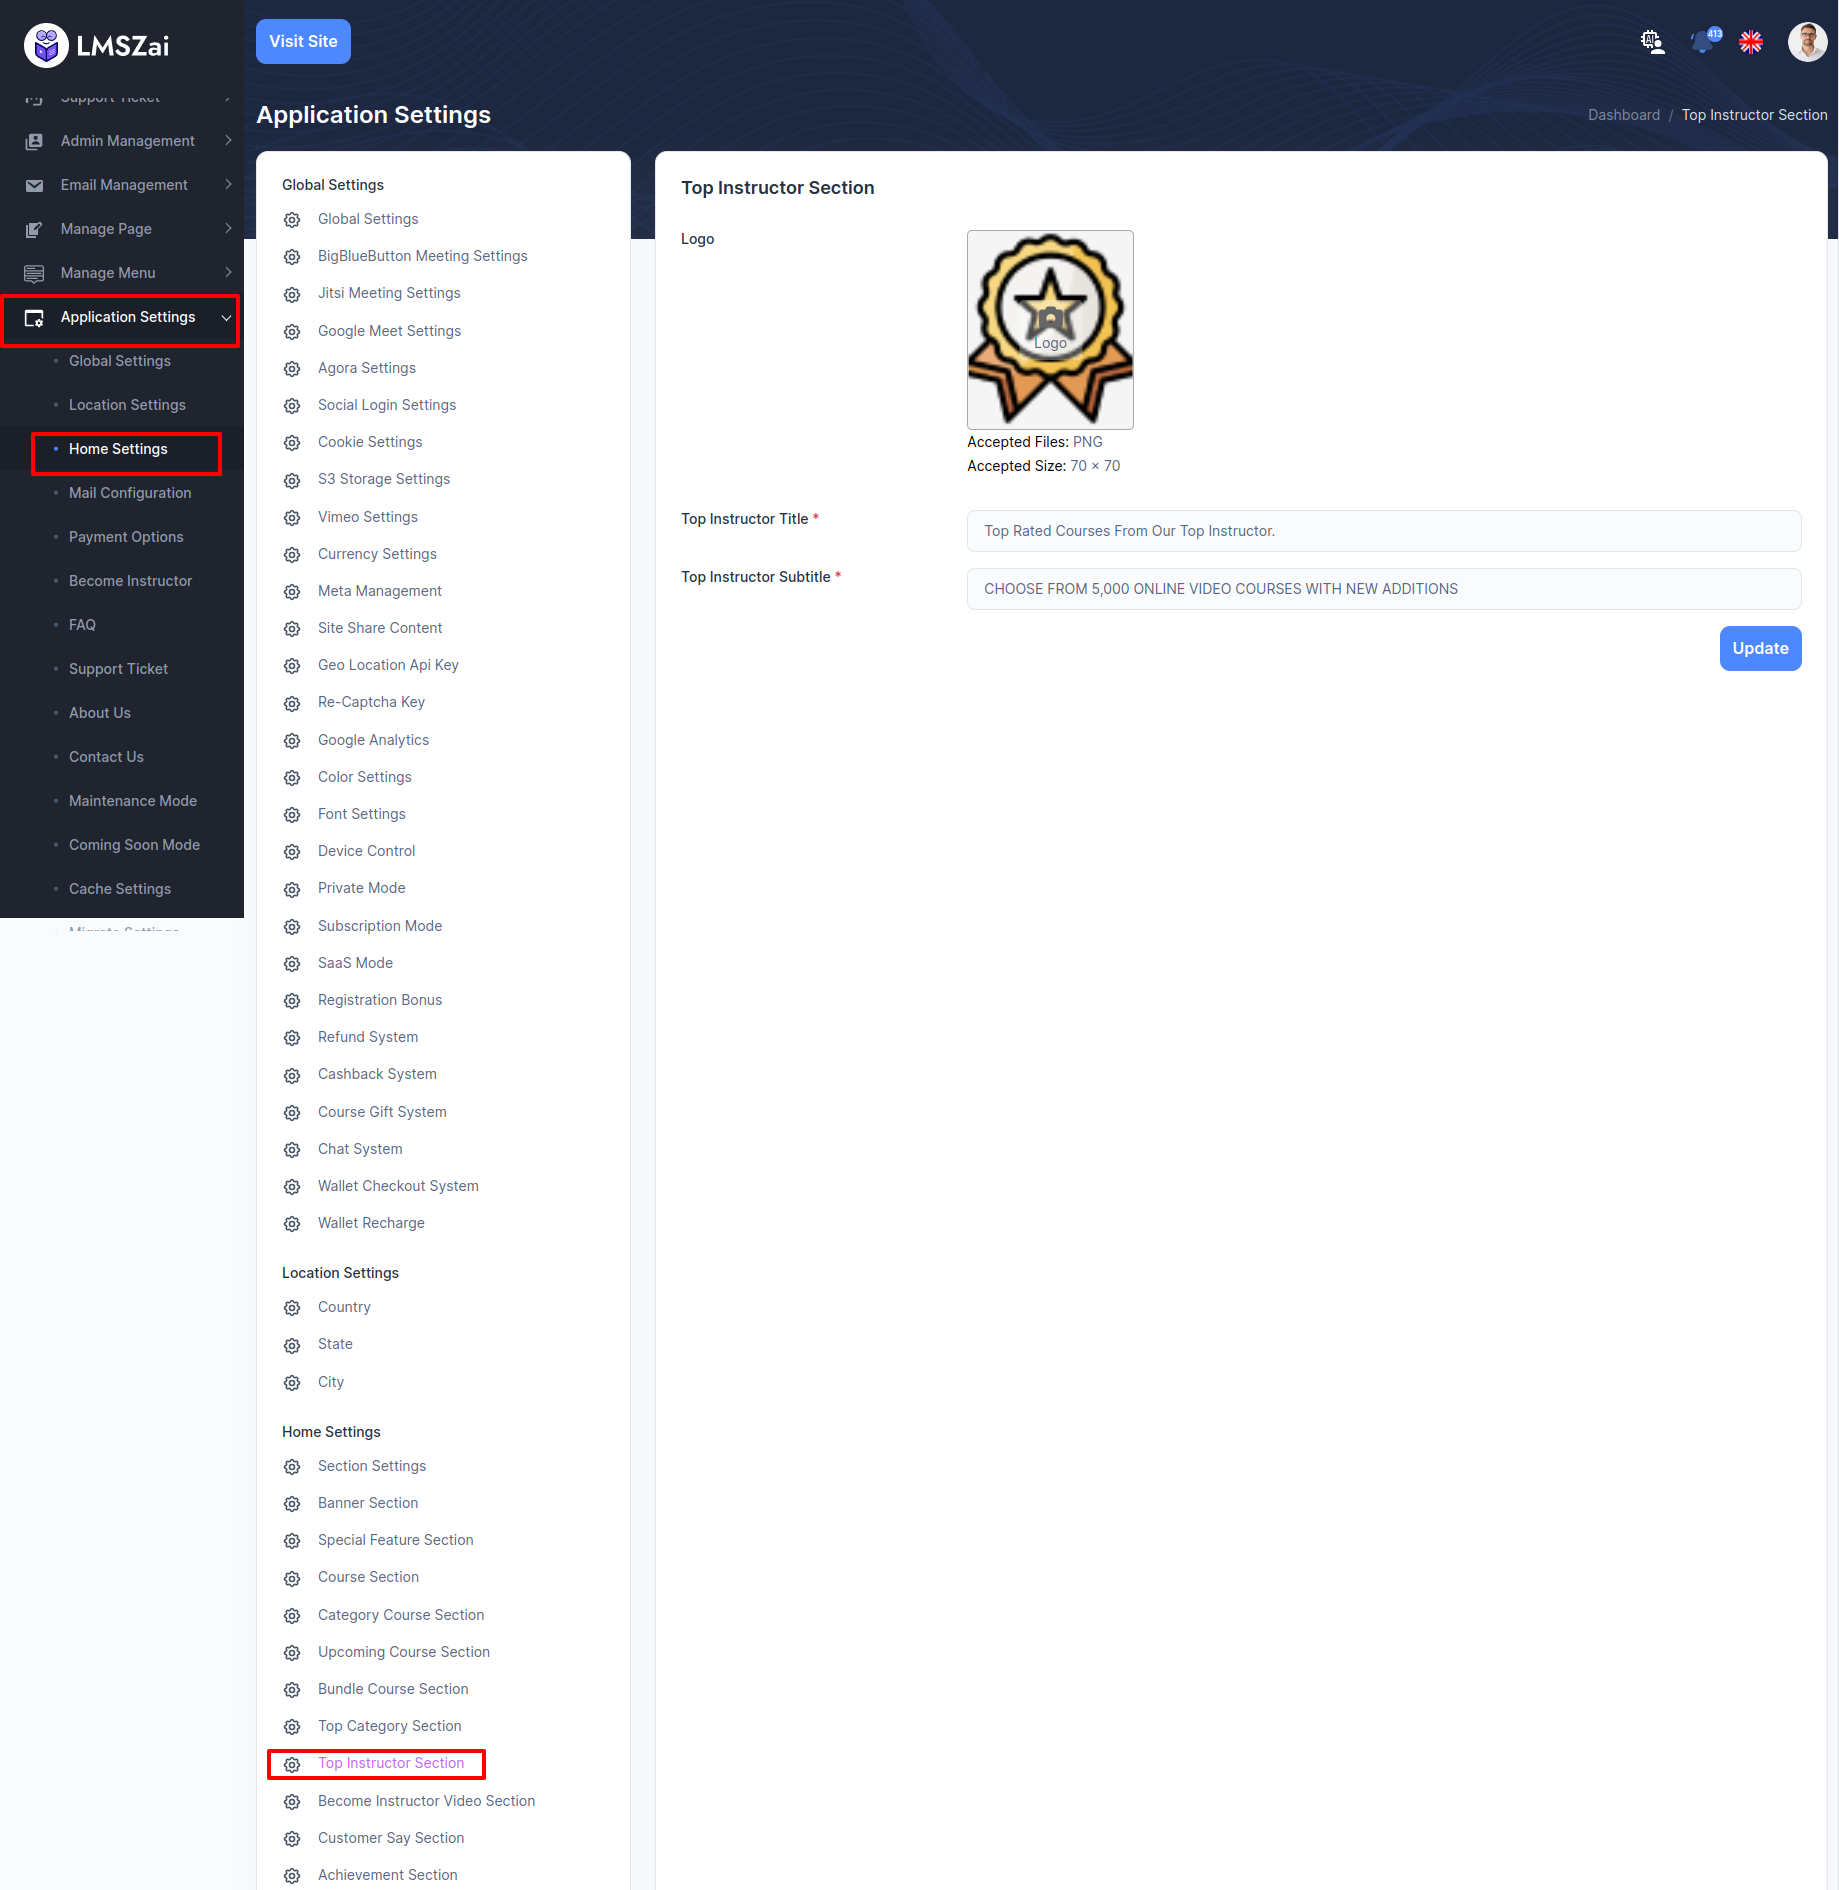
Top Instructor Section
Admin can manage special top instructor section
-
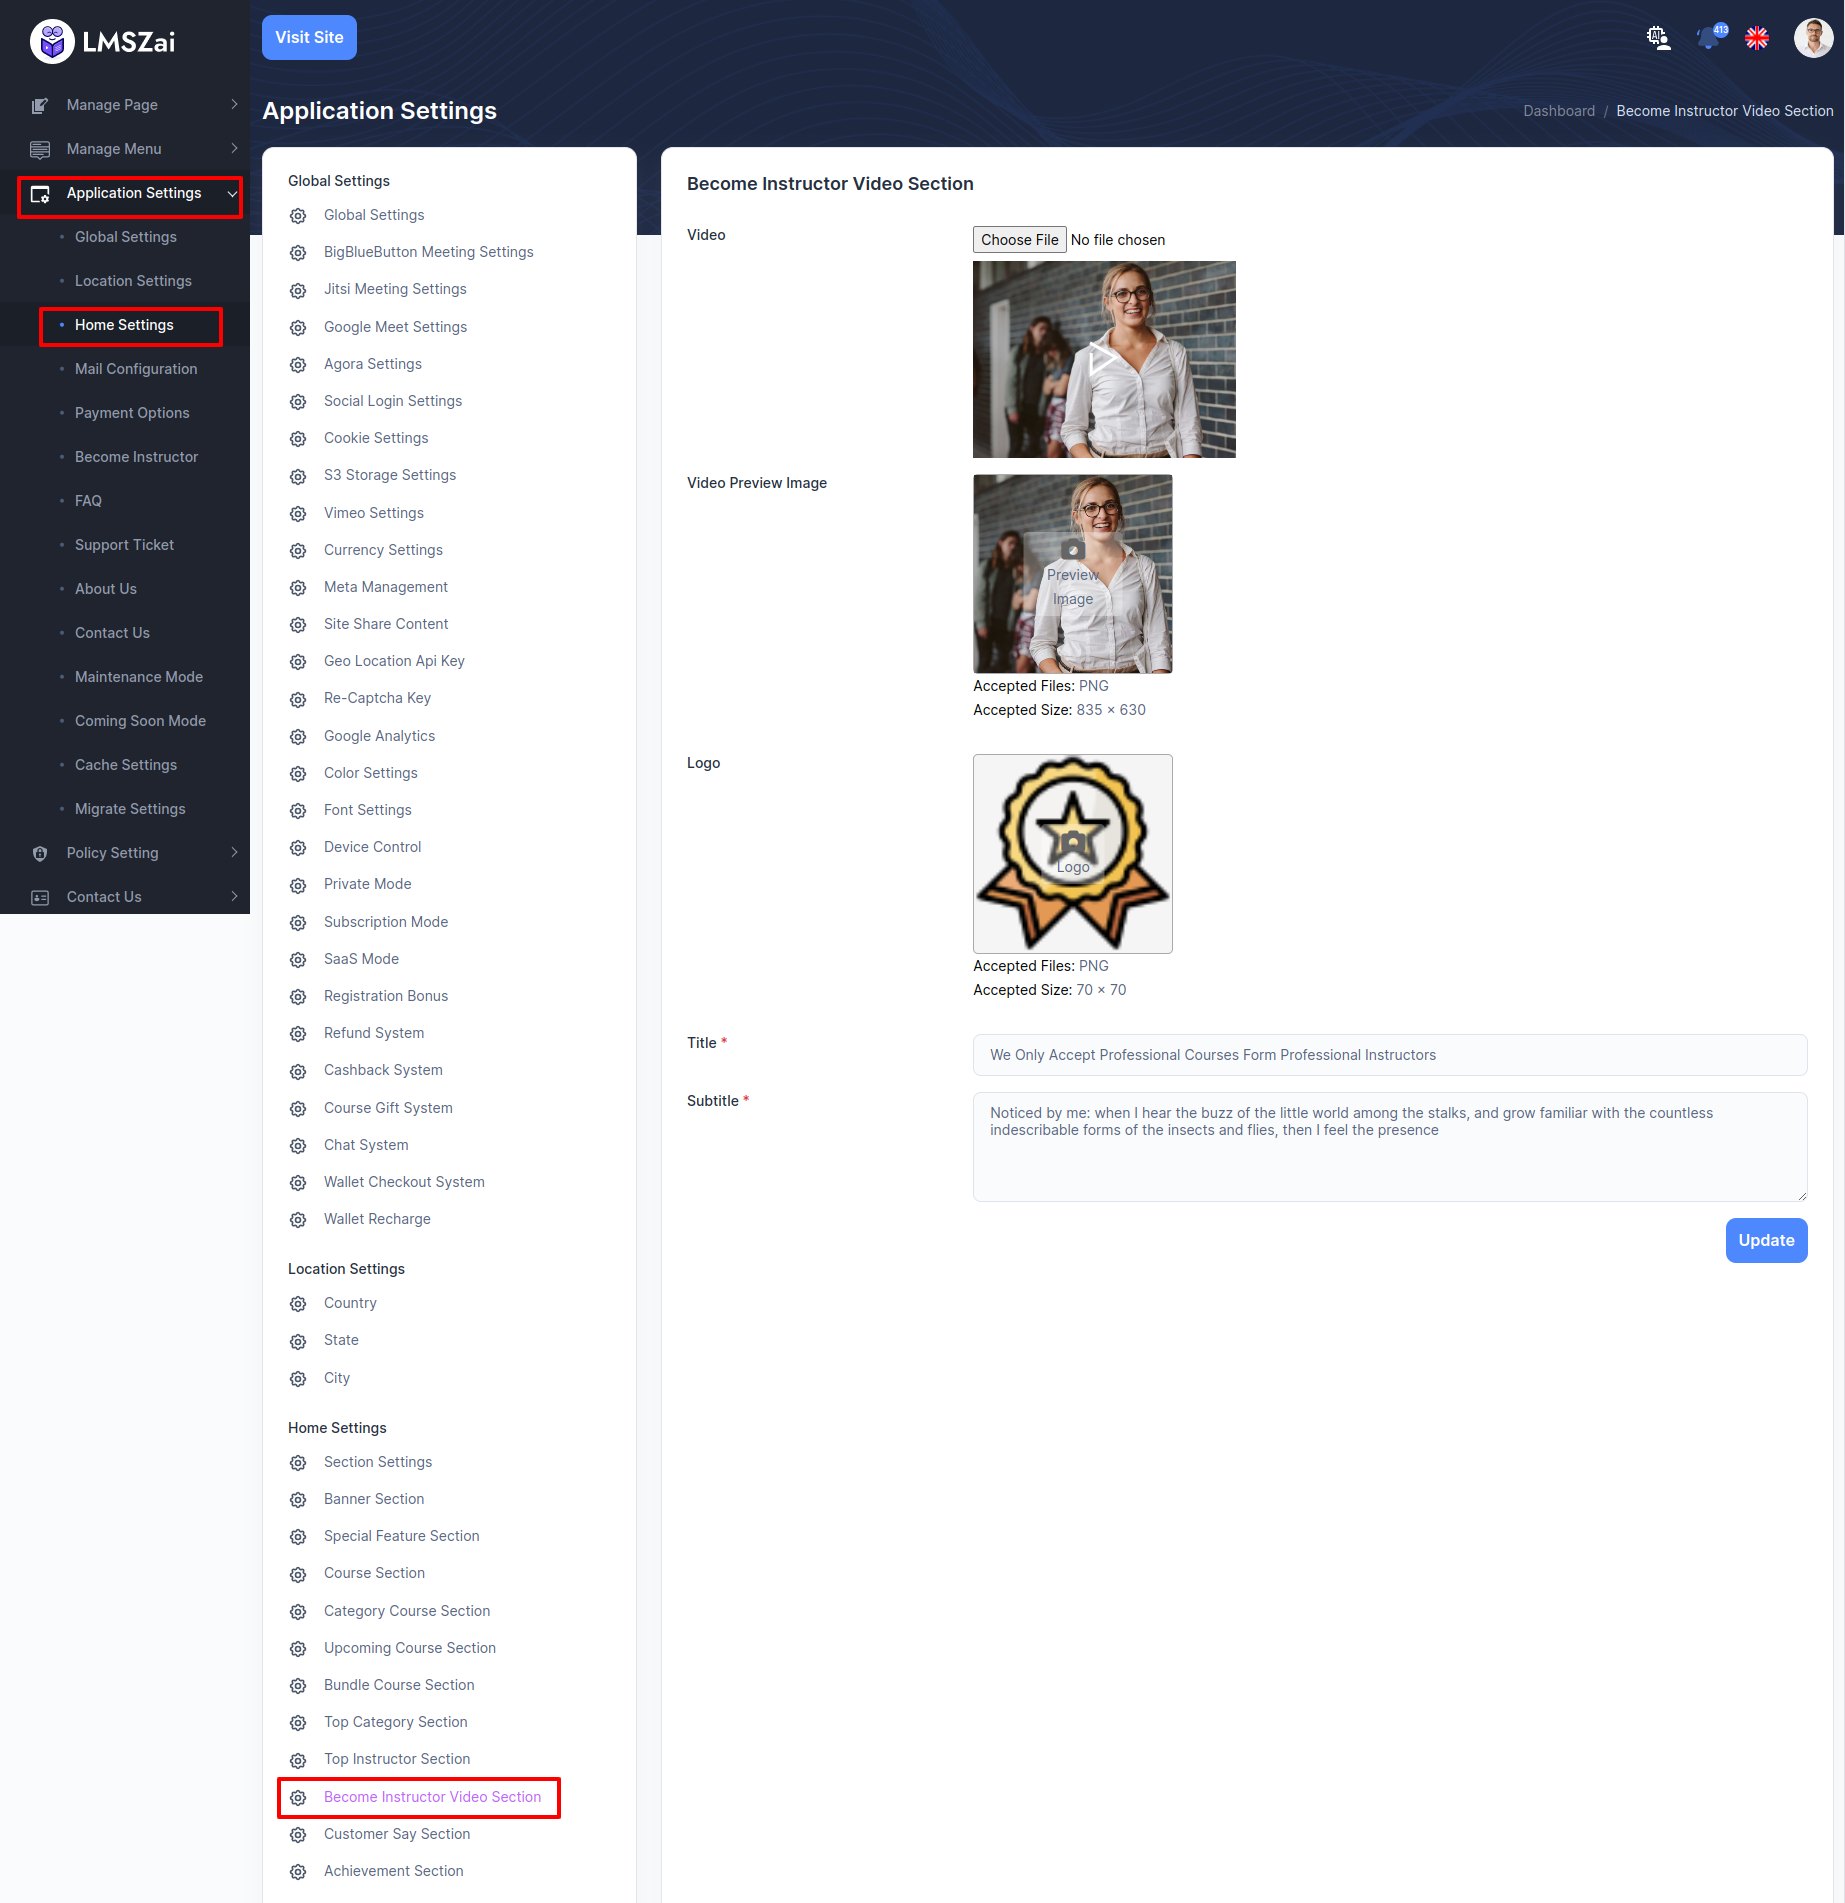
Become Instructor Video Section
Admin can manage special become instructor video section
-
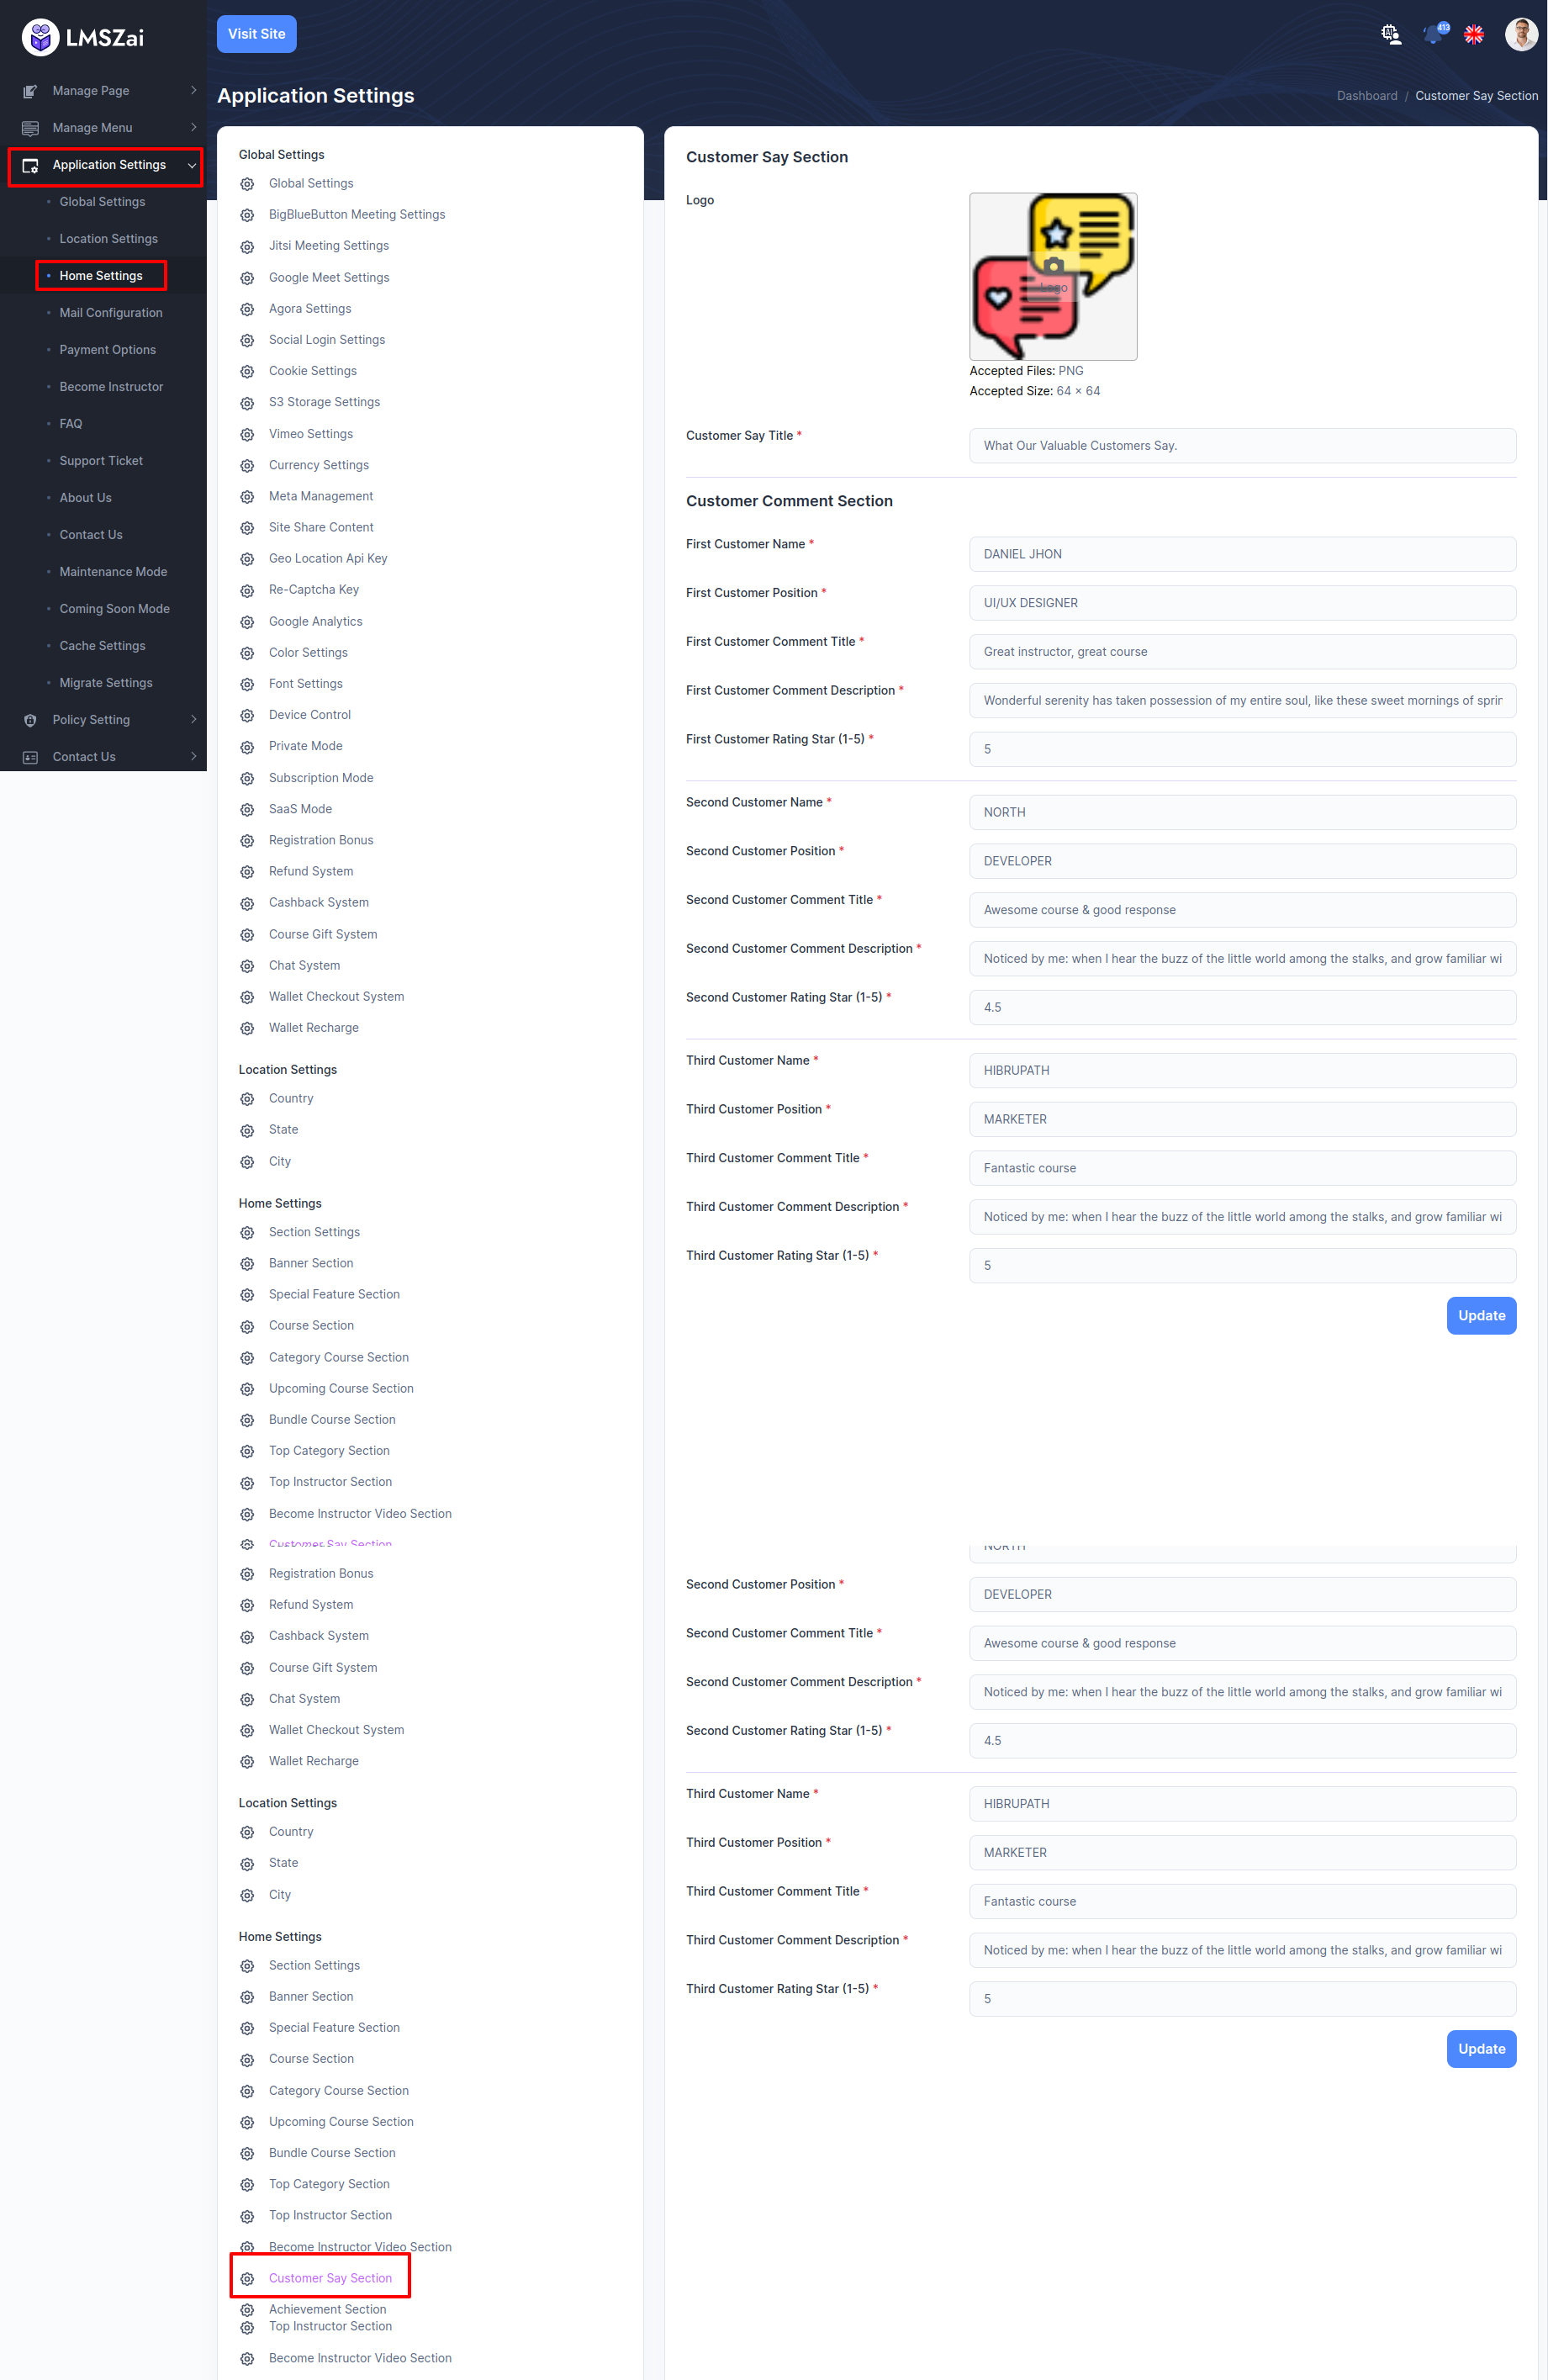
Customer Say Section
Admin can manage special customer say section
-
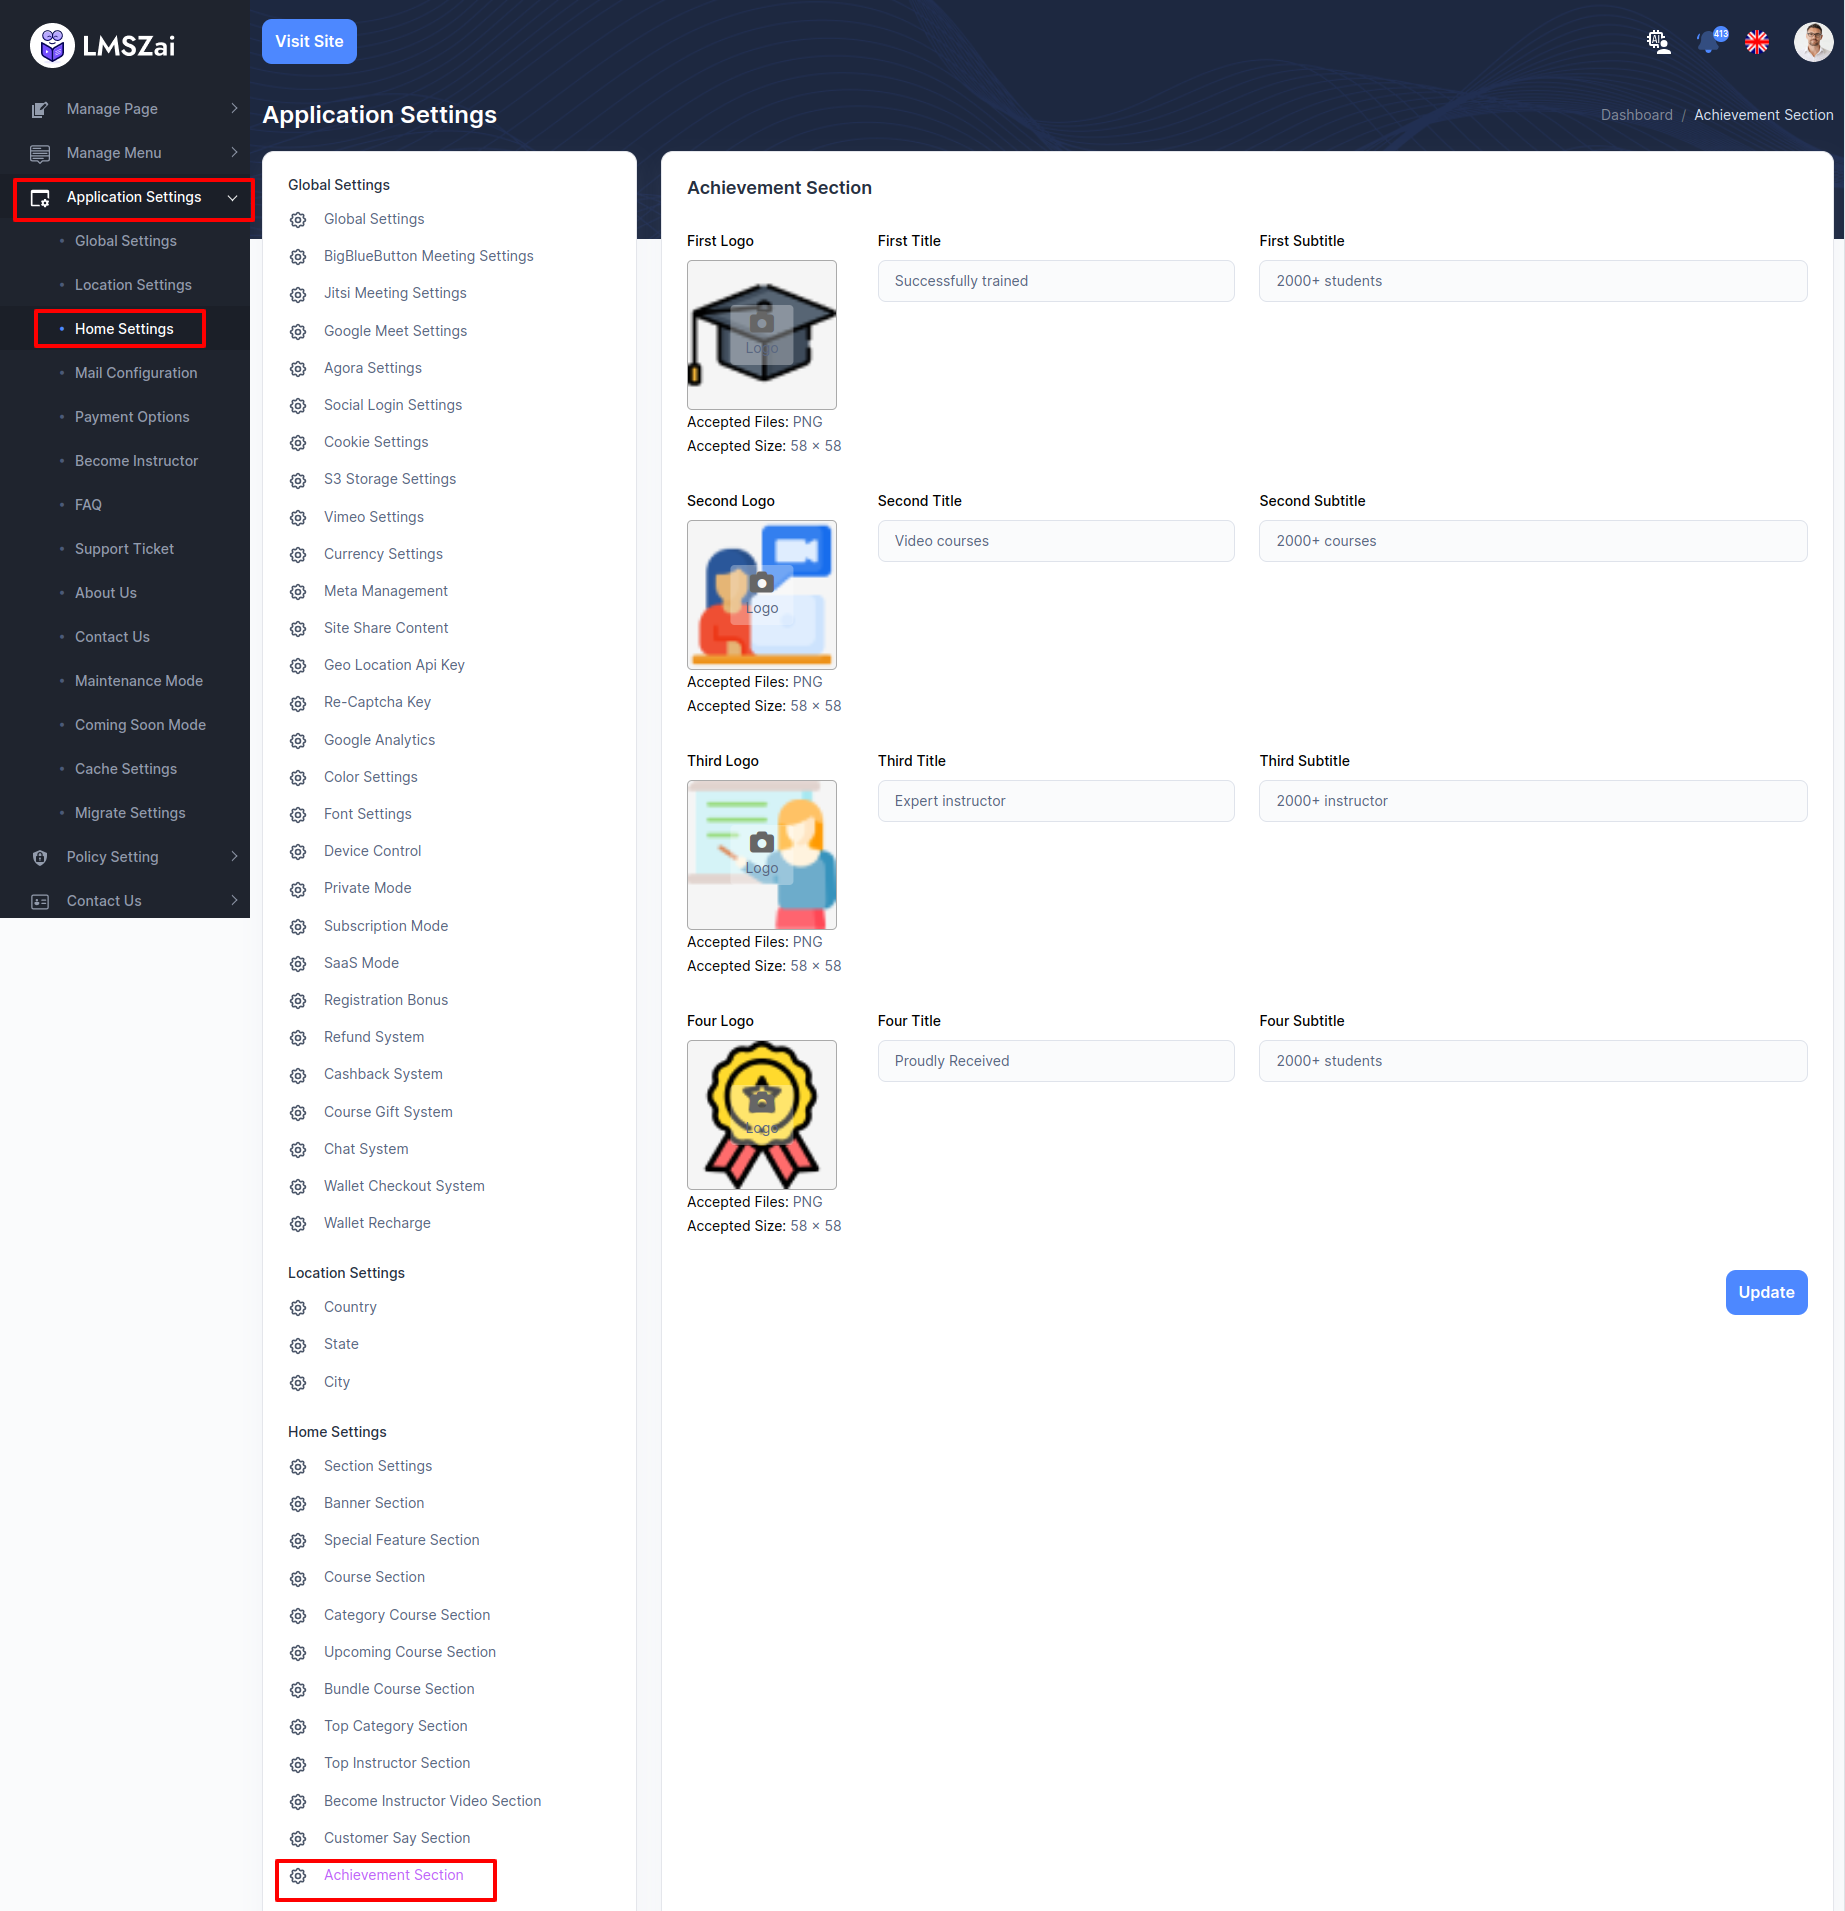
Achievement Section
Admin can manage special achievement section
Mail Configuration
-
Mail Configuration
In LMSZAI, you can add mail configuration to enhance different features after configuring this. Many times need to mail student or instructor.
To enhance this feature, you have to set some credentials on your application. Now, you have to follow the easy steps to set up :
- Login to the Admin Panel
- From admin panel sidebar you need to select Application Settings->Mail Configuration->Mail Configuration
- Example given here

Payment Options
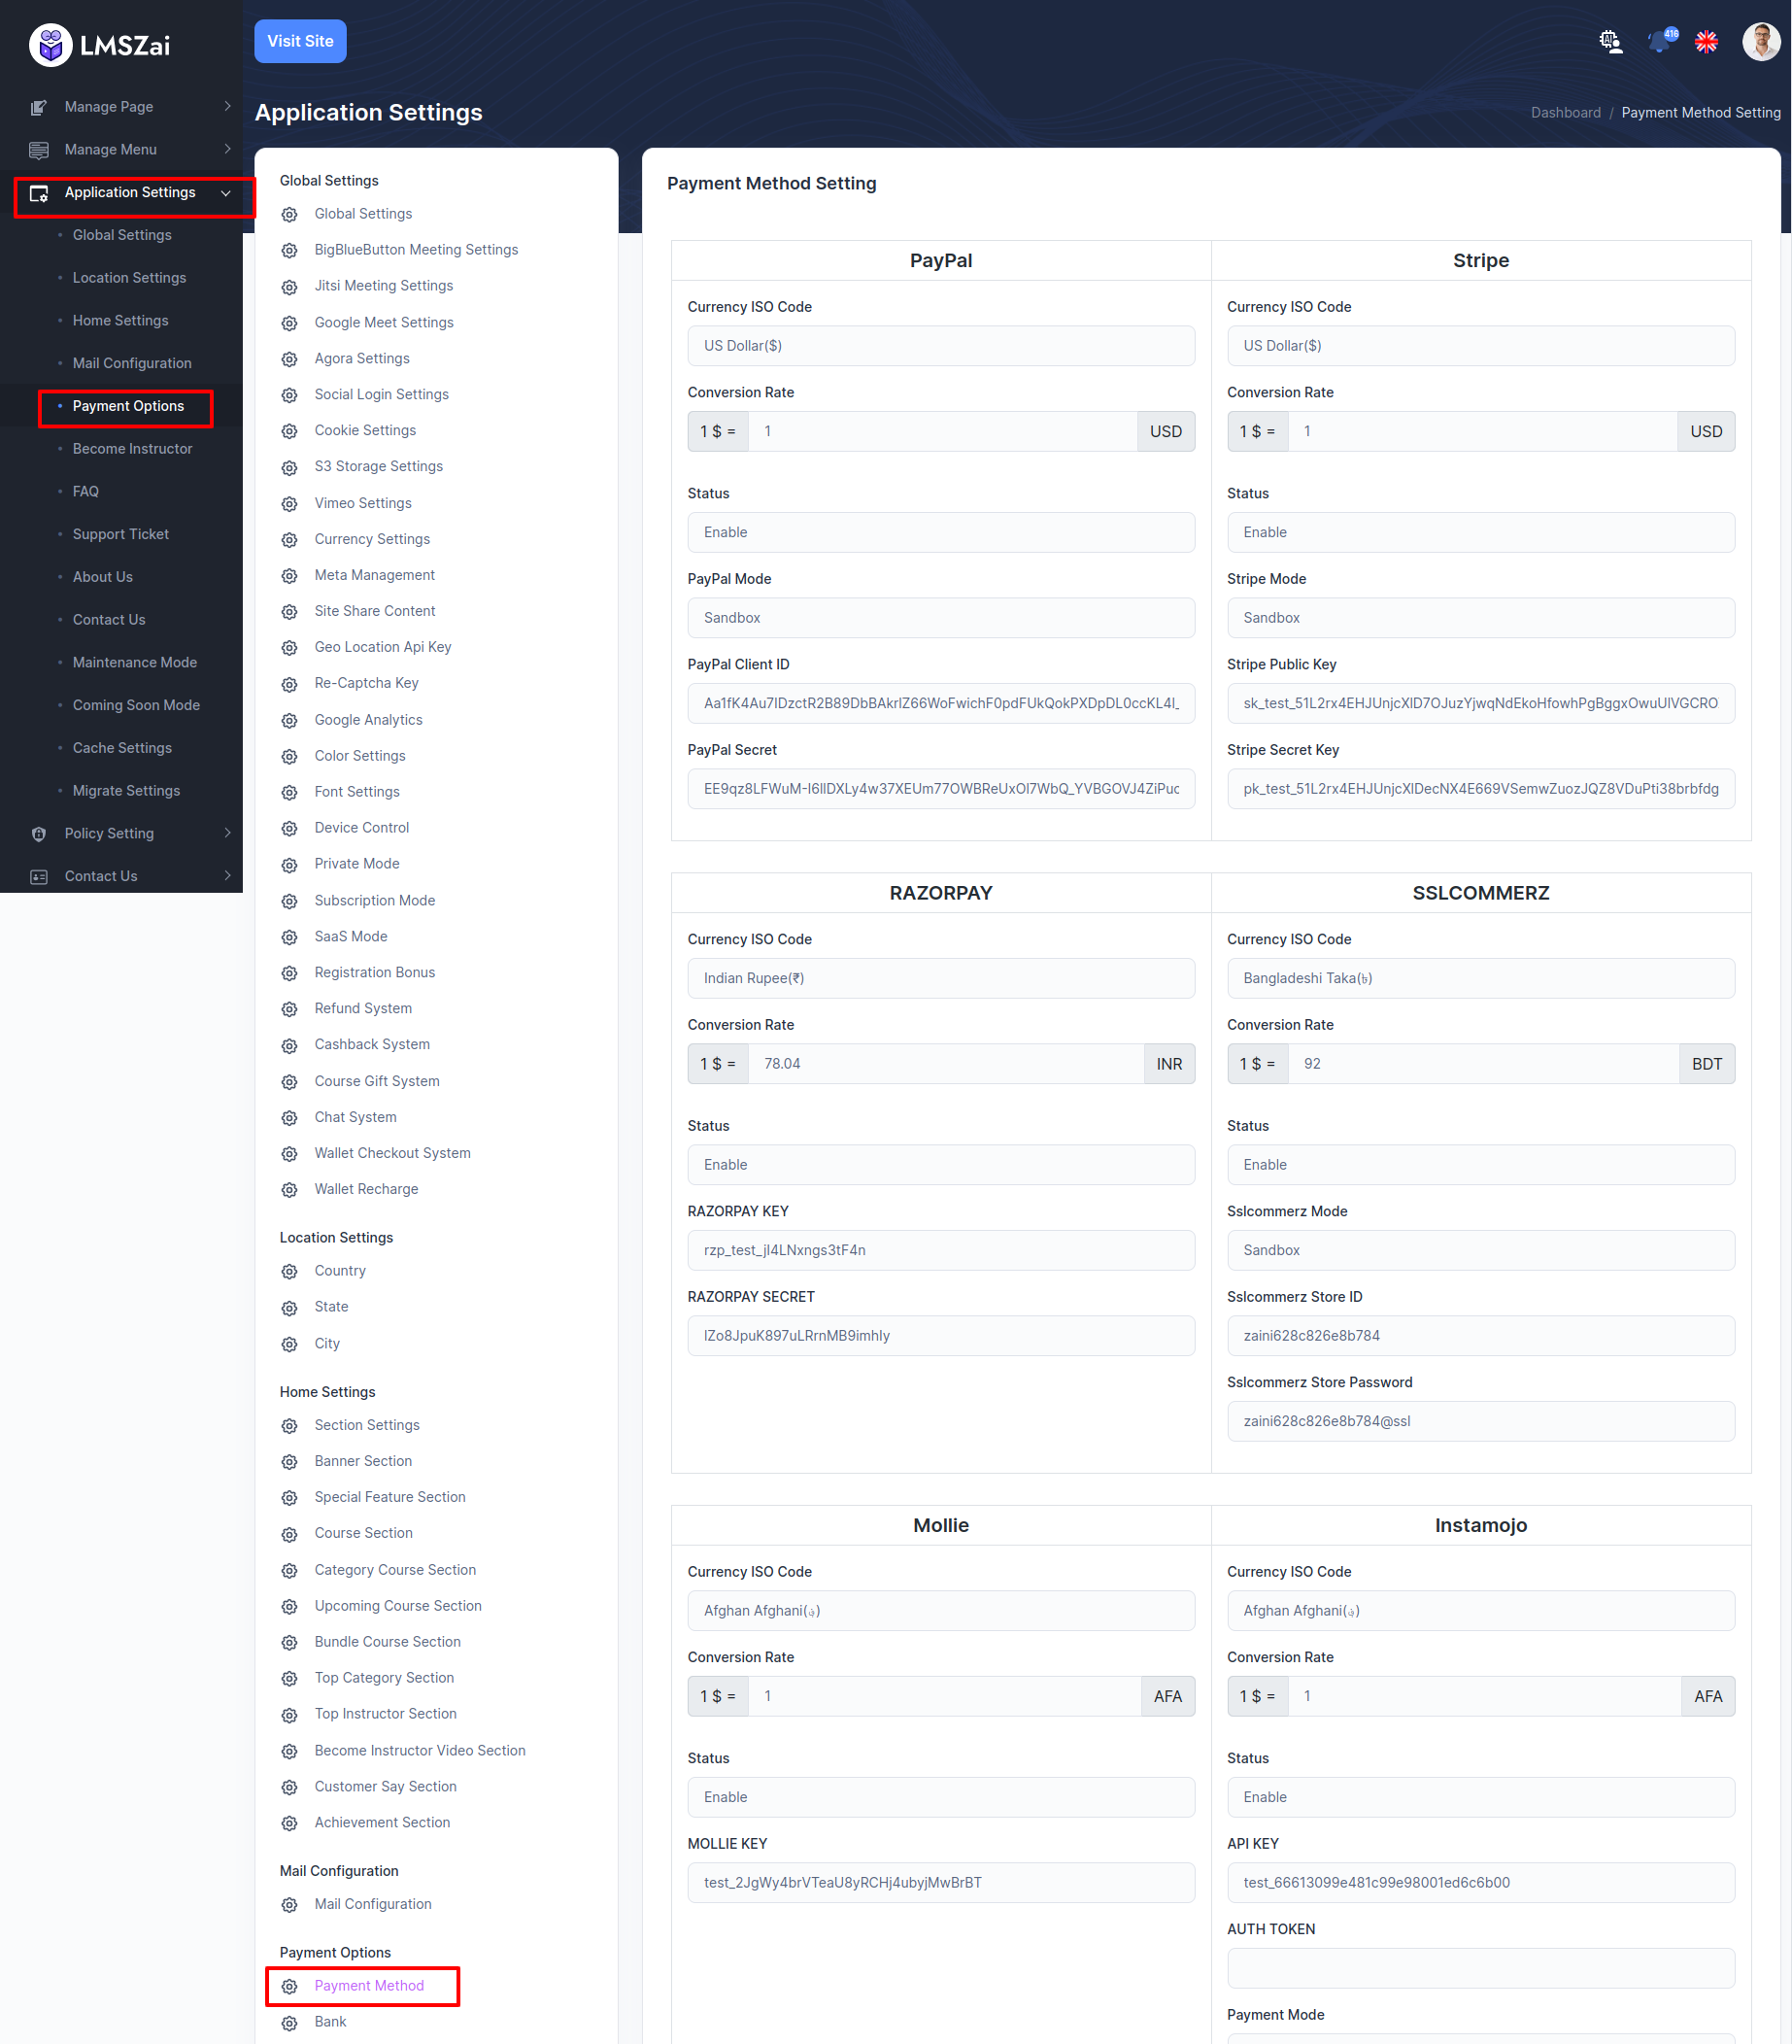
In LMSZAI, you can add payment gateway to enhance different features after configuring this. After purchase any course , student need to payment for paid courses. You need to add credentials for different payment gateway, like Paypal, Stripe, Razorpay, SSLCOMMERZ, Instamojo, Mollie, Paystack
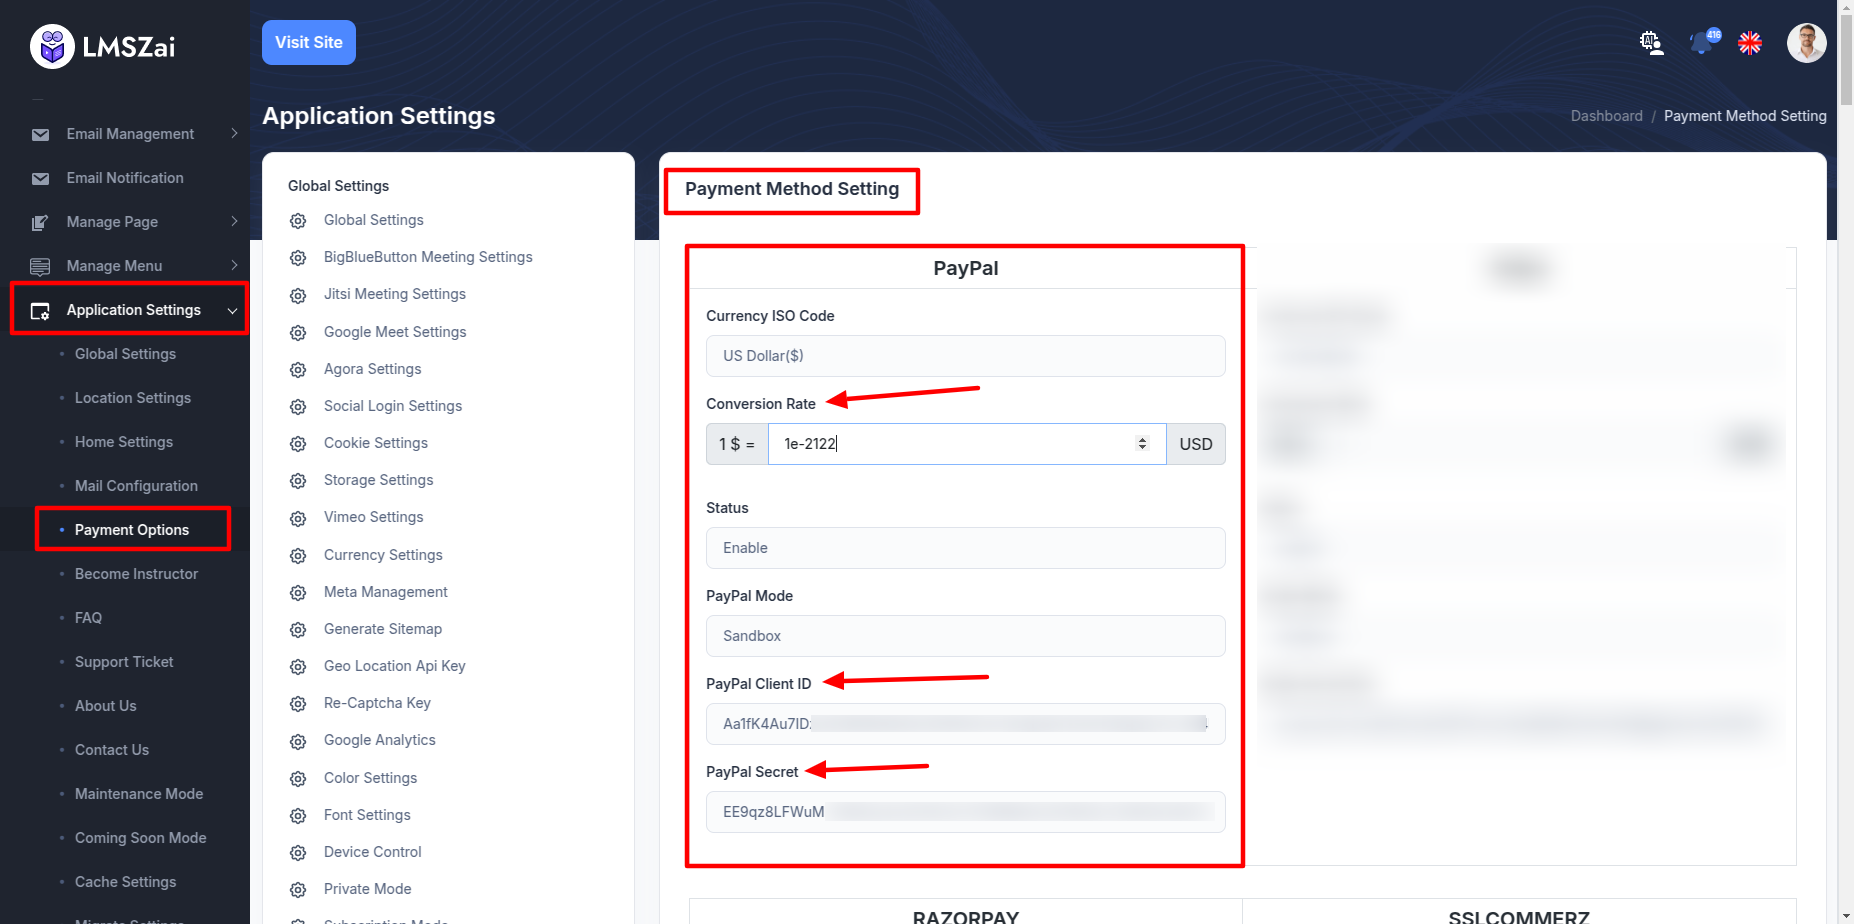
Paypal Gateway
- step:1
You have to log in to paypal and set up get "client ID and client secret key" from here link
https://developer.paypal.com/api/rest/
- step:2
Client ID with its Secret key from the above link should also be given here or you can set the Conversion Rate as per your wish here.
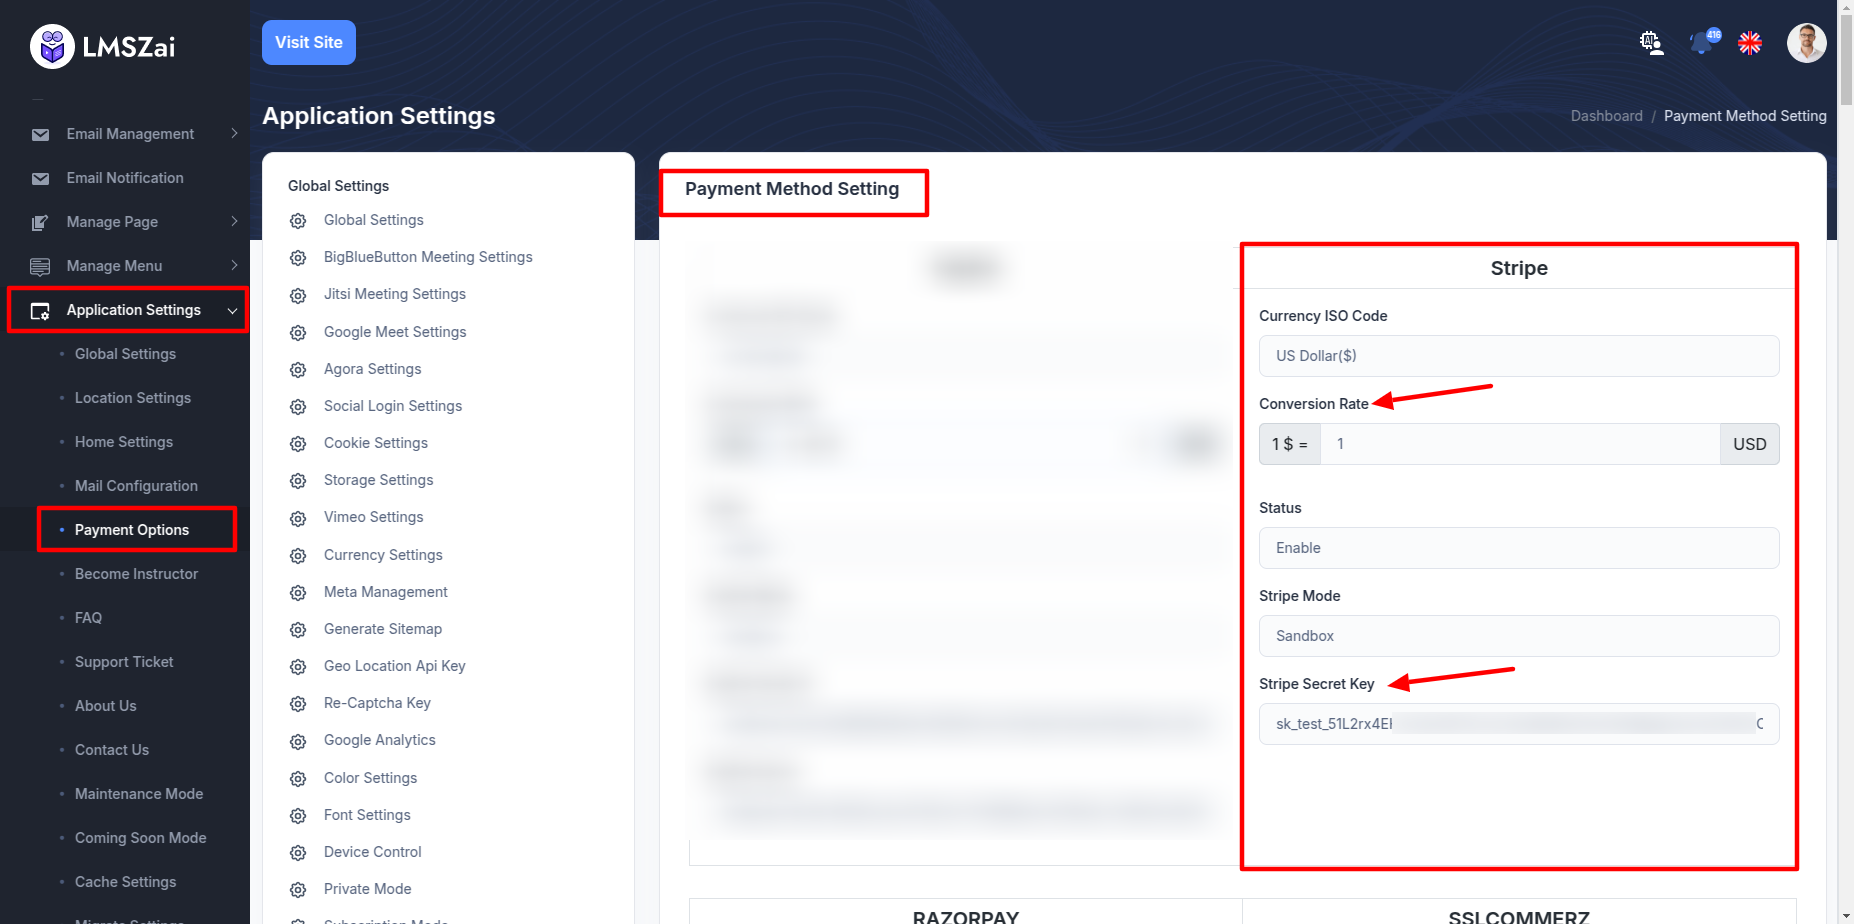
Stripe Gateway
- step:1
You have to log in to stripe and set up get "secret key" from here link
https://stripe.com/docs/keys
- step:2
Secret key from the above link should also be given here or you can set the Conversion Rate as per your wish here.
-
Payment Method
Admin can show and manage payment method
-
Bank
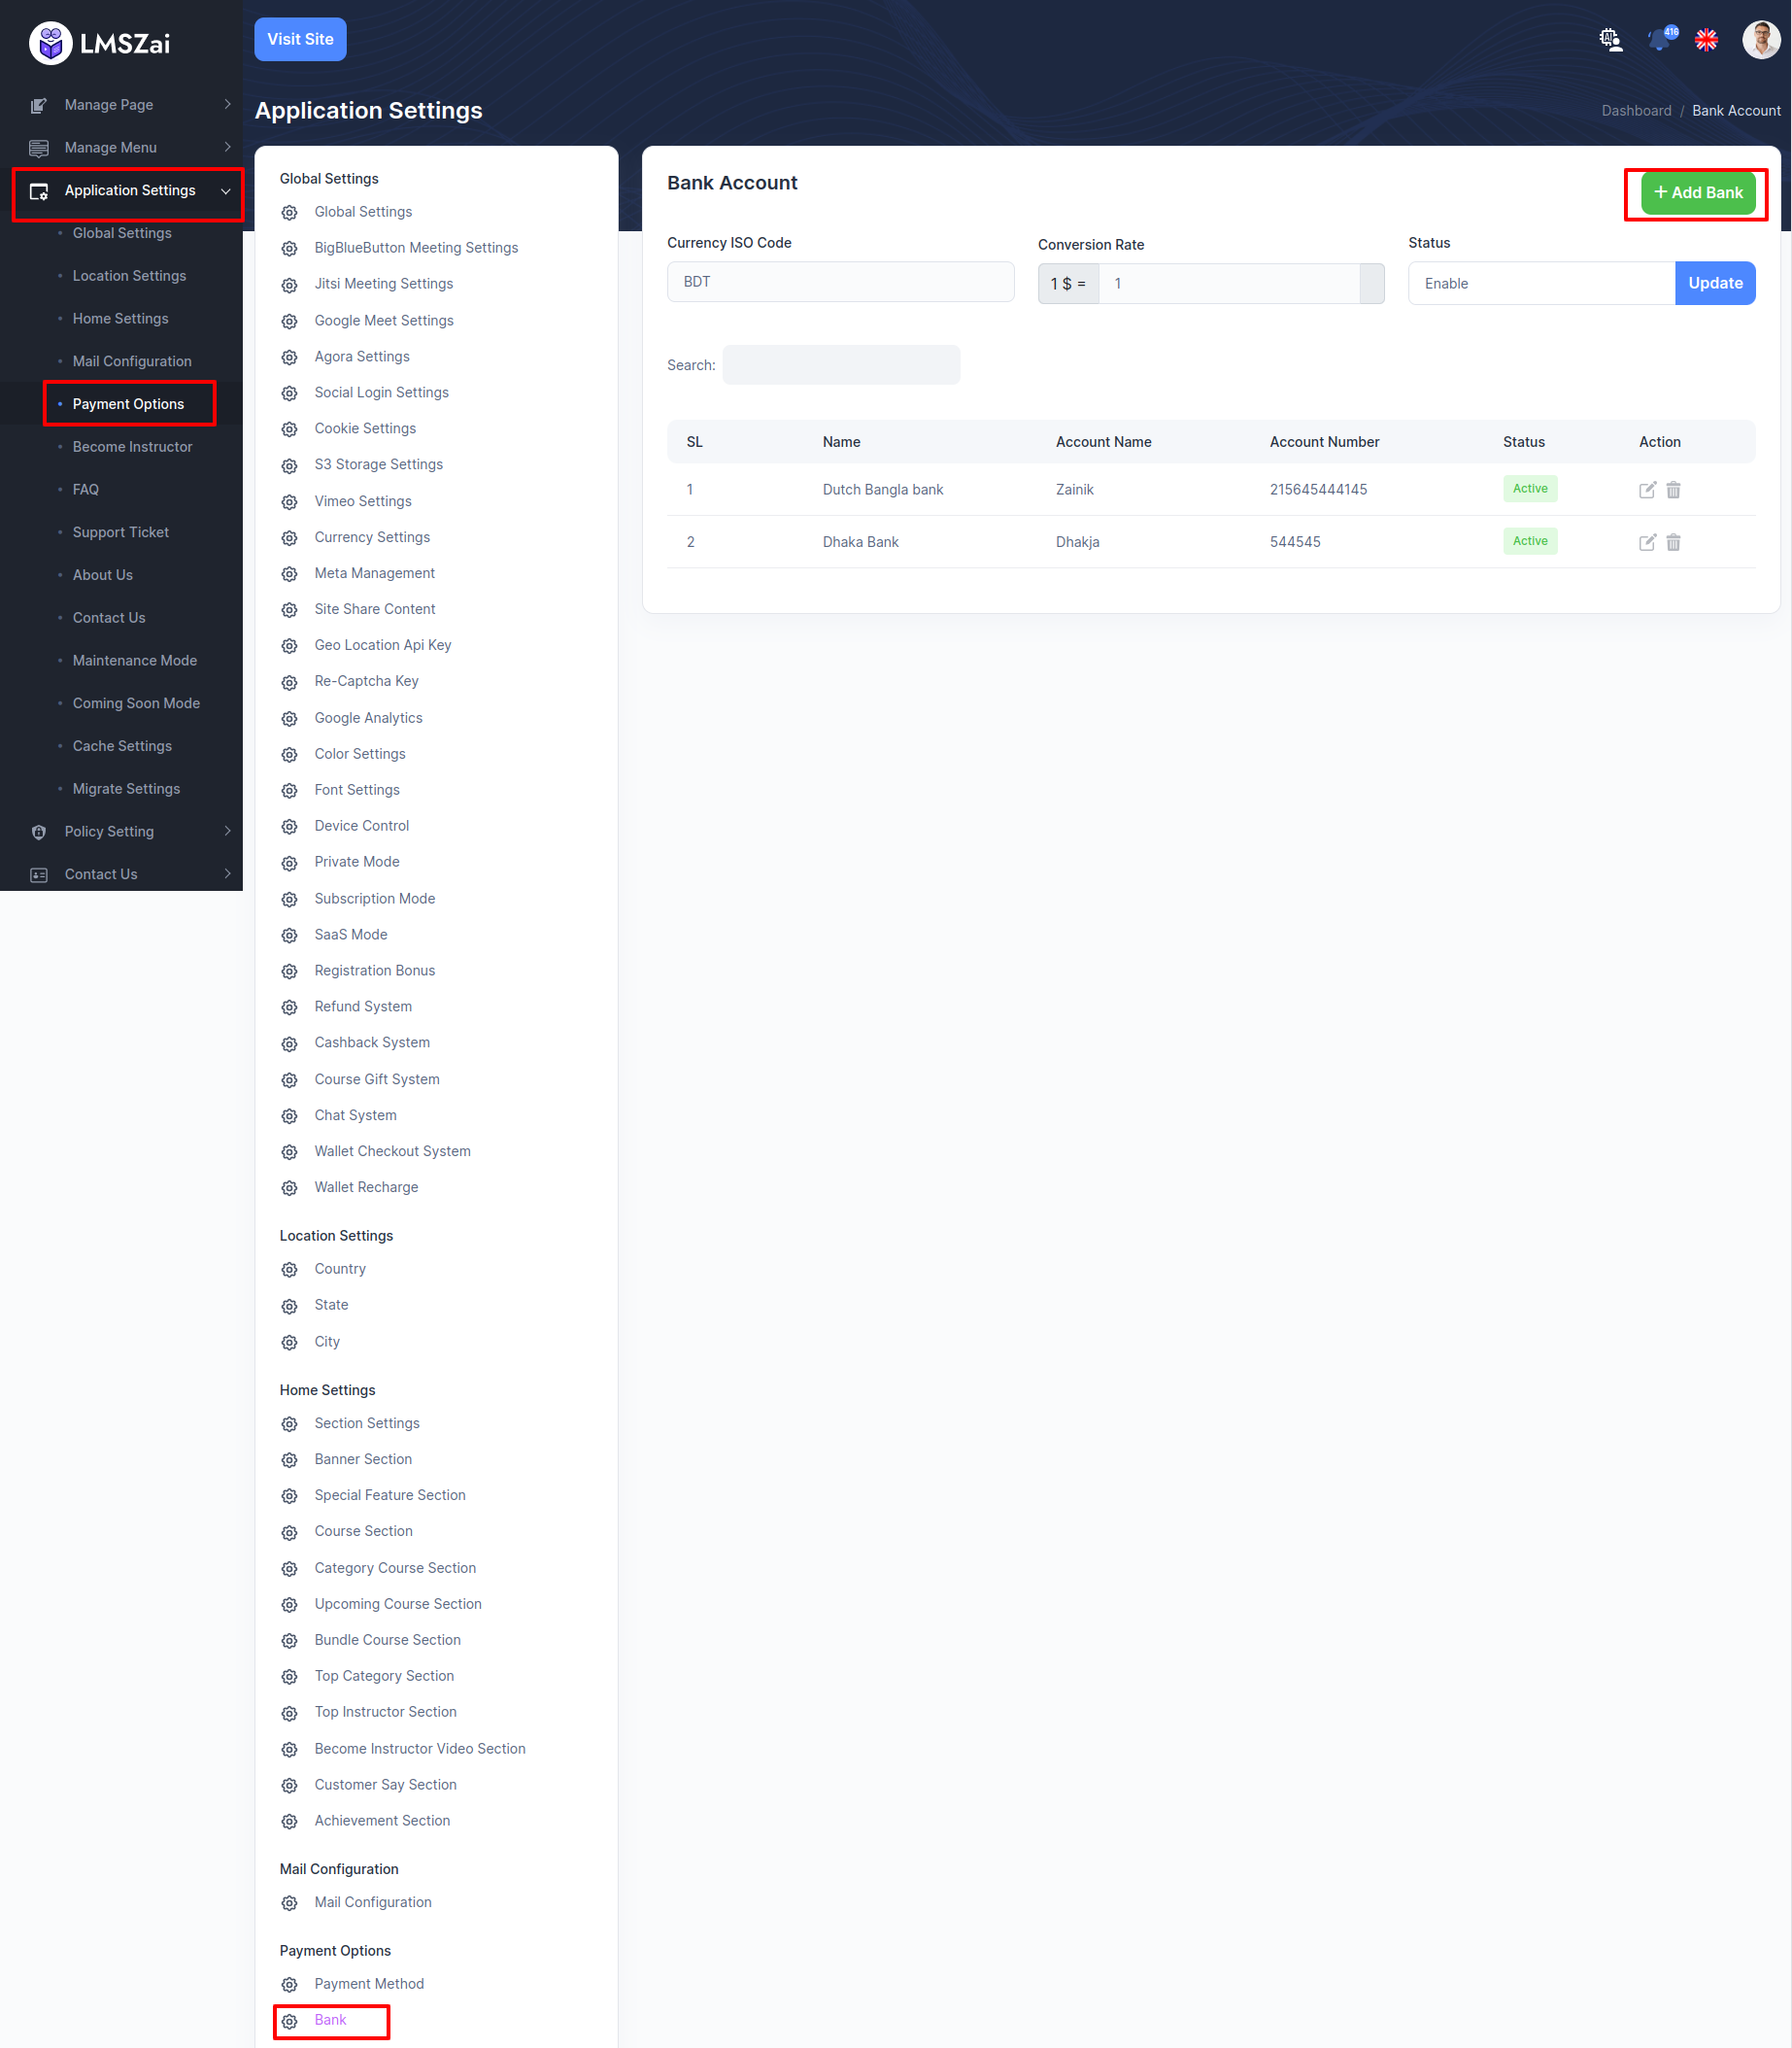
We also add bank payment method. Admin can add multiple bank information and user can purchase through those added banks.
To enhance this feature, you have to set some credentials on your application. Admin can activate/deactivated option for any type of payment gateway. Now, you have to follow the easy steps to set up :
- Login to the Admin Panel
- From admin panel sidebar you need to select Application Settings->Payment Options->Bank
- Example given here
Become Instructor
-
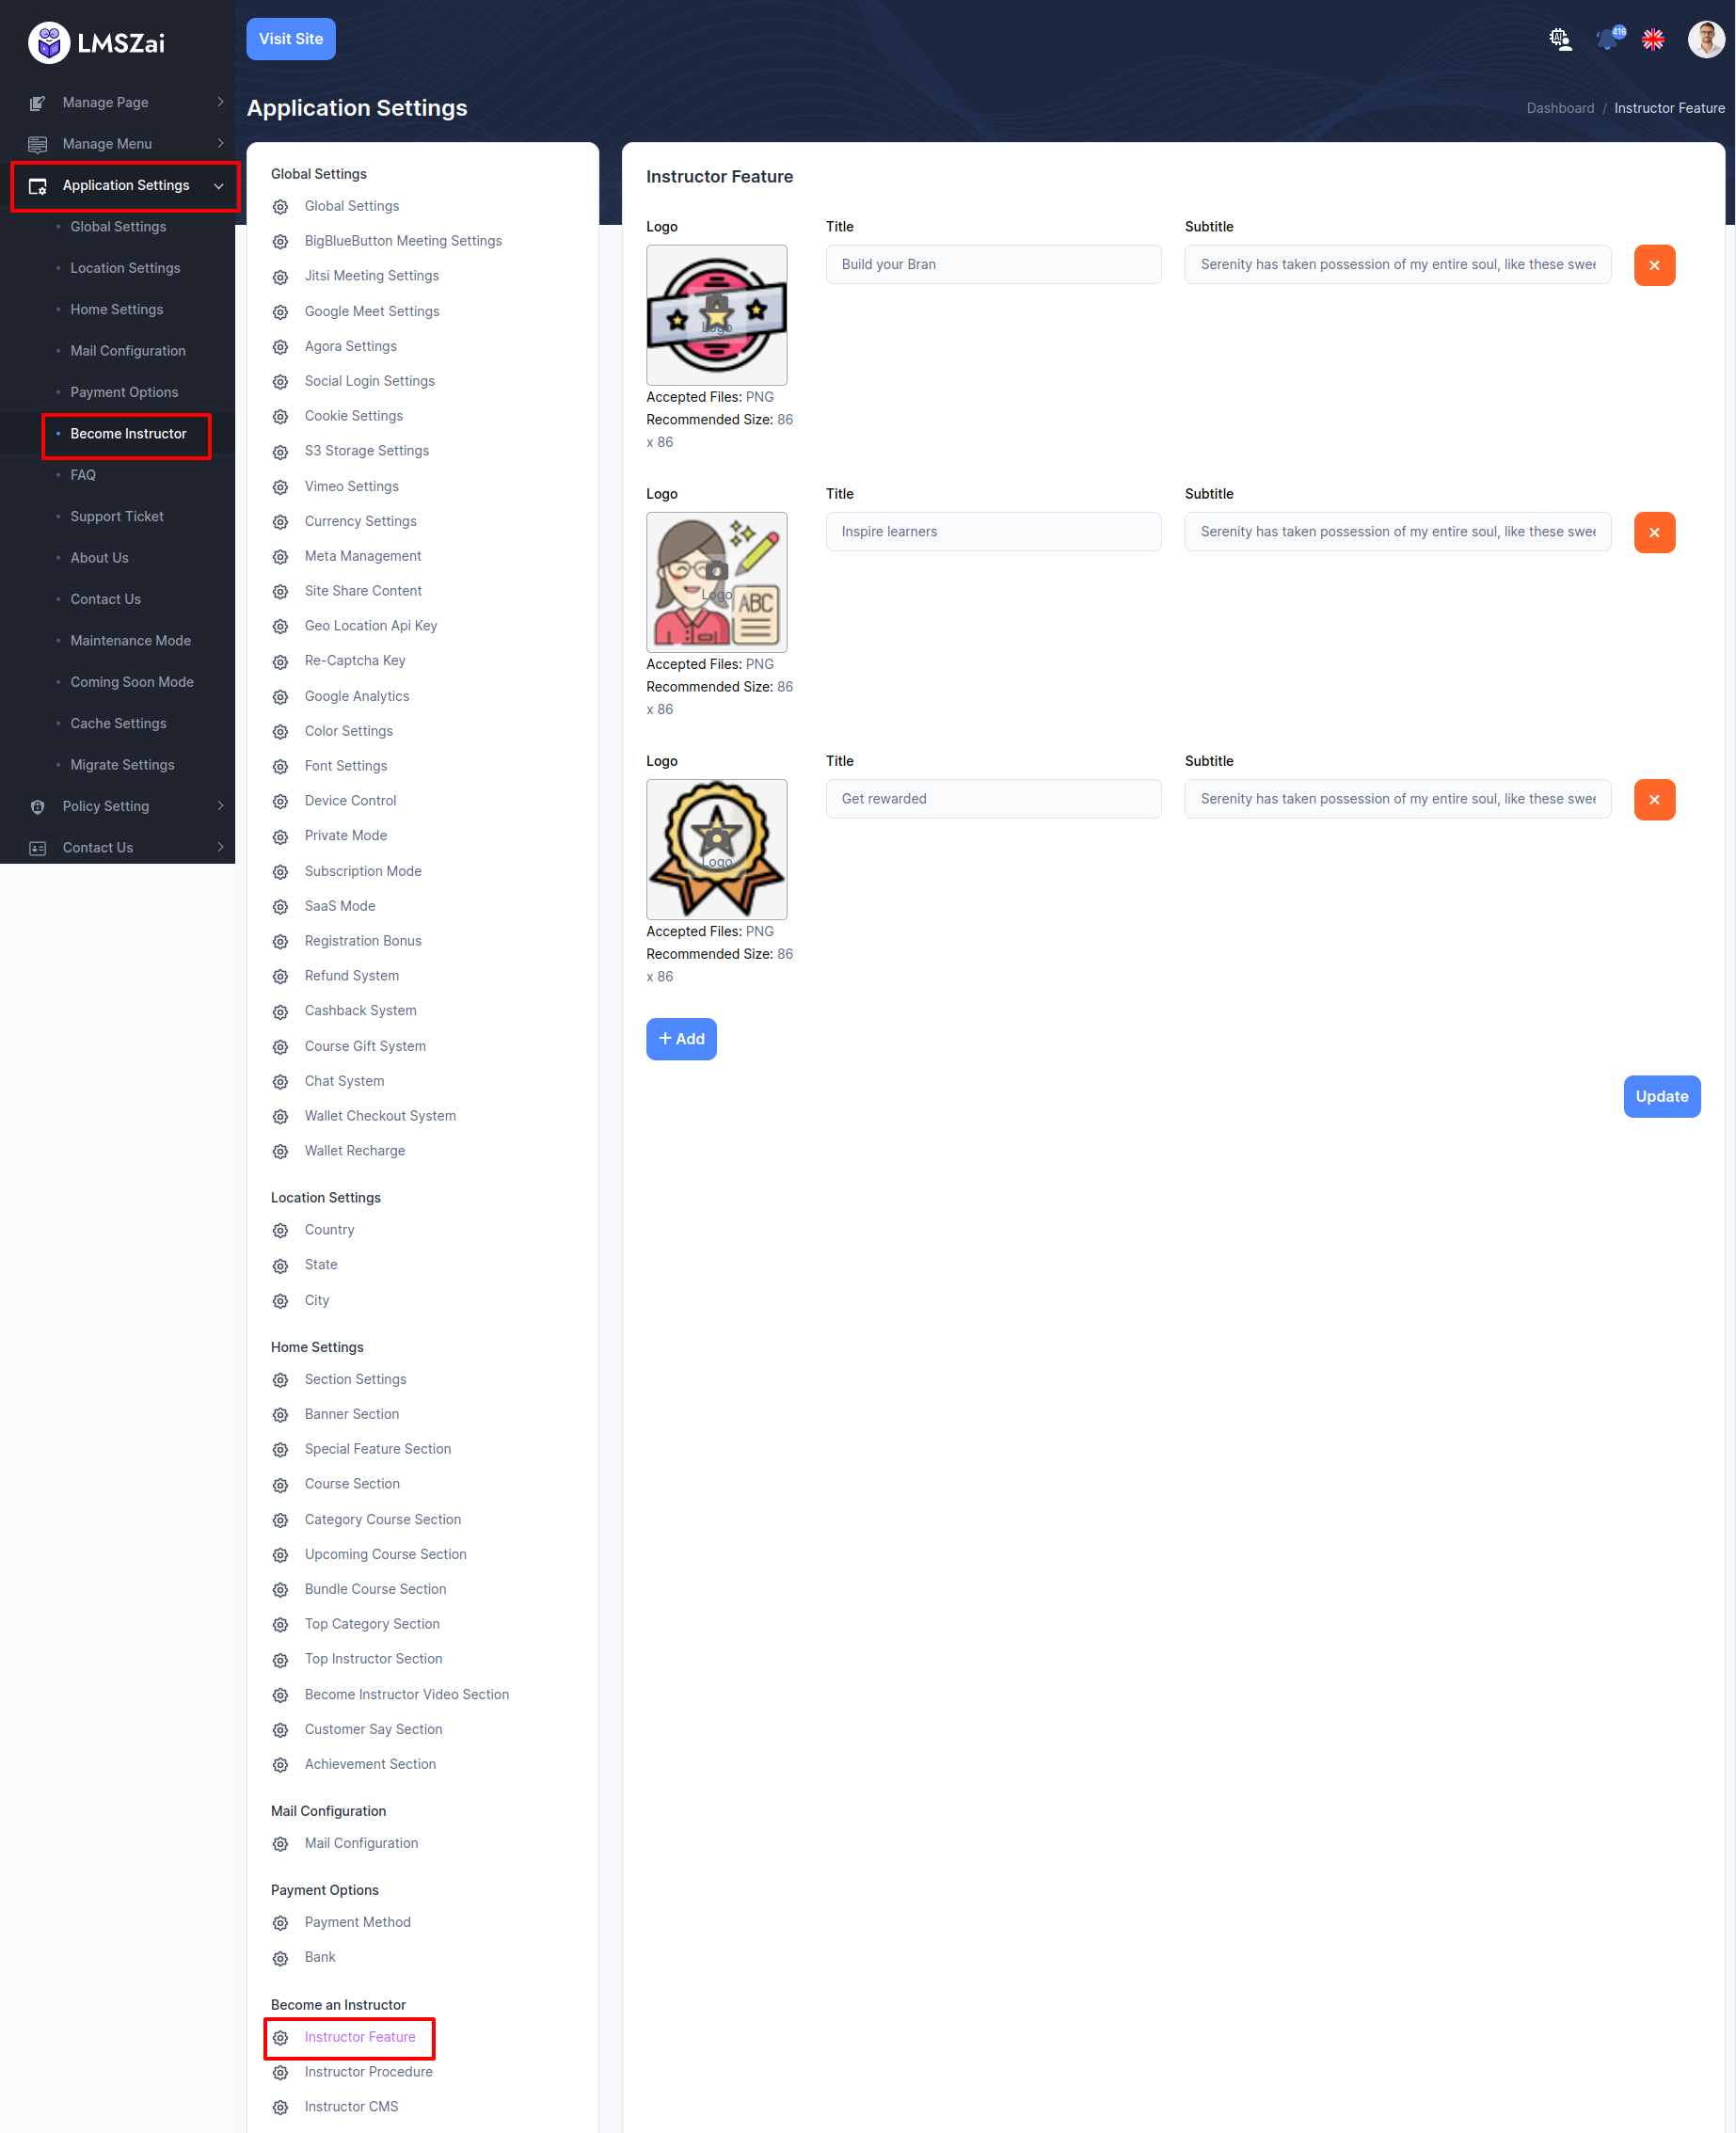
Instructor Feature
Admin can manage this instructor feature
-
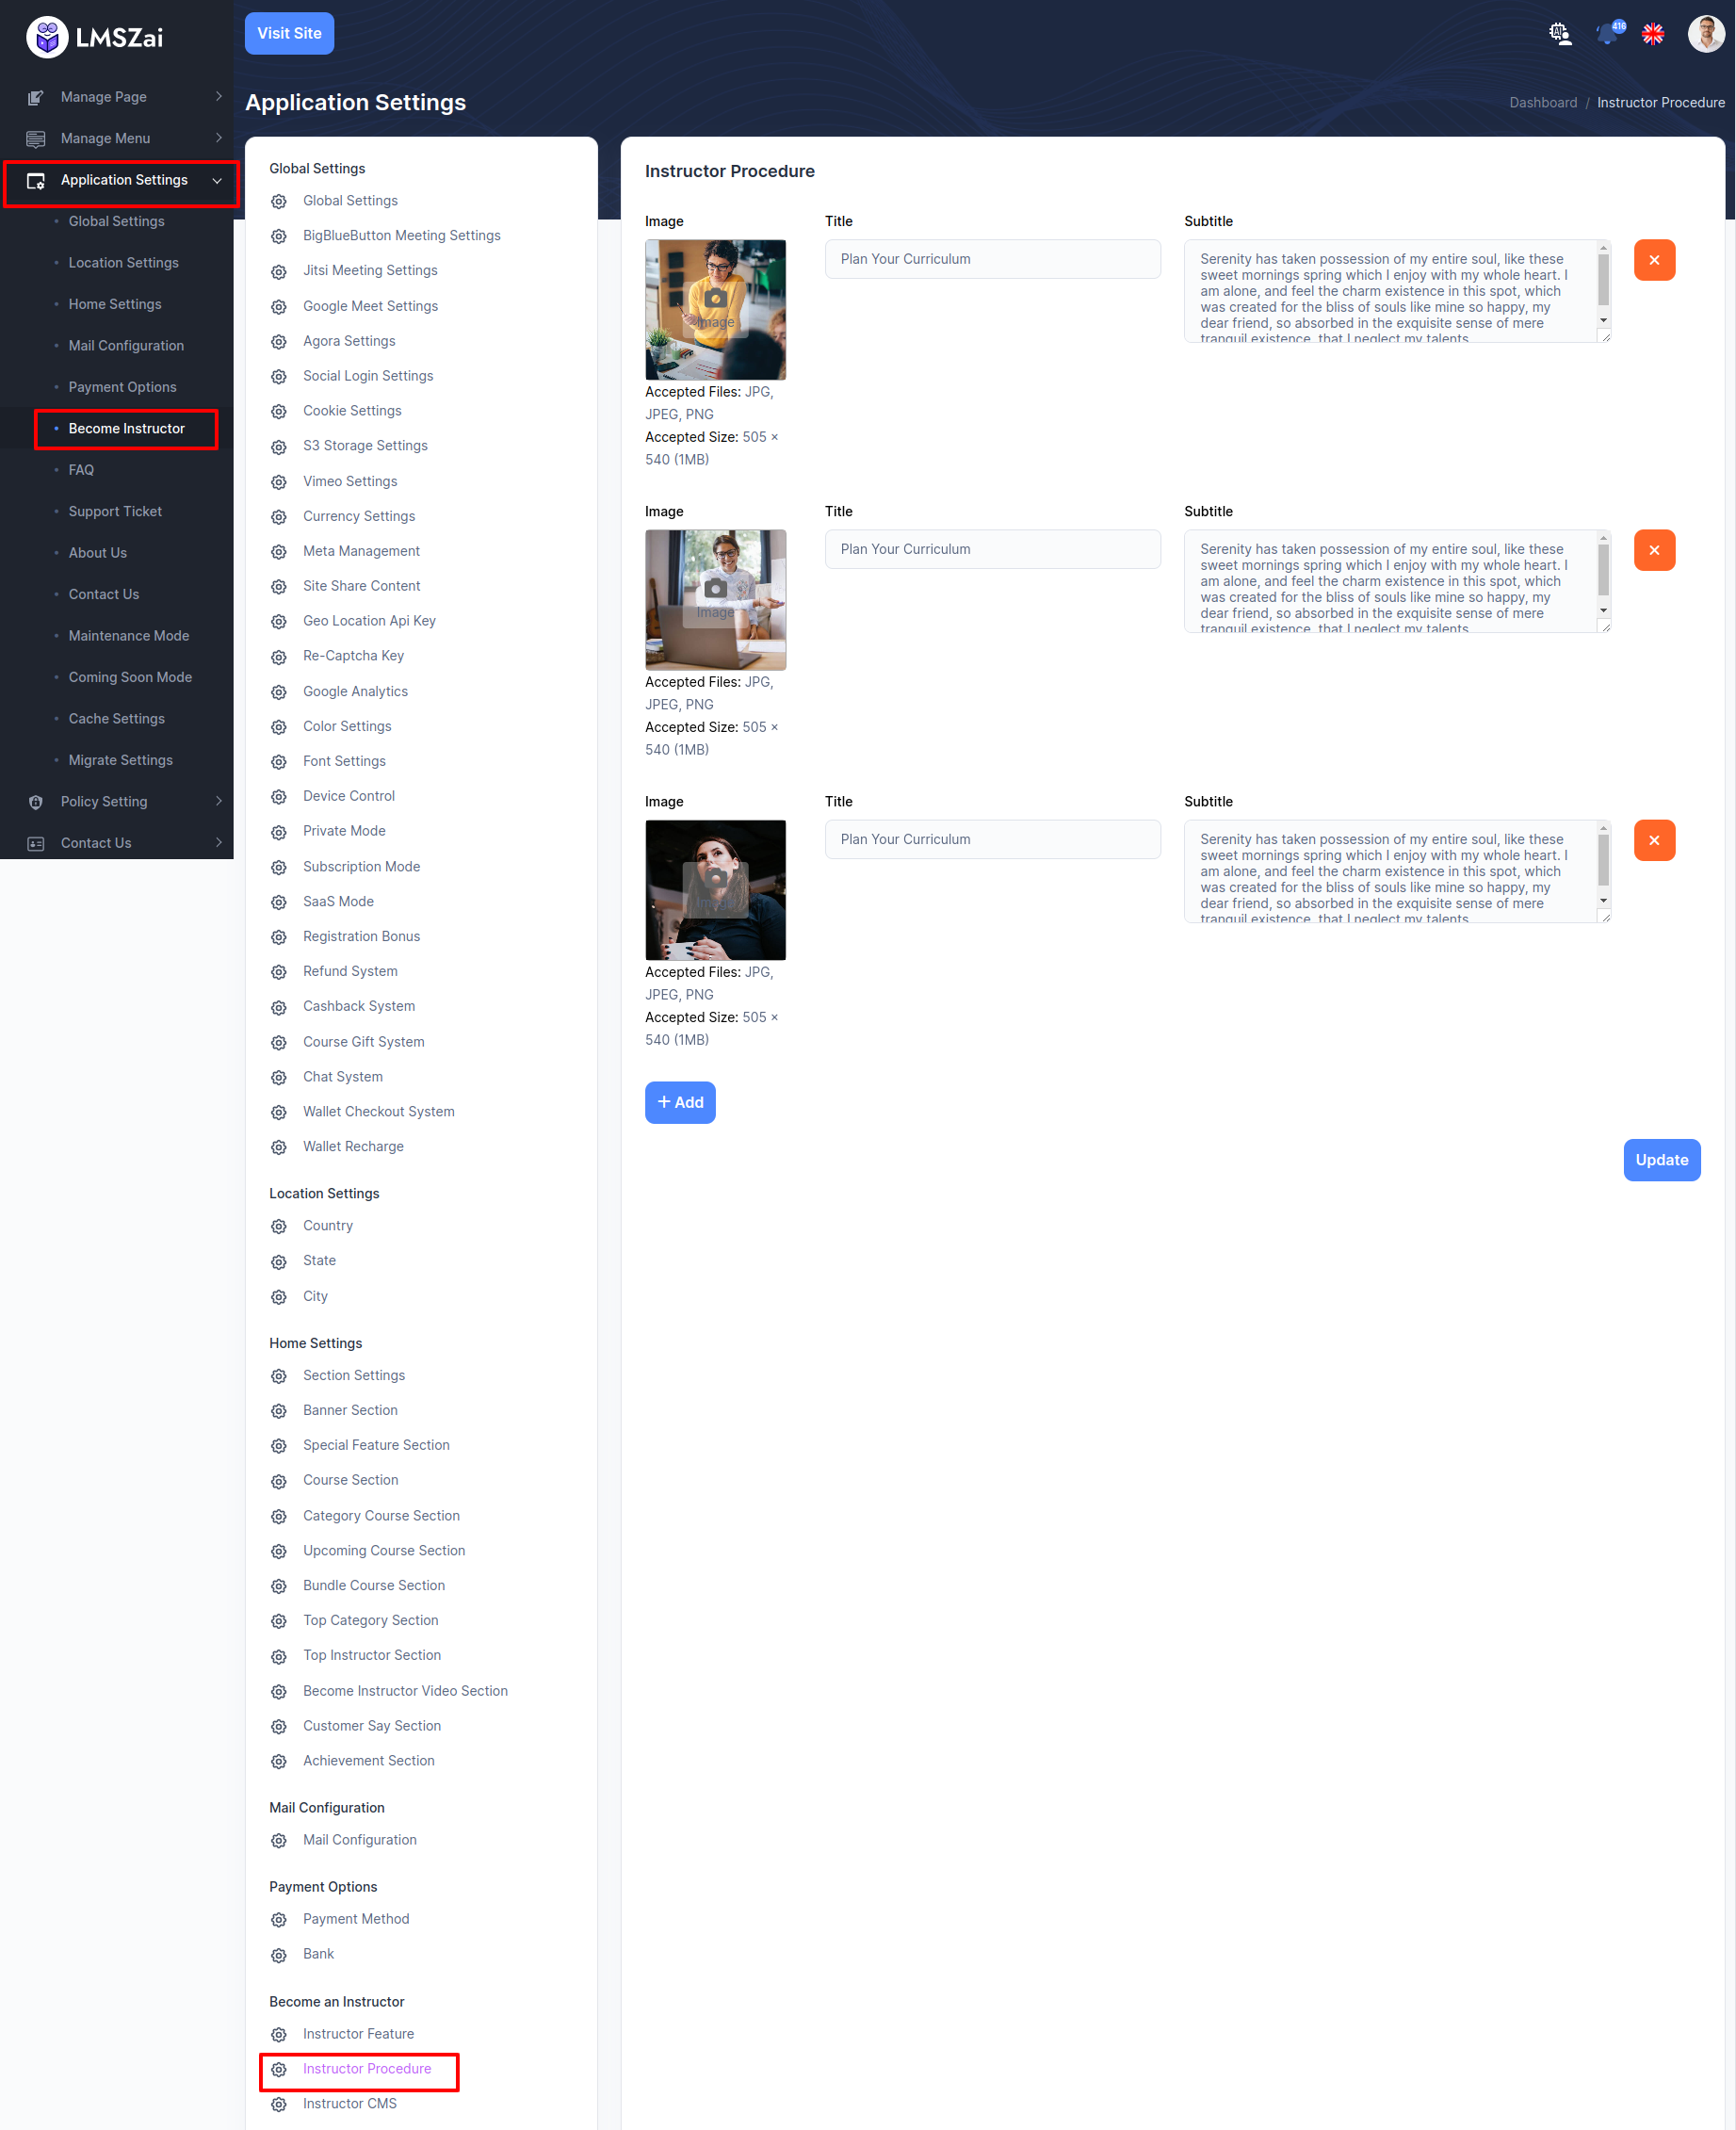
Instructor Procedure
Admin can manage this instructor procedure
-
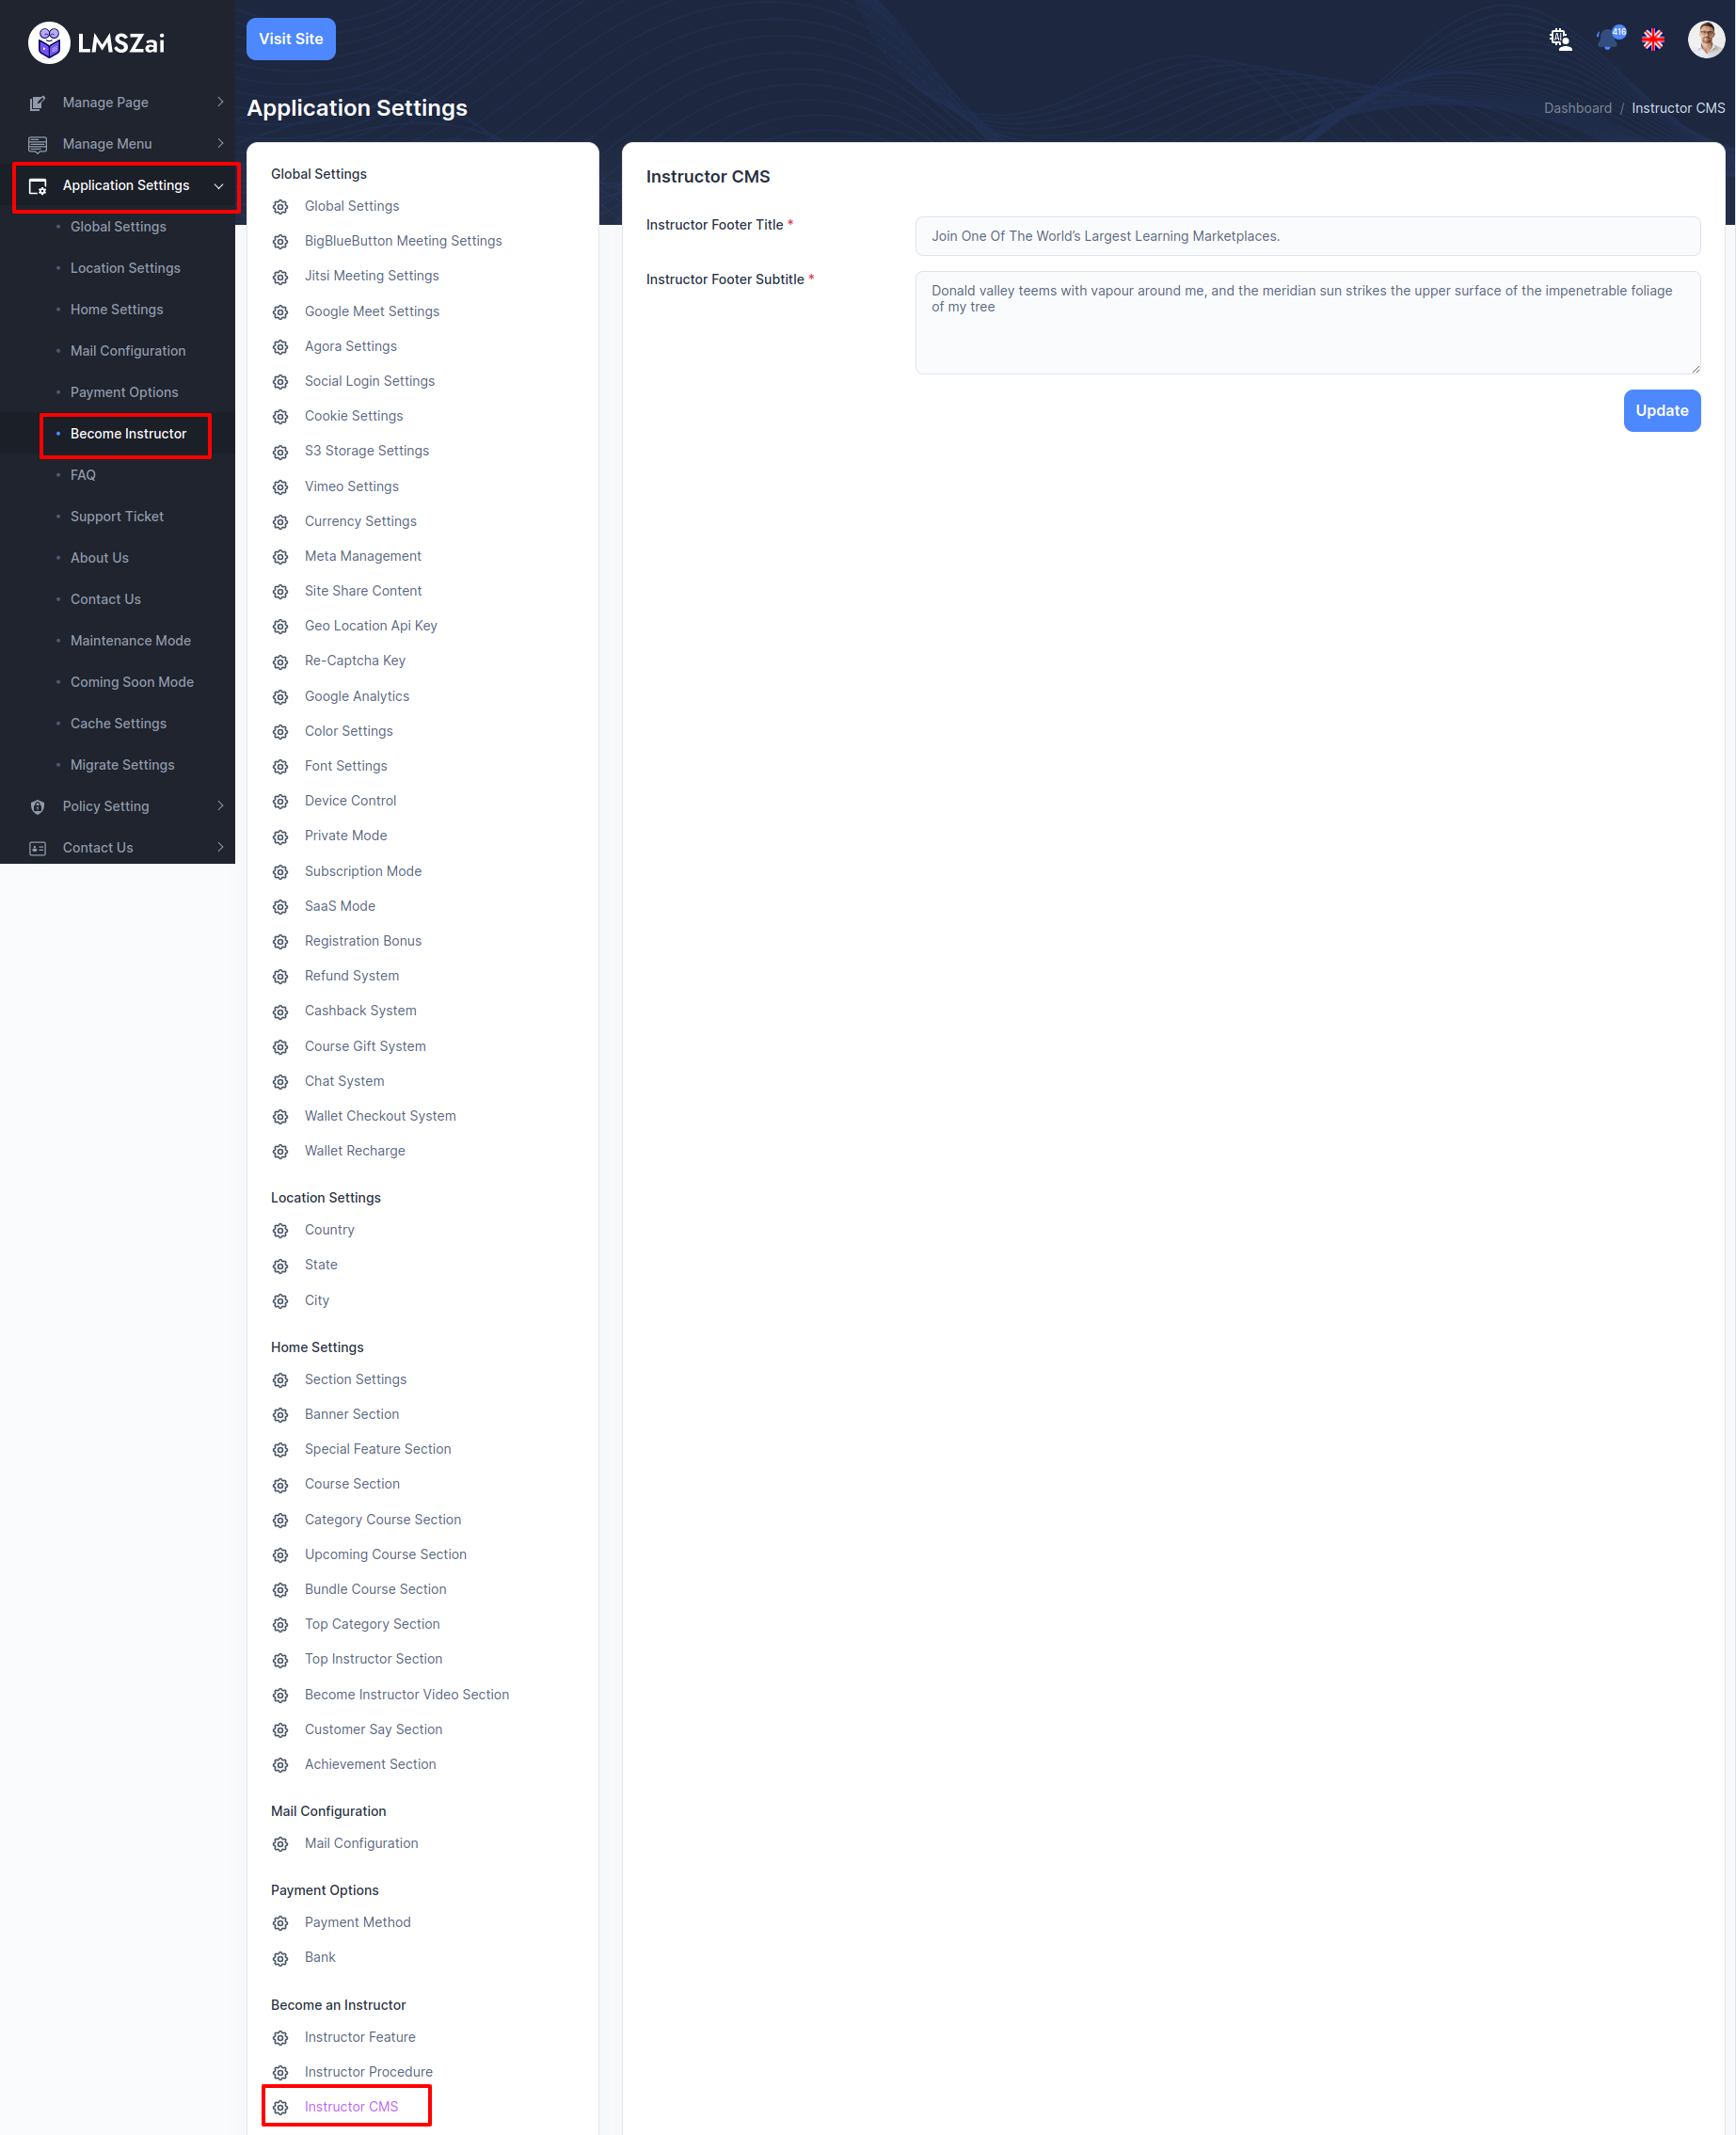
Instructor CMS
Admin can manage this instructor CMS
FAQ
-
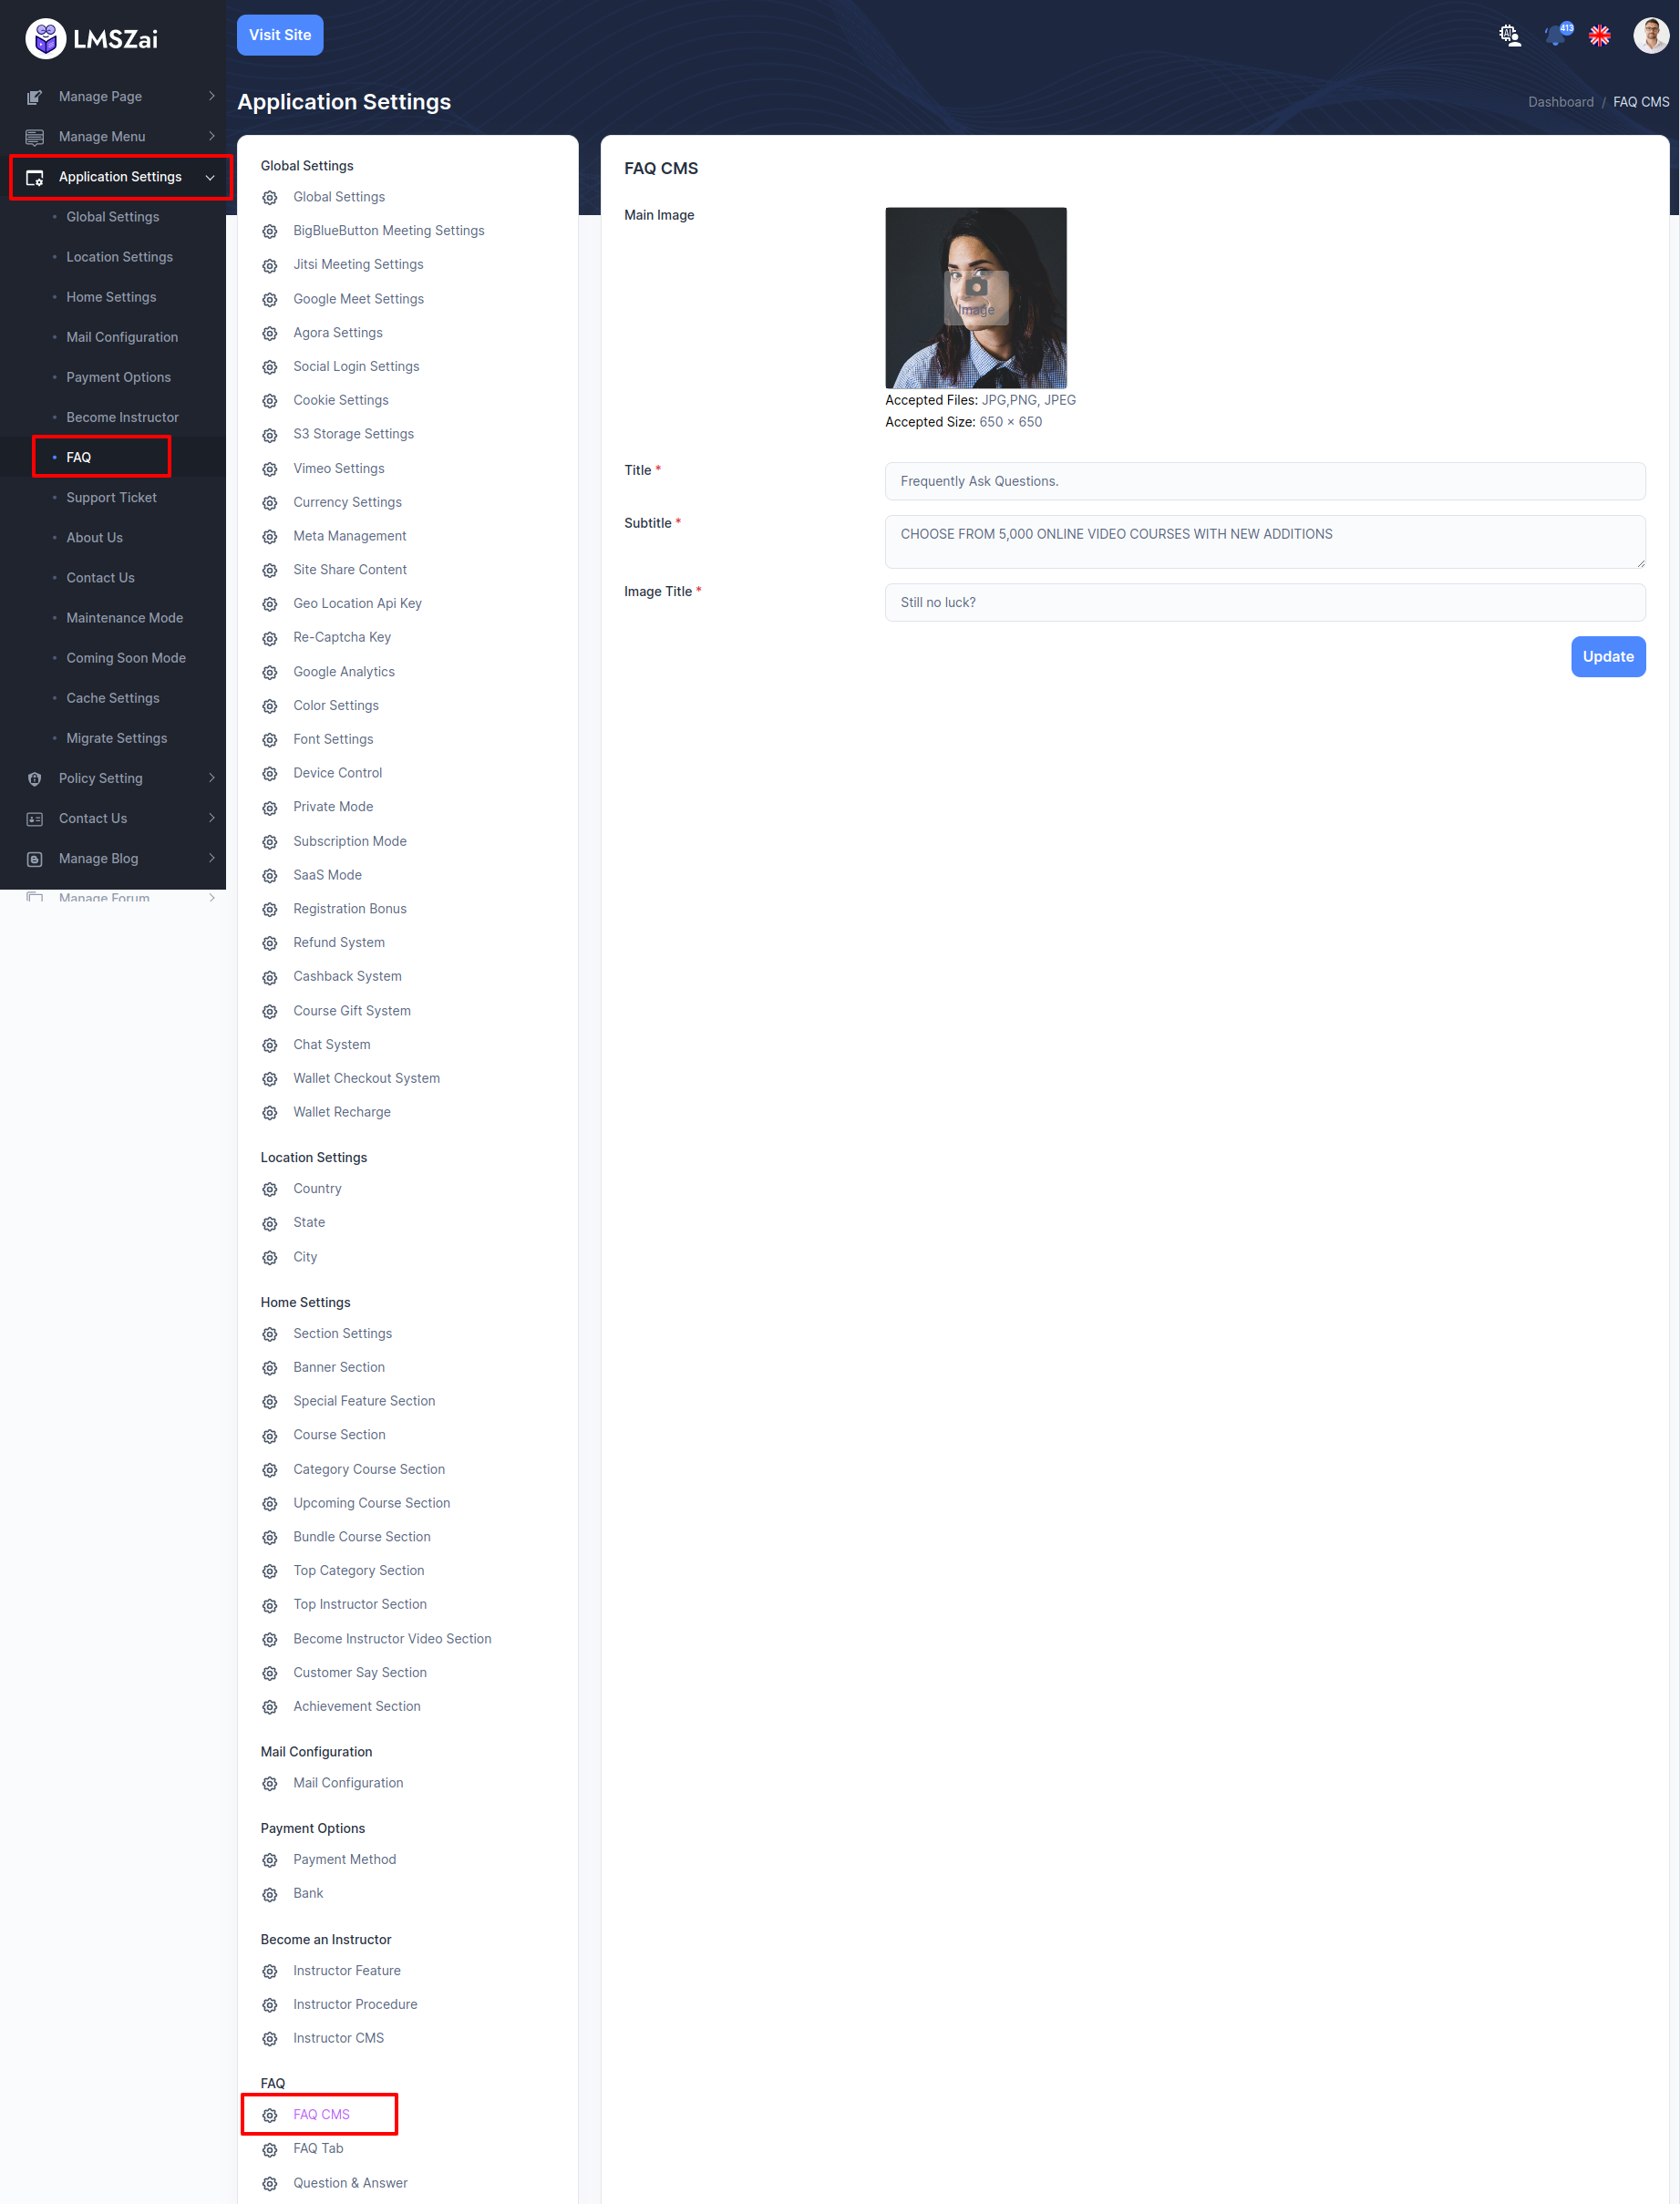
FAQ CMS
Admin can manage this FAQ CMS
-
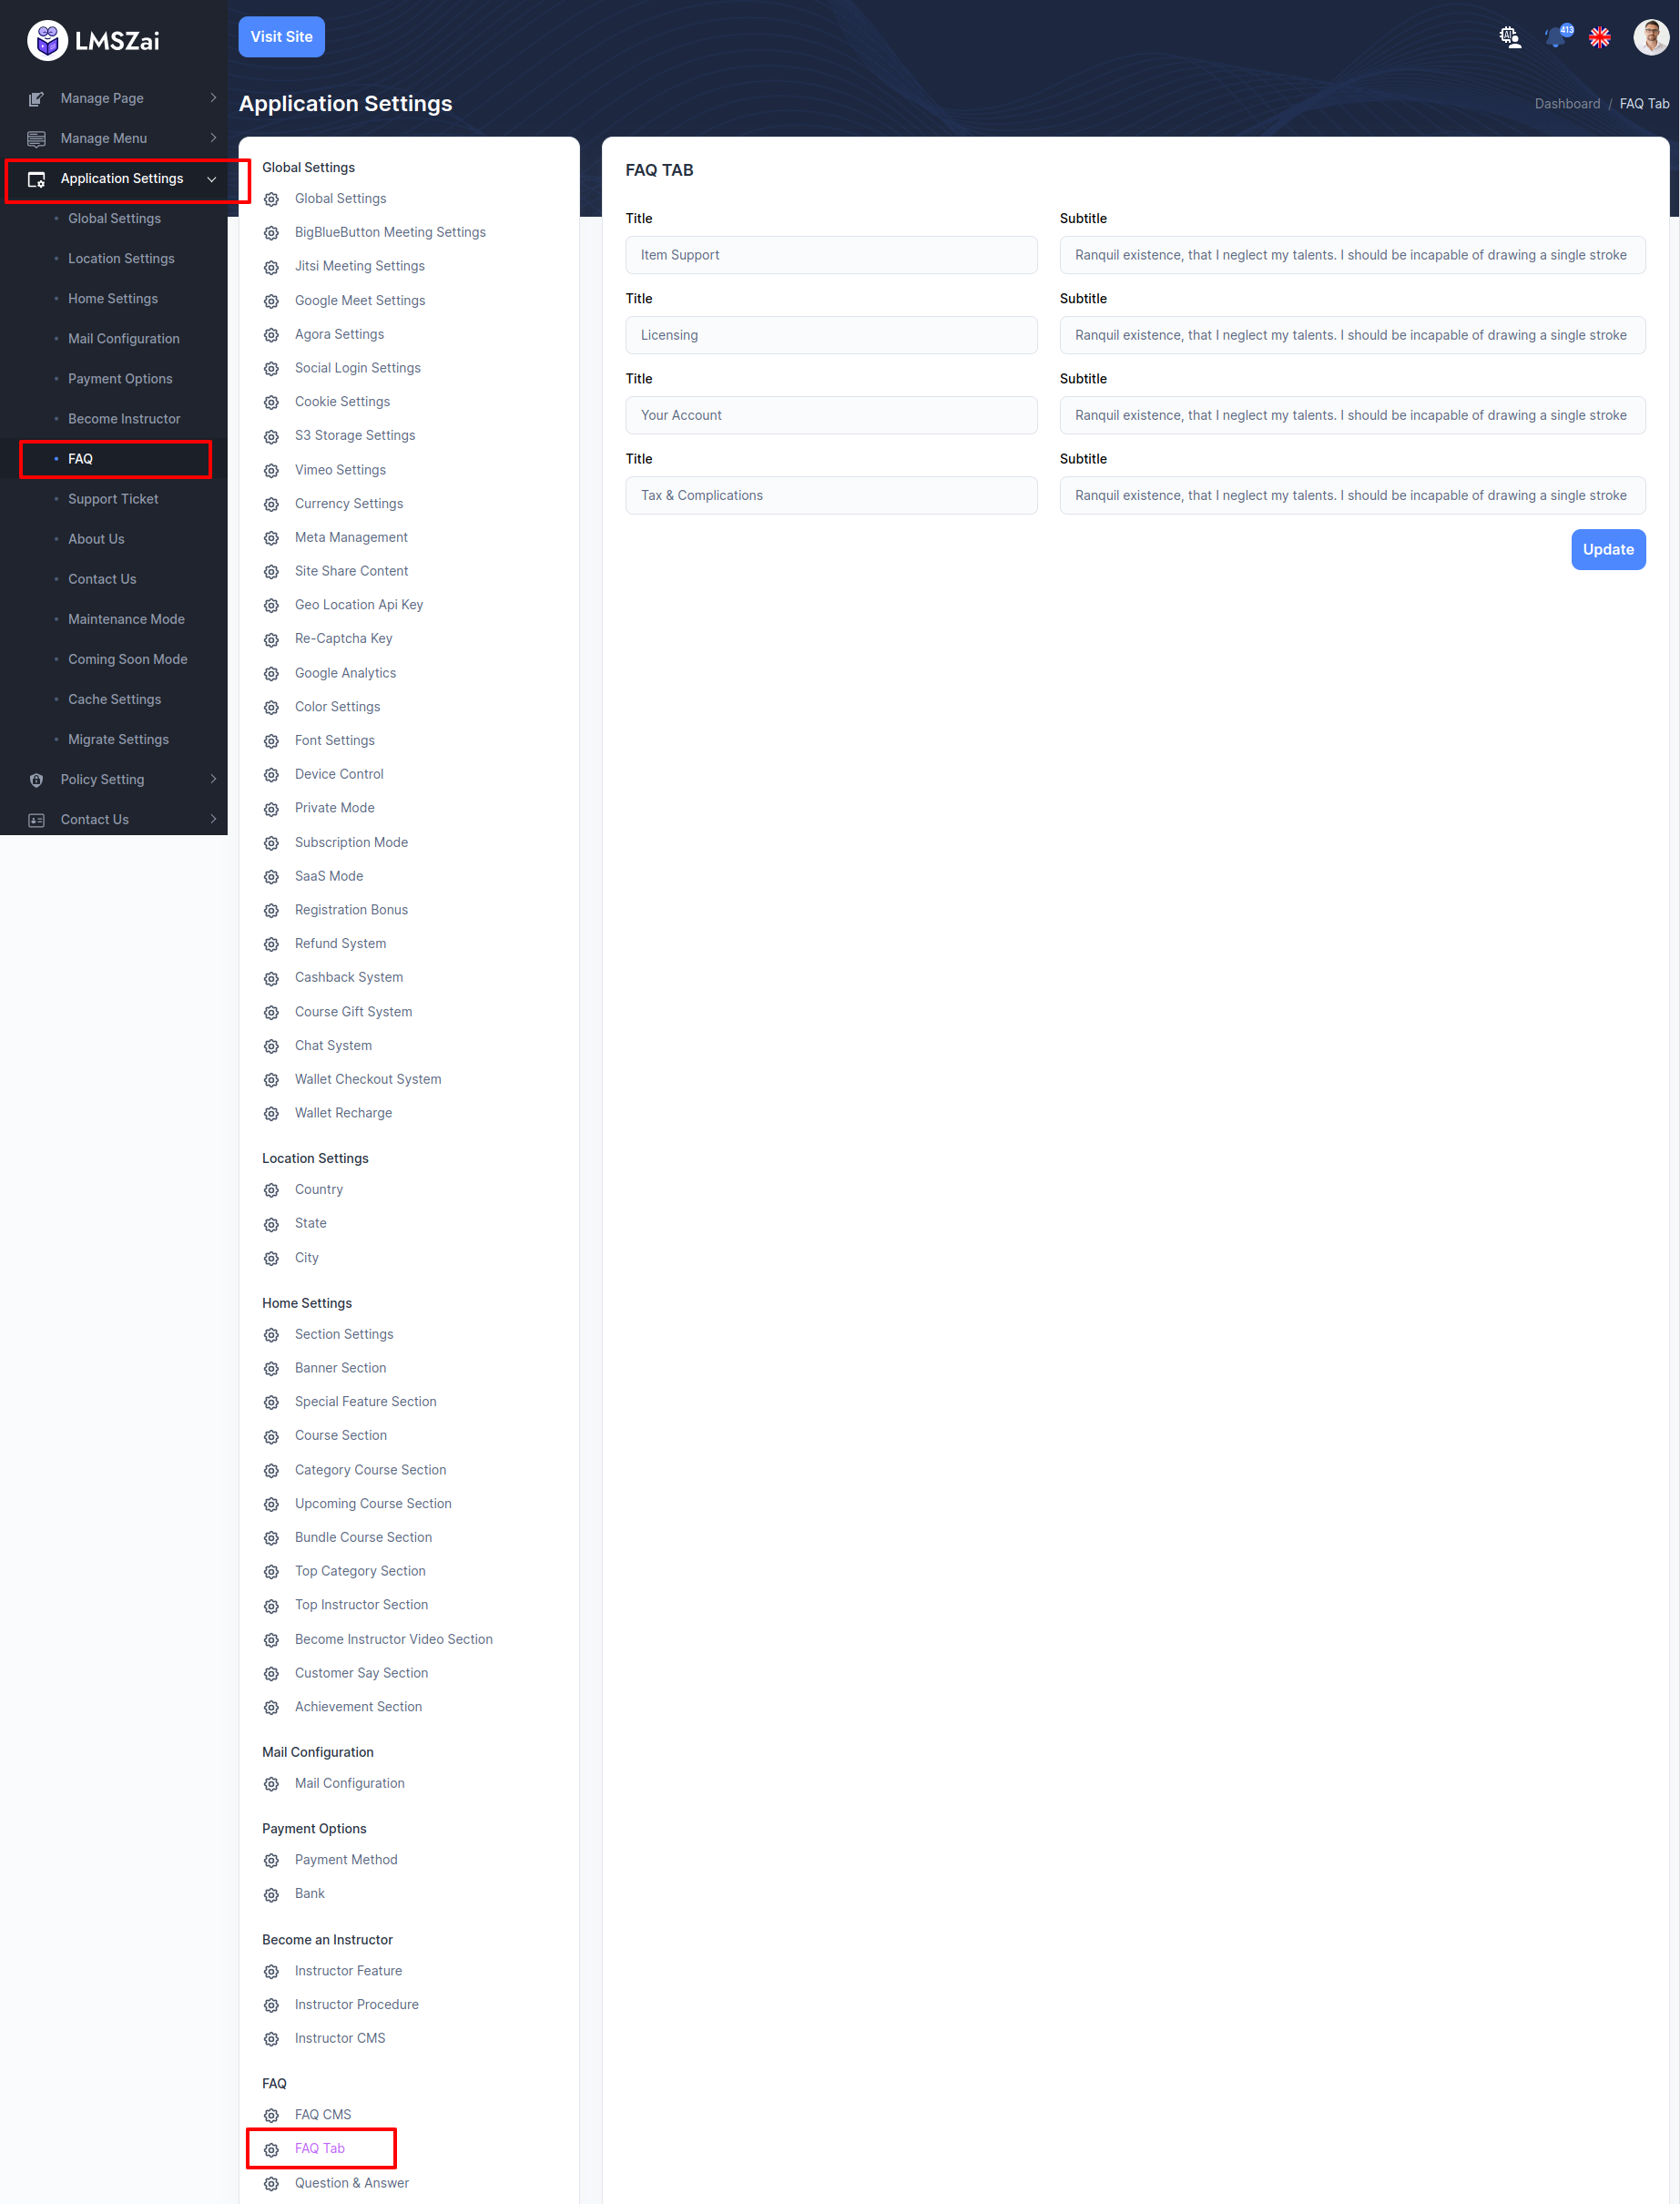
FAQ Tab
Admin can manage this FAQ tab
-
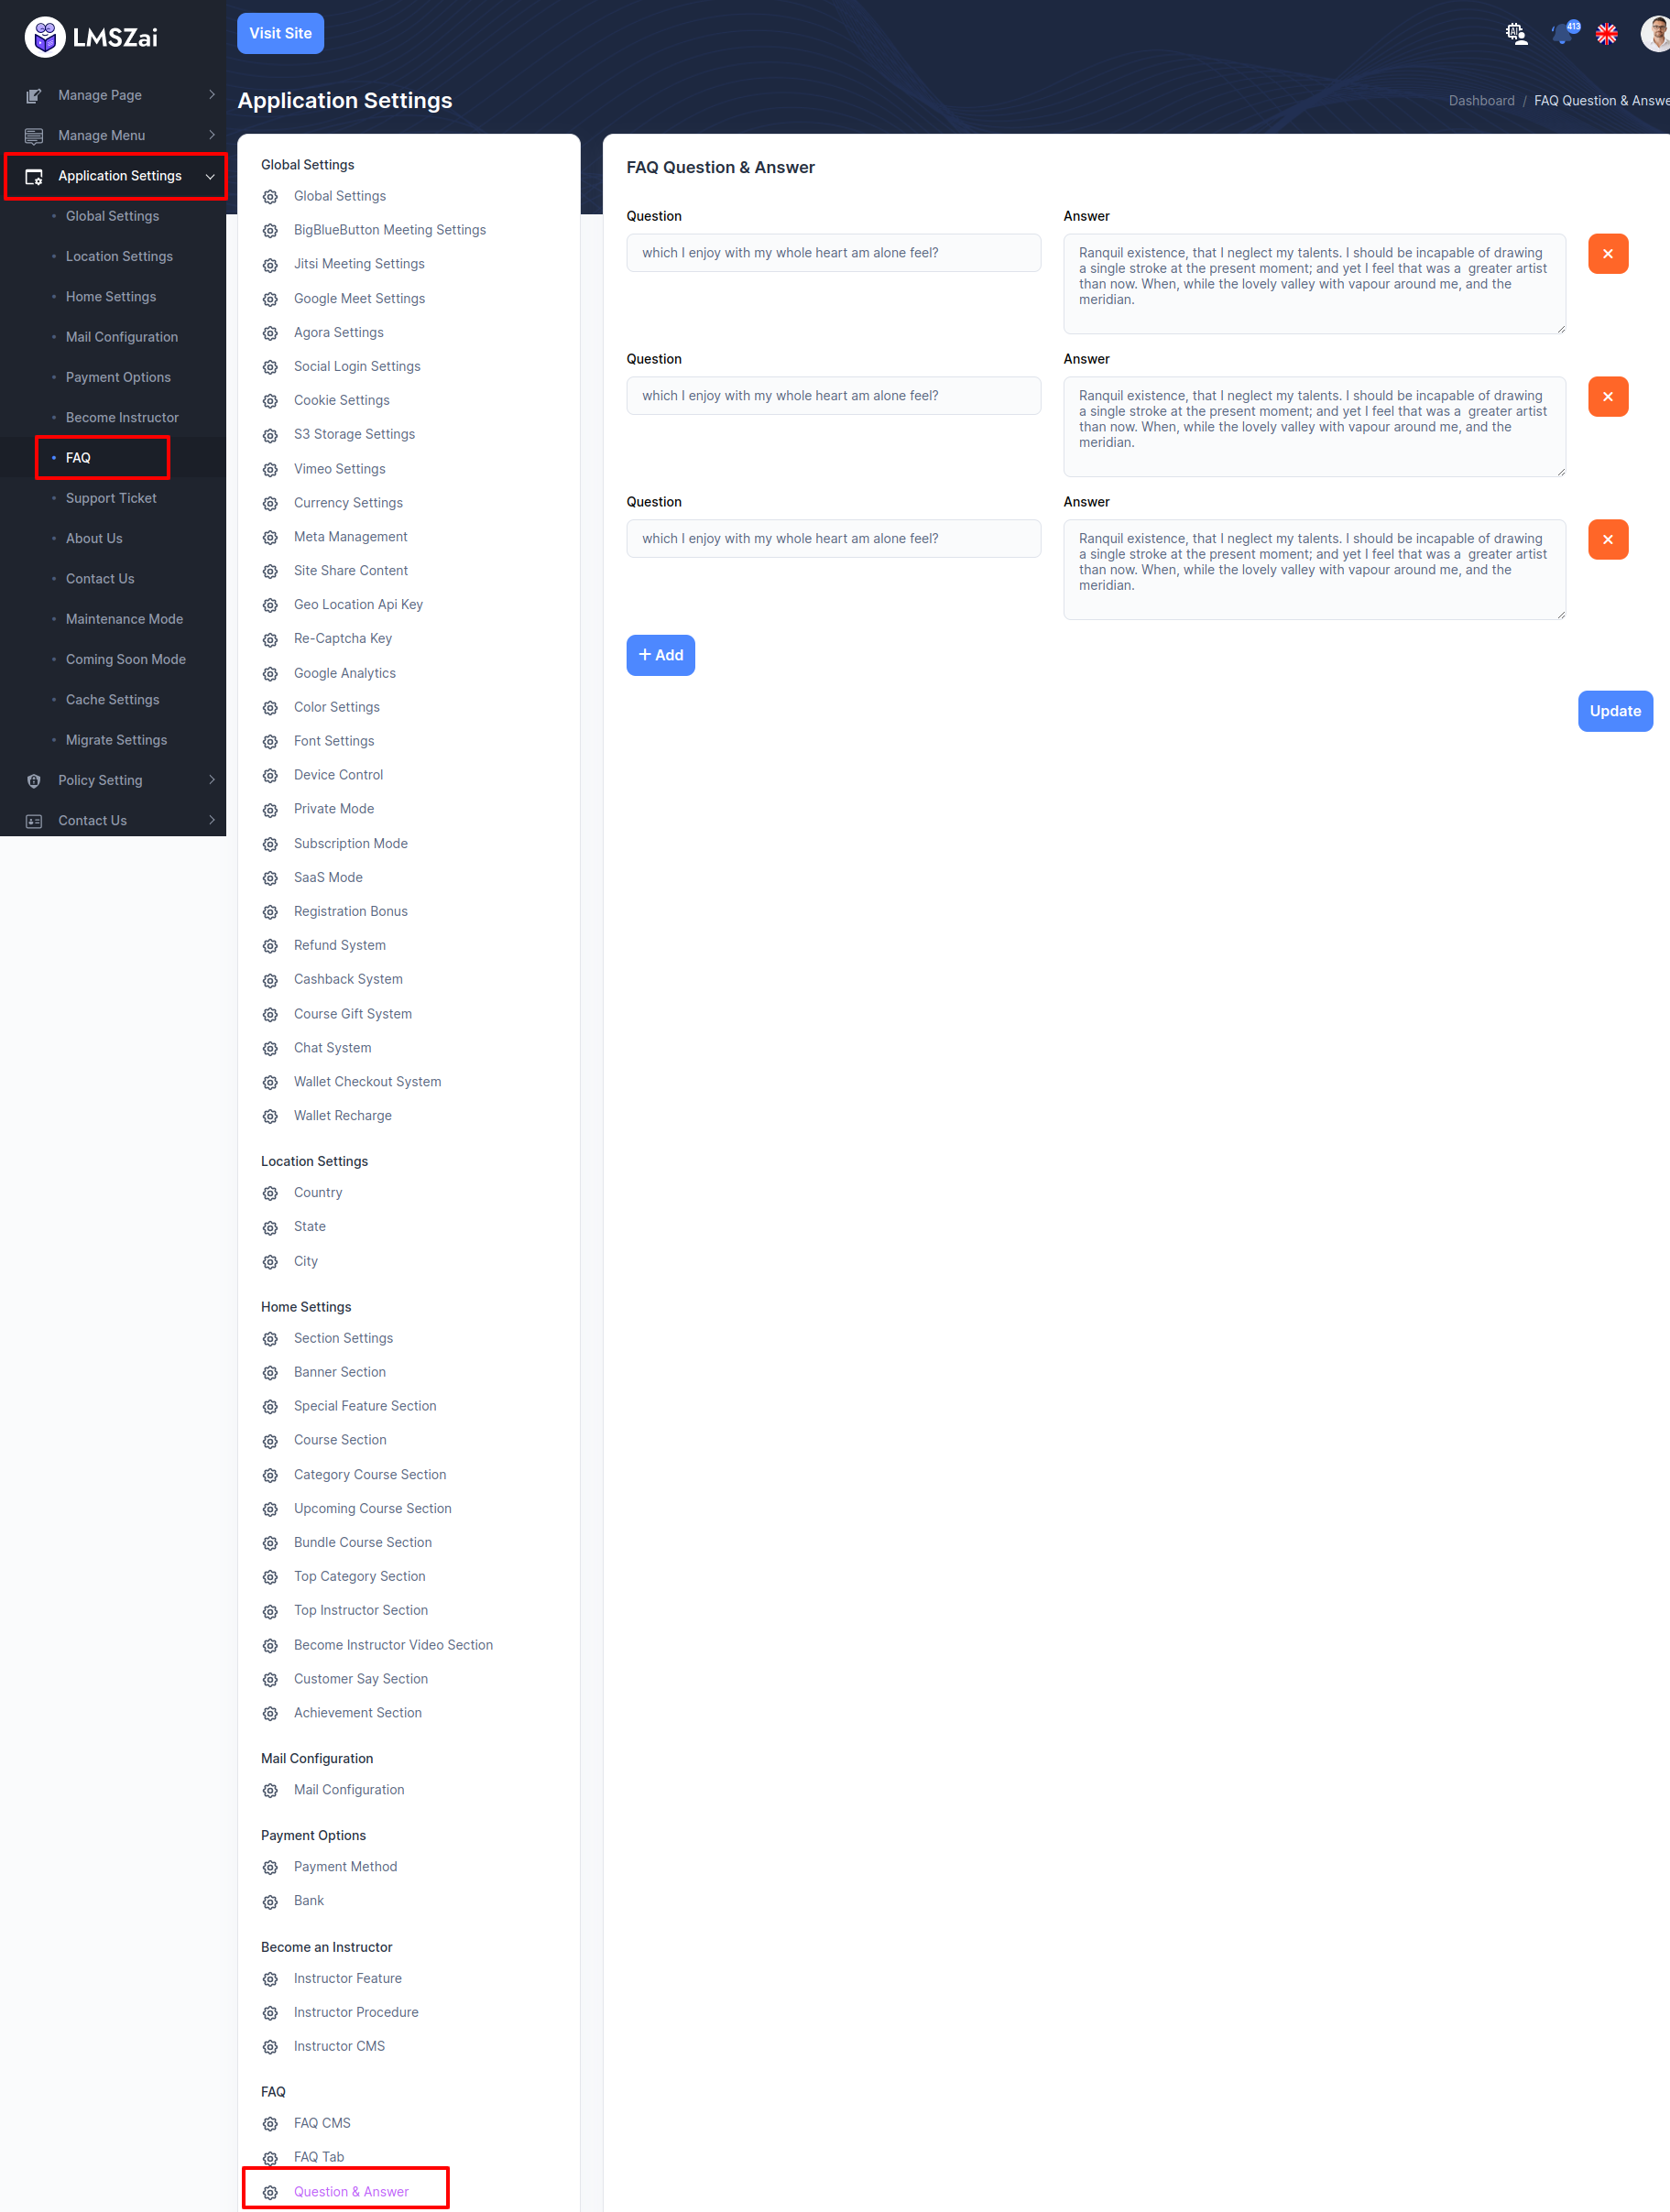
Question & Answer
Admin can manage this question and answer
Support Ticket
-
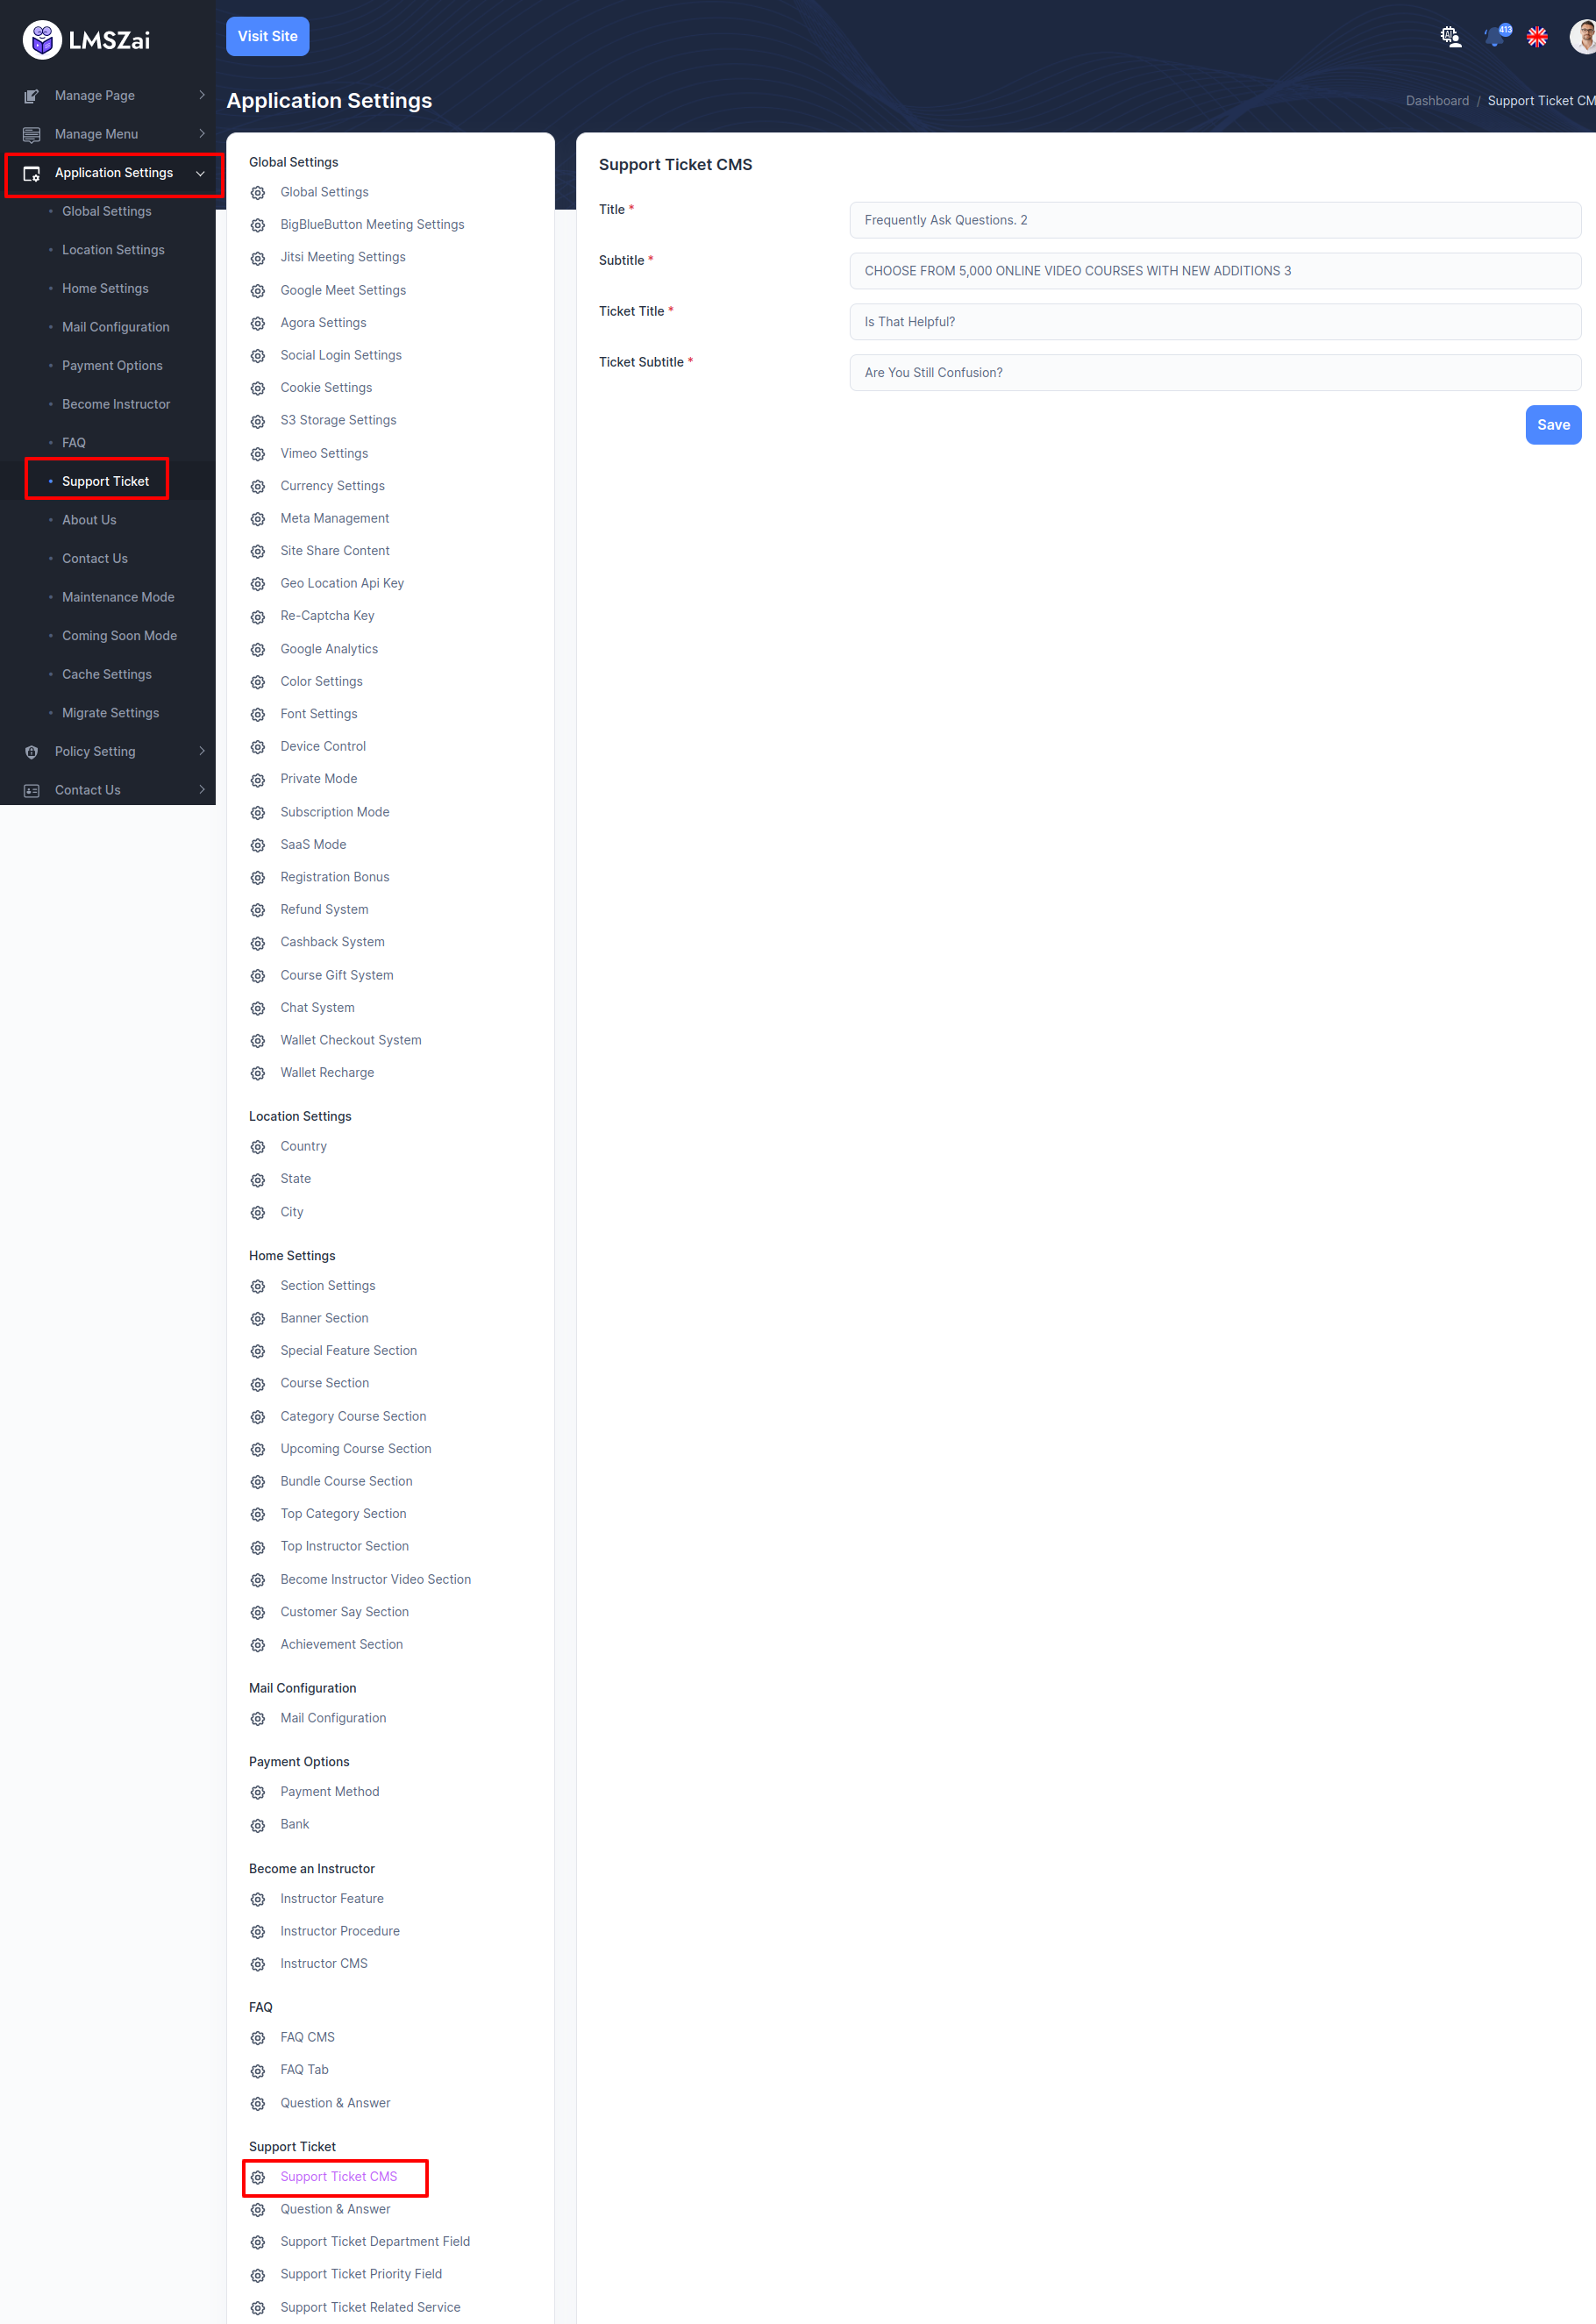
Support Ticket CMS
Admin can manage this support ticket cms
-
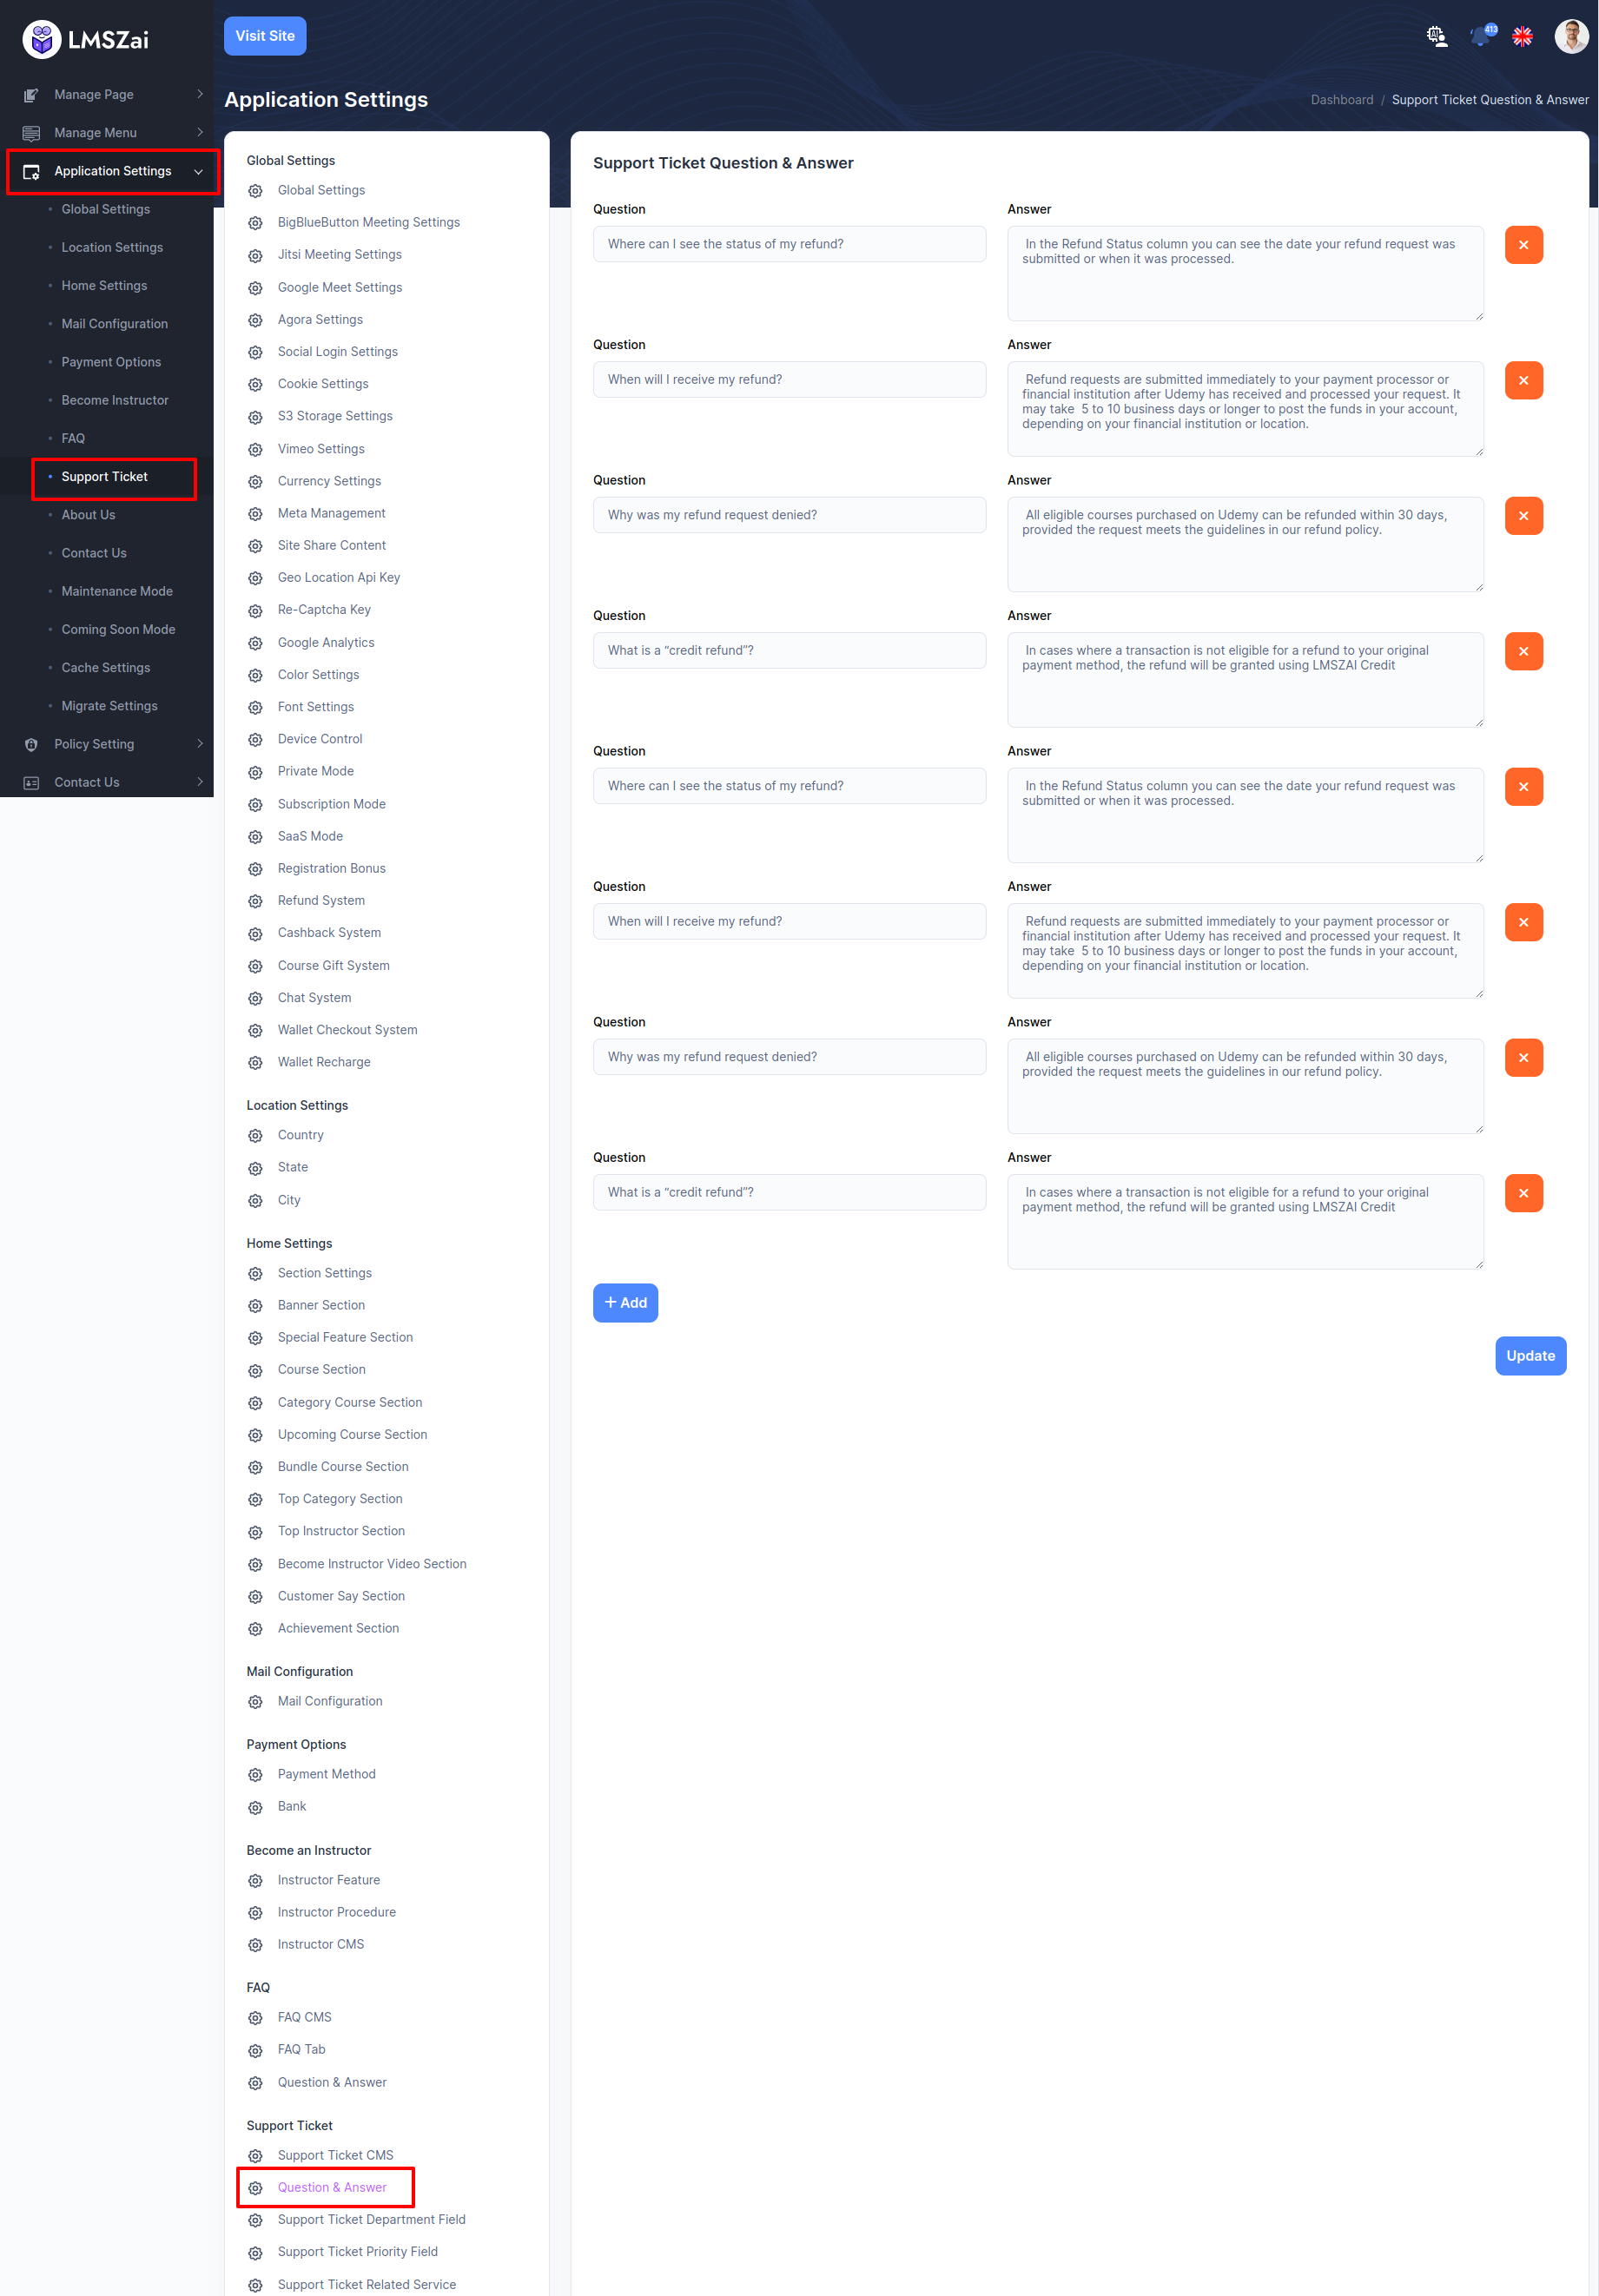
Question & Answer
Admin can manage this question and answer
-
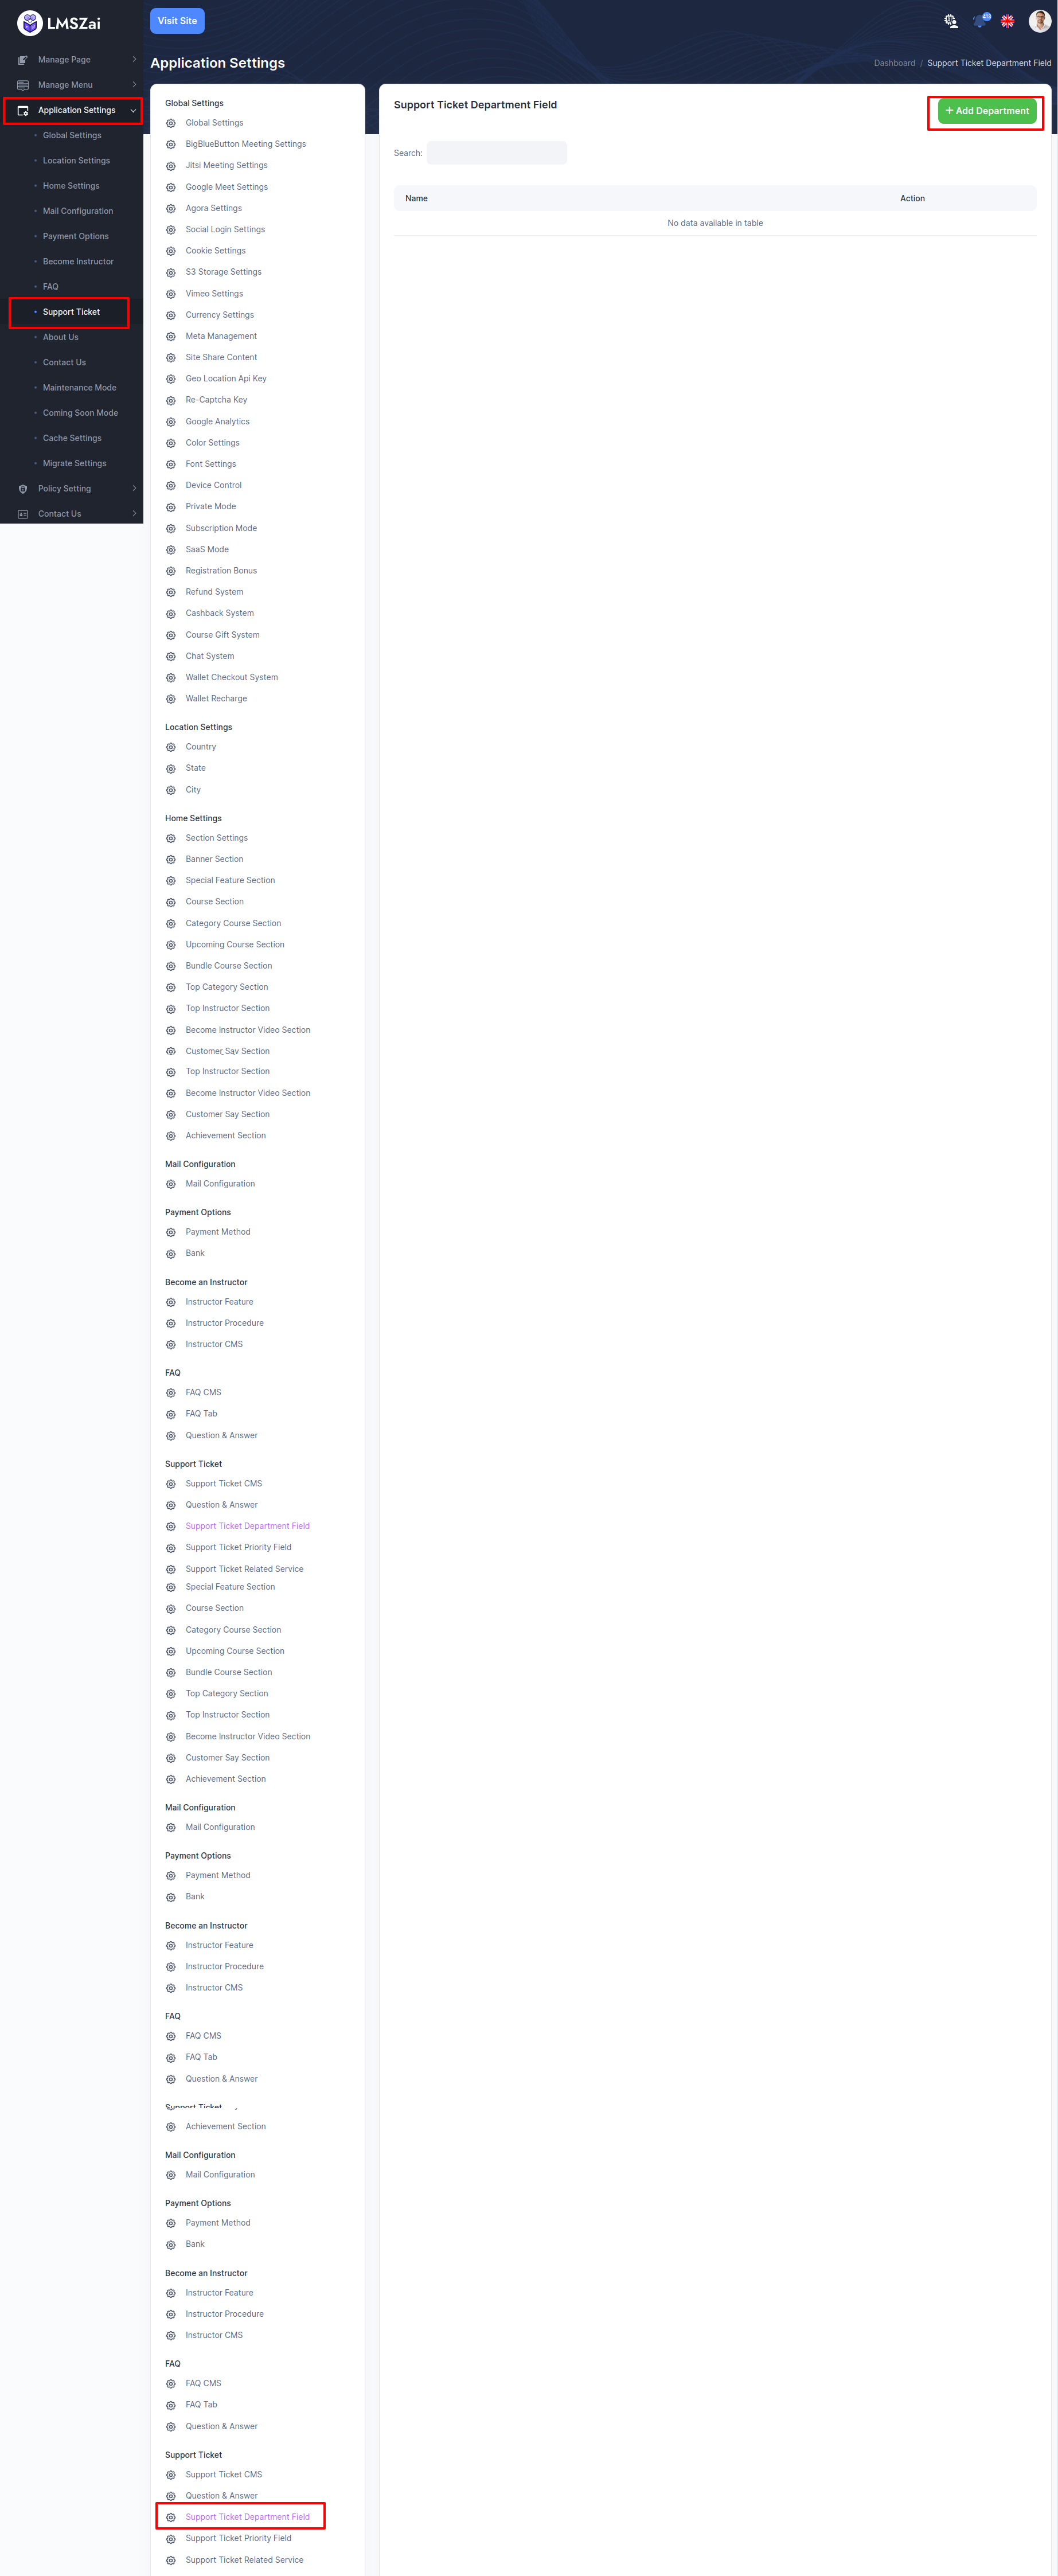
Support Ticket Department Field
Admin can manage this support ticket department field
-
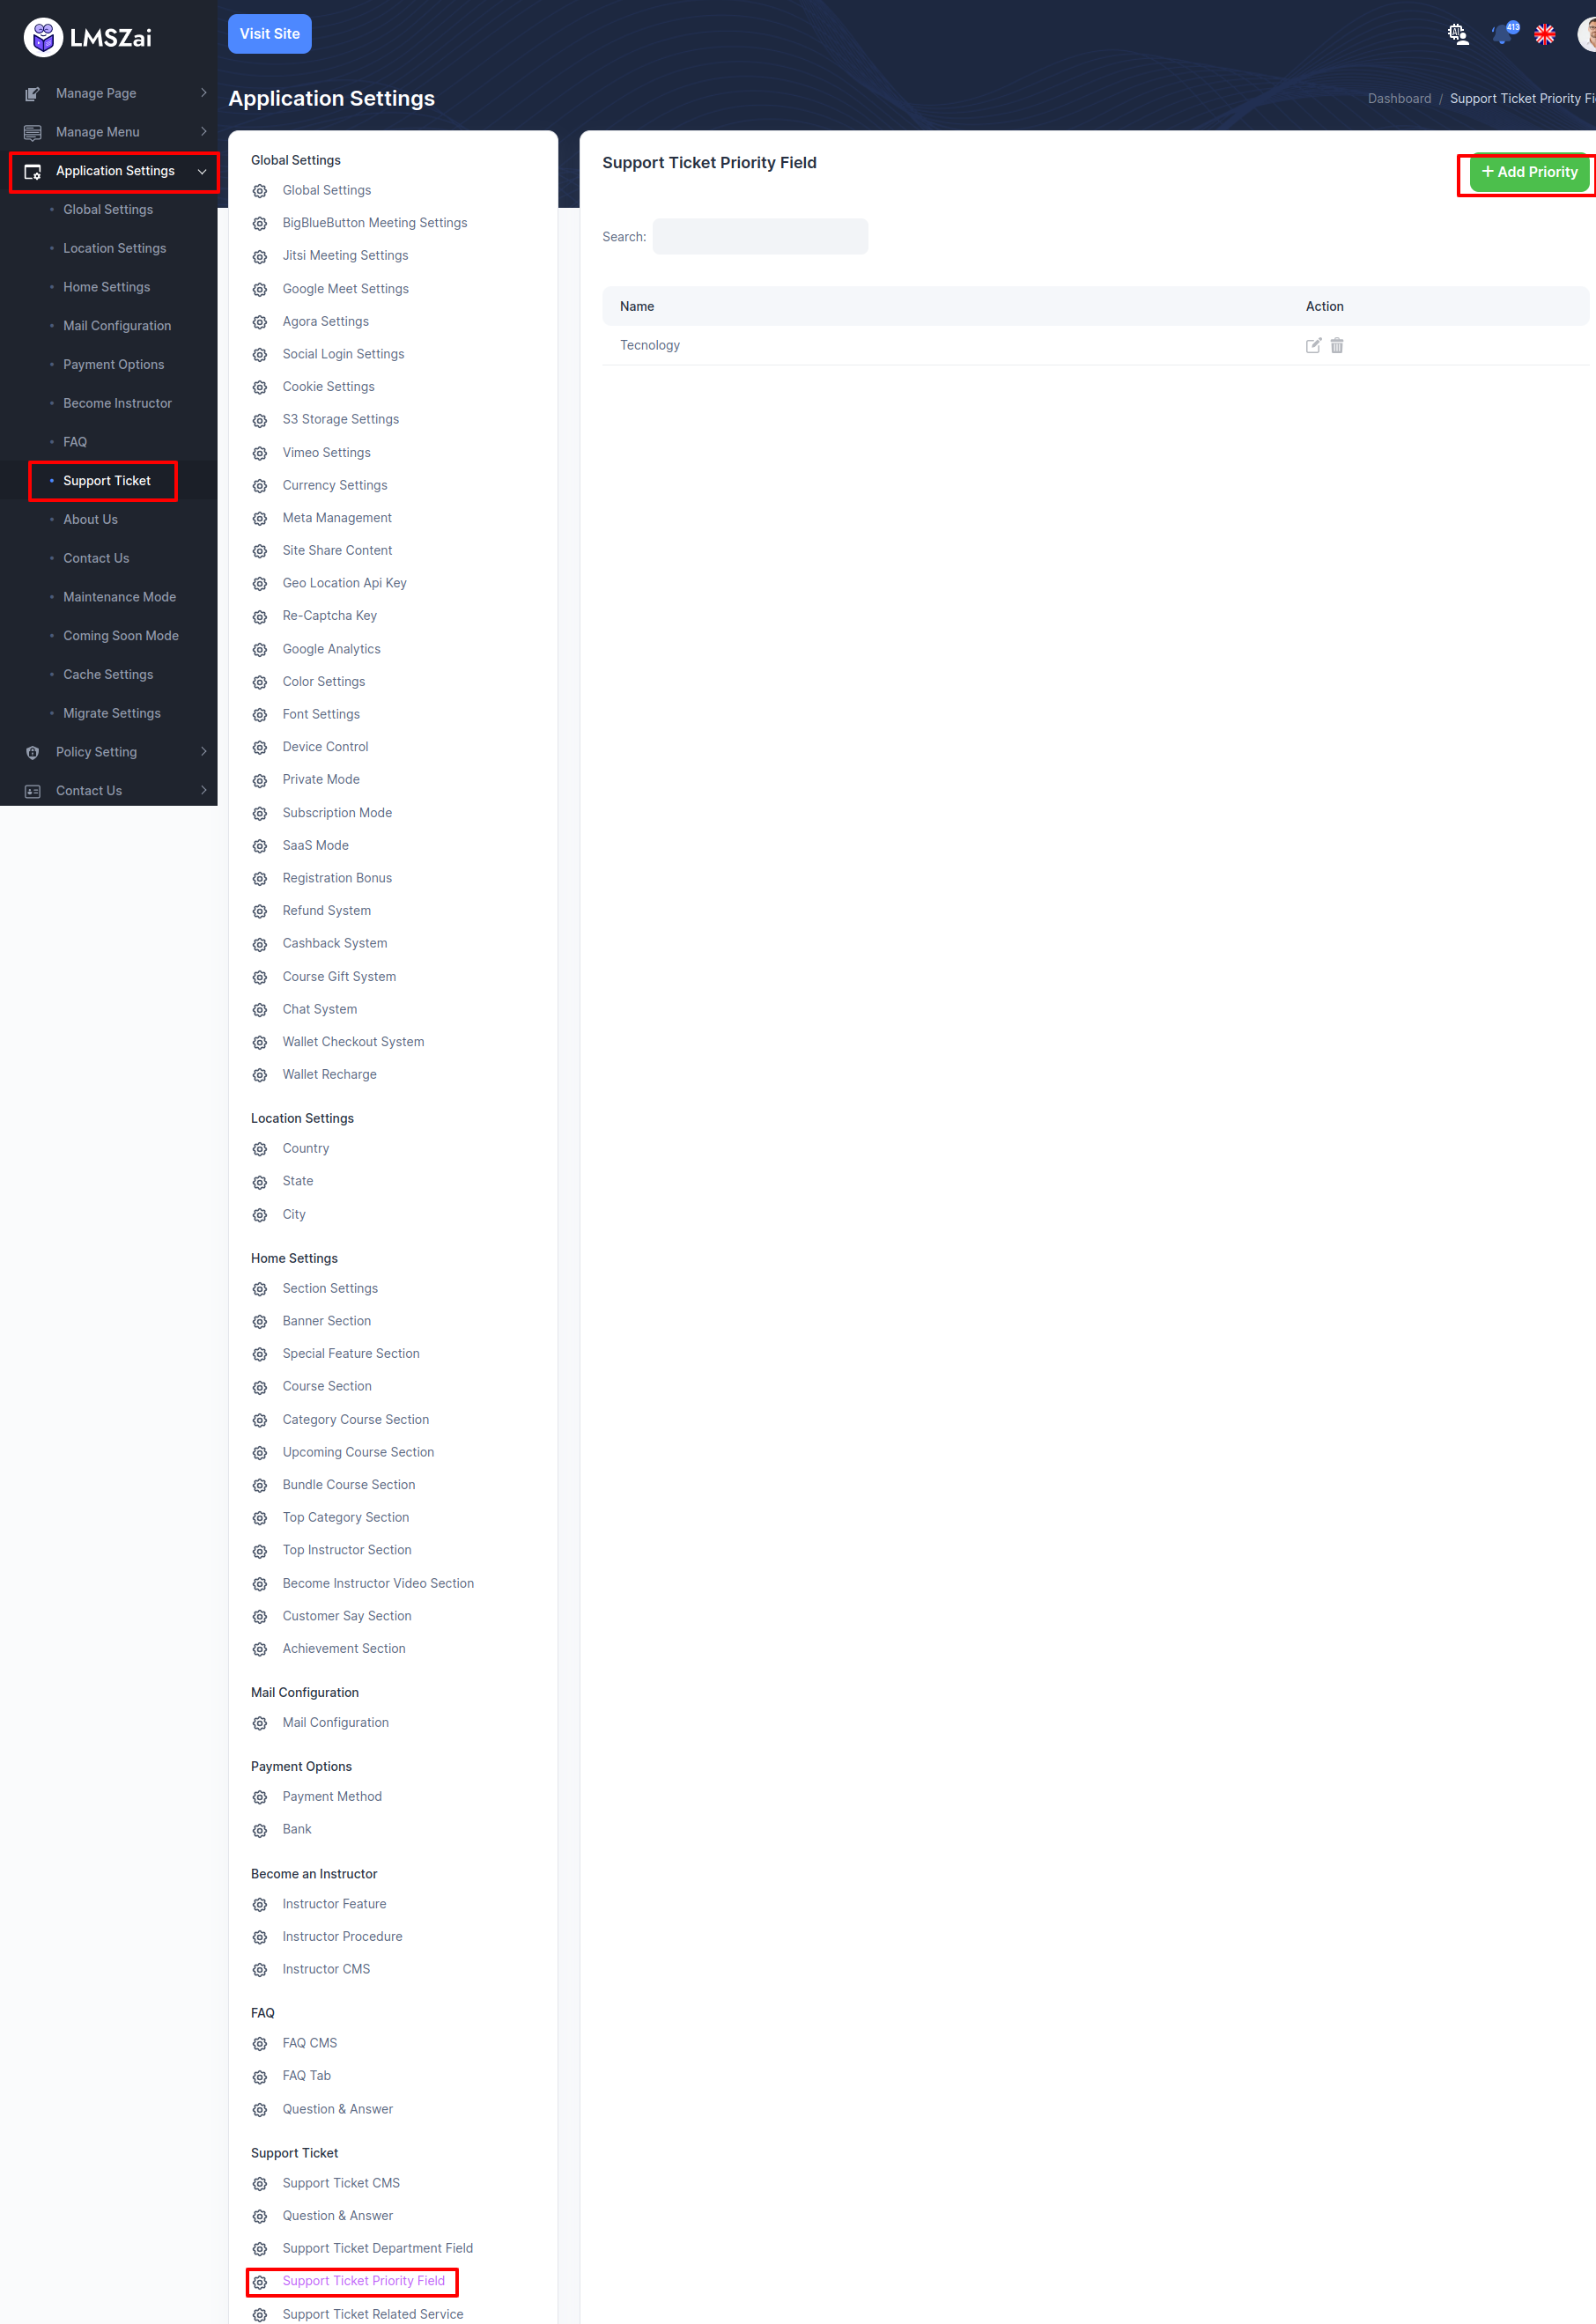
Support Ticket Priority Field
Admin can manage this support ticket priority field
-
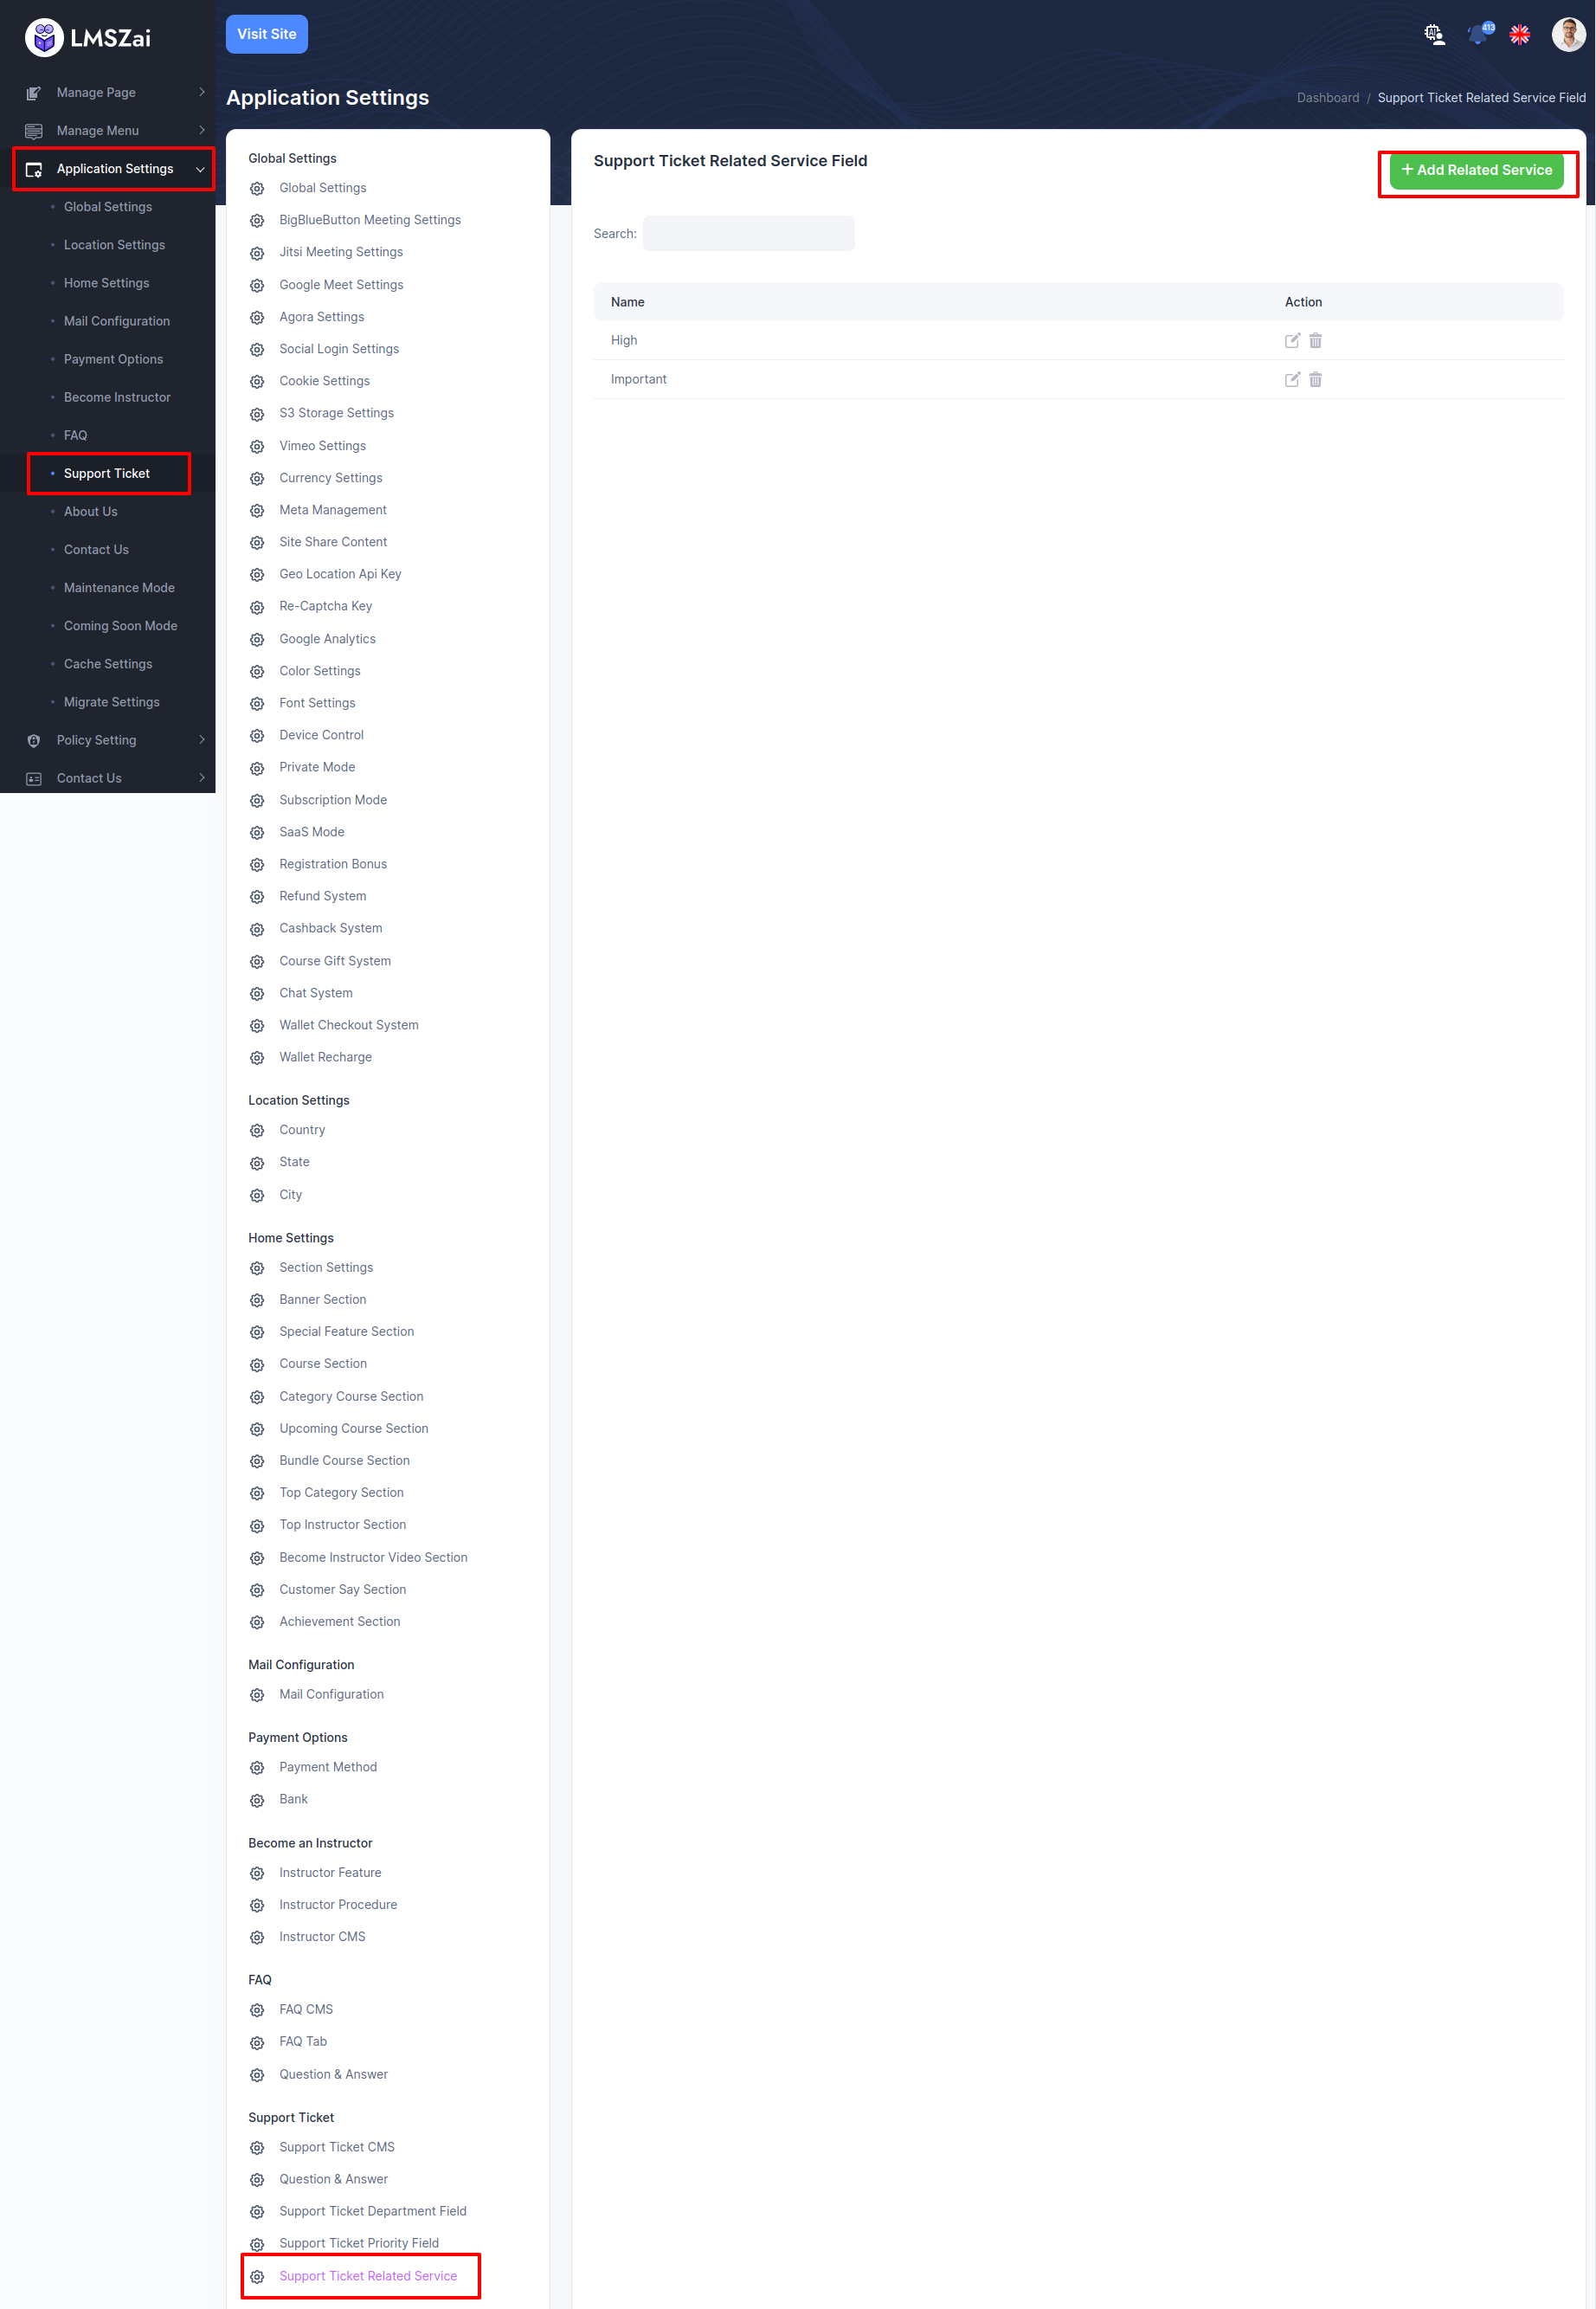
Support Ticket Related Service
Admin can manage this support ticket related service
About Us
-
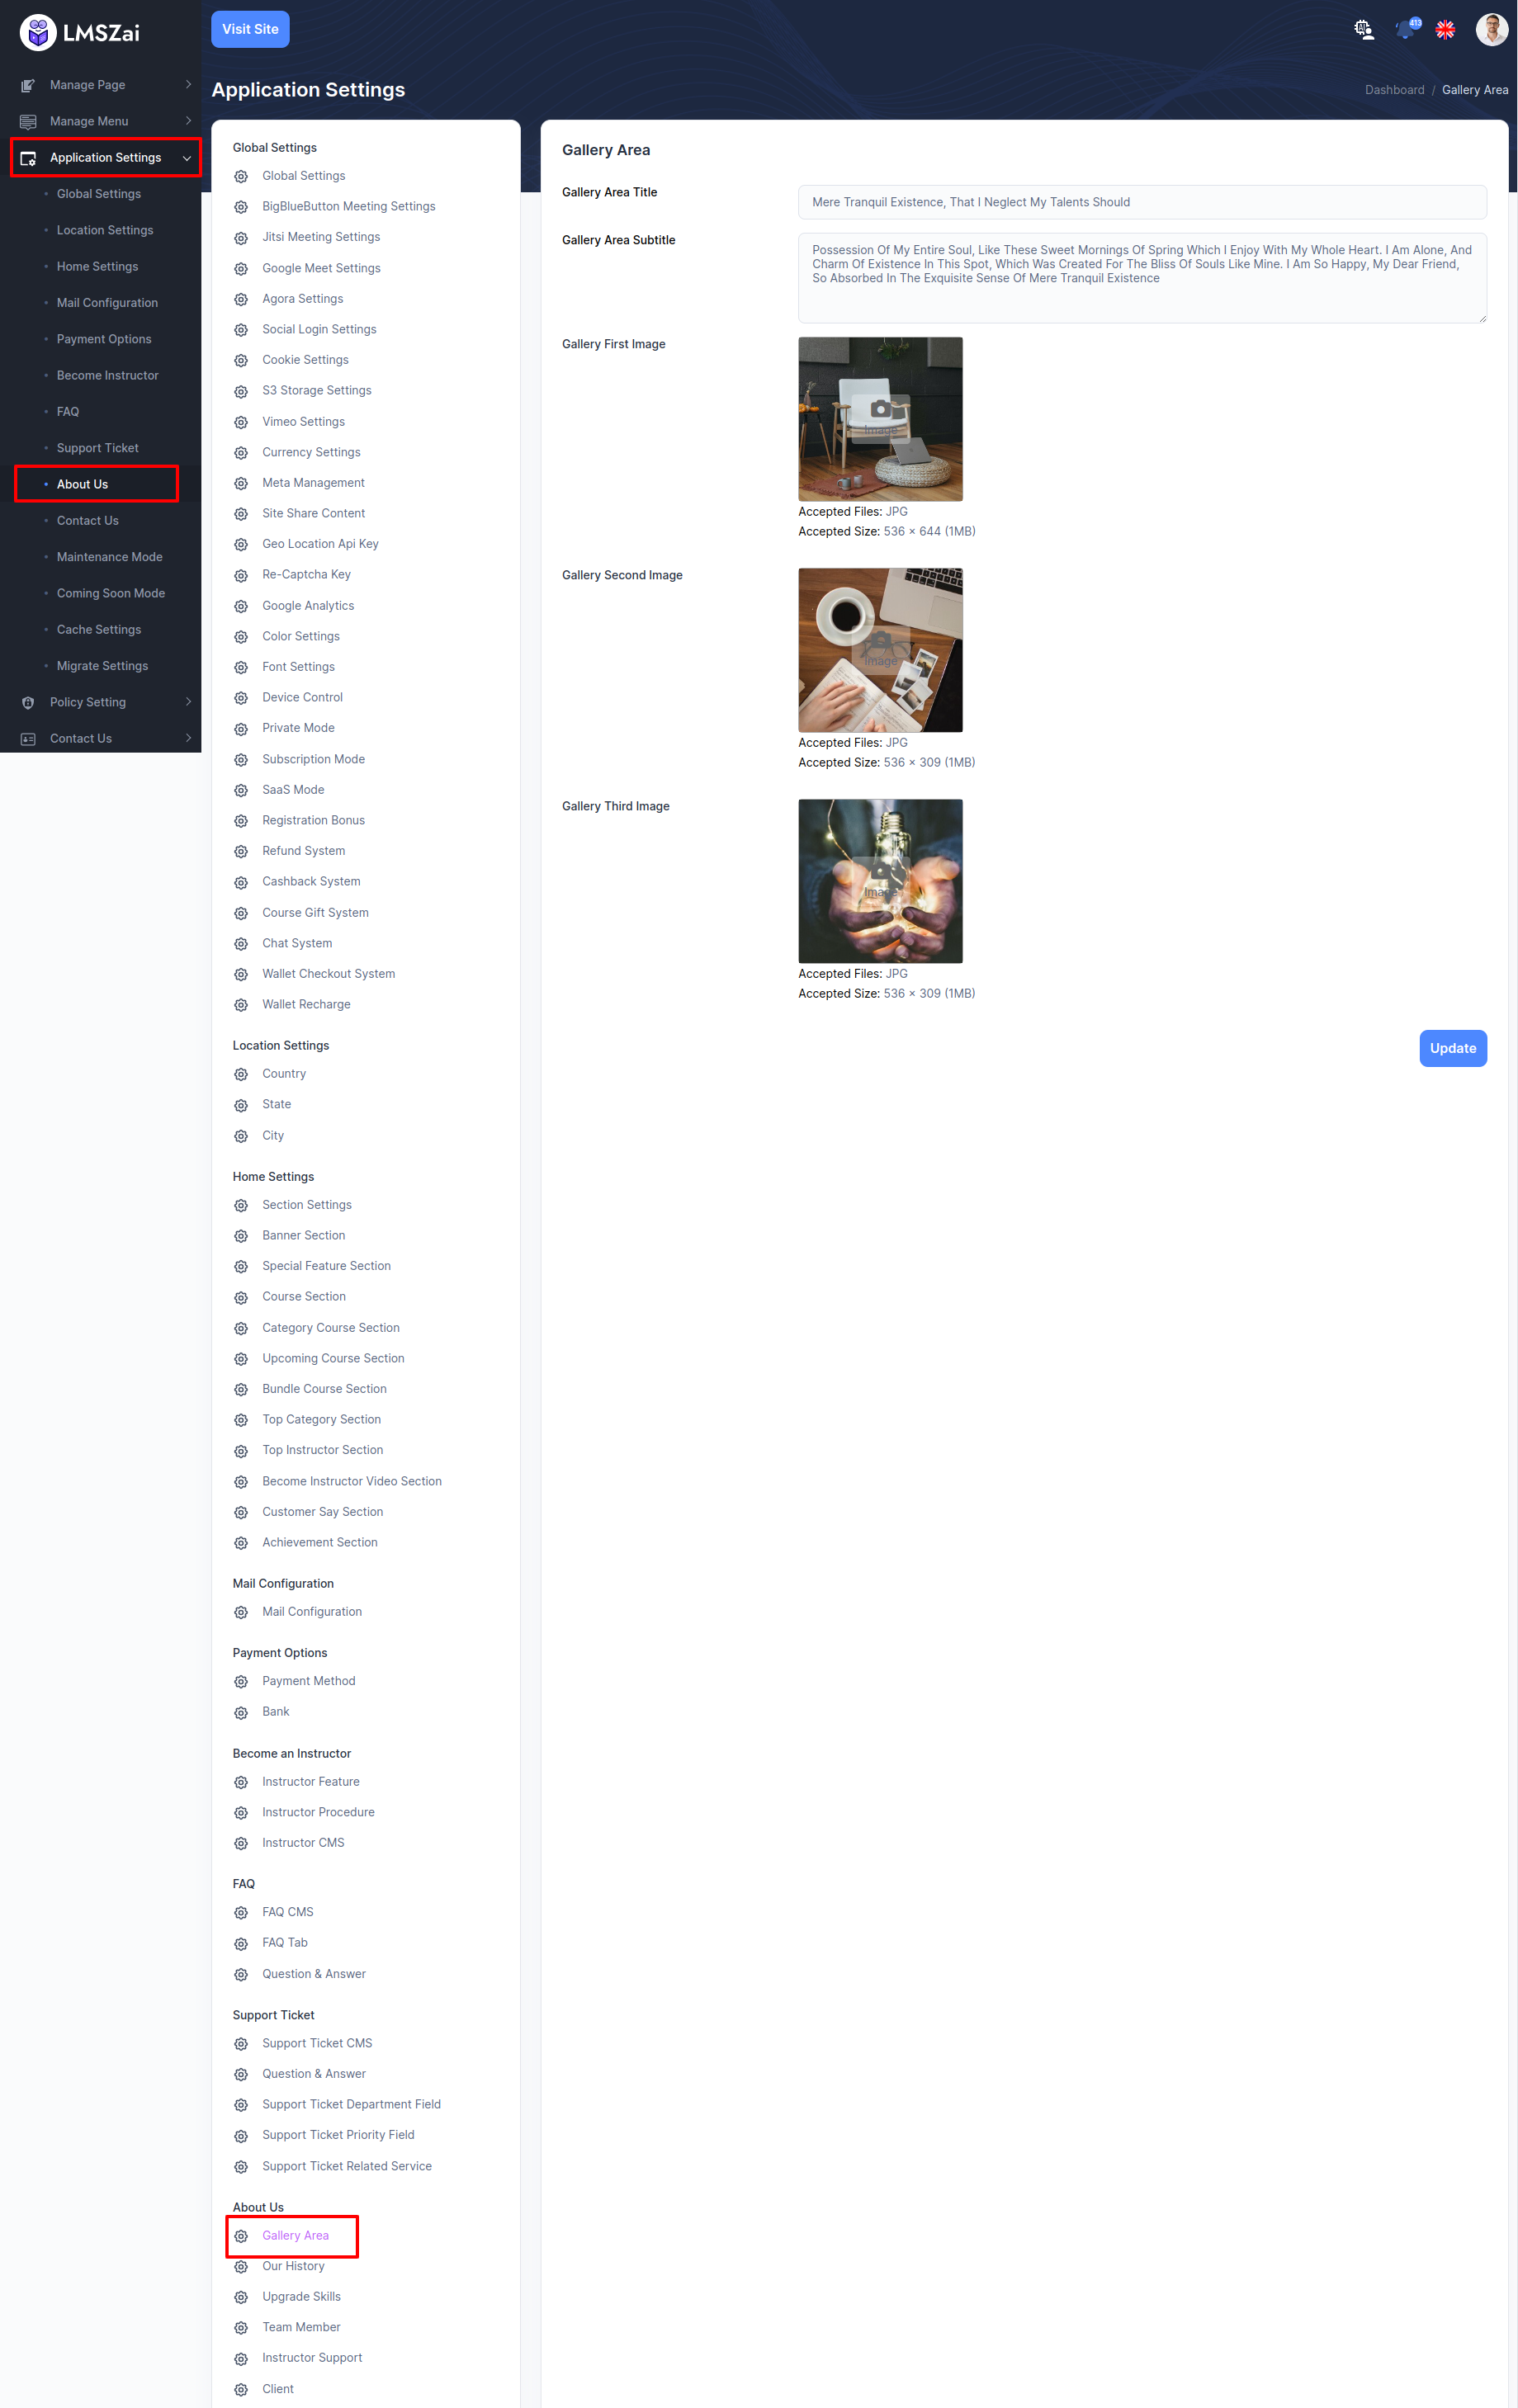
Gallery Area
Admin can manage this gallery area
-
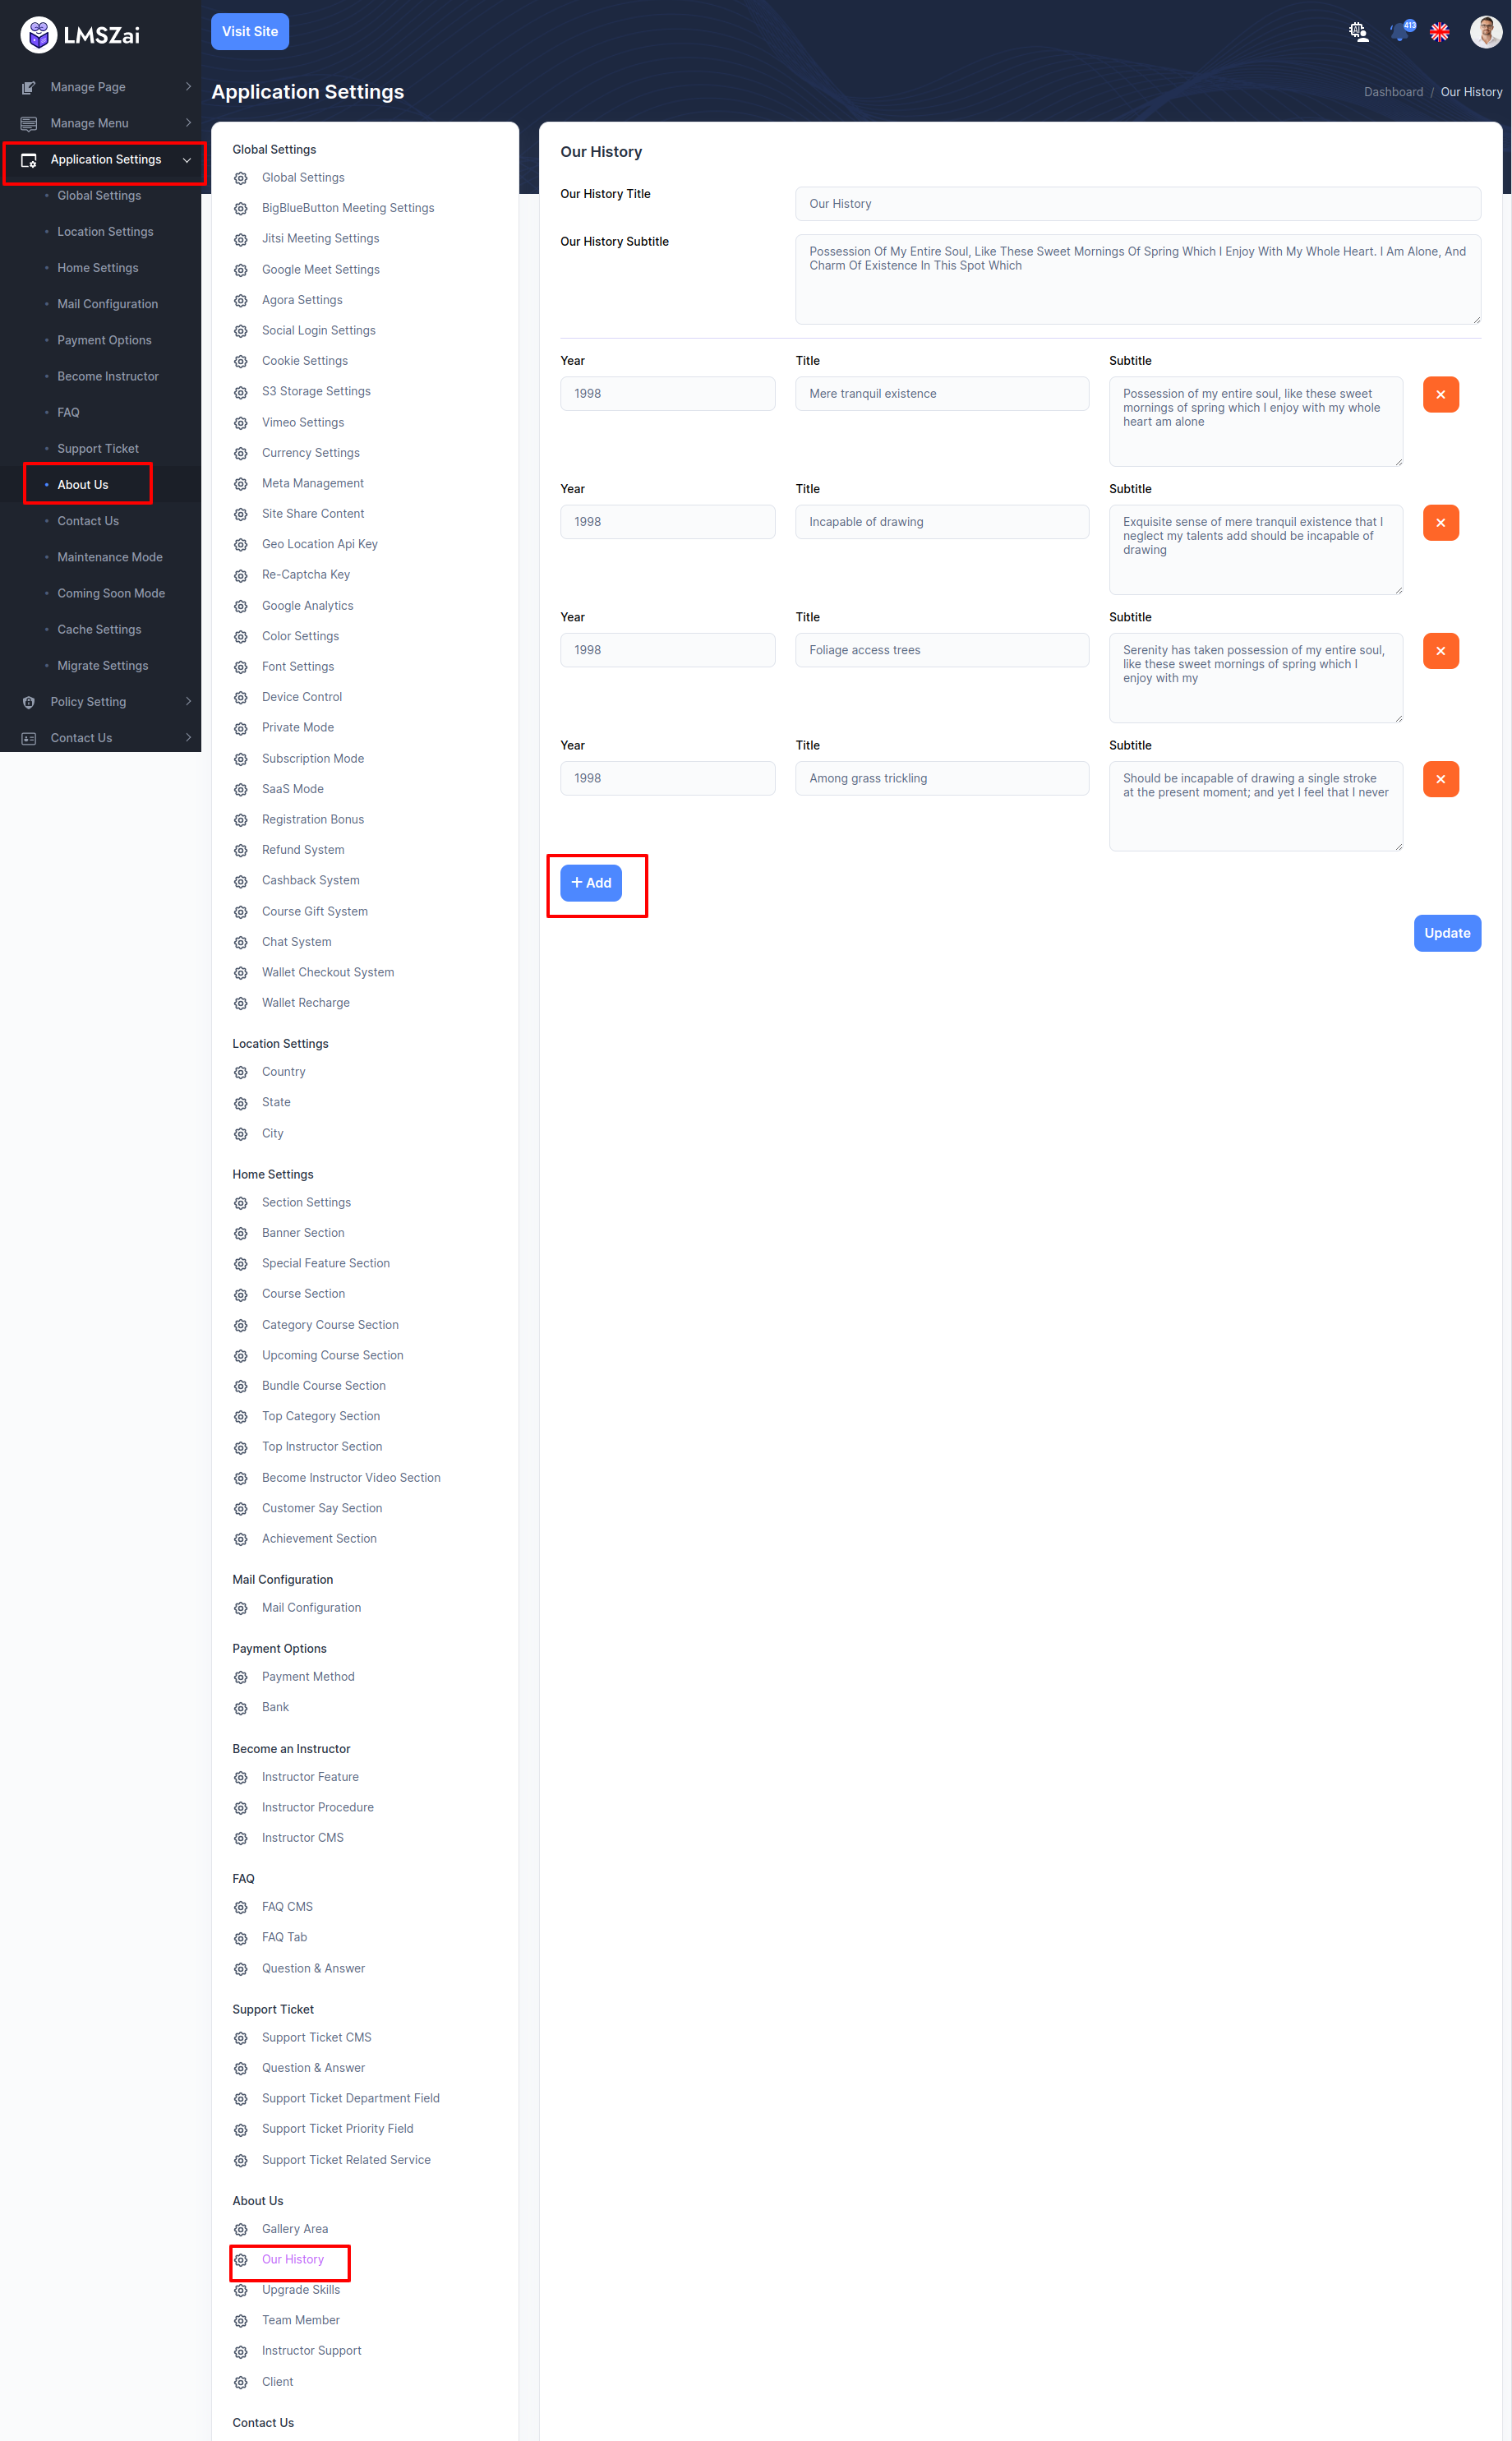
Our History
Admin can manage this our history function
-
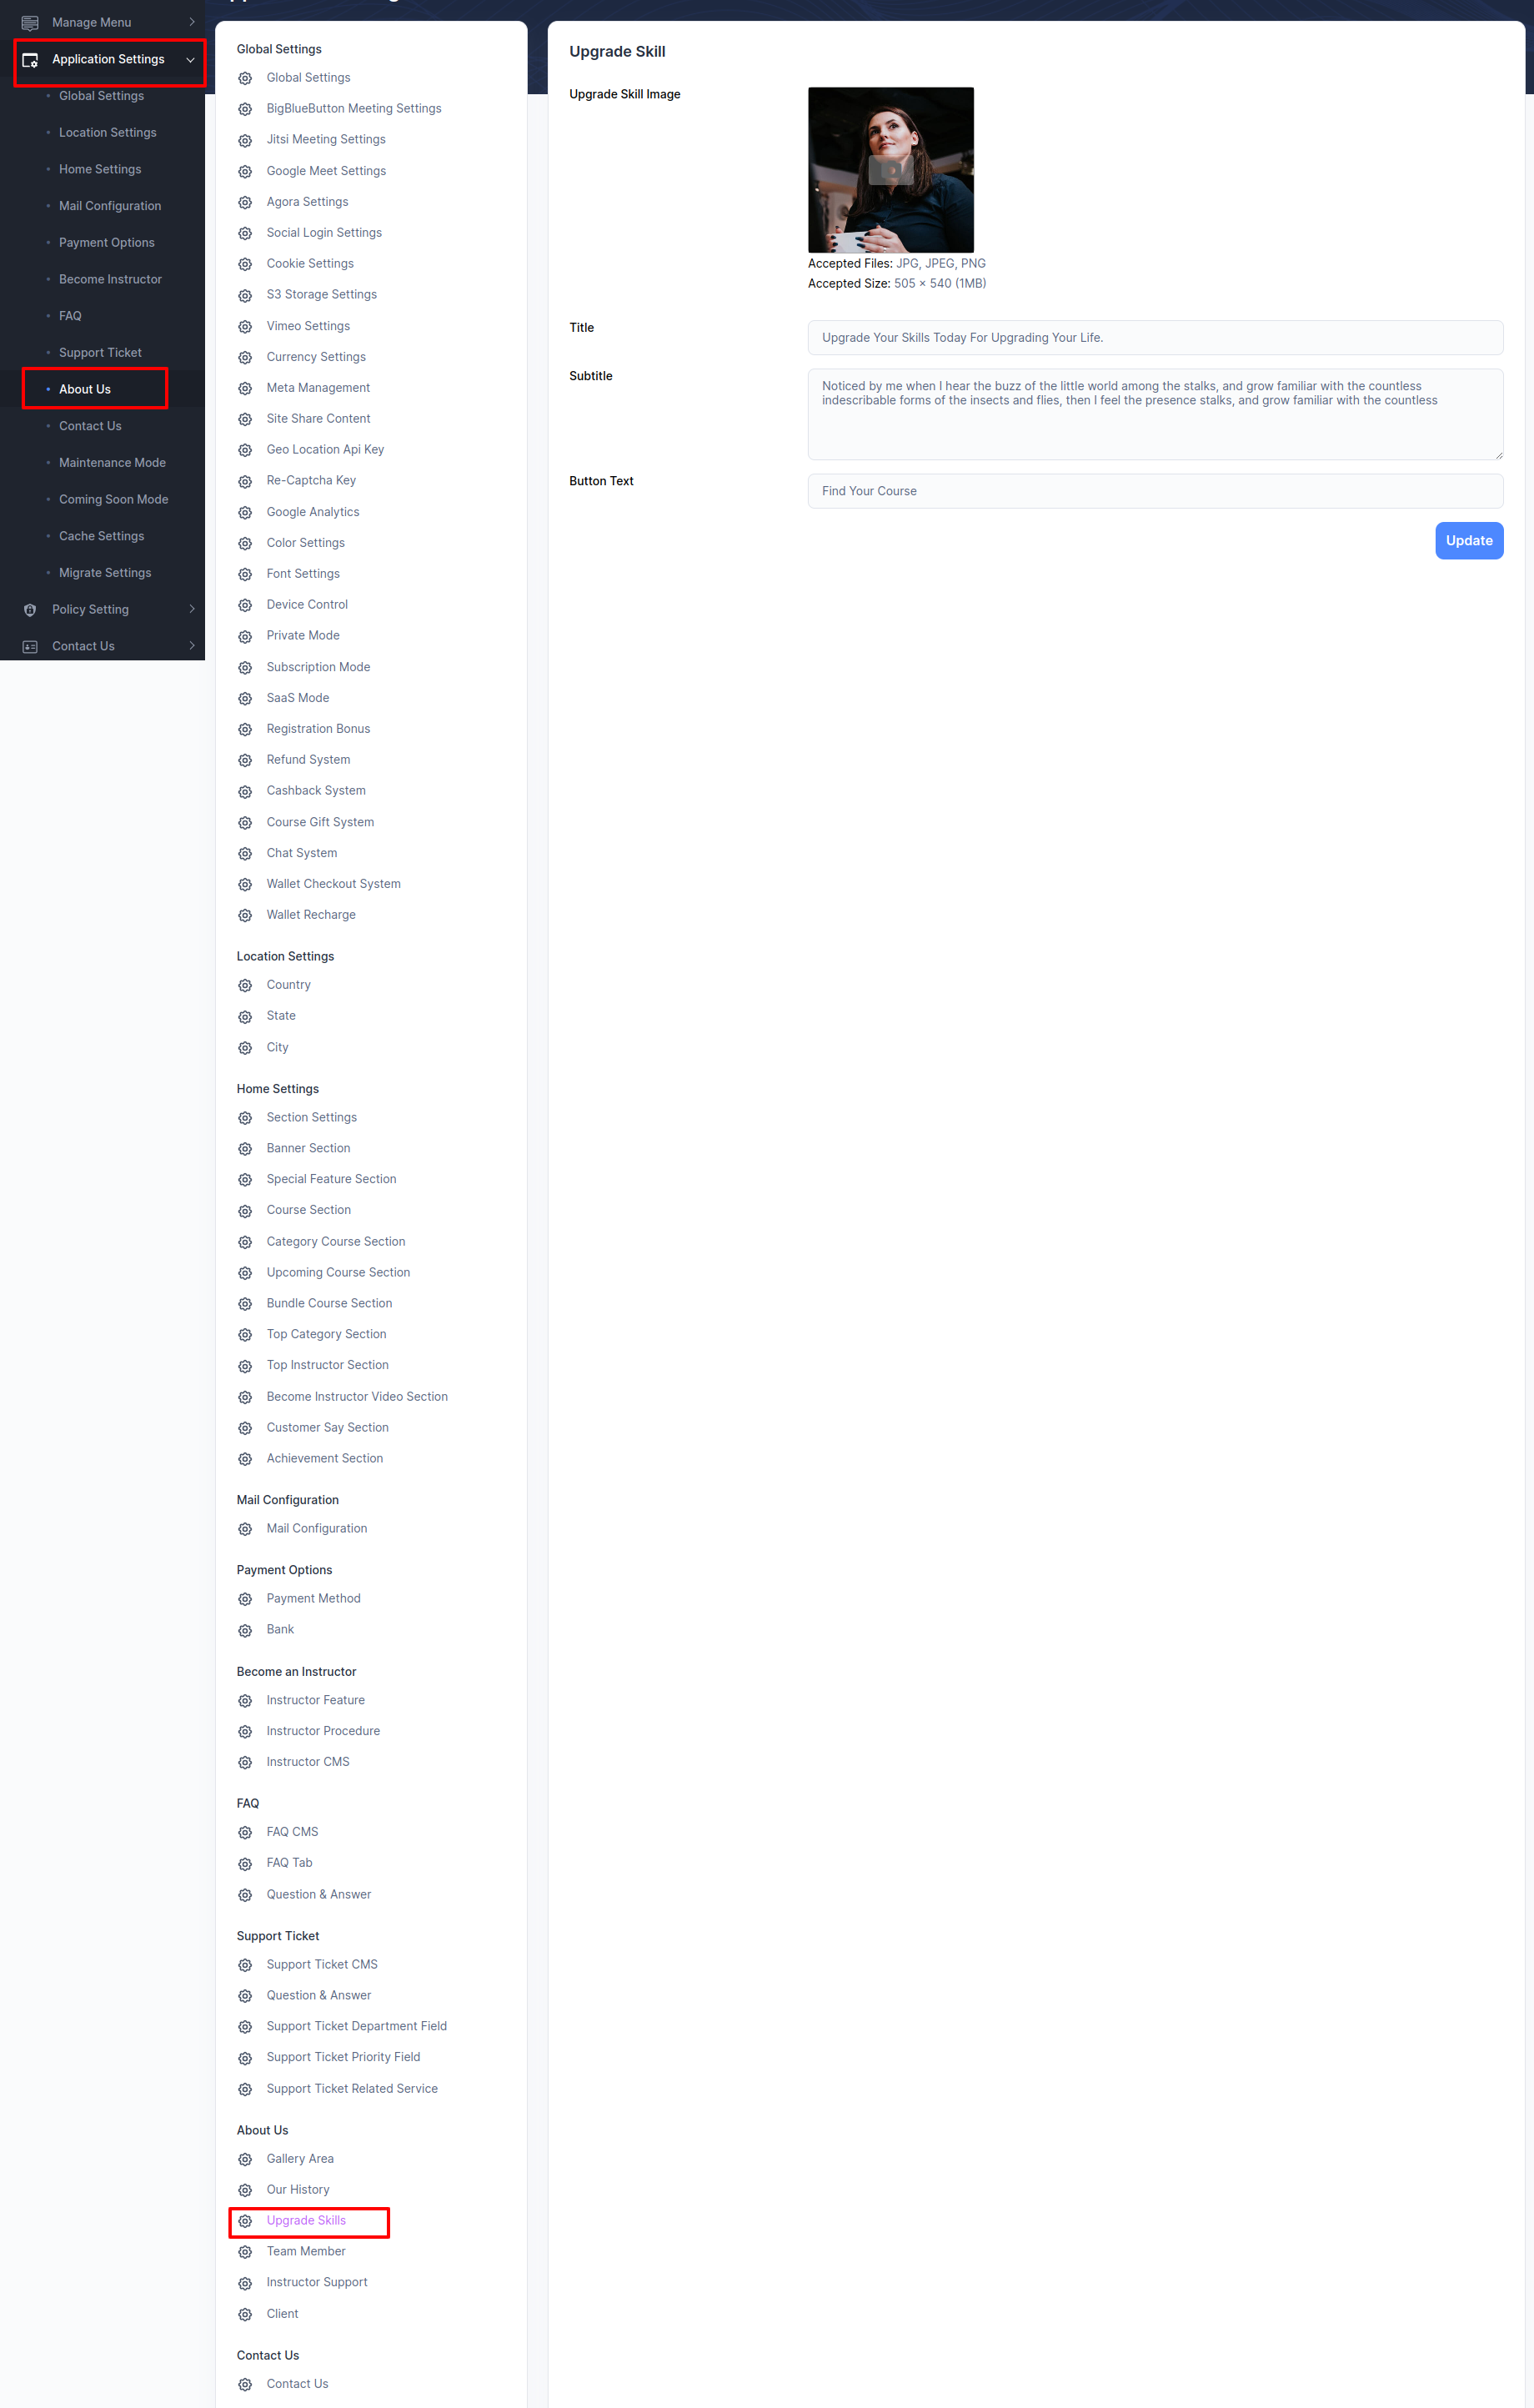
Upgrade Skills
Admin can manage this upgrade skills
-
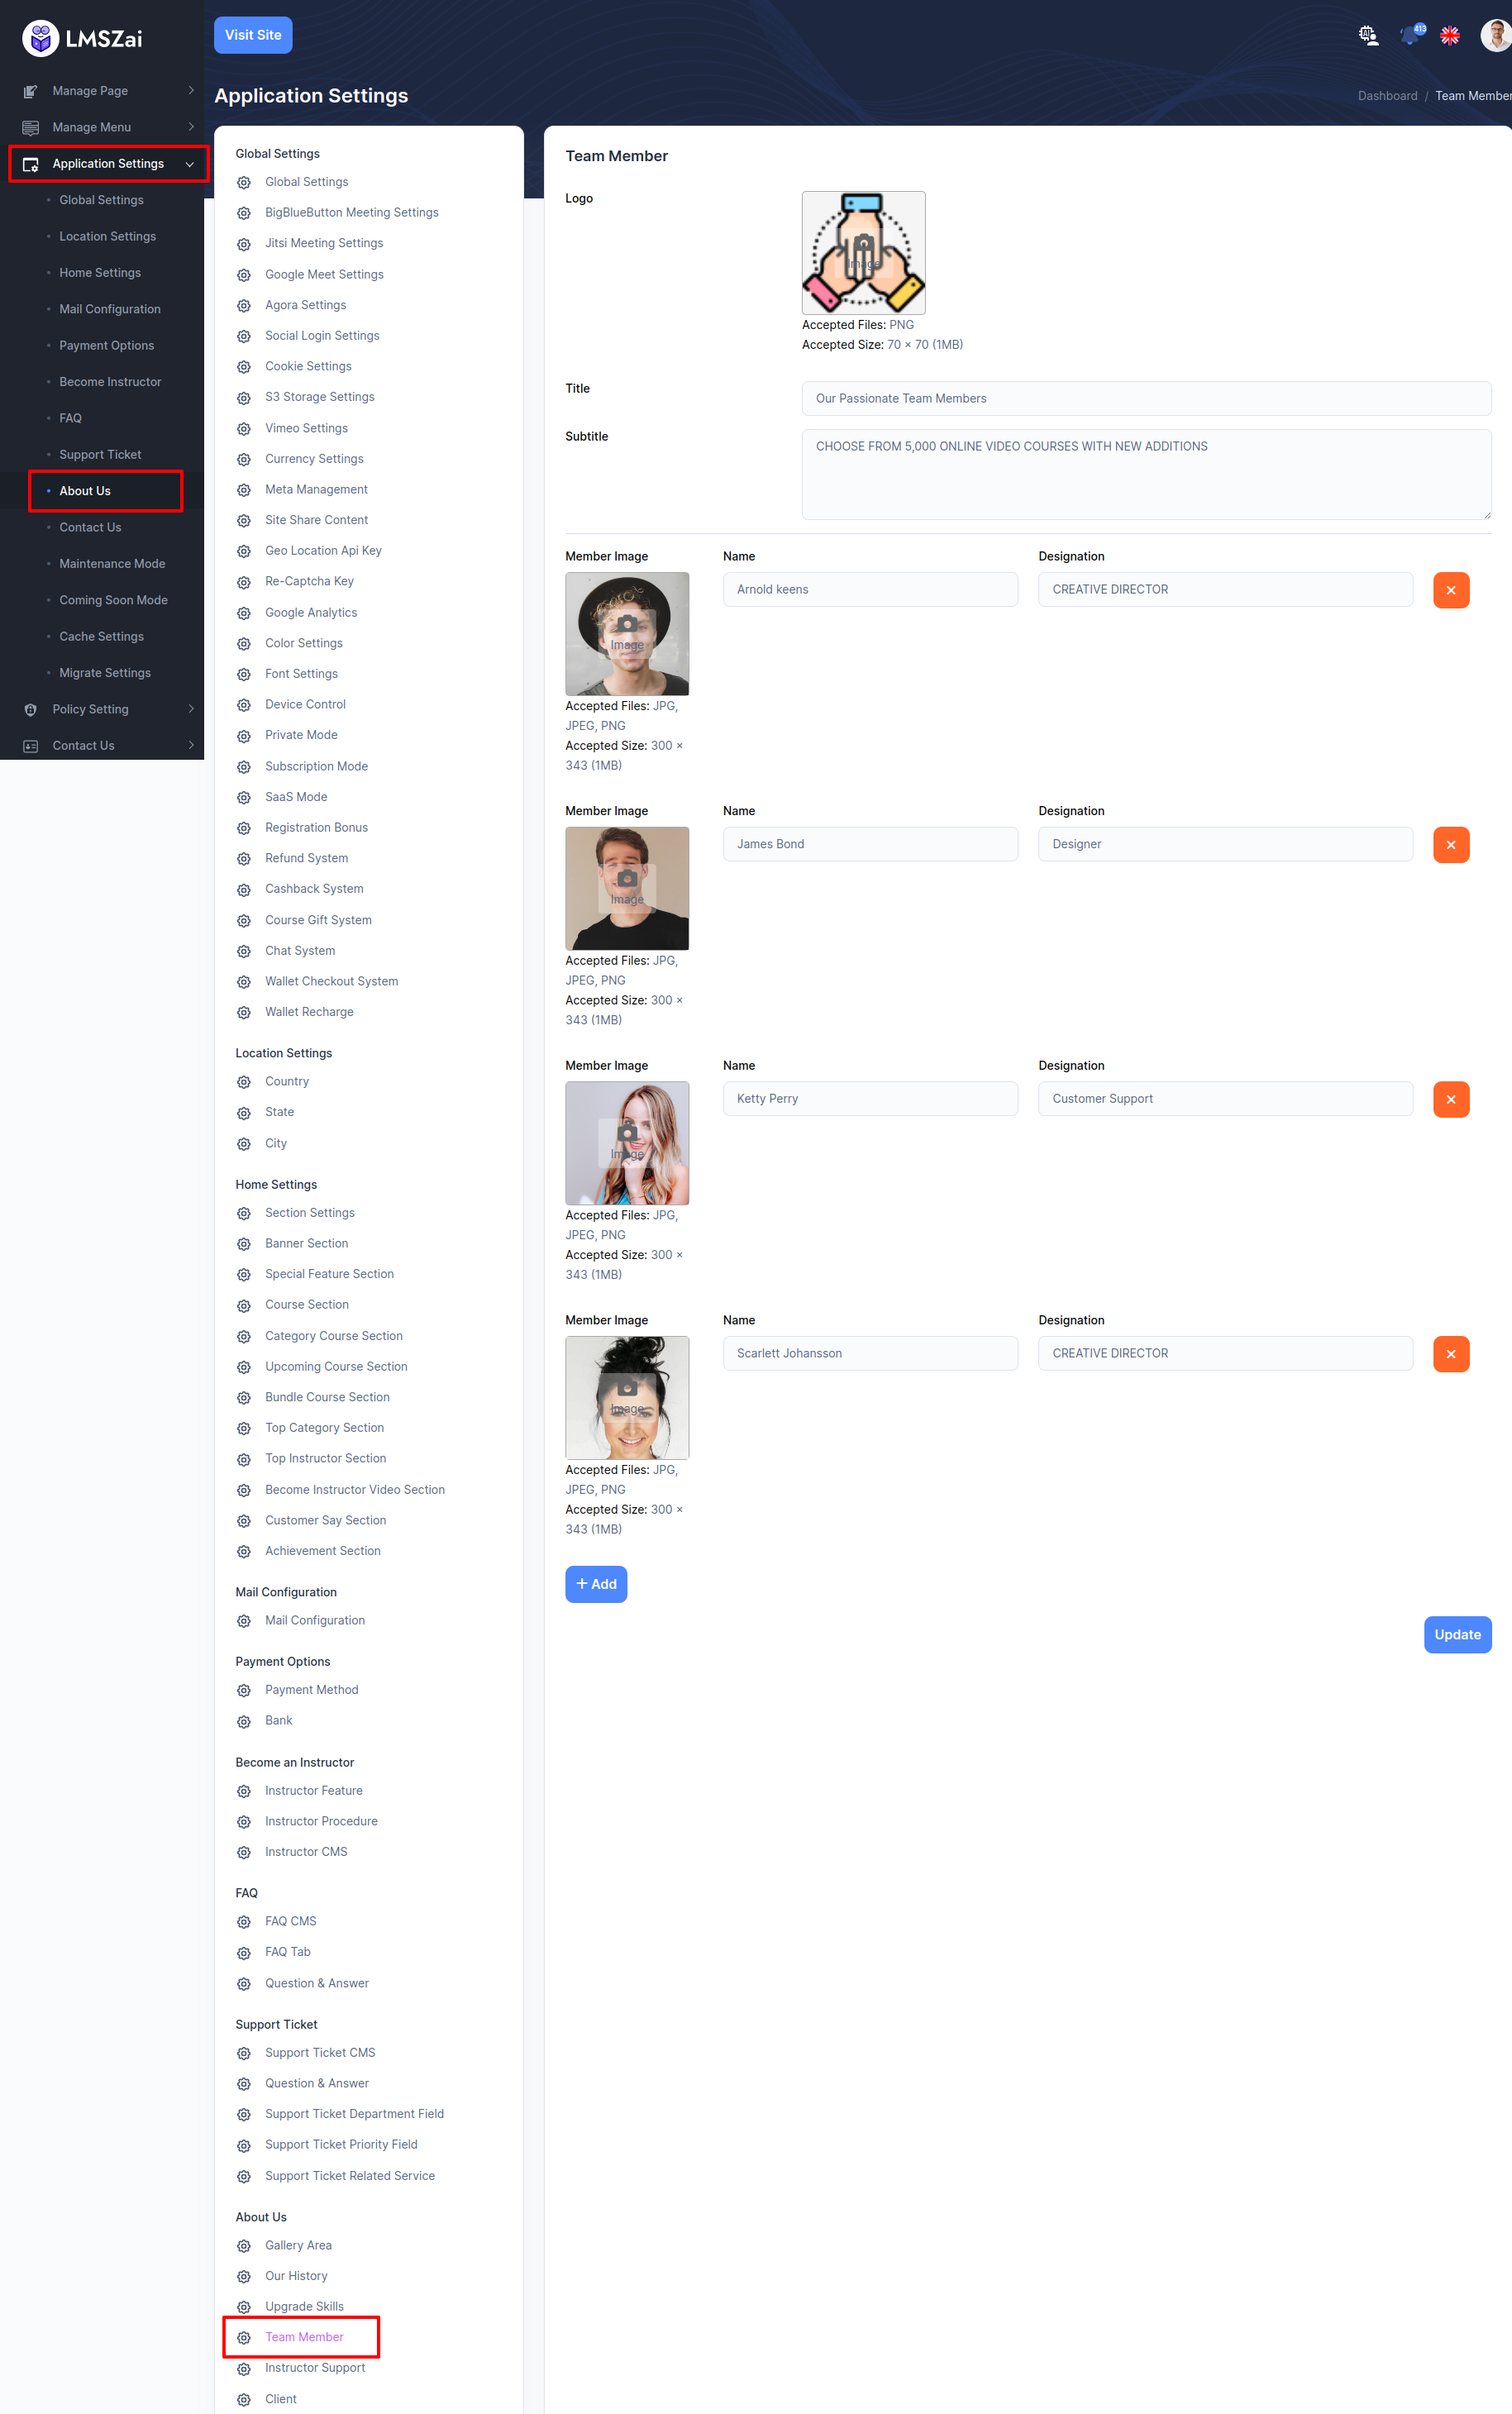
Team Member
Admin can manage this team member
-
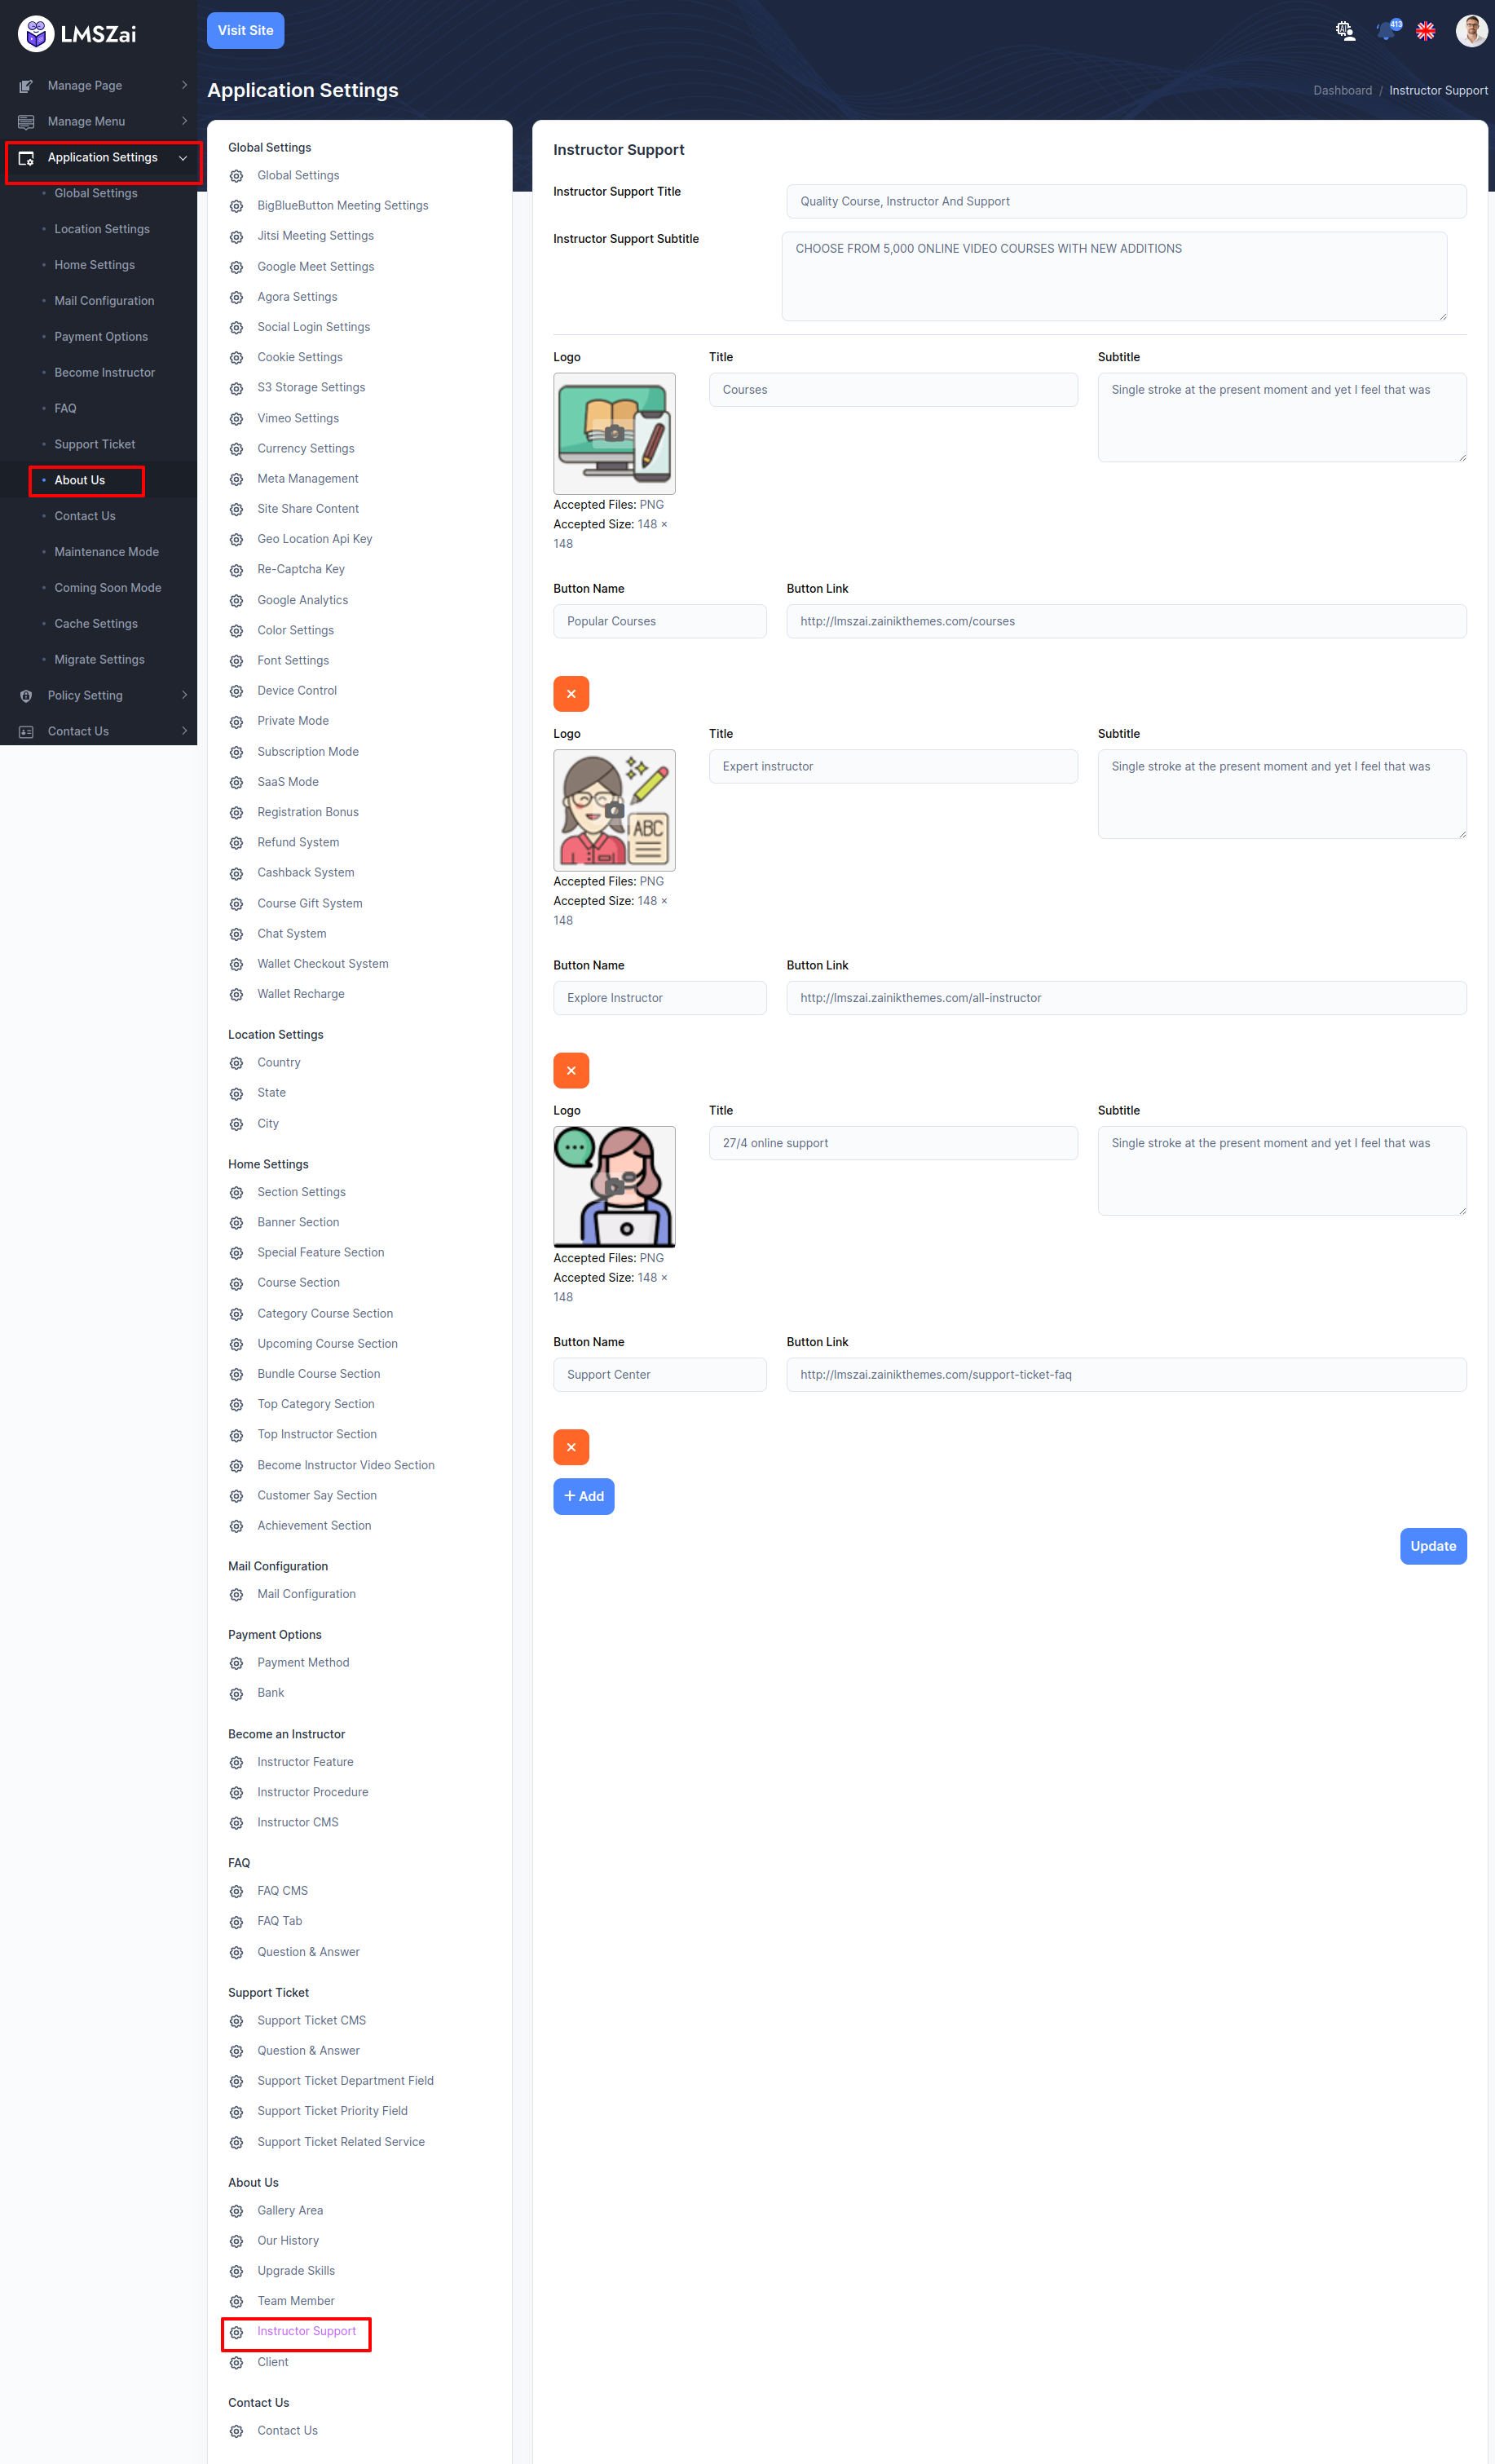
Instructor Support
Admin can manage this instructor support
-
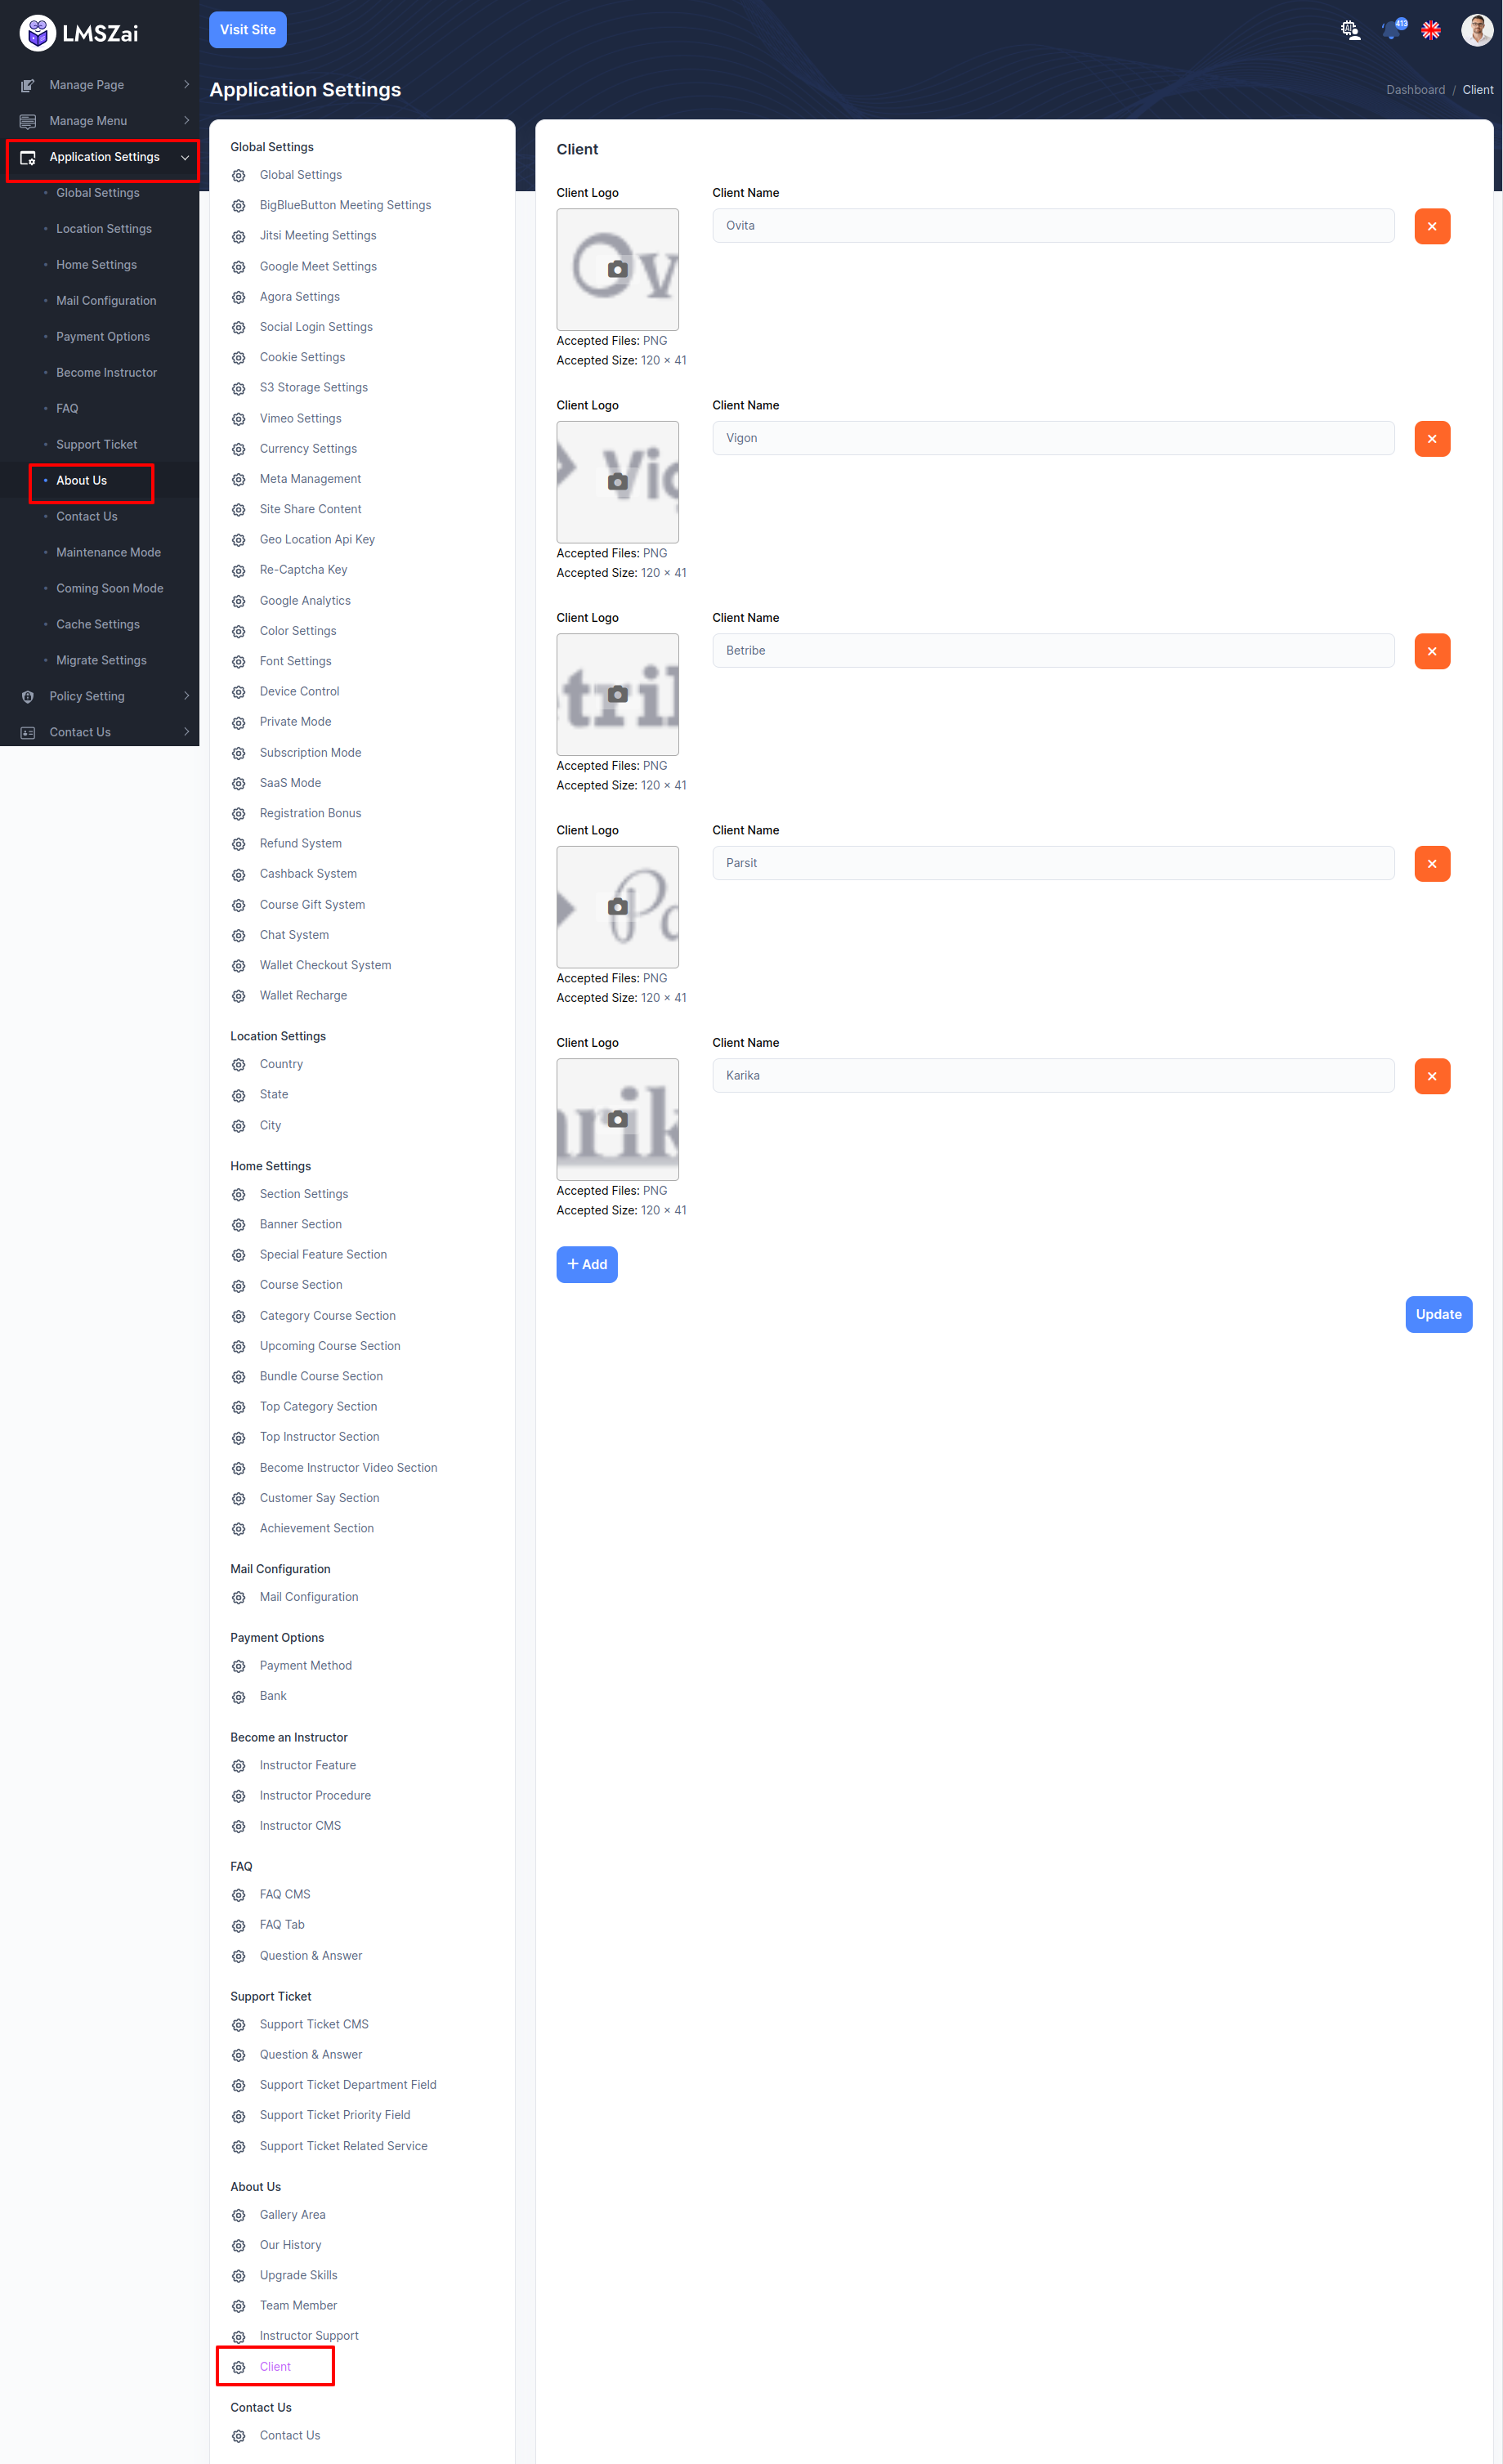
Client
Admin can manage this client
Contact Us
-
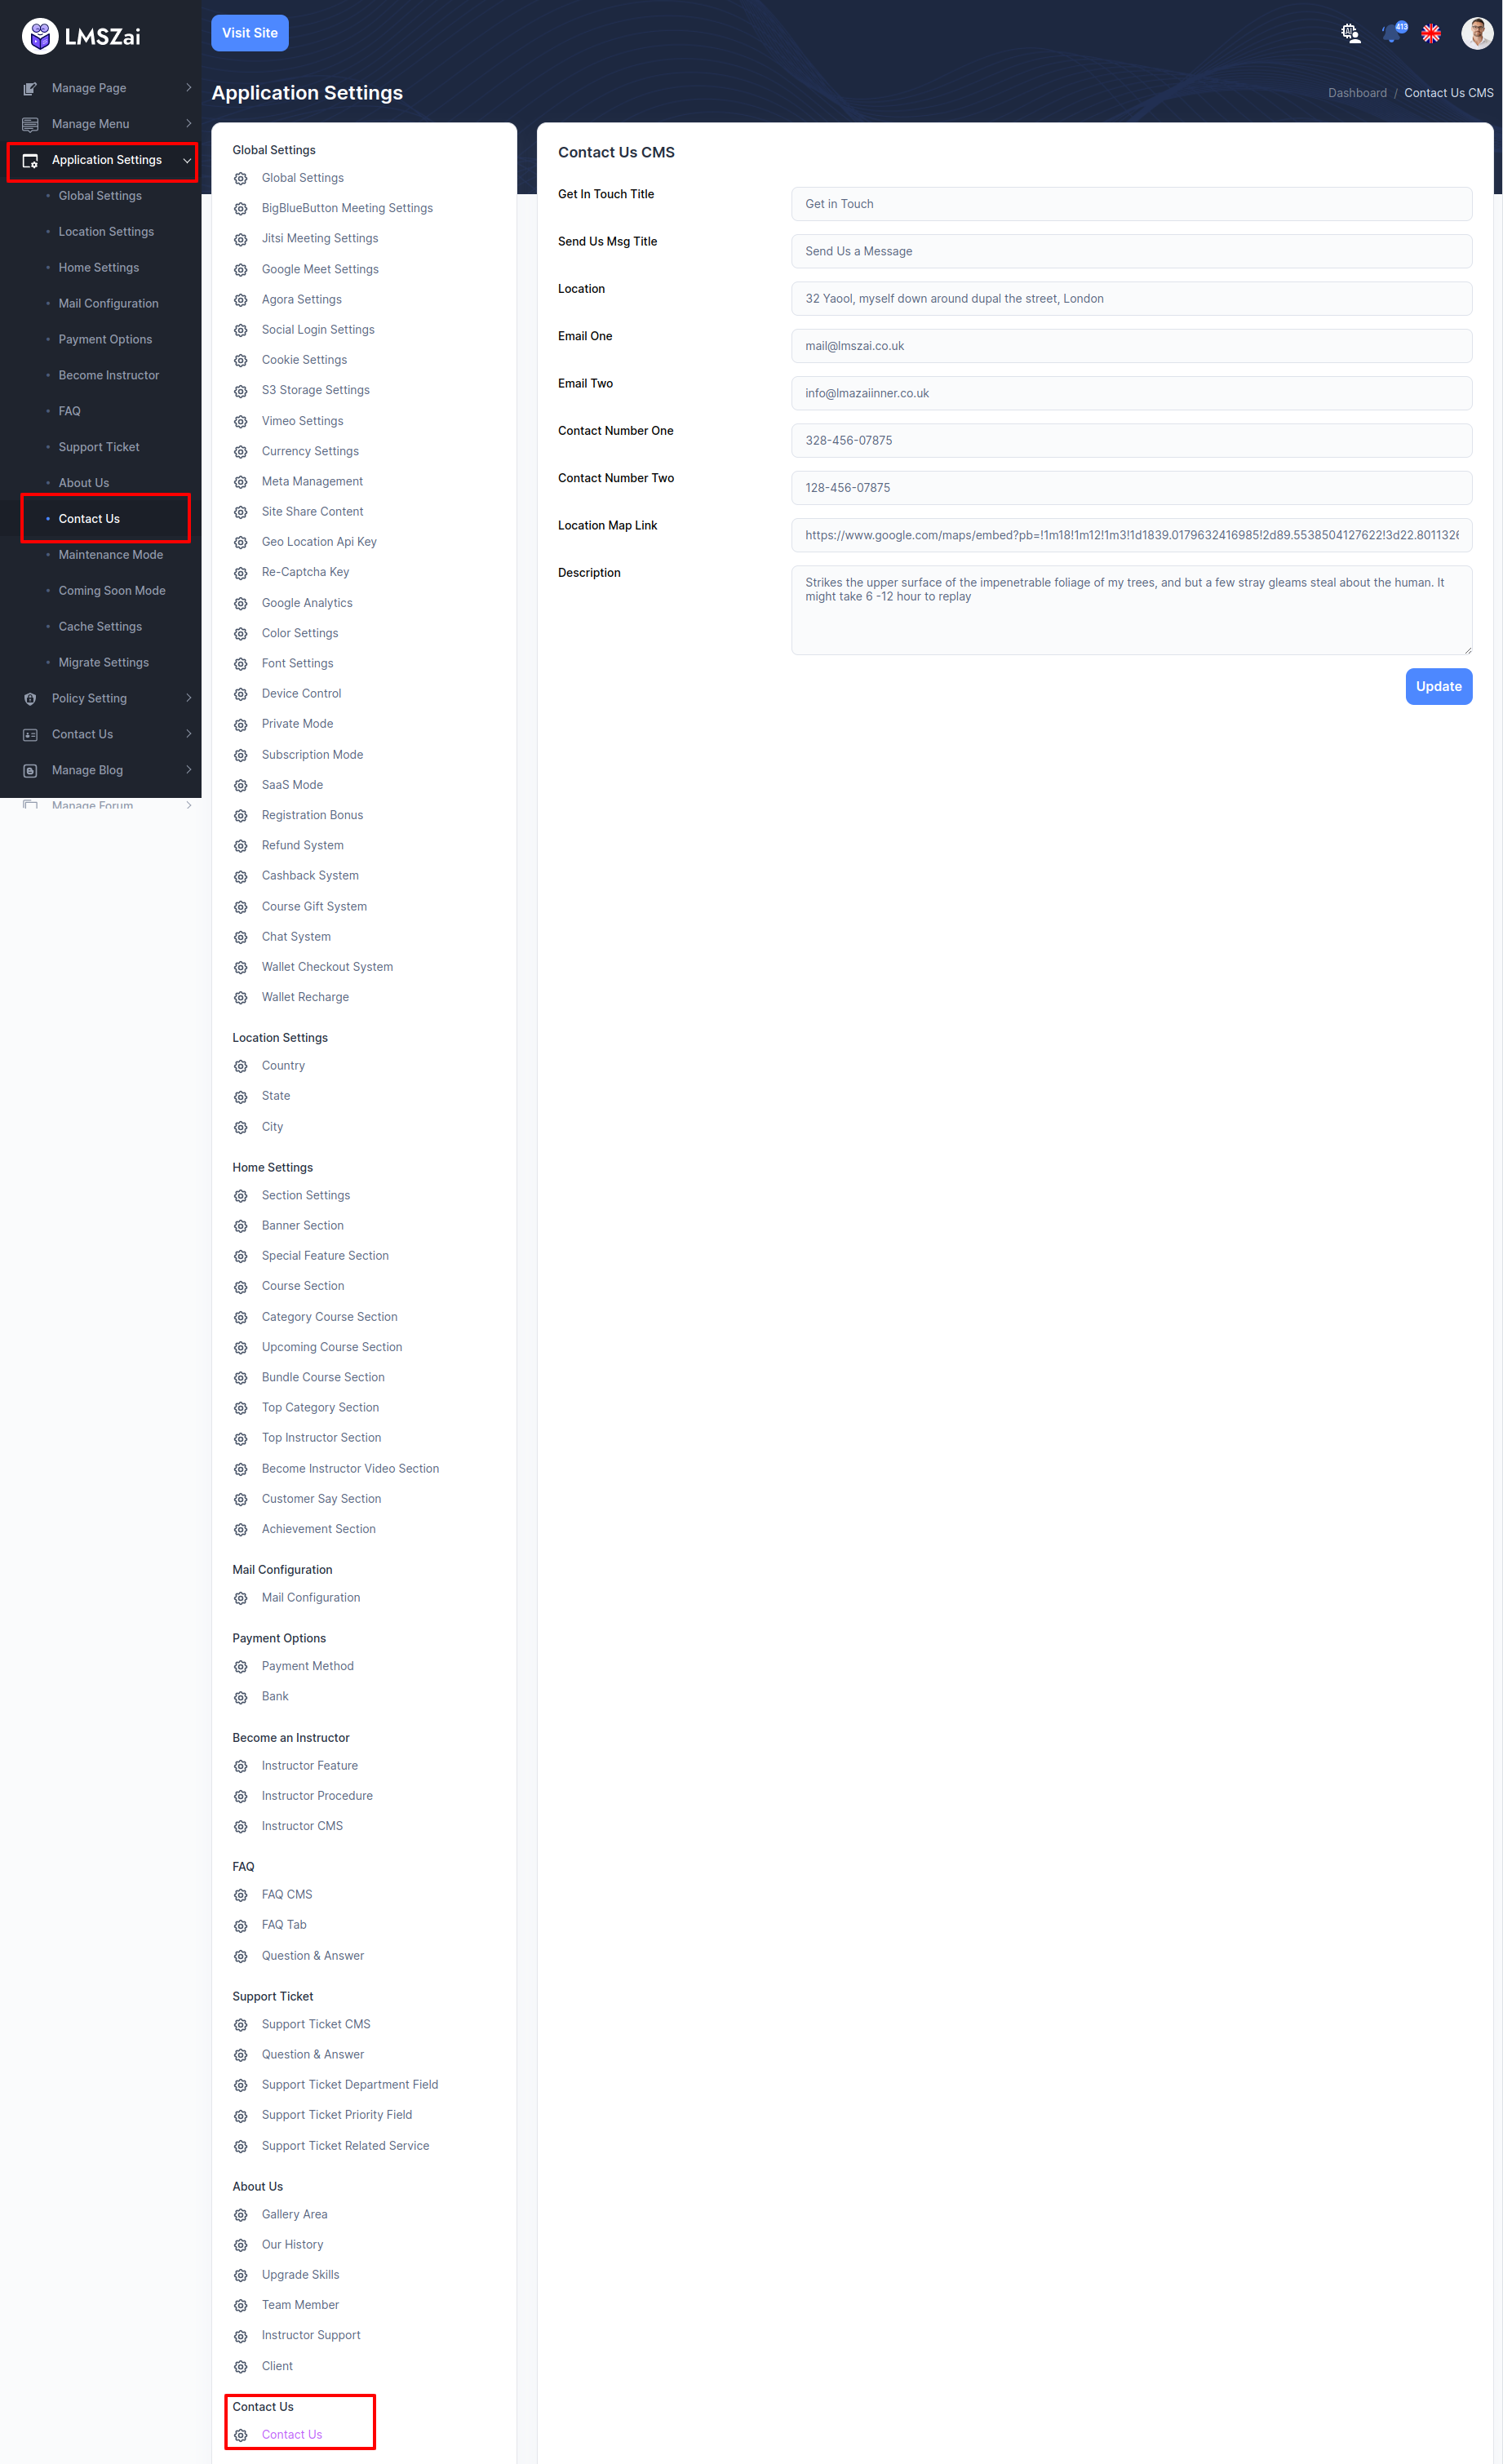
Contact Us
Admin can manage this contact us
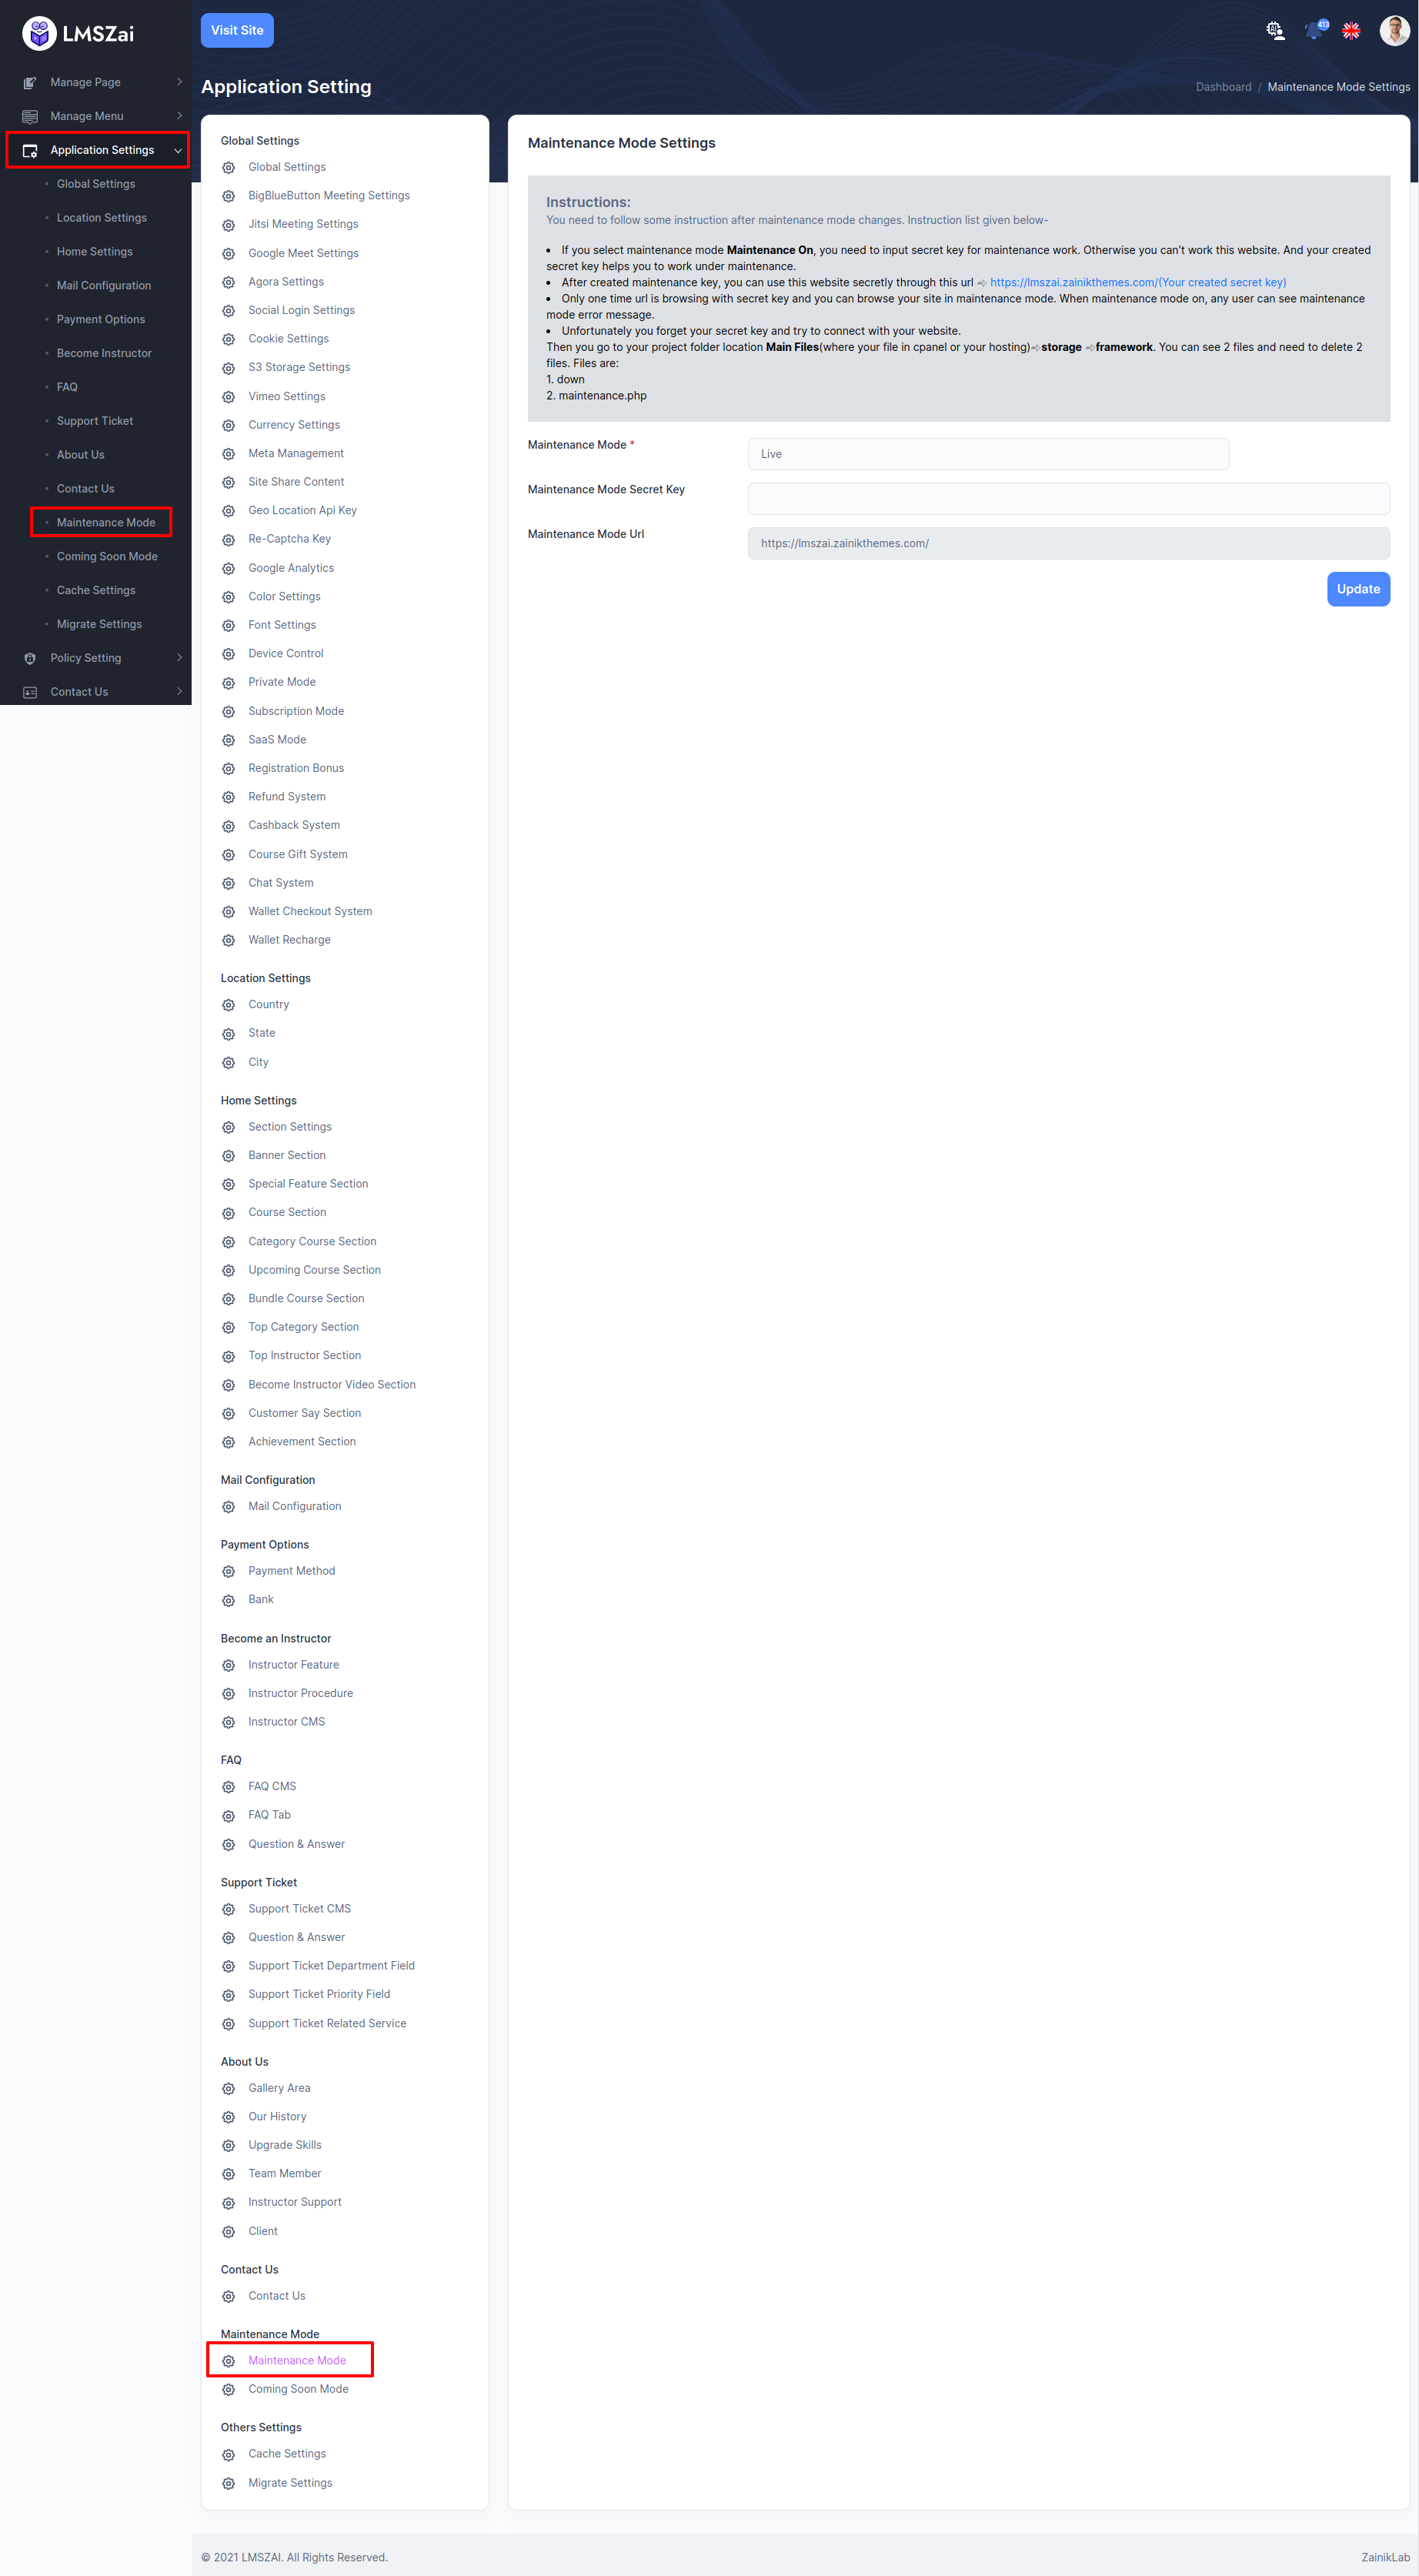
Maintenance Mode
Admin can manage this maintenance mode
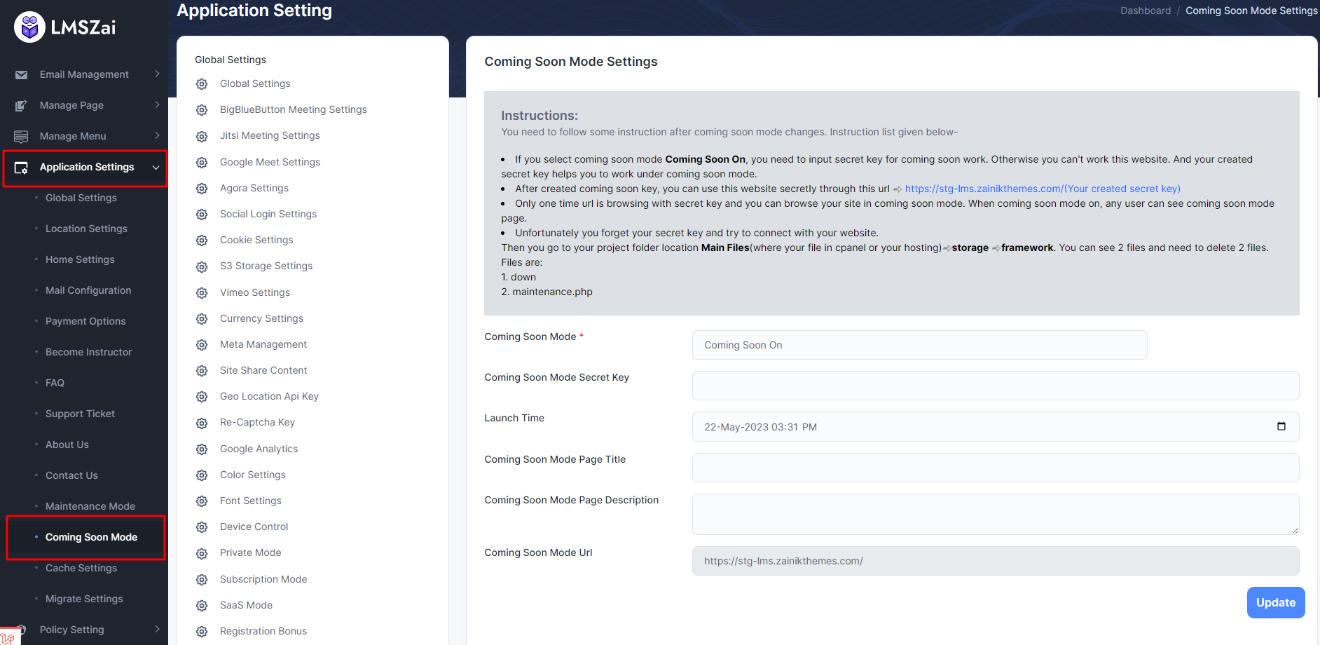
Coming Soon Mode
- Go to the Application Settings. Below there is a sub category coming soon mode. Go there.
- There is some input field.
- Coming Soon Mode: Select the mode.
- Coming Soon Mode Secret key: Create a random key.
- Launch Time: Choose a time to start.
- Coming Soon Mode Page Title: Give a title.
- Coming Soon Mode Page Description: Give a description.
- Coming Soon Mode URL: URL of your site.
- After activating coming soon mode
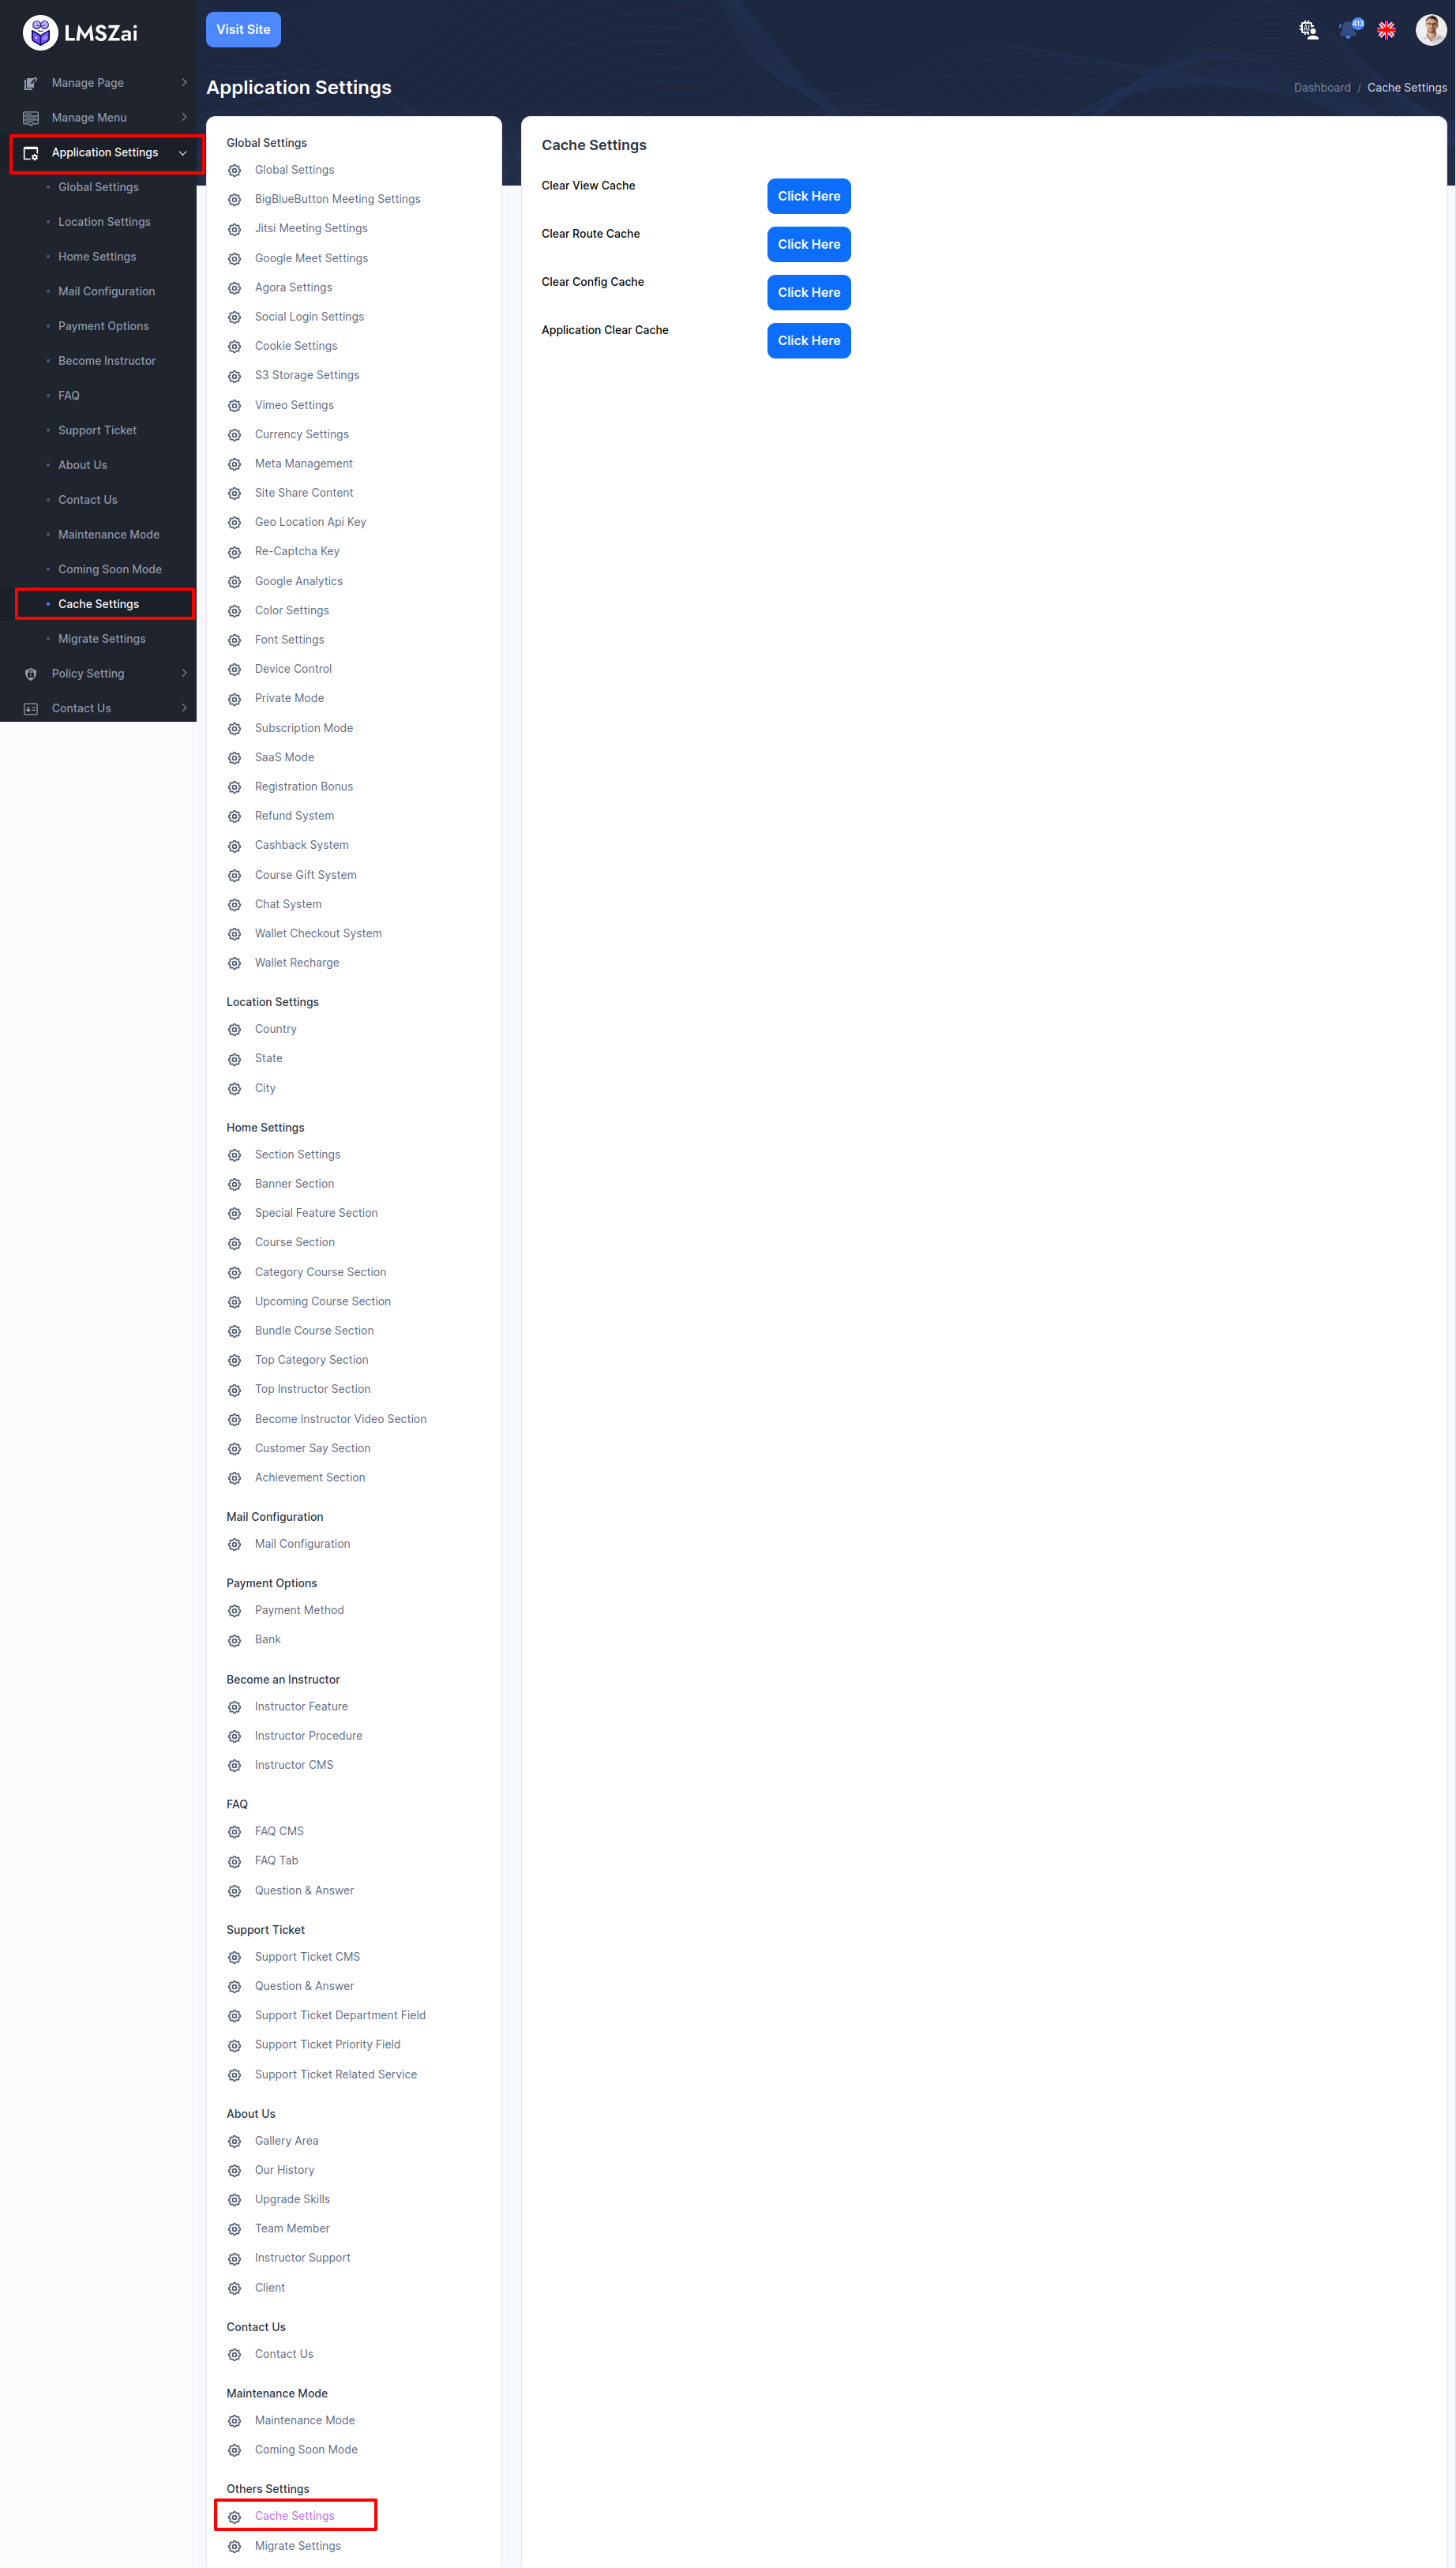
Cache Settings
Admin can manage this cache settings
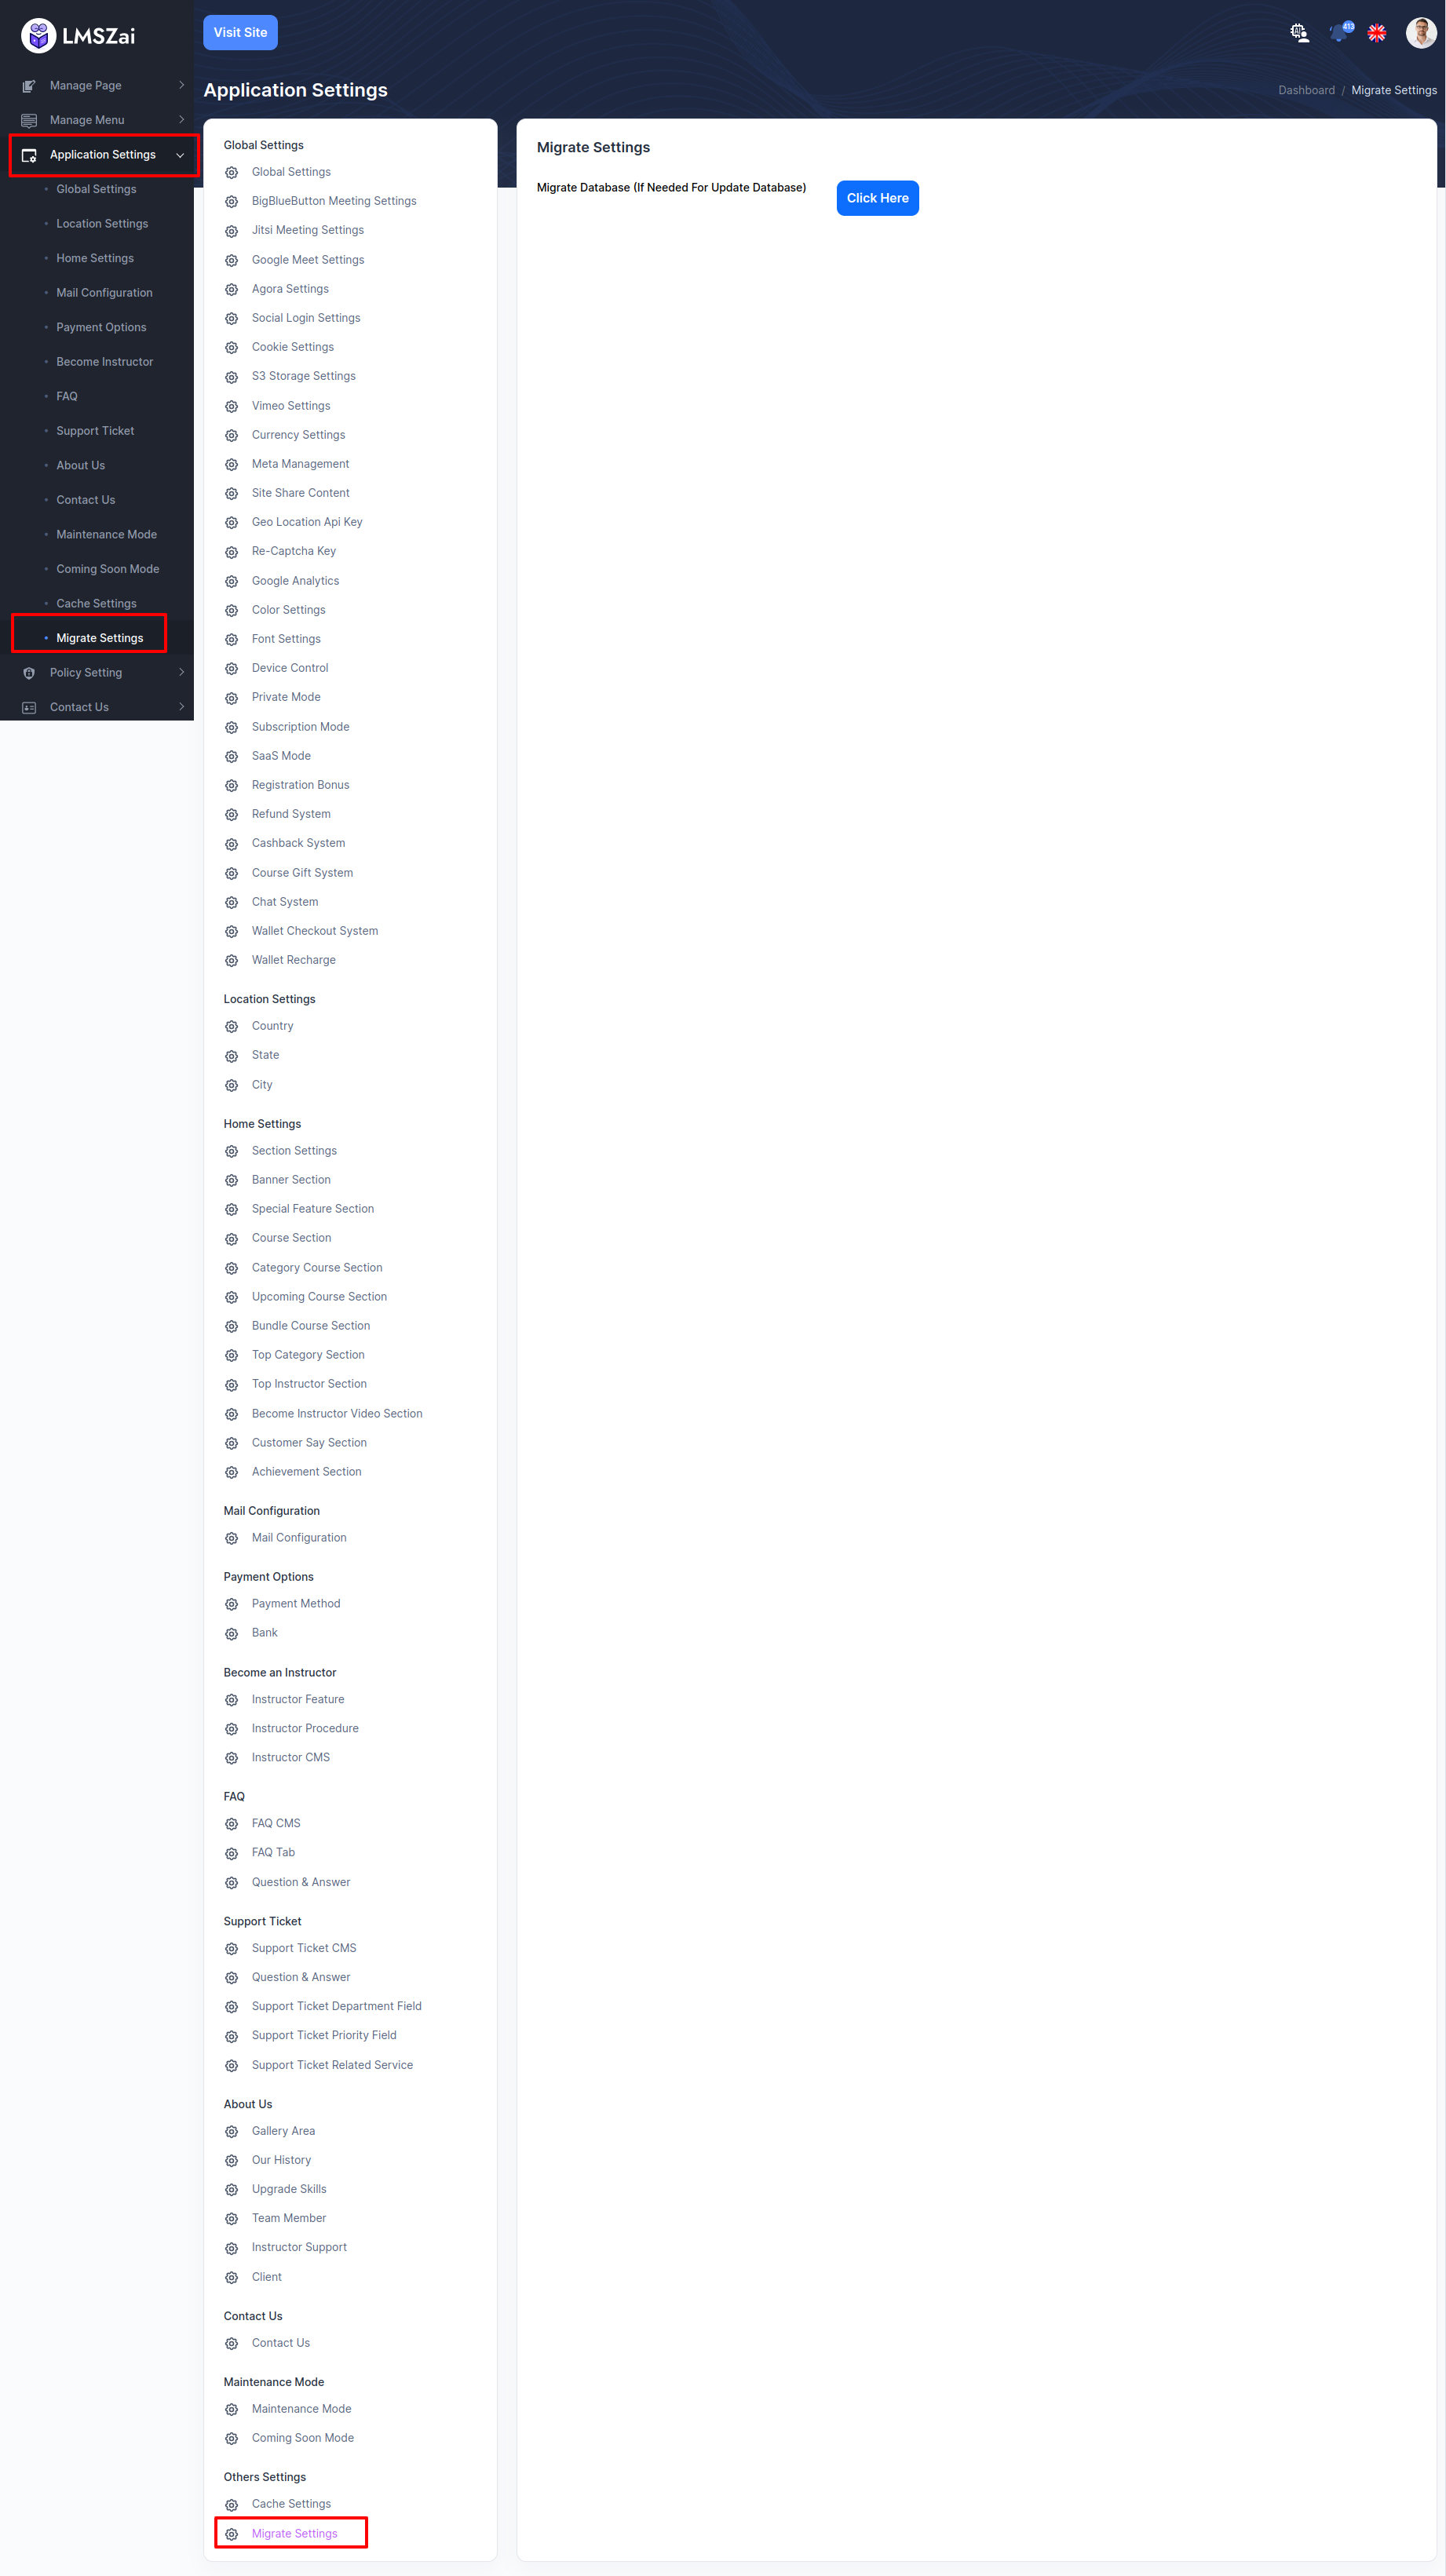
Migrate Settings
Admin can manage this migrate settings
Policy Setting
Admin can manage privacy policy and cookie policy
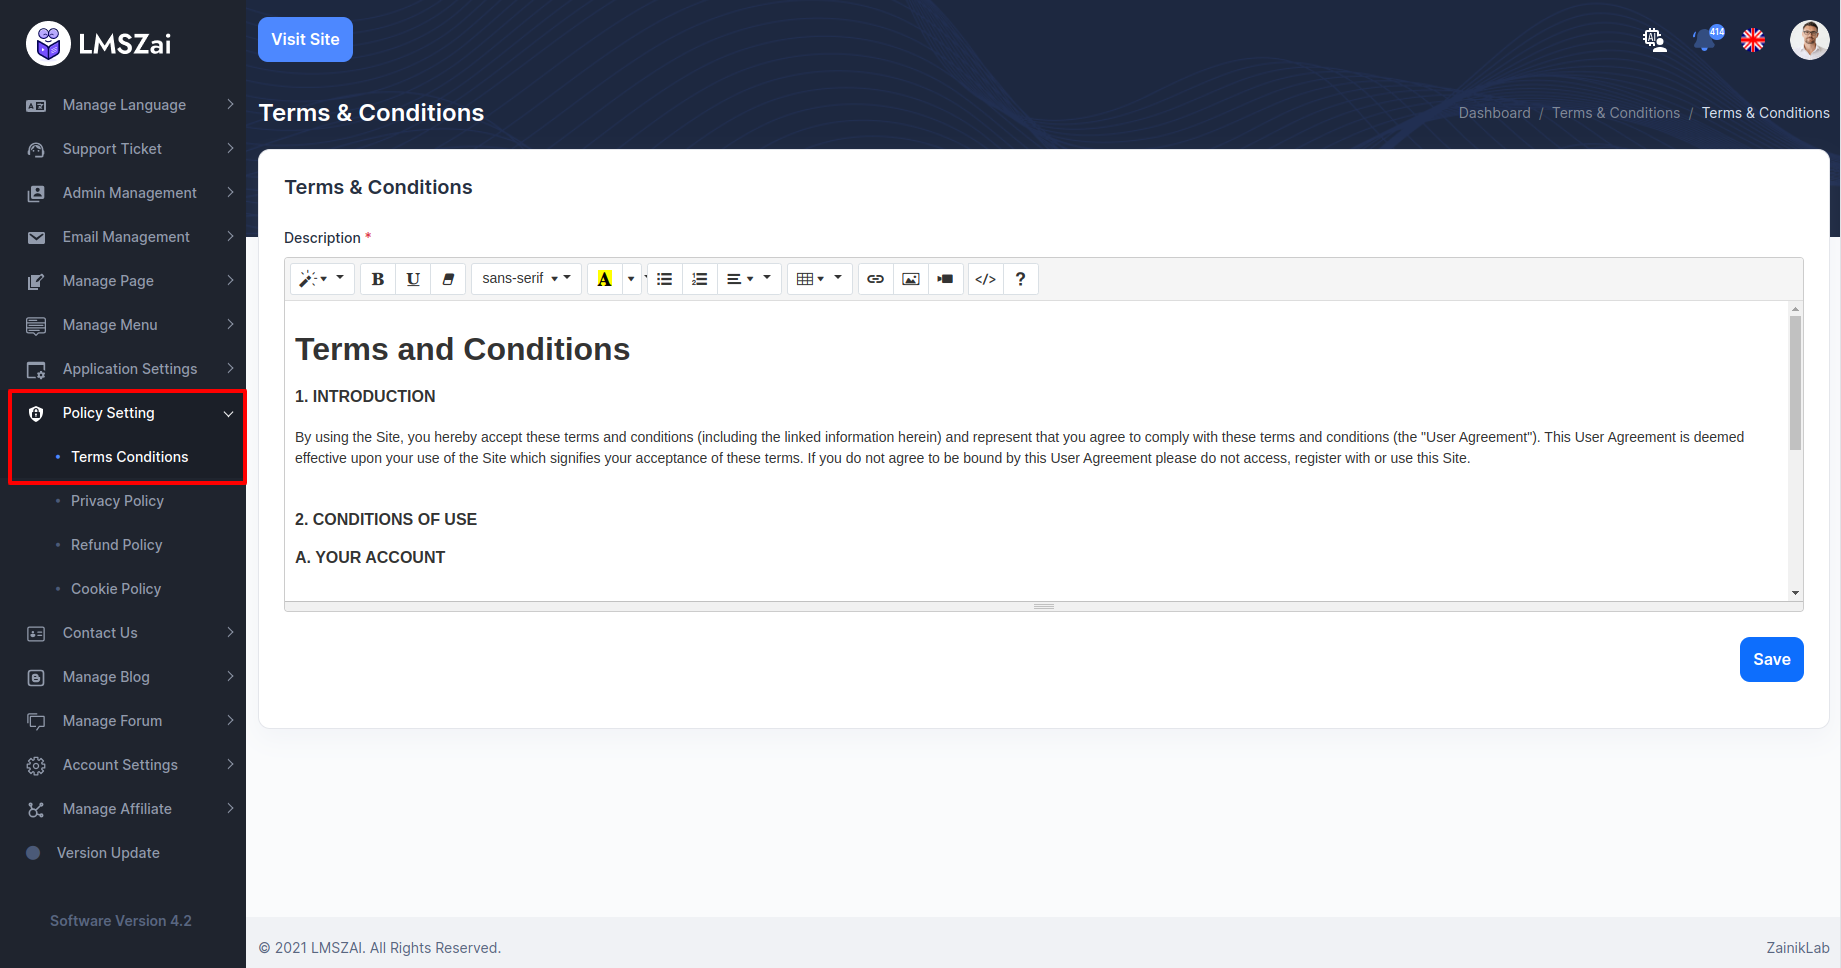
Terms Conditions
Admin can manage this terms conditions
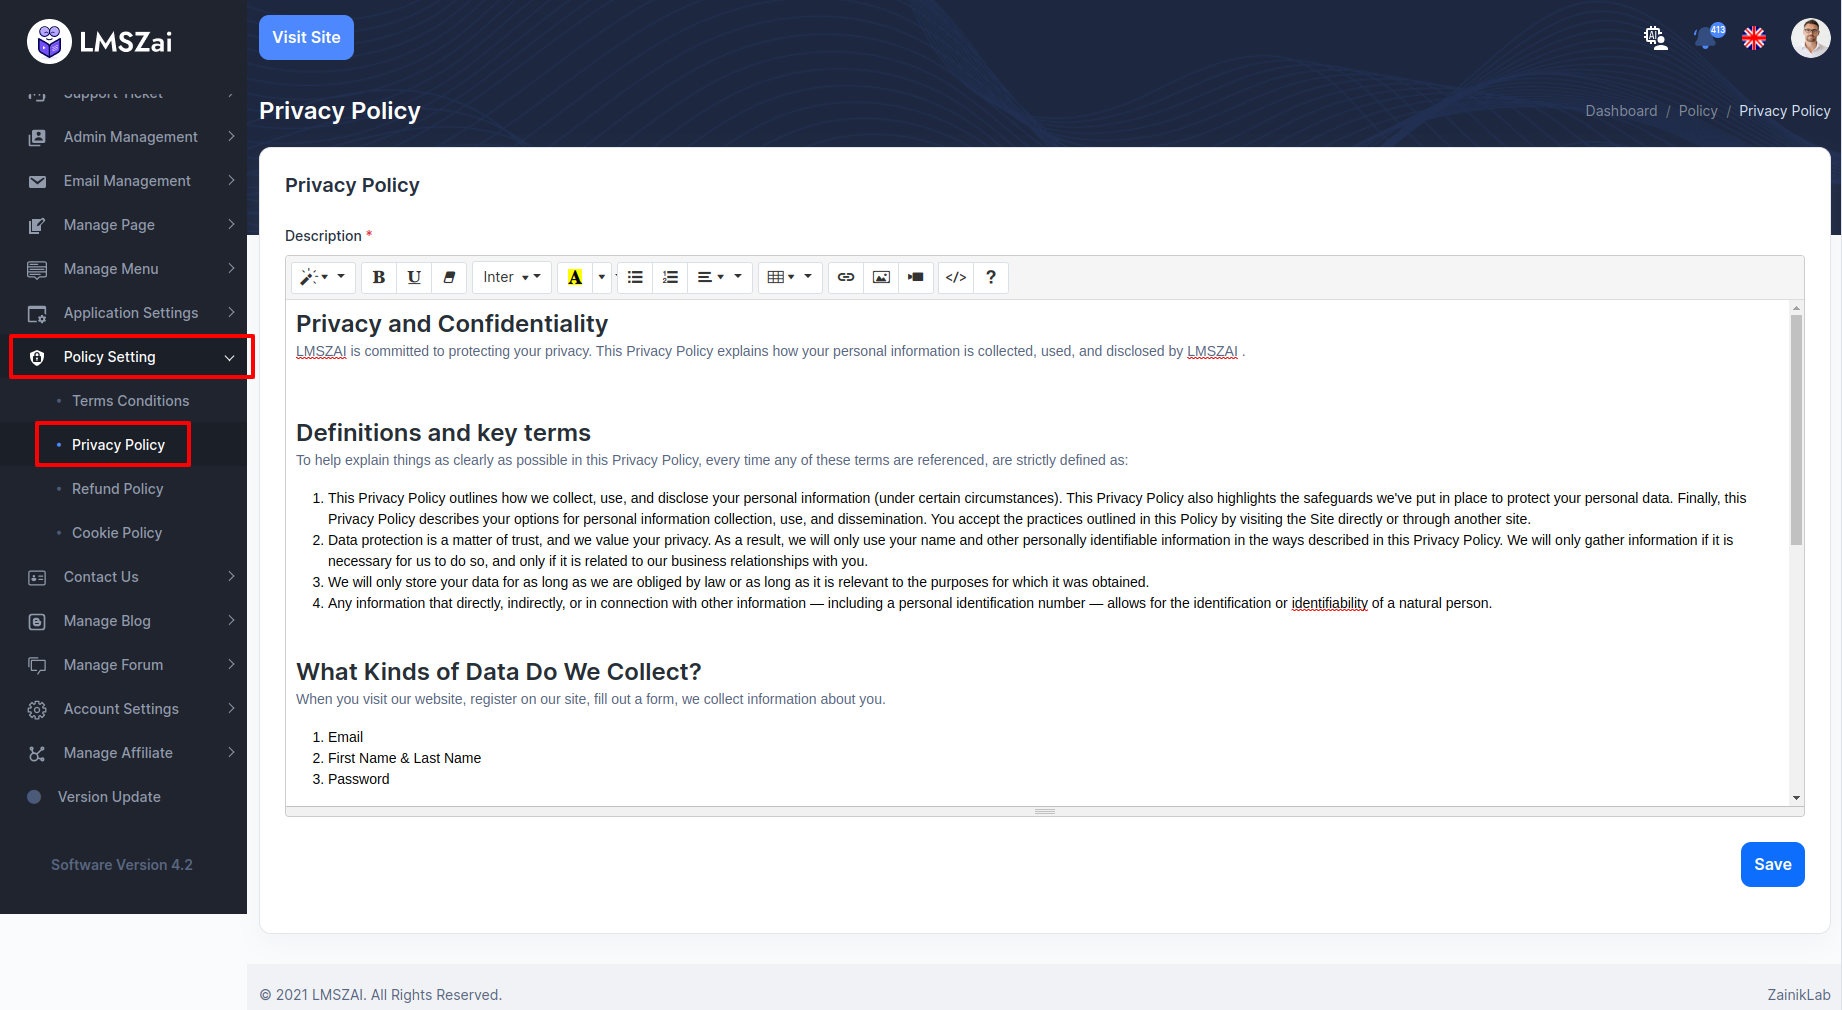
Privacy Policy
Admin can manage privacy policy and cookie policy
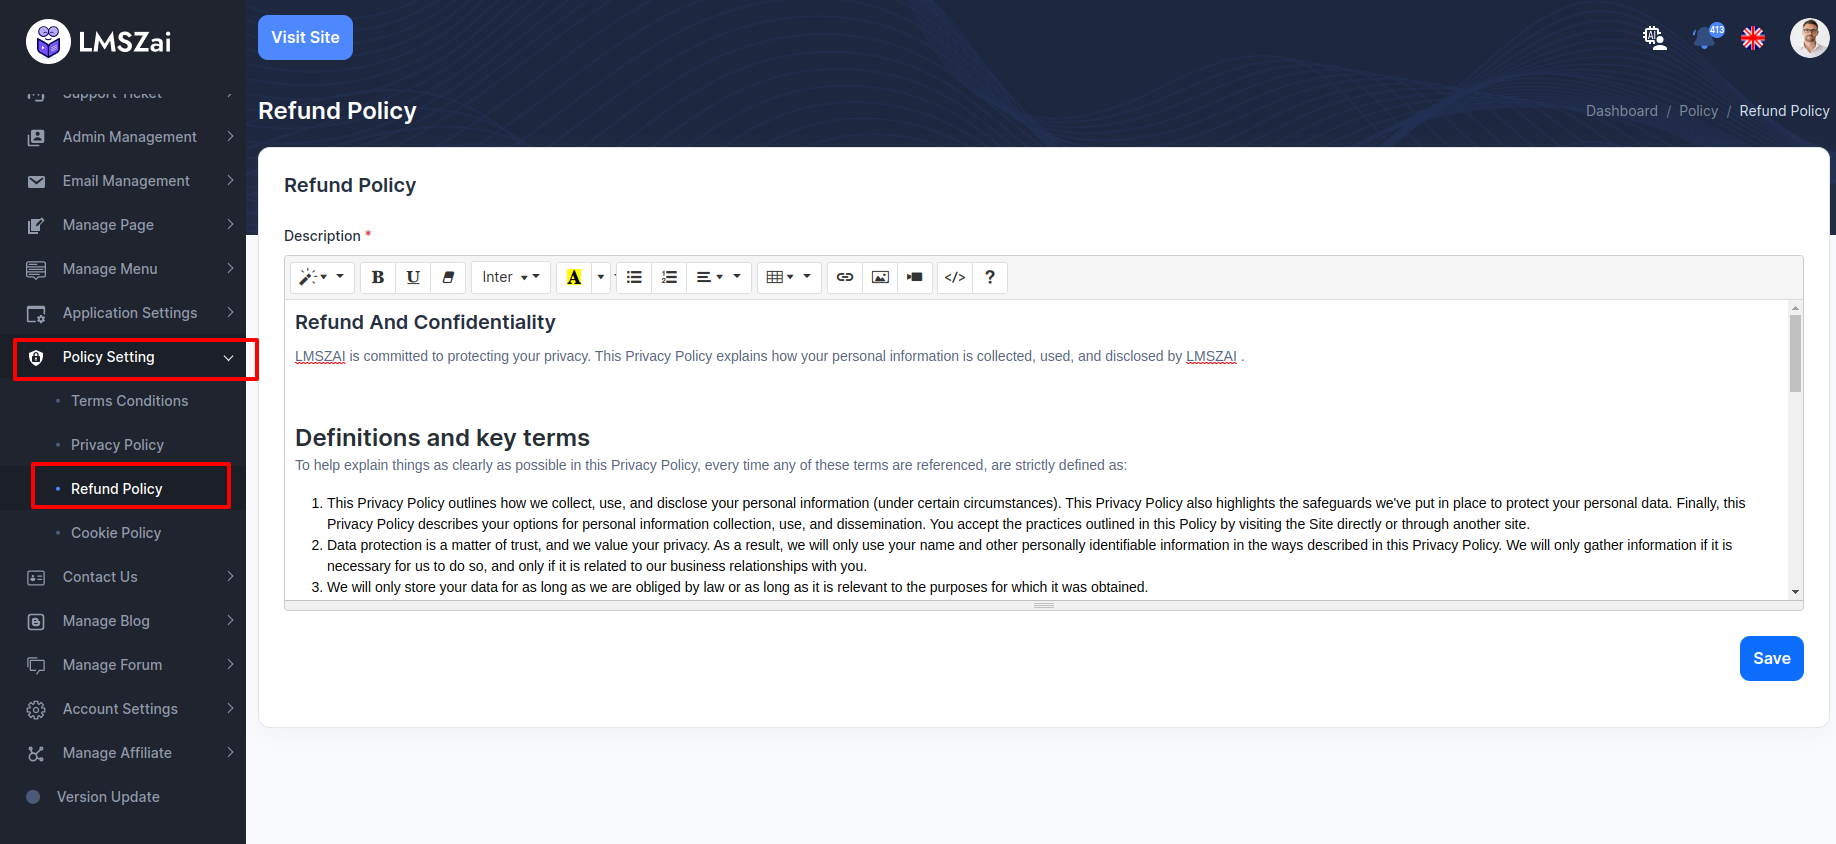
Refund Policy
Admin can manage this refund policy
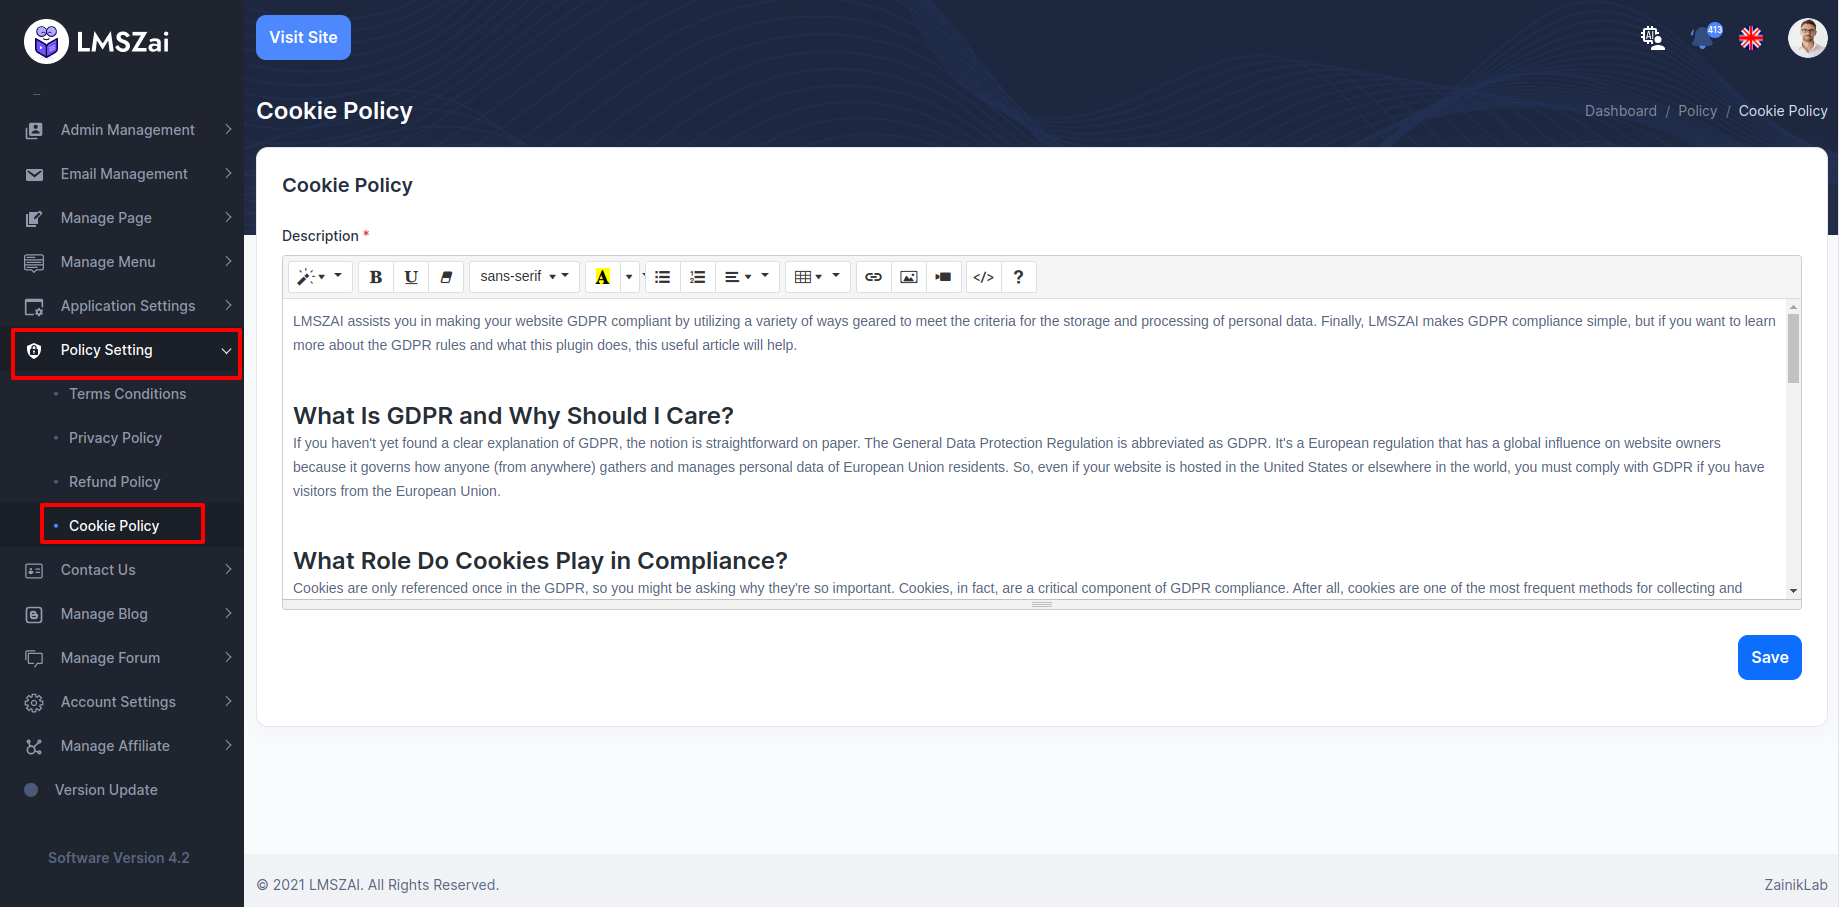
Cookie Policy
Admin can manage this cookie policy
Contact Us
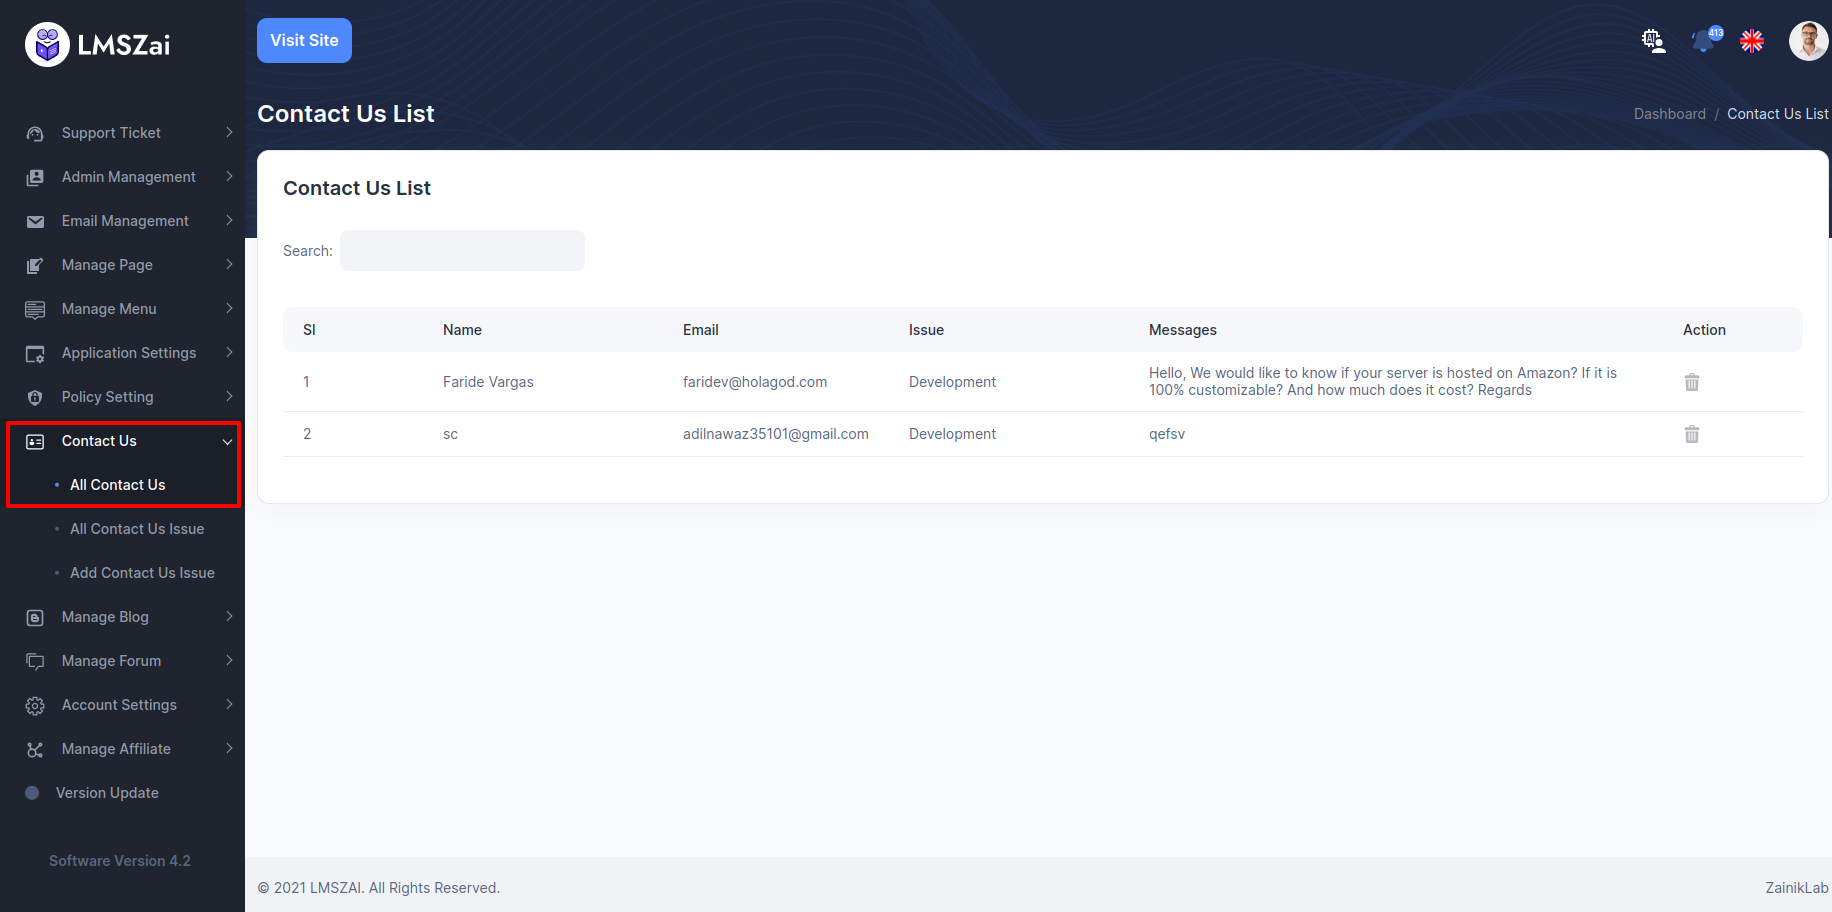
If any user wants to contact with admin. User send email from frontend contact us page. admin can see from here
All Contact Us
Admin can manage this all contact us
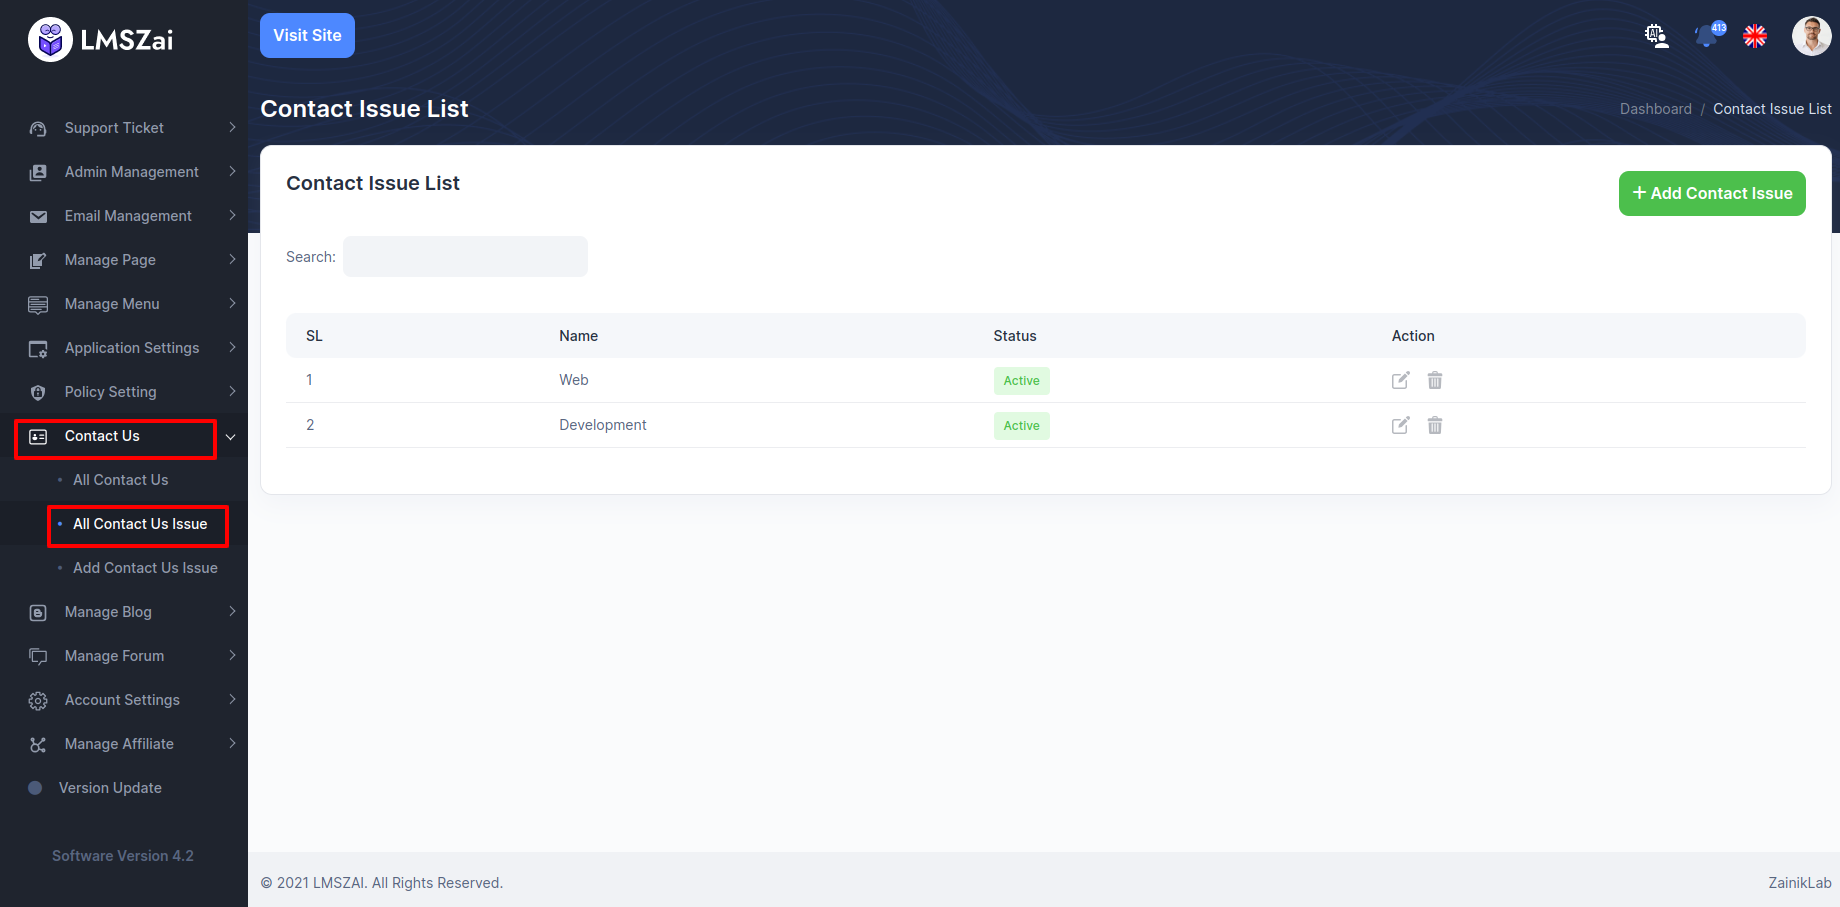
All Contact Us Issue
Admin can manage this all contact us issue
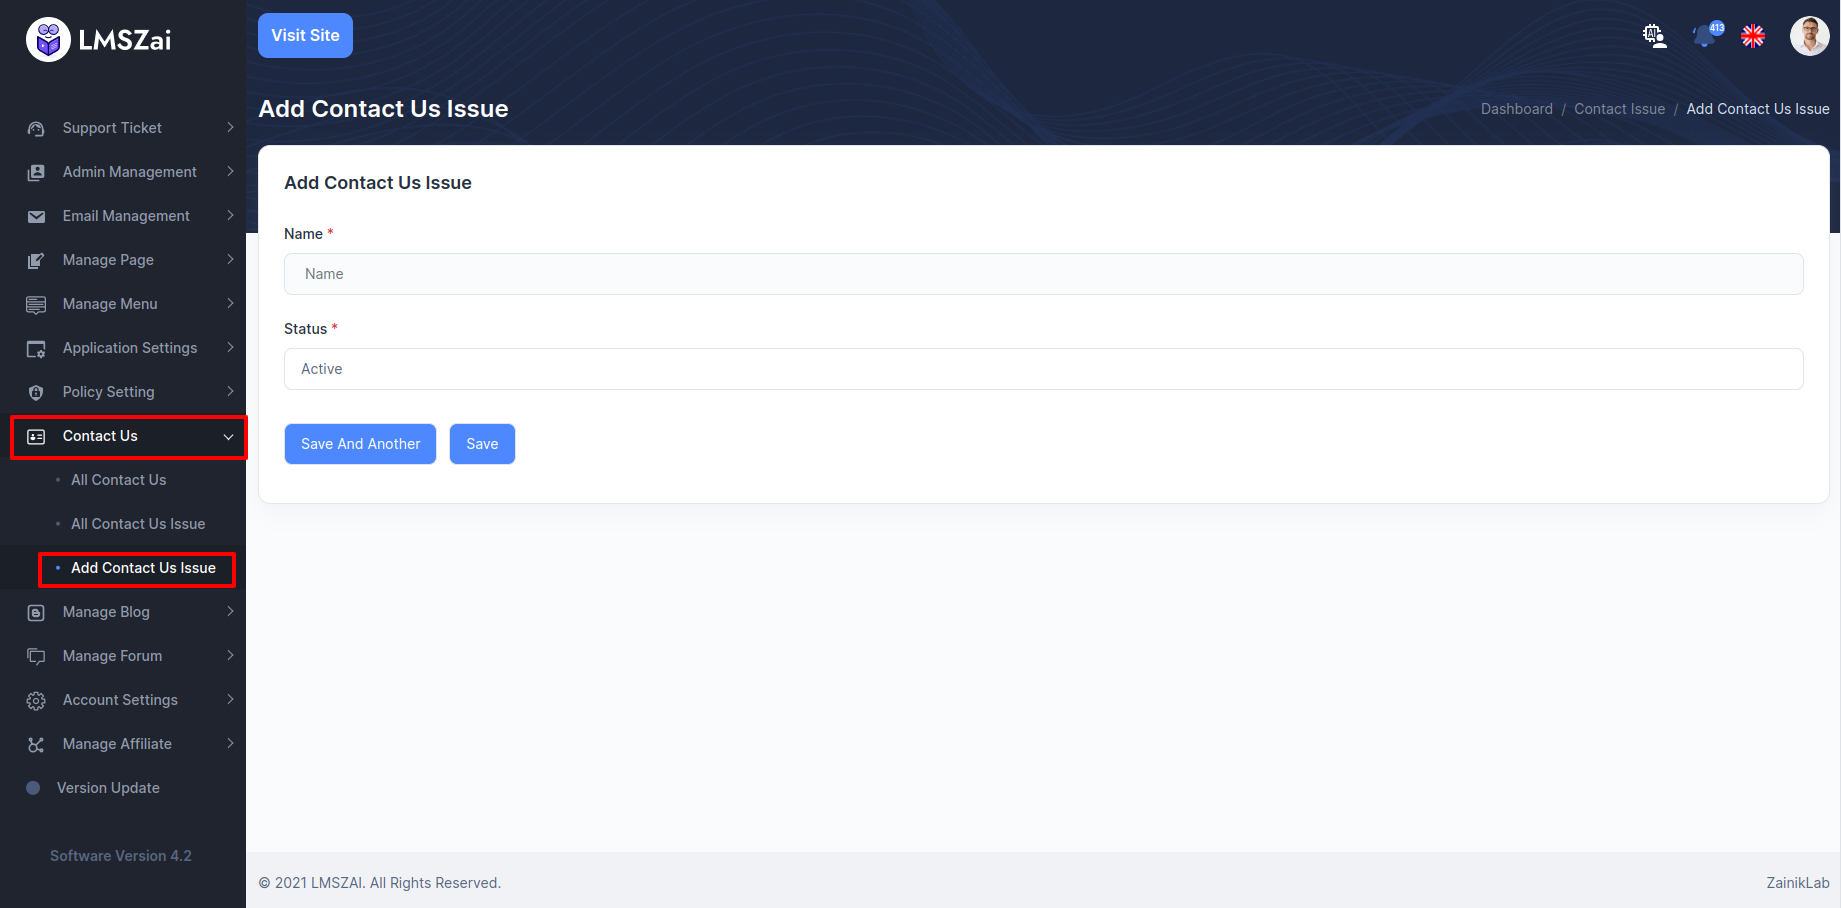
Add Contact Us Issue
Admin can manage this add contact us issue
Manage Blog
Blog has many functions. Given here-
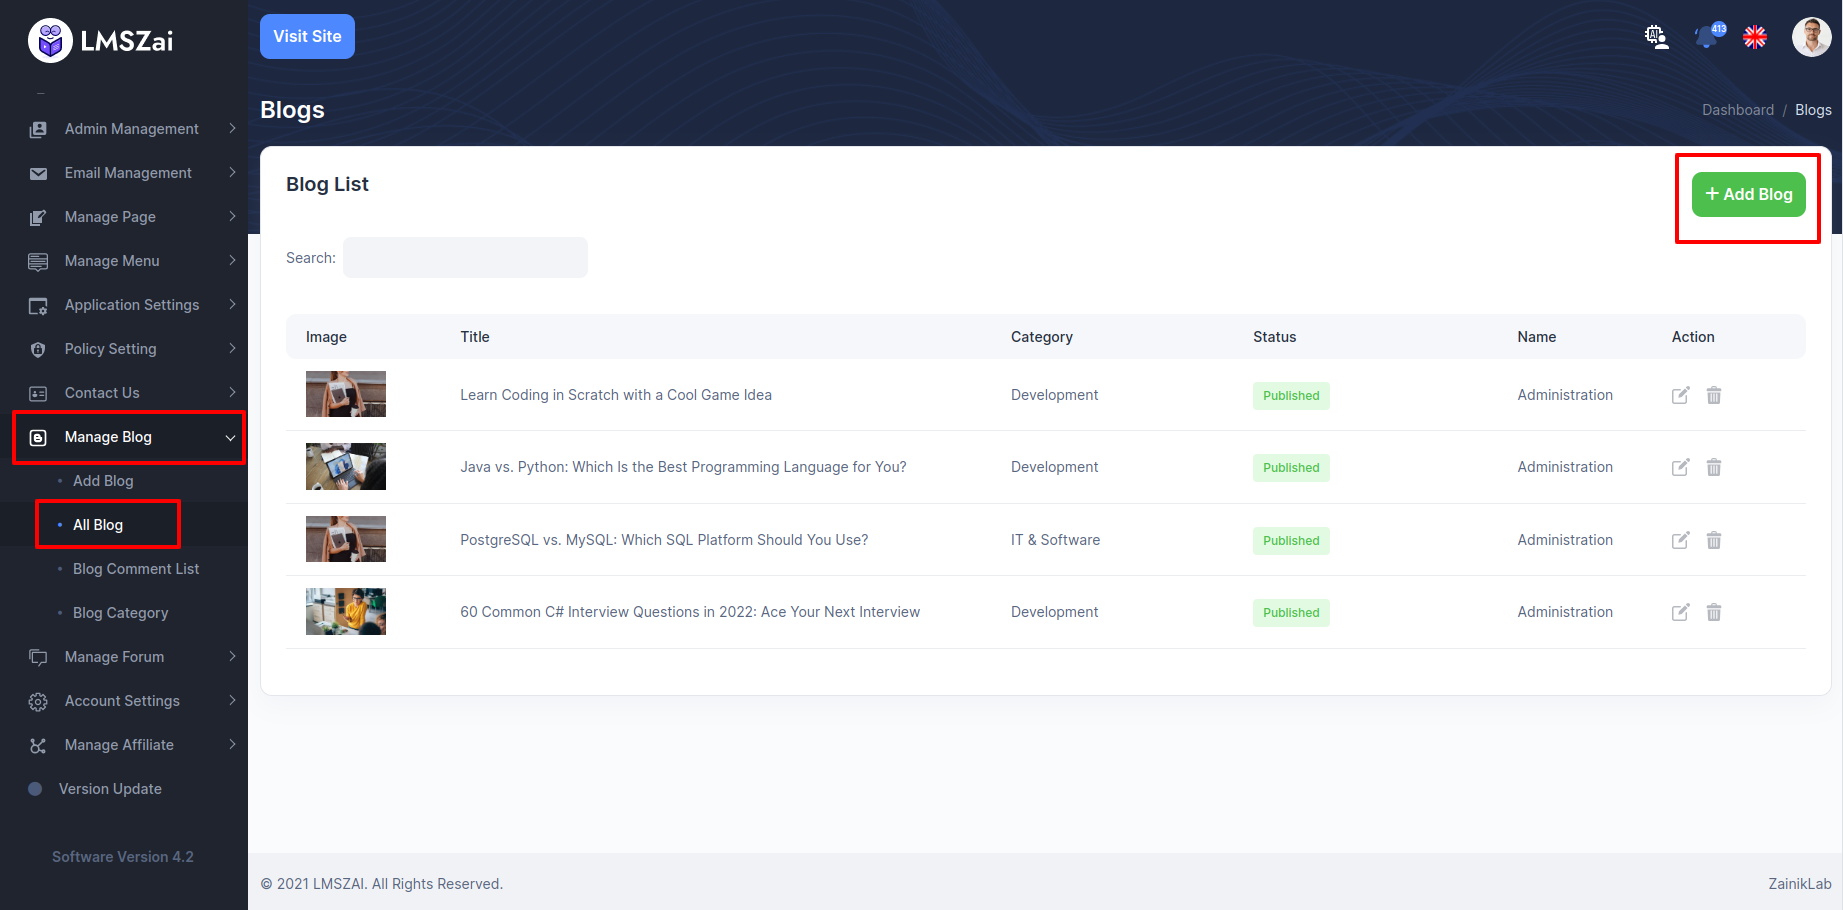
- All Blog (List, create, update, delete)
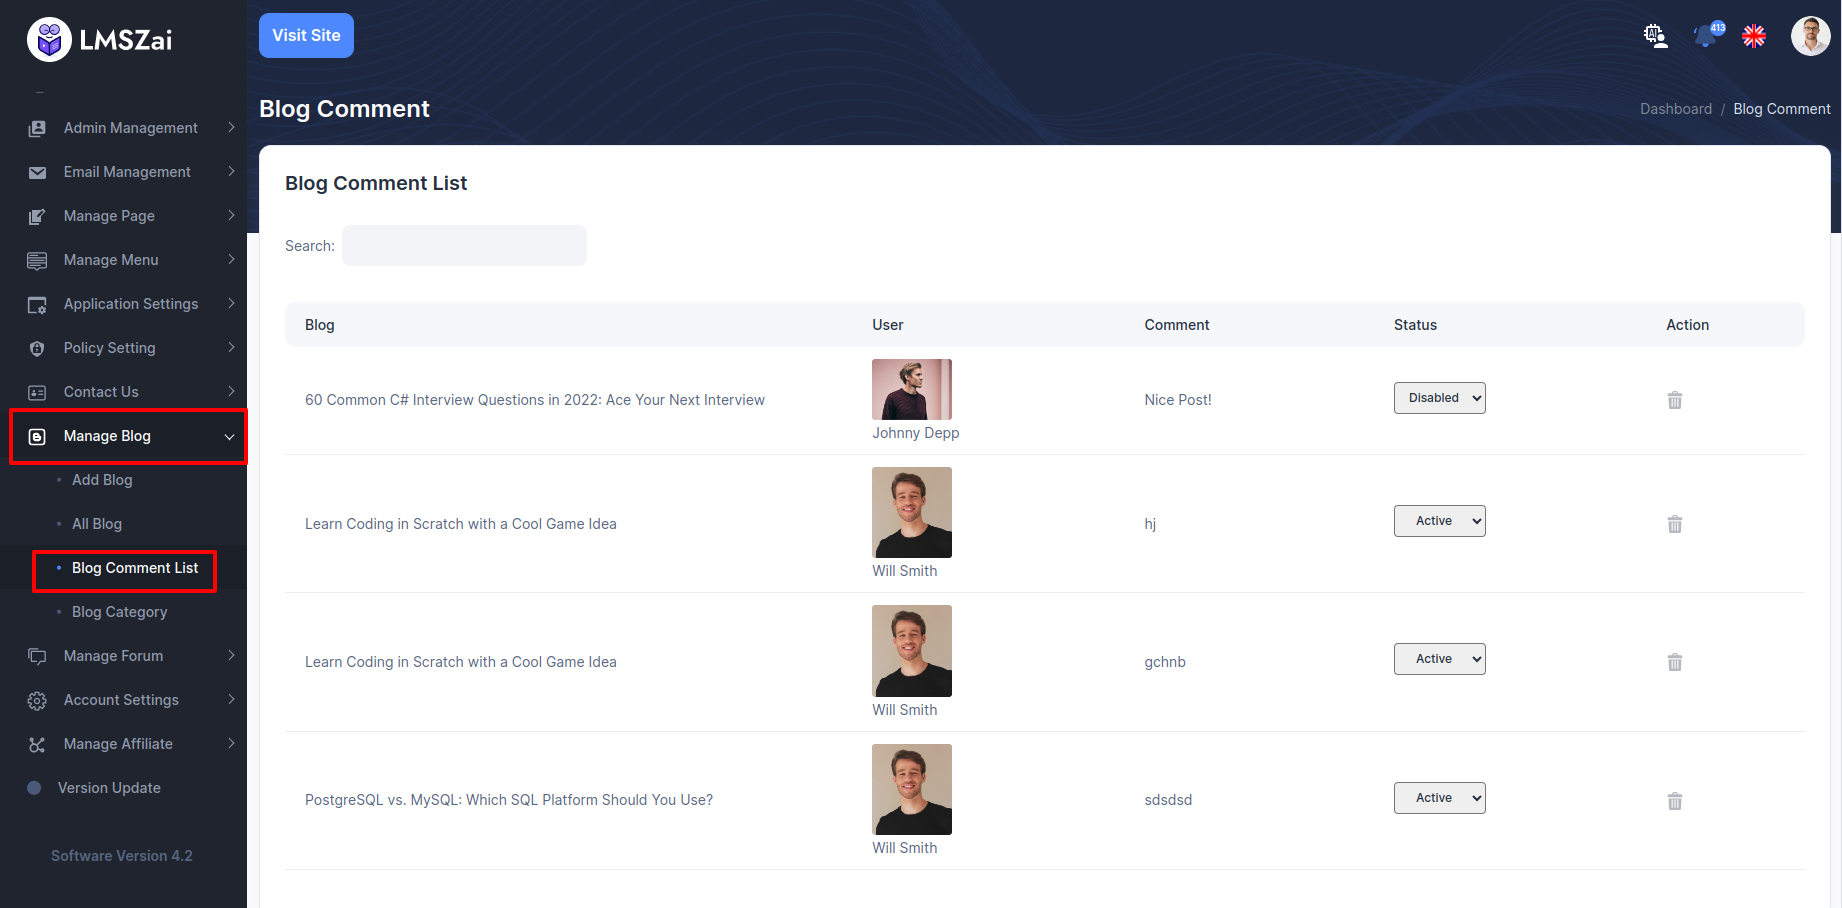
- Blog Comment List (Student comment can status change (active, deactivated))
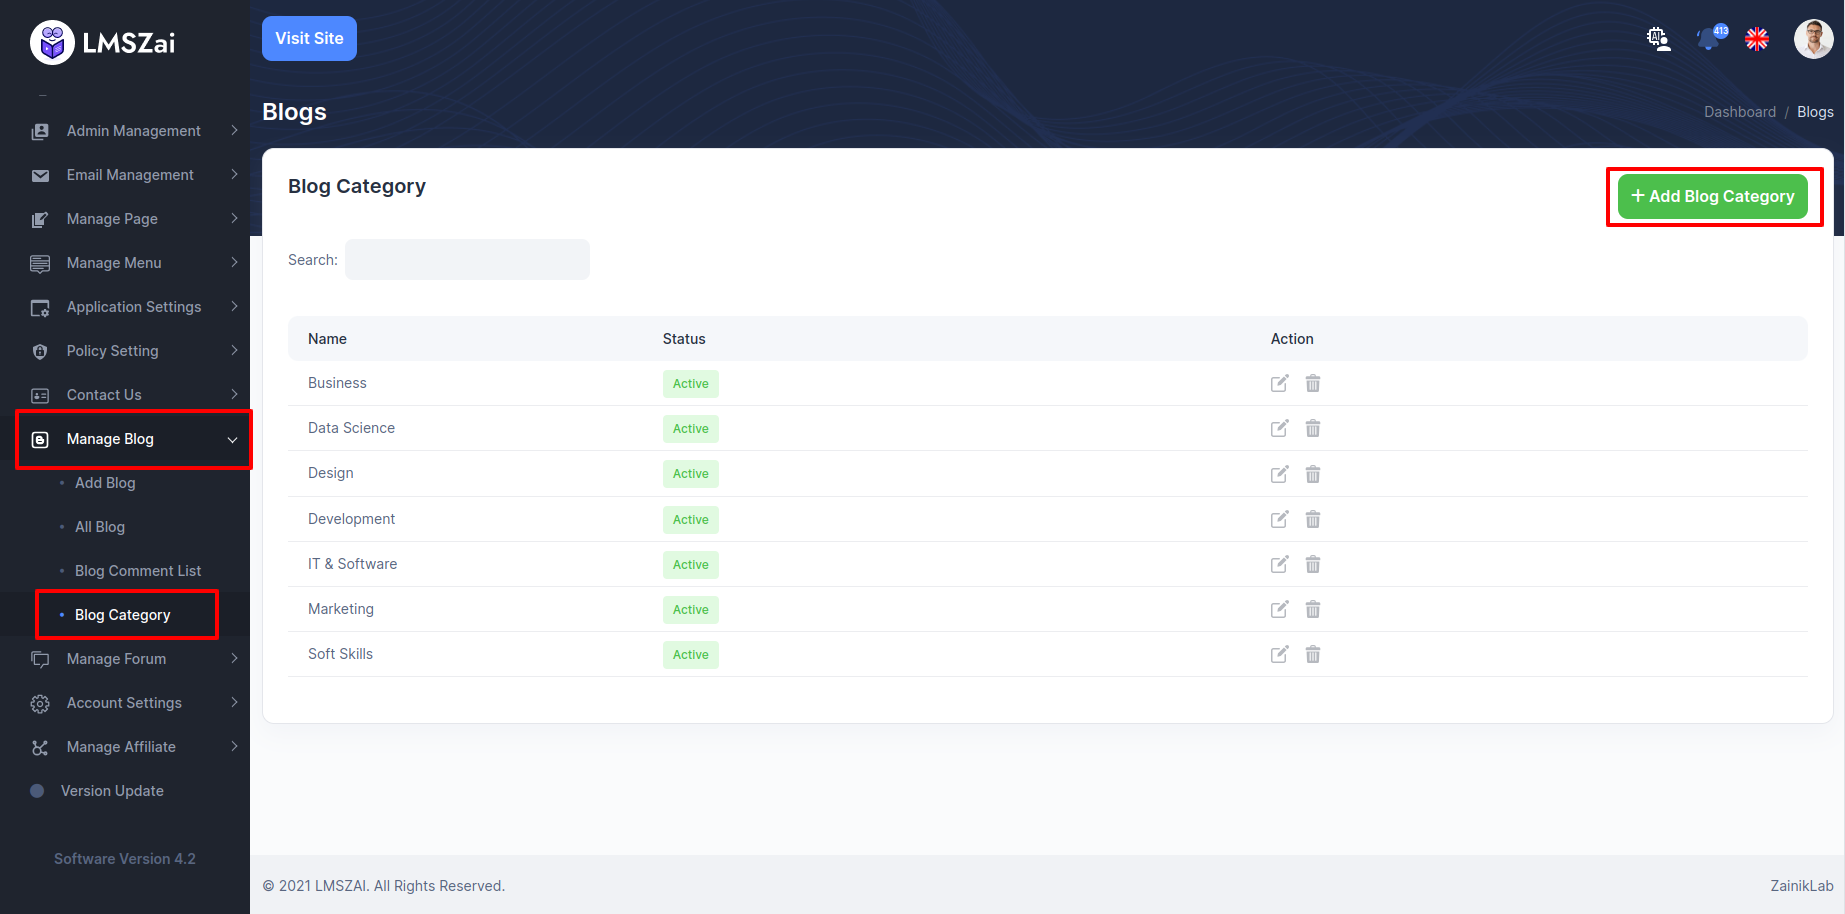
- Blog Category (List, Create, Update, delete)
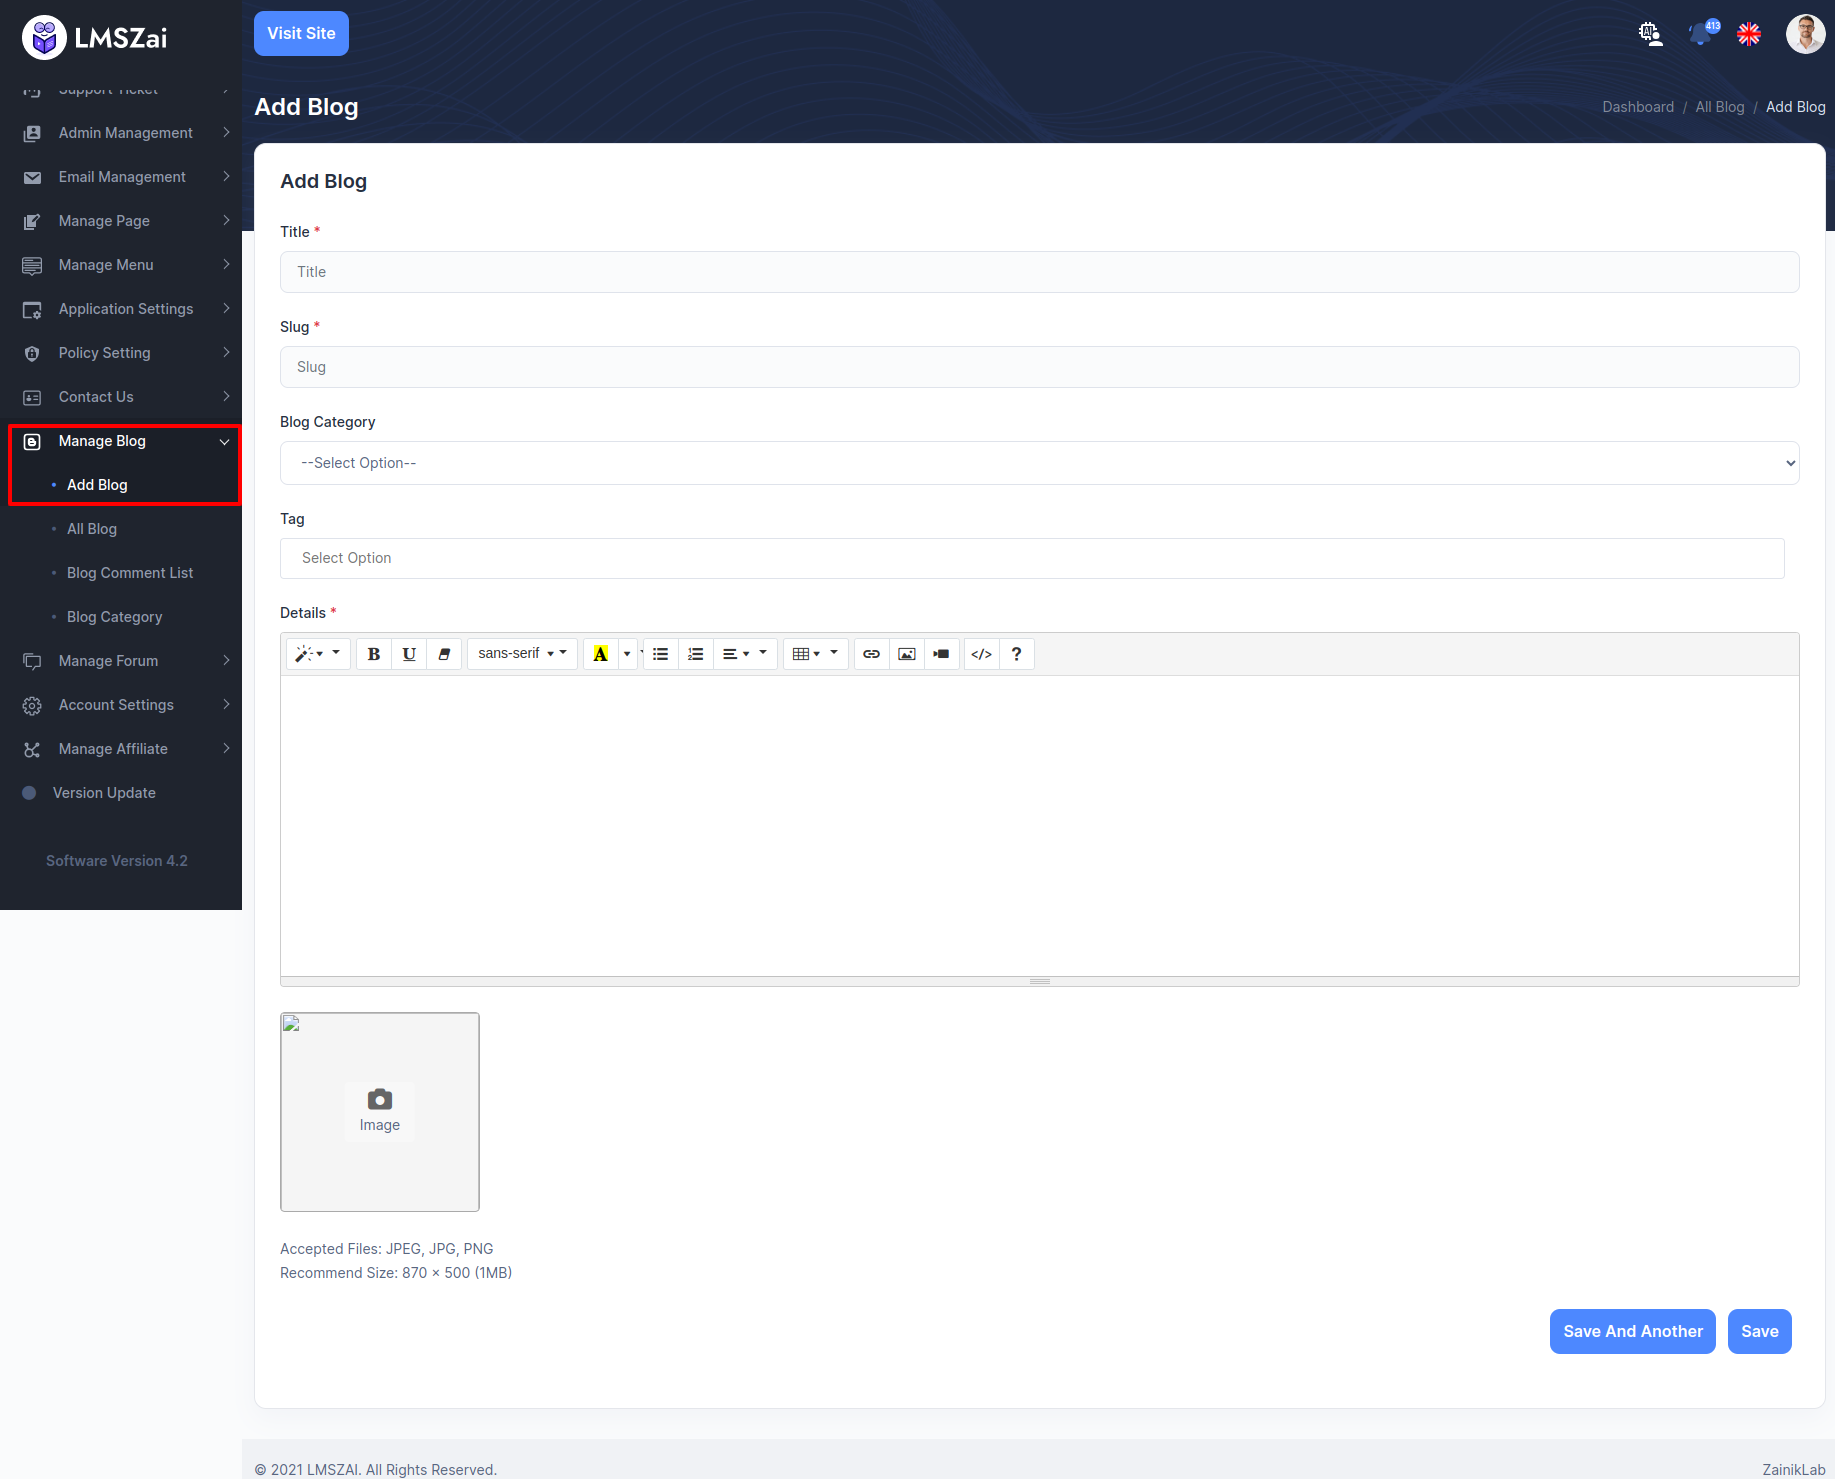
Add Blog
Admin can manage this add blog feature
All Blog
Admin can manage this all blog feature
Blog Comment List
Admin can manage this blog comment list feature
Blog Category
Admin can manage this blog category feature
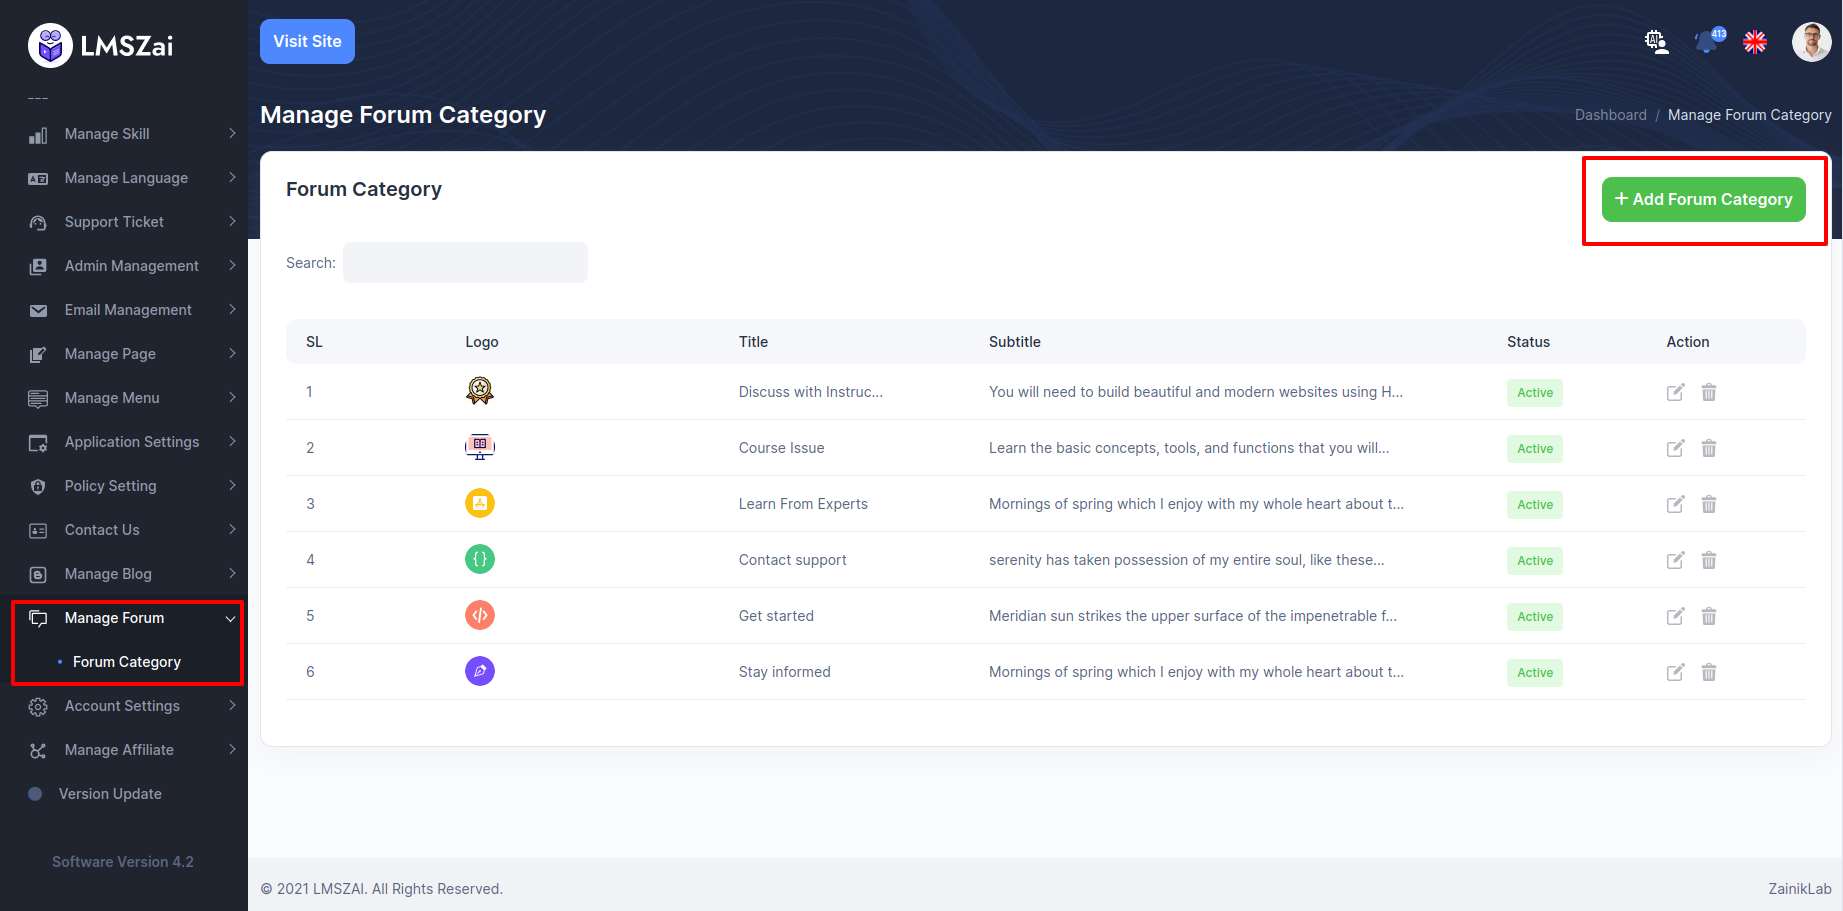
Manage Forum
Admin can manage this manage forum feature
Forum Category
Admin can manage this forum category feature
Account Settings
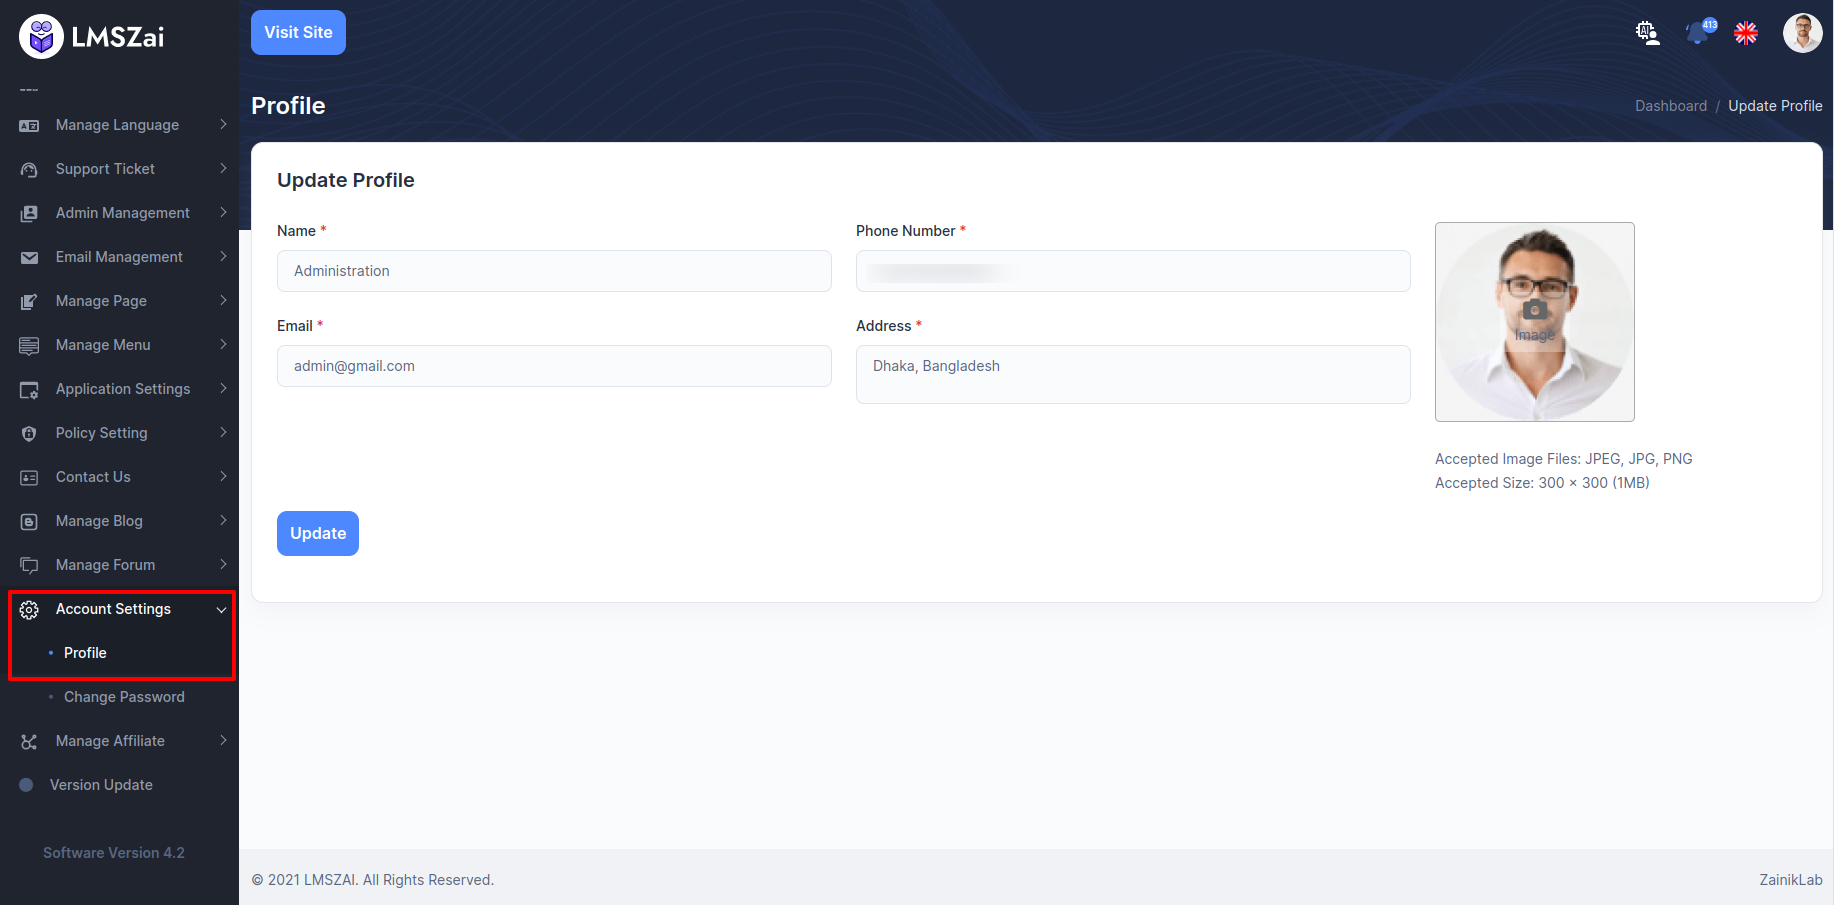
Admin can update his profile, change password
Profile
Instructor can update his profile from here
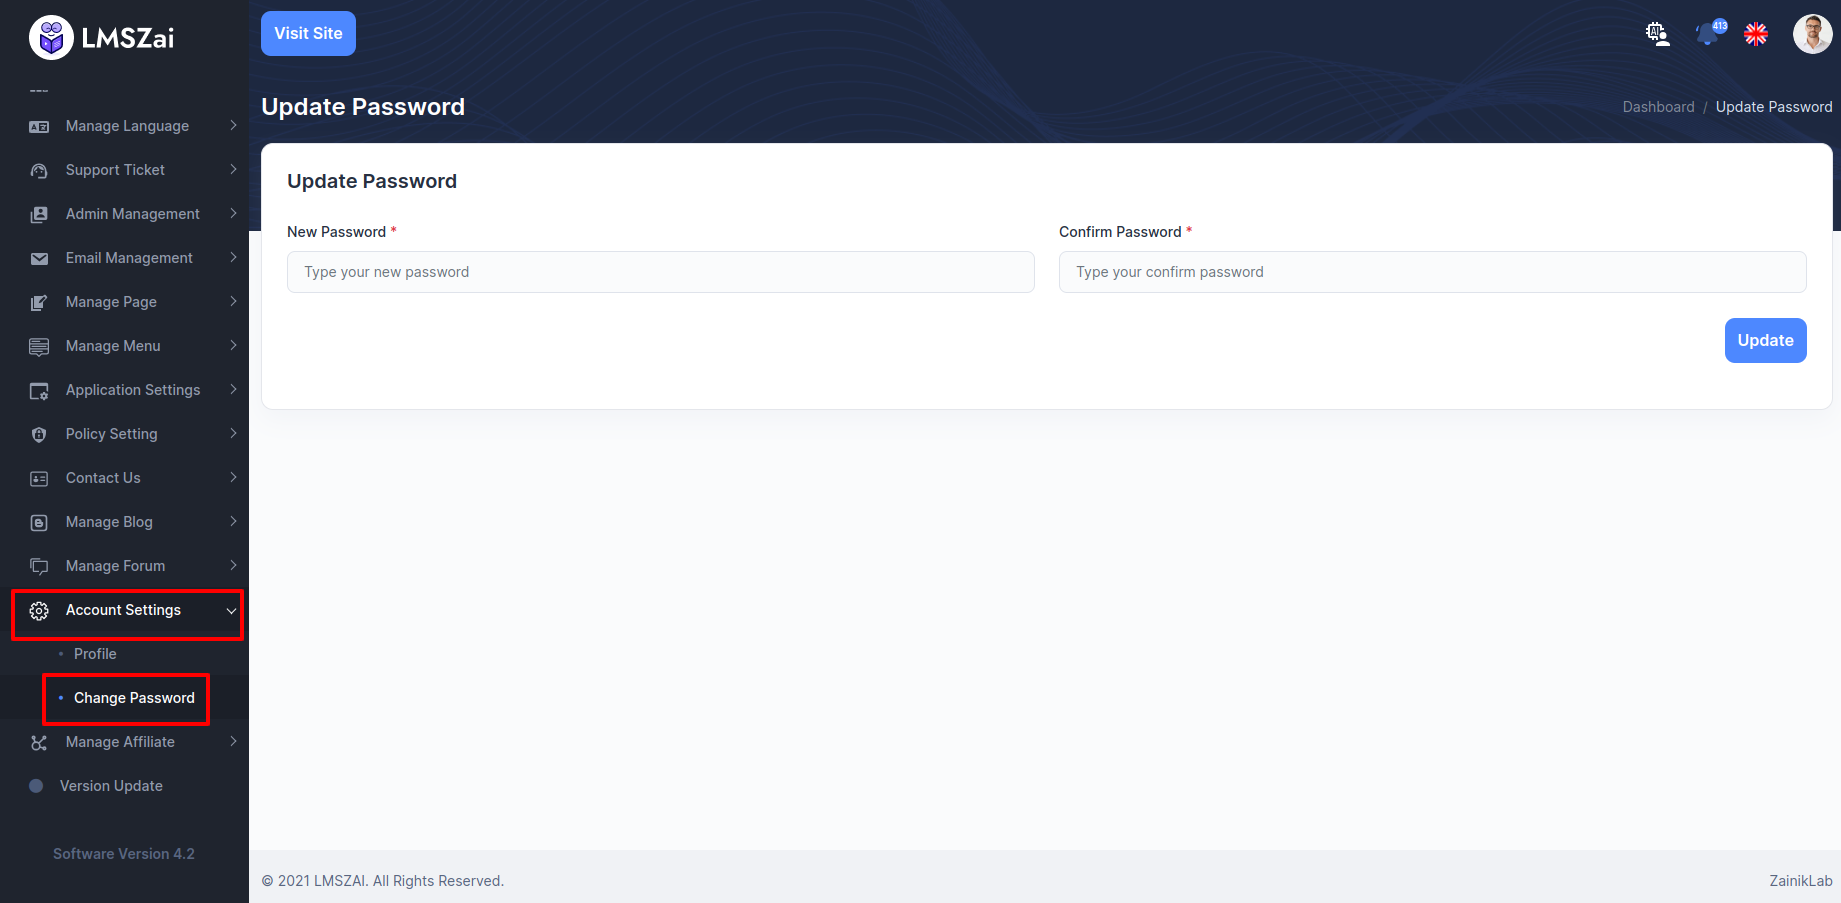
Change Password
Admin can update his profile, change password
Manage Affiliate
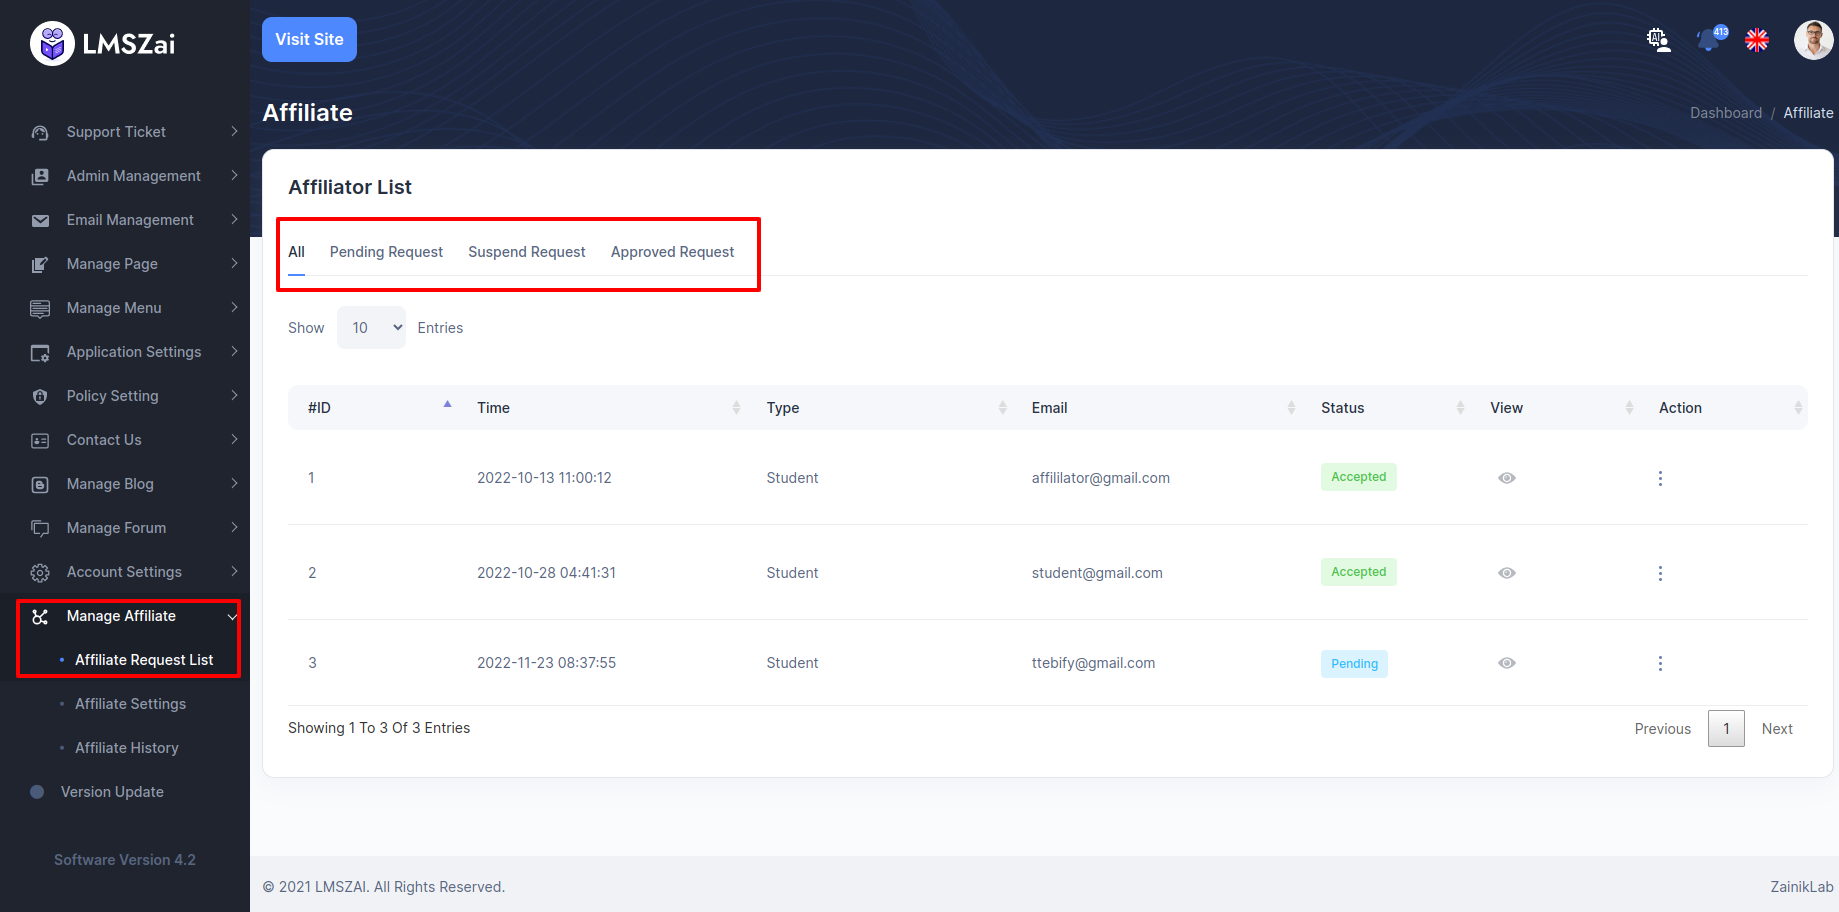
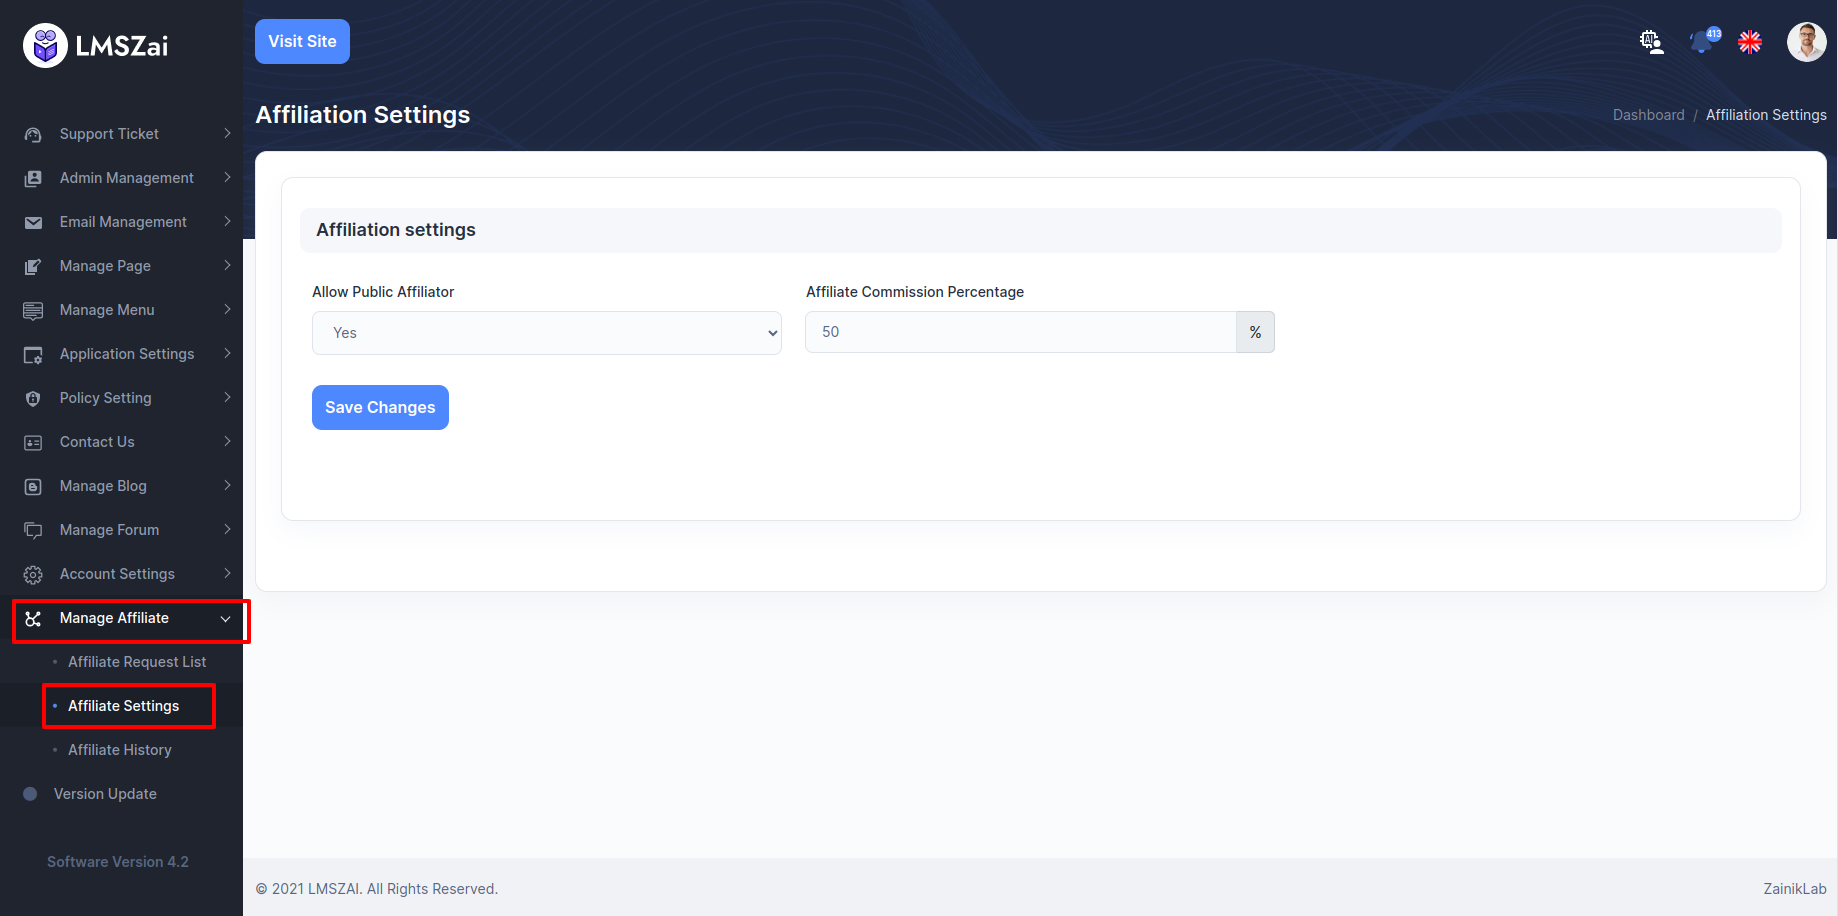
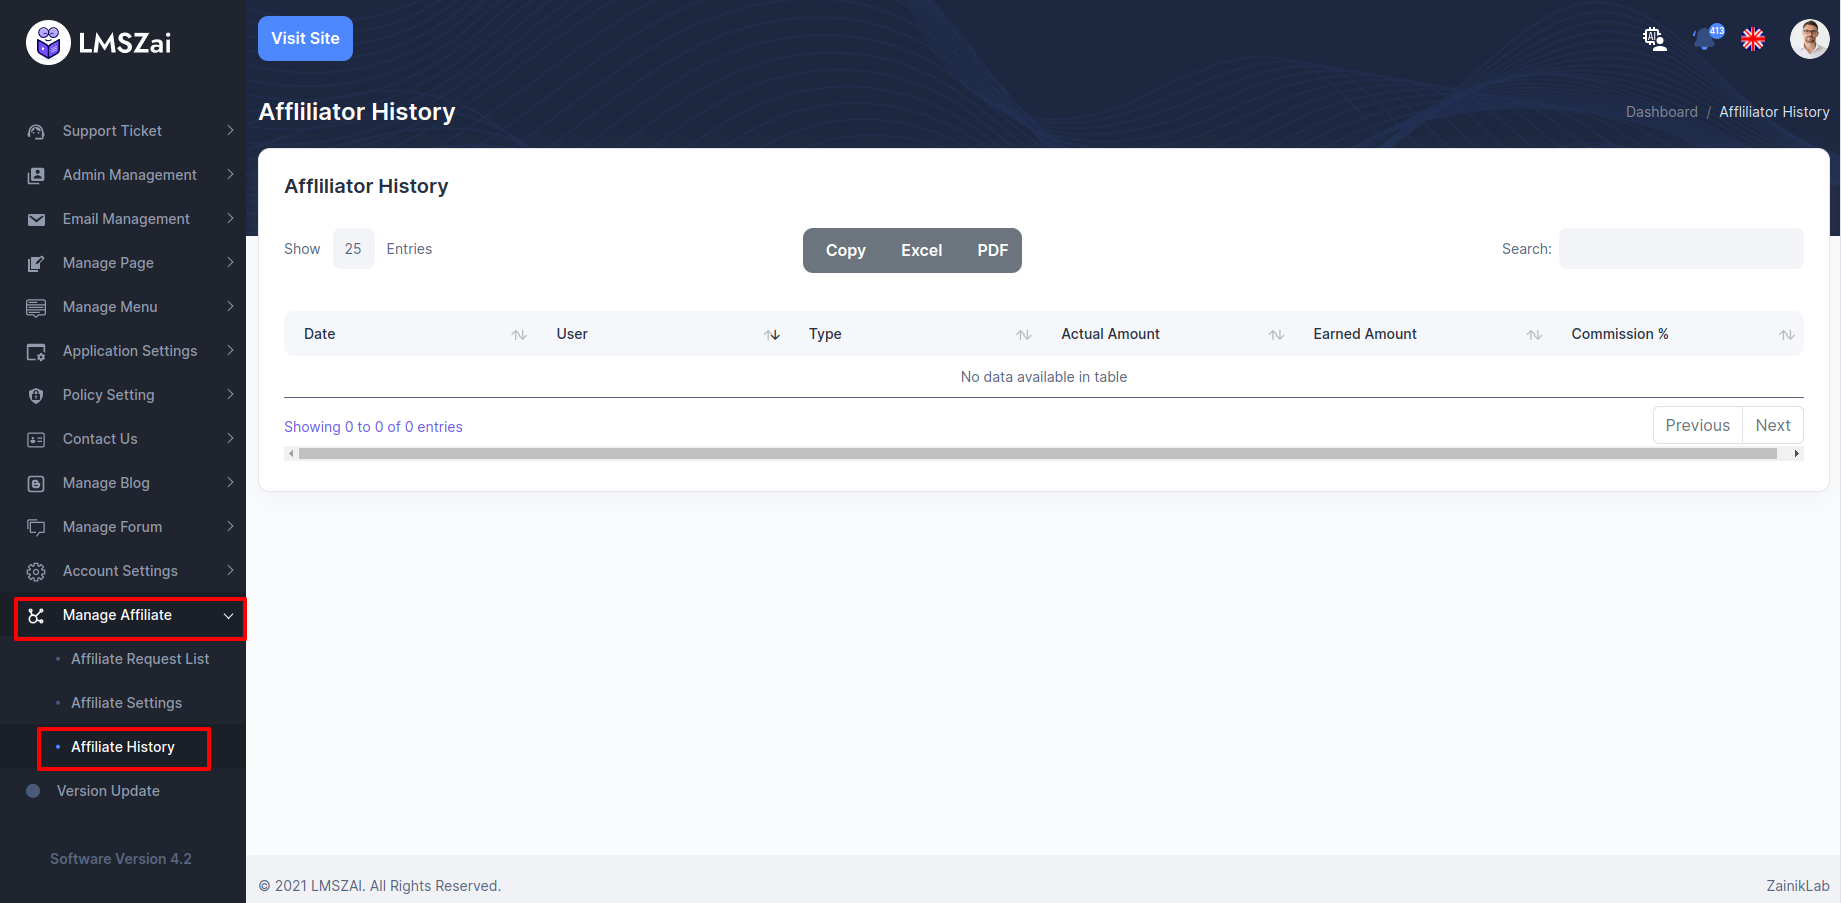
- Admin can start affiliate. If Admin allow affiliate, admin can set affiliator percentage any user can affiliate courses and user get percentage. Admin can set up from admin panel. Location given here.
Affiliate Request List
Admin can manage this affiliate request (Pending Request,Suspend Request,Approved Request)
Affiliate Settings
Admin can manage this affiliate feature
Affiliate History
Admin can manage this affiliate history feature
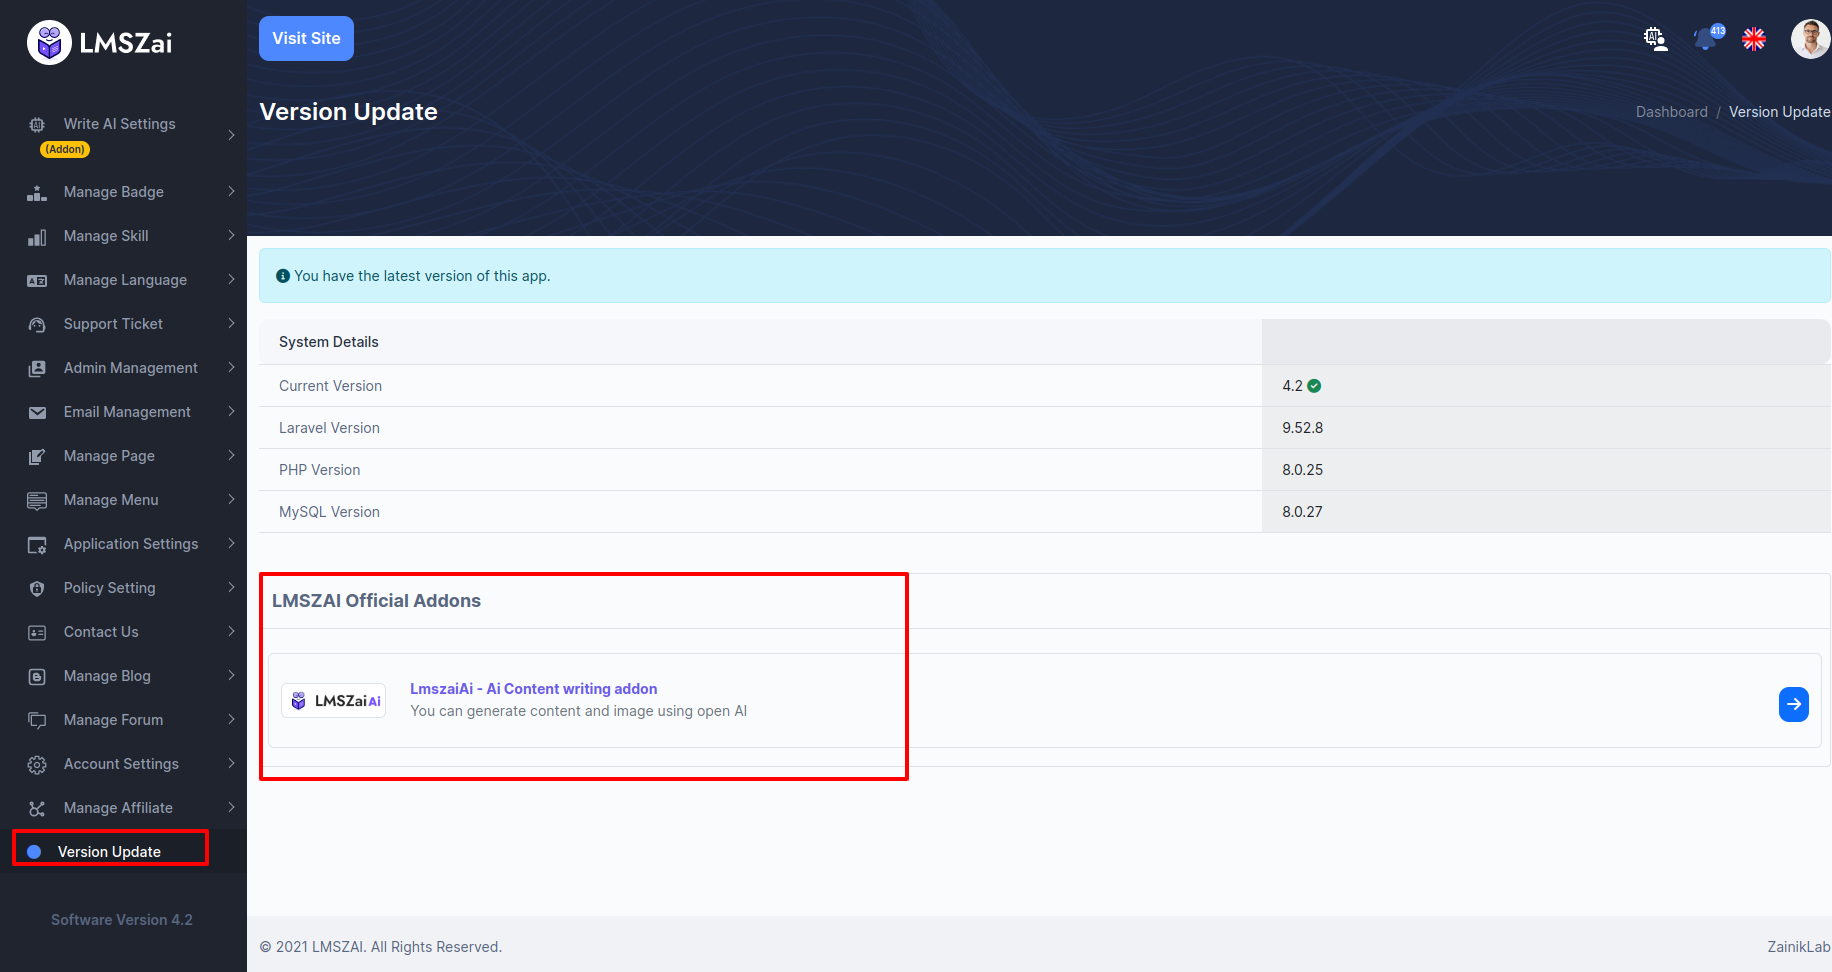
Version Update
You can manage this version update in this application
